FaceTime Like a Pro
Get our exclusive Ultimate FaceTime Guide 📚 — absolutely FREE when you sign up for our newsletter below.

FaceTime Like a Pro
Get our exclusive Ultimate FaceTime Guide 📚 — absolutely FREE when you sign up for our newsletter below.
Run ChatGPT-like AI locally on your Mac for free—no internet required. Here’s how to set it up and chat privately, anytime.
Ever wondered if you could run something like ChatGPT locally on your Mac without needing the internet? With just a bit of setup, you actually can. That too for free. Whether you want to keep your chats private or just want offline access to AI, here’s how you can run powerful large language models locally on your Mac.
Before we dive in and check out the setup, here’s what you’ll need:
We’ll be using a free tool called Ollama, which lets you download and run LLMs locally with just a few commands. Here’s how to get started:
Homebrew is a package manager for macOS that helps you install apps from the Terminal app. If you already have Homebrew installed on your Mac, you can skip this step. But if you don’t, here’s how you can install it:
/bin/bash -c "$(curl -fsSL https://raw.githubusercontent.com/Homebrew/install/HEAD/install.sh)"brew doctor
If you see “Your system is ready to brew”, you’re good to go.
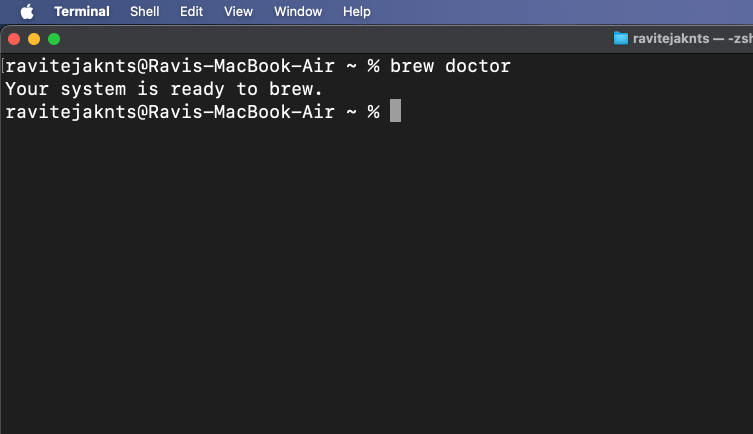
If you’re having any issues or want a more detailed step-by-step process, check out our guide on how to install Homebrew on a Mac.
Now that Homebrew is installed and ready to use on your Mac, let’s install Ollama:
brew install ollamaollama serve
Leave this window open or minimize it. This command keeps Ollama running in the background.
Alternatively, download the Ollama app and install it like any regular Mac app. Once done, open the app and keep it running in the background.
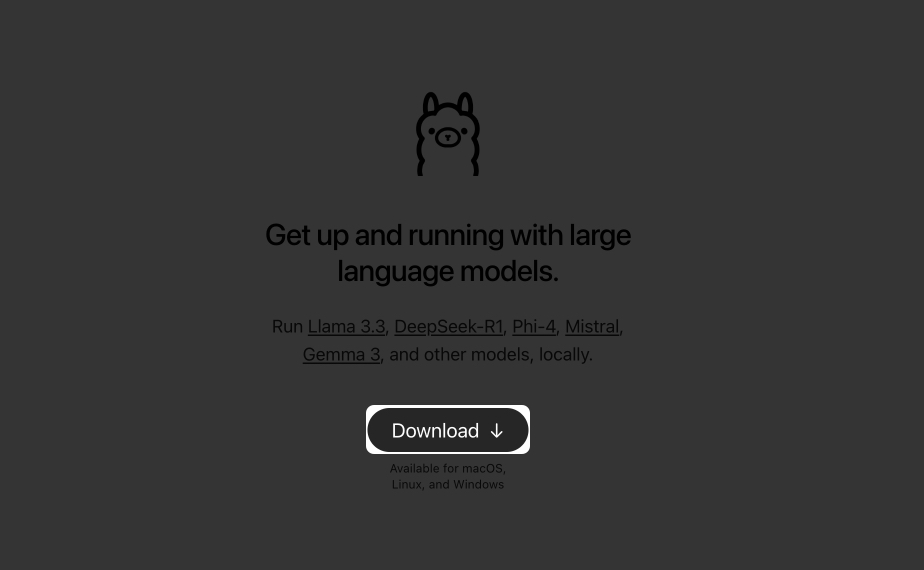
Ollama gives you access to popular LLMs like DeepSeek, Meta’s Llama, Mistral, Gemma, and more. Here’s how you can choose and run one:
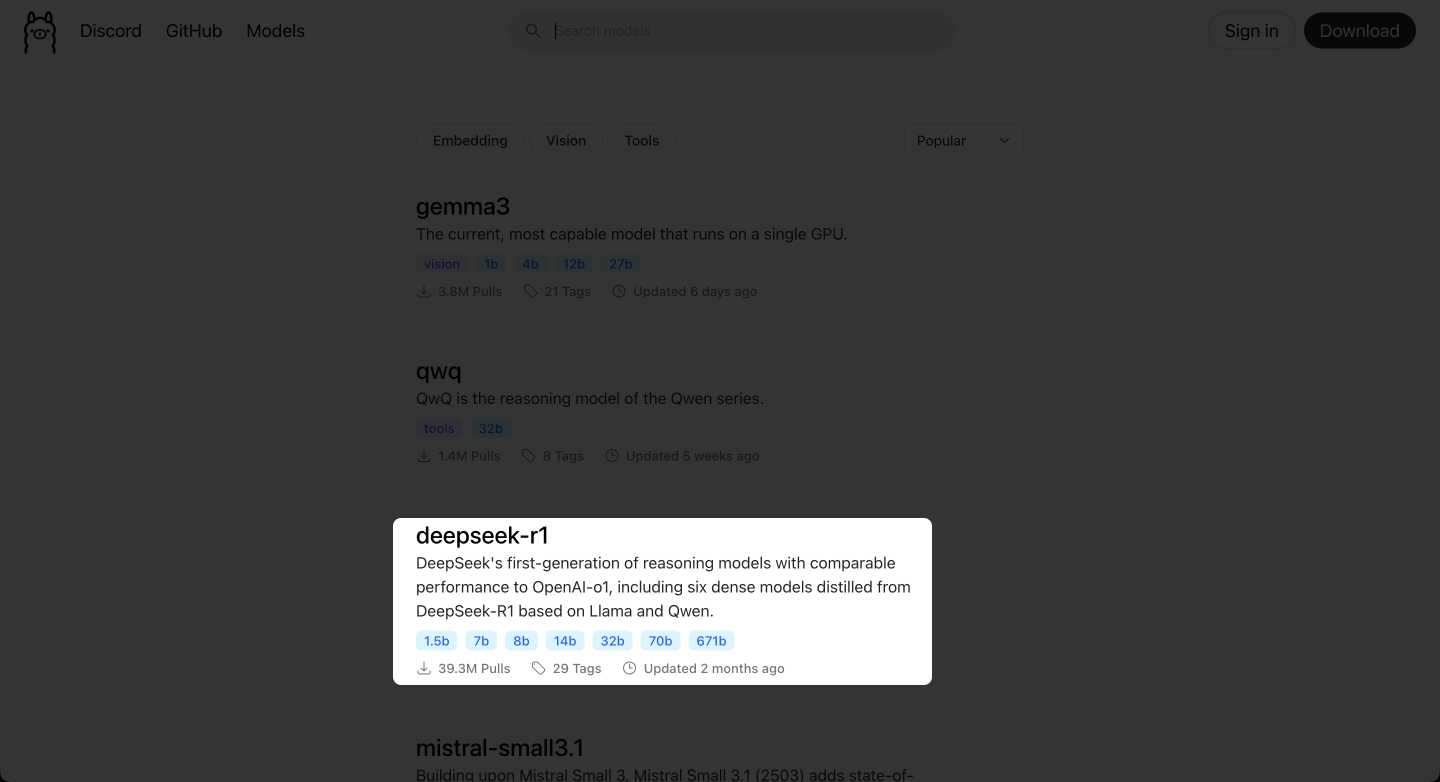
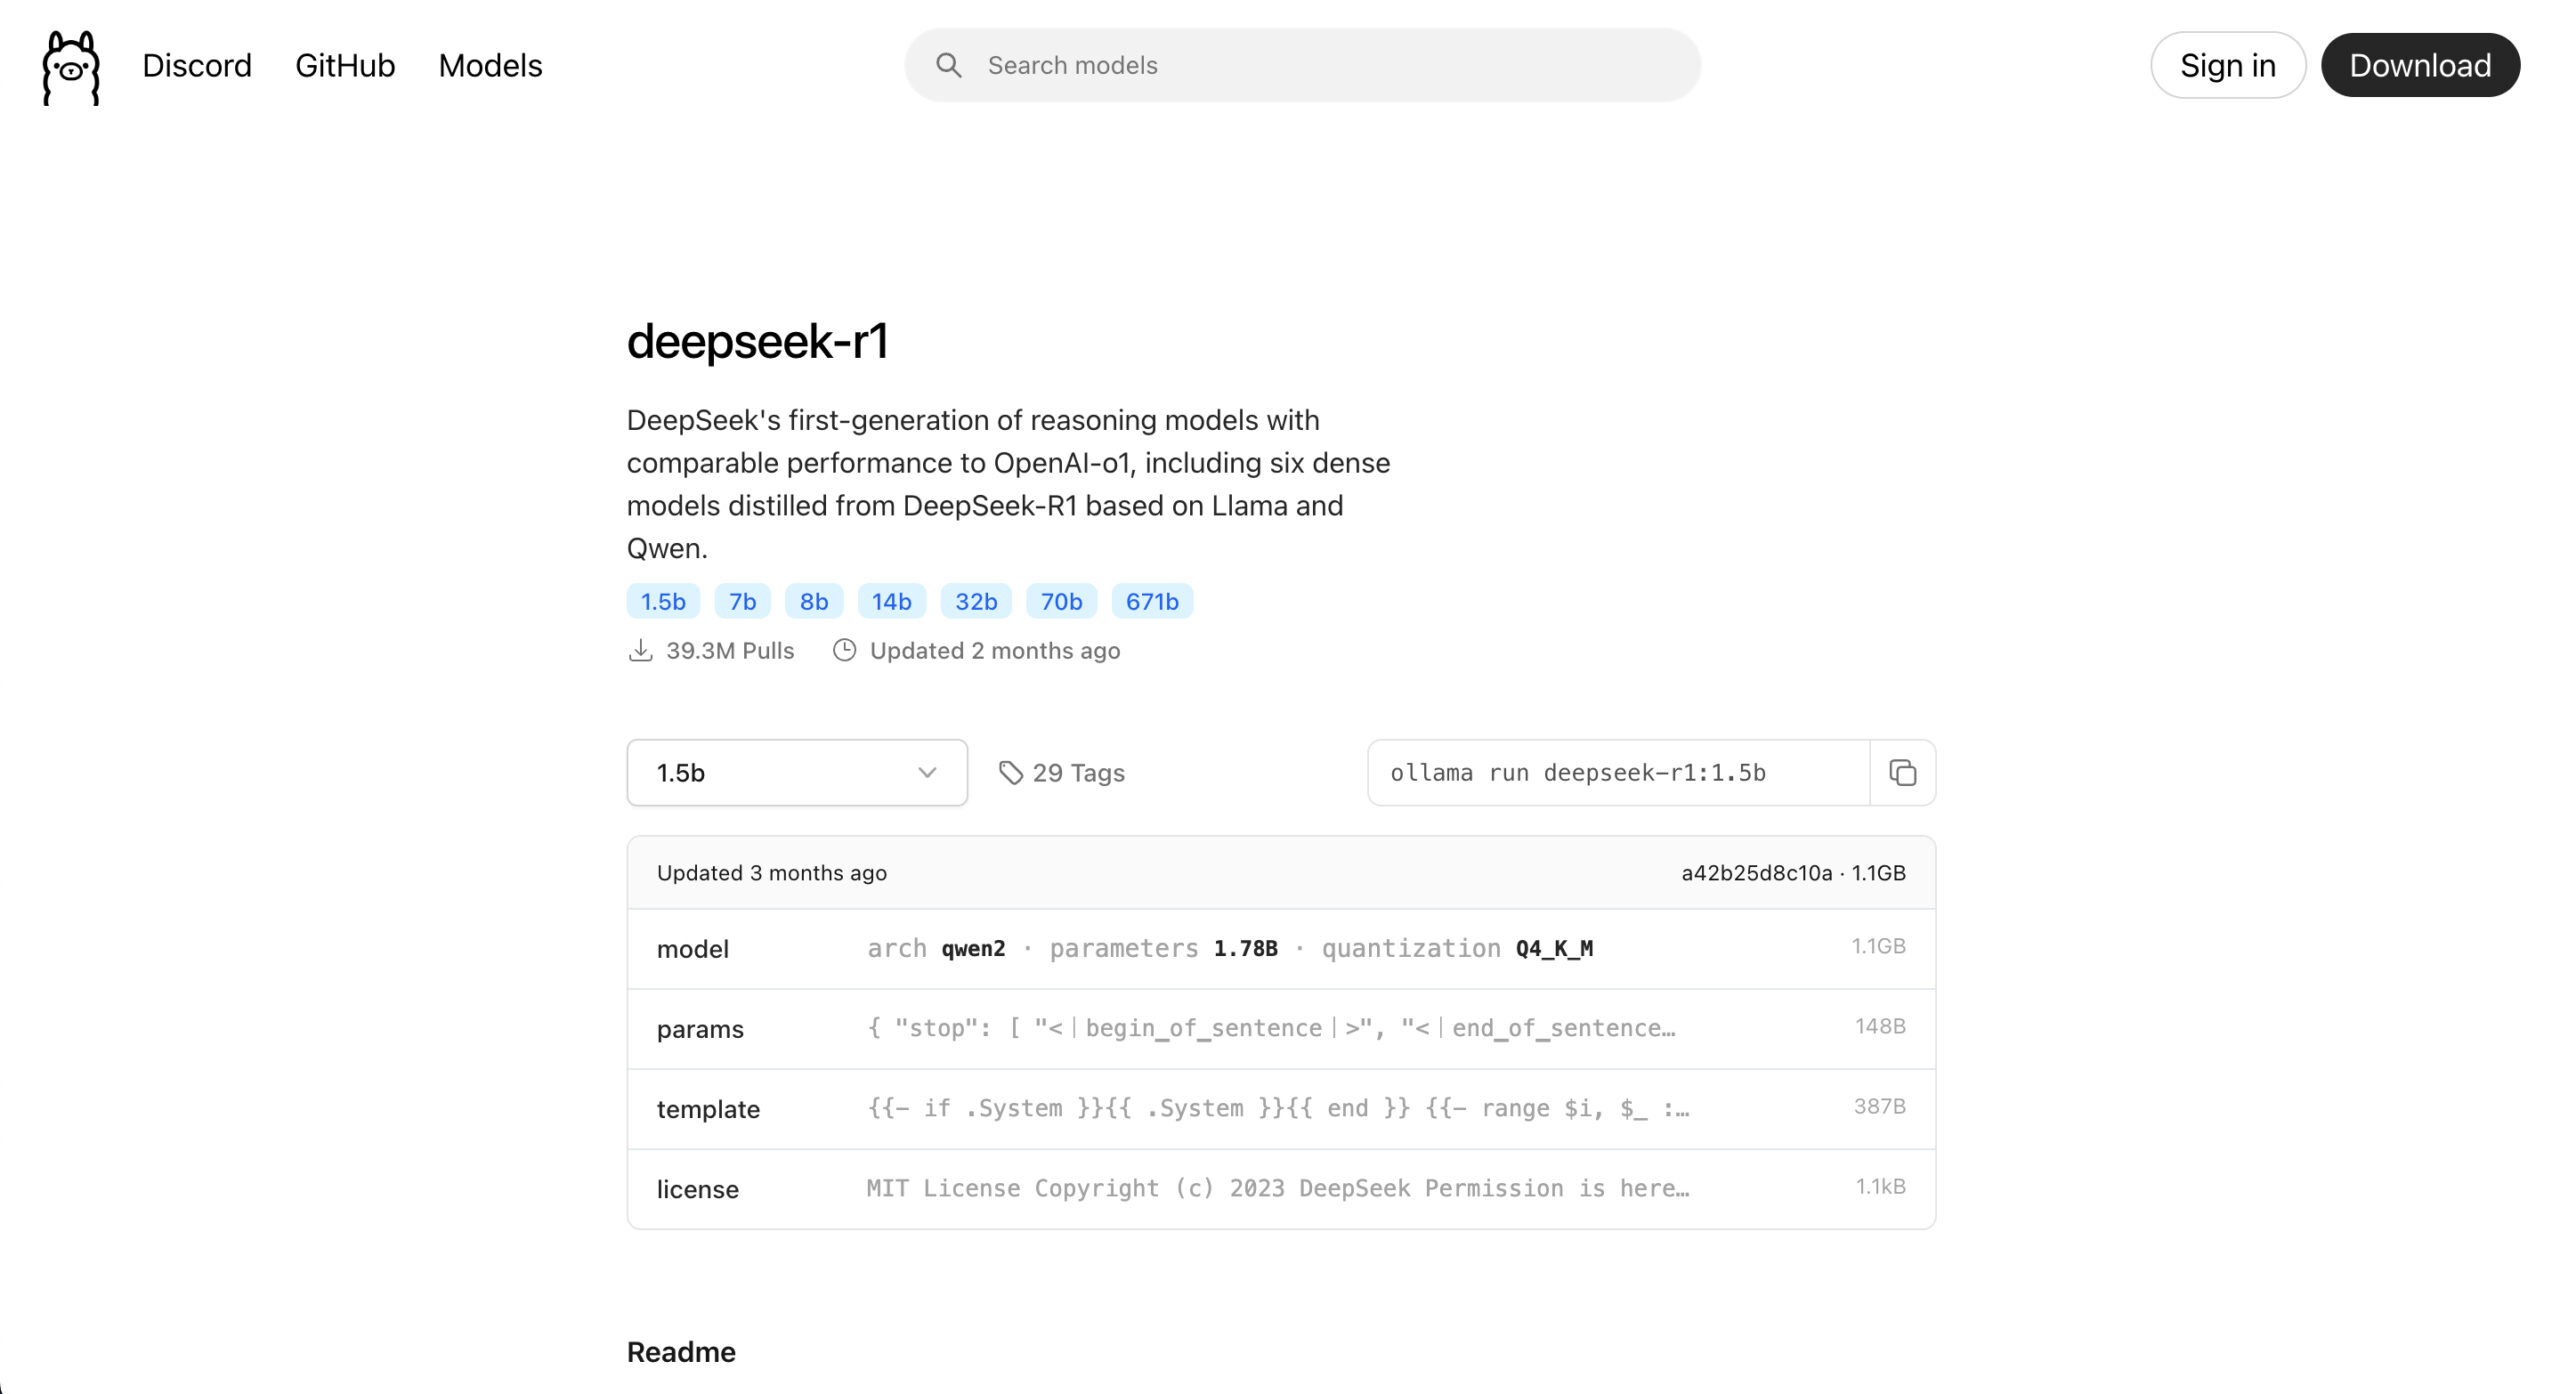
ollama run [model-name]. It’s different for different models.ollama run deepseek-r1:1.5bollama run llama3ollama run mistral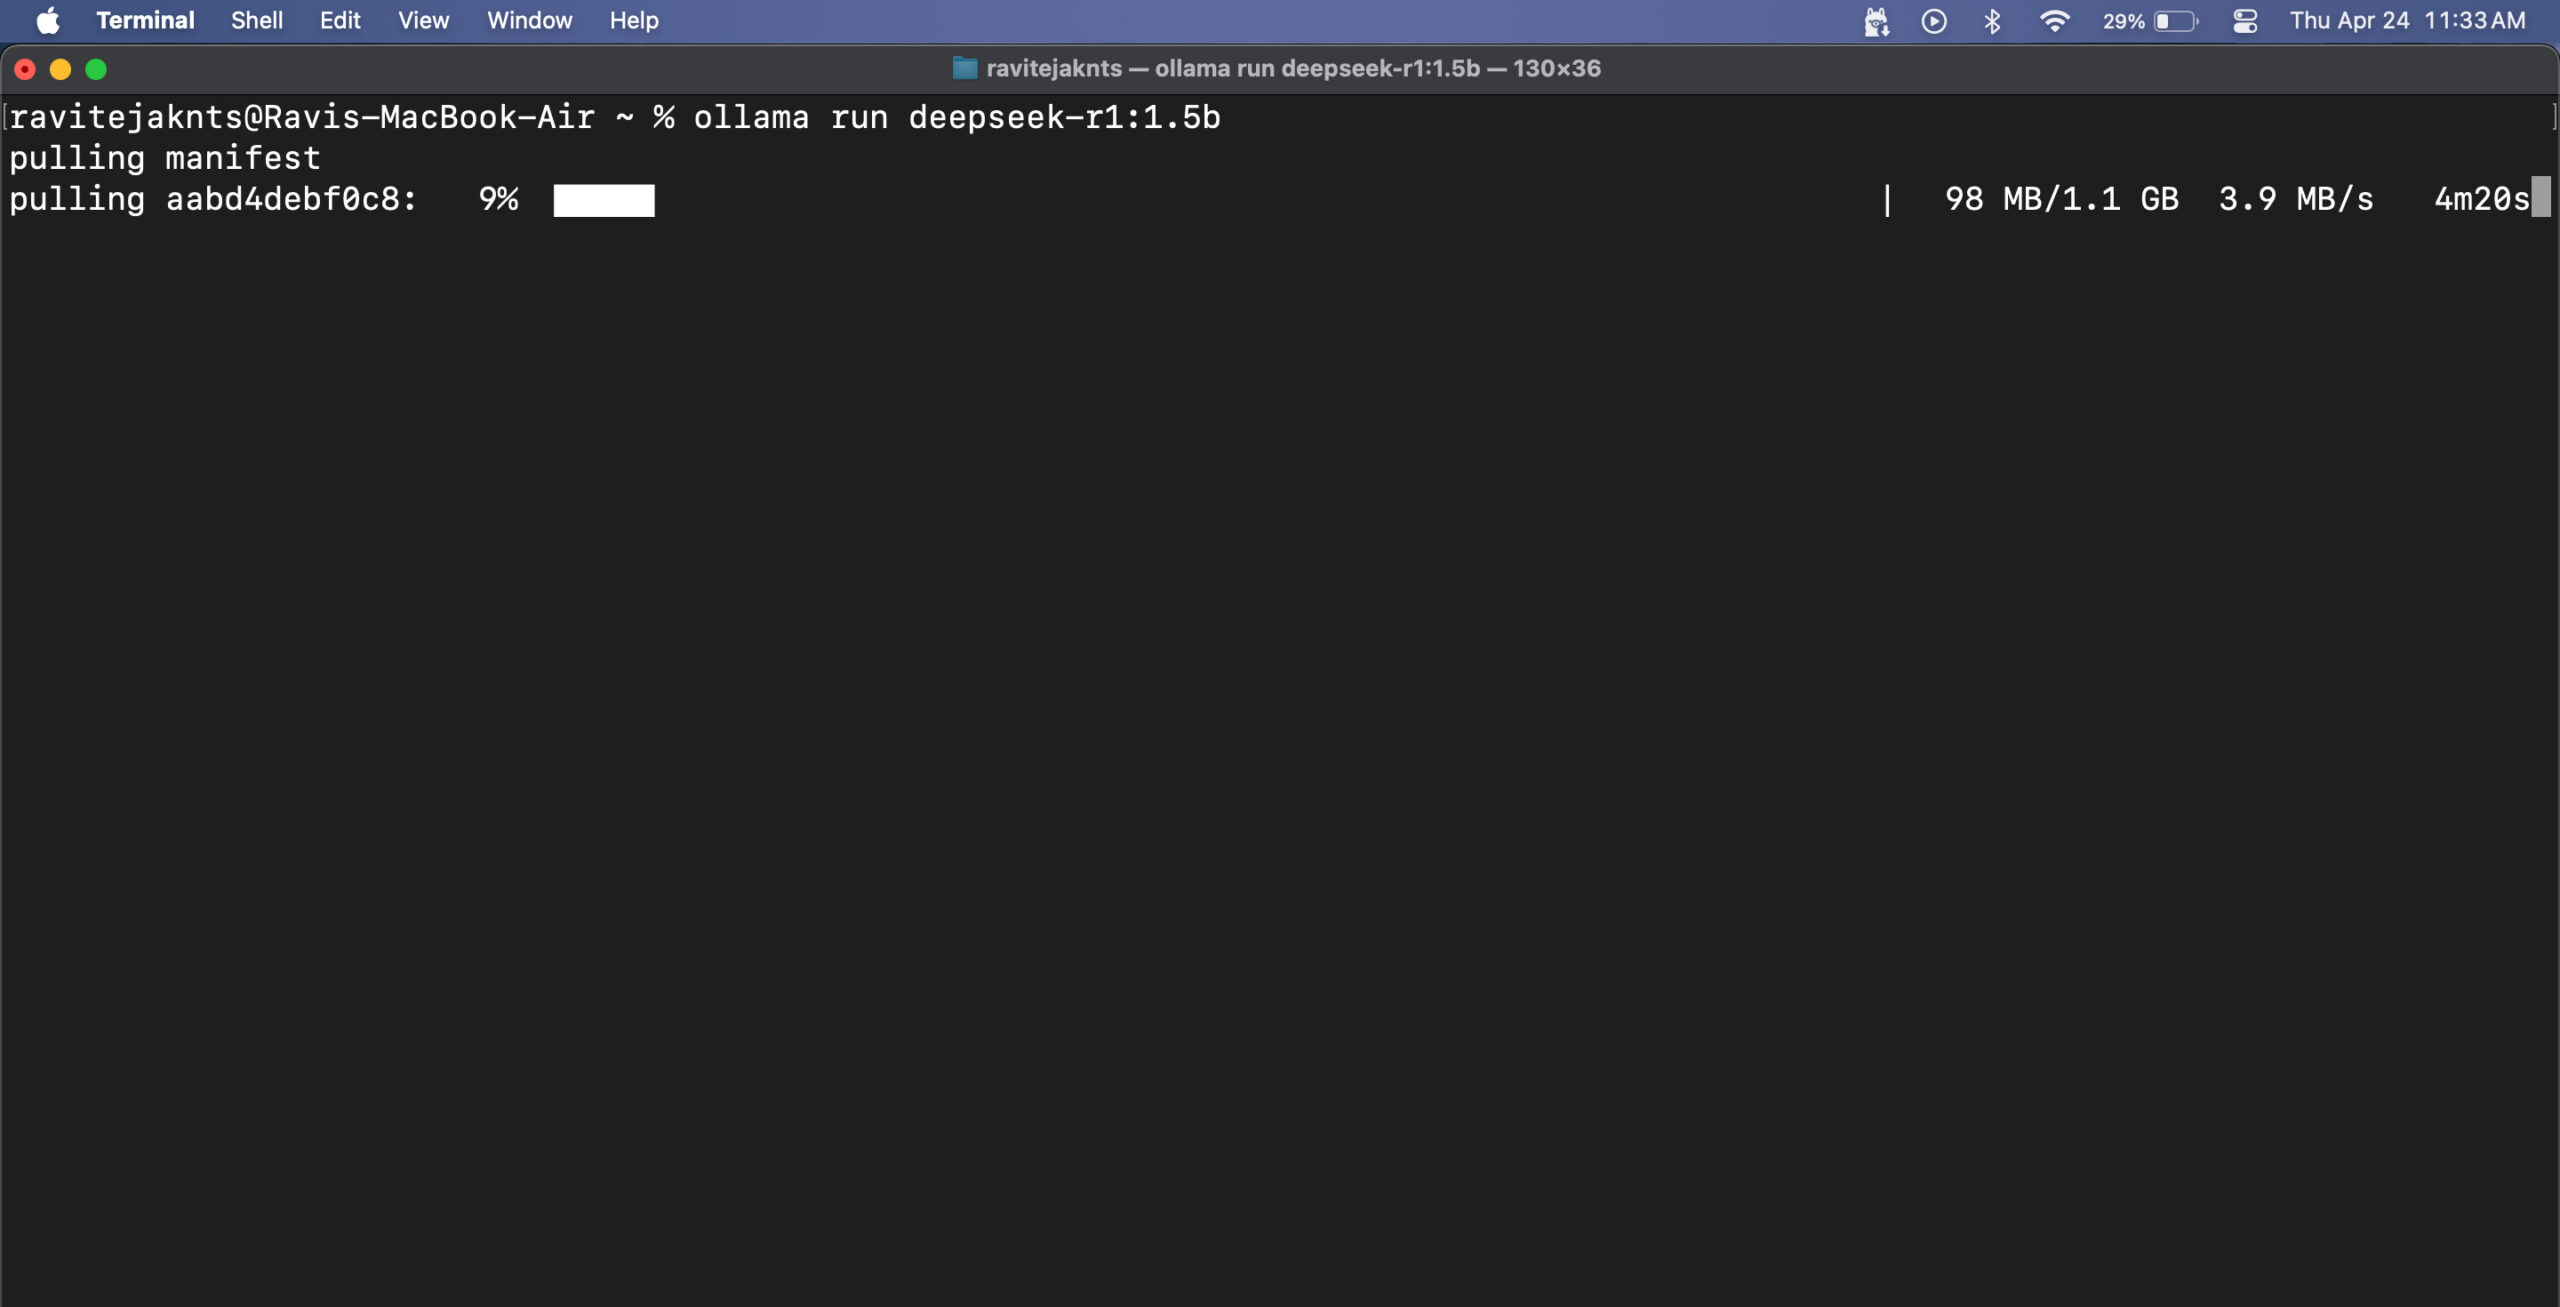
If you choose a large model, expect some lag—after all, the entire model is running locally on your MacBook. Smaller models respond faster, but they can struggle with accuracy, especially for math and logic-related tasks. Also, remember that since these models have no internet access, they can’t fetch real-time information.
That said, for things like checking grammar, writing emails, or brainstorming ideas, they work brilliantly. I’ve used DeepSeek-R1 extensively on my MacBook with a web UI setup, which also lets me upload images and paste code snippets. While its answers—and especially its coding skills—aren’t as sharp as top-tier models like ChatGPT or DeepSeek 671B, it still gets most everyday tasks done without needing the internet.
Once the model is running, you can simply type your message and hit Return. The model will respond right below.
To exit the session, press Control+D on your keyboard. When you want to start chatting again, just use the same ollama run [model-name] command. Since the model is already downloaded, it will launch instantly.
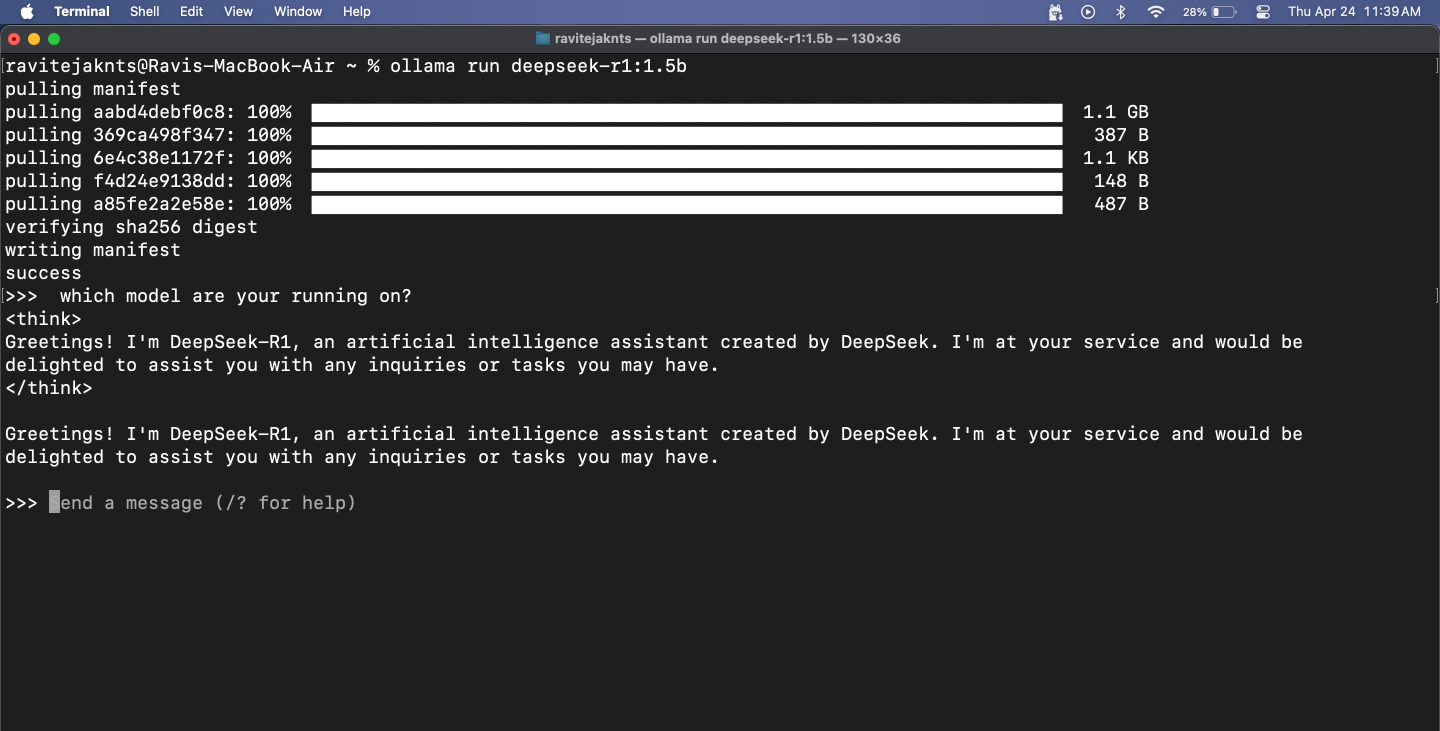
To check which models are currently downloaded, run:
ollama list
To delete a model you don’t need anymore, use:
ollama rm [model-name]While Ollama runs in the Terminal, it also starts a local API service at http://localhost:11434, allowing you to connect it to a web interface for visual interaction with the models—similar to using a chatbot. One popular option for this is Open WebUI, which provides a user-friendly interface on top of Ollama’s core functionality. Let’s see how to set it up.
Docker is a tool that lets you package a program and all its essential elements into a portable container so you can run it easily on any device. We’ll use it to open a web-based chat interface for your AI model.
If your Mac doesn’t have it already, follow these steps to install Docker:
docker --version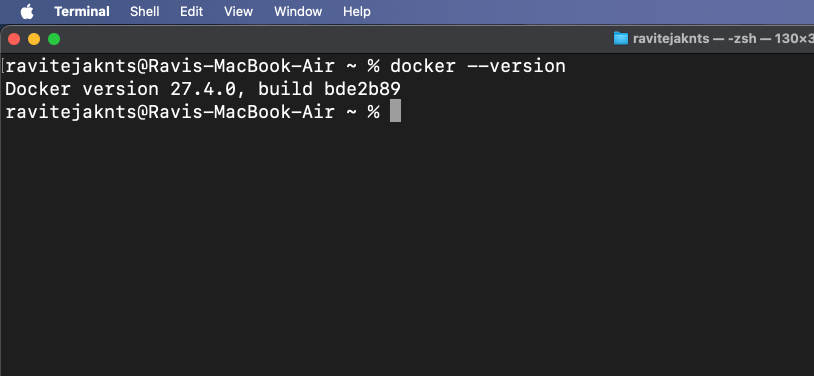
If the command returns a version number, it means Docker is installed on your Mac.
Open WebUI is a simple tool that gives you a chat window in your browser. Pulling the image just means downloading the files needed to run it.
To do this, go to the Terminal app and type:
docker pull ghcr.io/open-webui/open-webui:mainThis will download the necessary files for the interface.
Now, it’s time to run the Open WebUI using Docker. You’ll see a clean interface where you can chat with your AI—no Terminal needed. Here’s what you need to do:
docker run -d -p 9783:8080 -v open-webui:/app/backend/data --name open-webui ghcr.io/open-webui/open-webui:main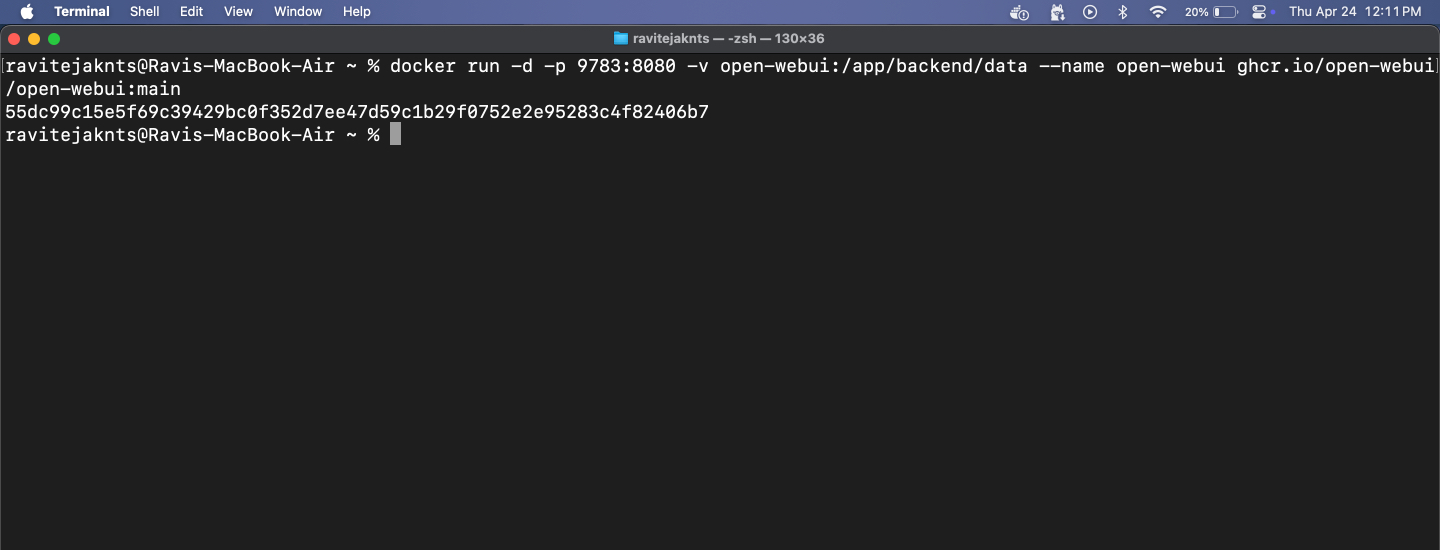
http://localhost:9783/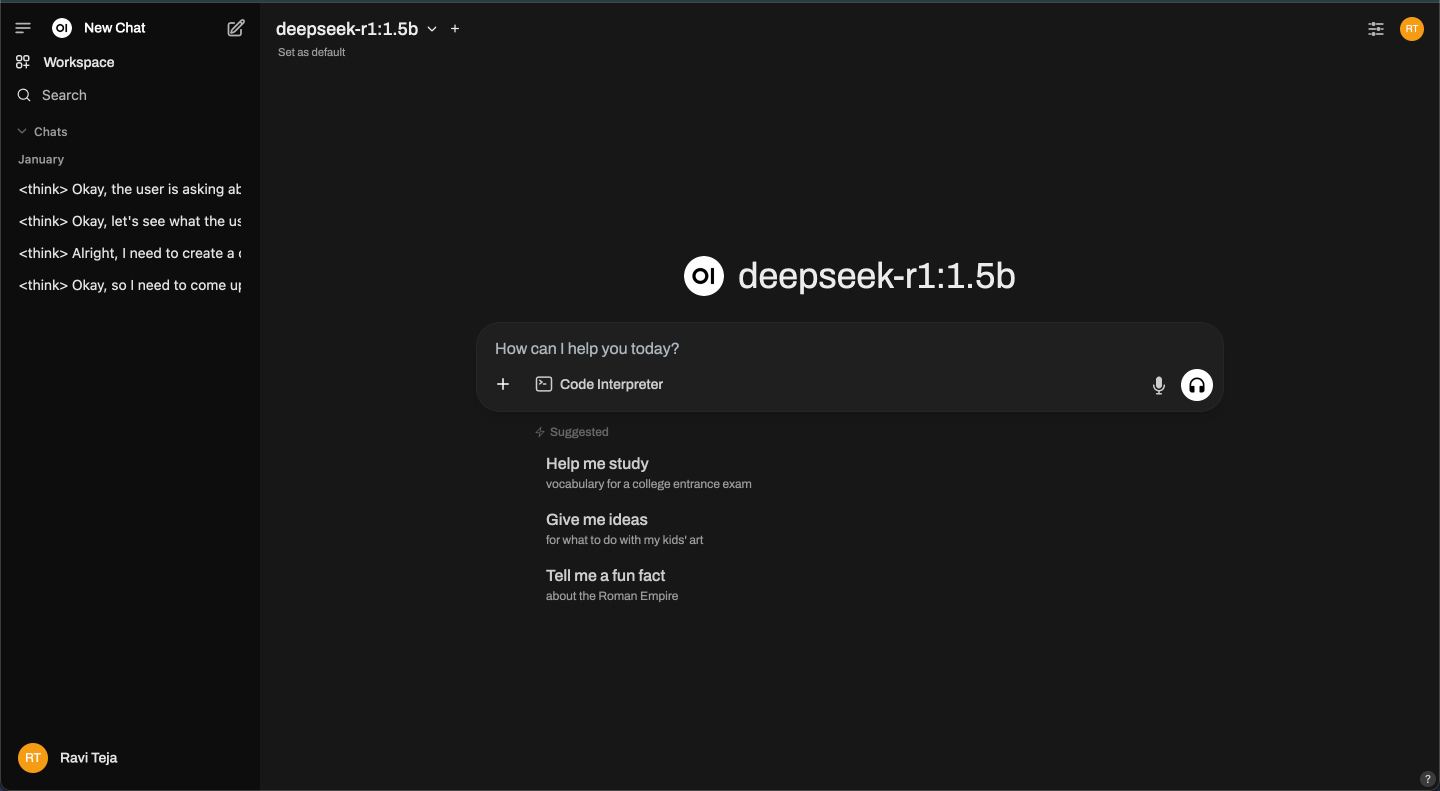
From here, you can chat with any installed model in a clean, user-friendly browser interface. This step is optional, but it gives you a smoother chat experience without using the Terminal.
That’s it! In just a few steps, you’ve set up your Mac to run a powerful AI model completely offline. No accounts, no cloud, and no internet needed after setup. Whether you want private conversations, local text generation, or just want to experiment with LLMs, Ollama makes it easy and accessible—even if you’re not a developer. Give it a try!
Check out these helpful guides too: