If you fancy using AI assistants, you are likely already using ChatGPT. While Microsoft offers it in Windows in the form of Copilot, Apple users now have an official ChatGPT app available for them. In fact, the experience is even better than using ChatGPT on your iPhone. And even though the app was only available for ChatGPT Plus users earlier, that’s no longer the case.
Now, anyone can download, install, and use the ChatGPT app on their macOS device, without any subscription. And compared to accessing the website on a web browser, the macOS app makes it easier than ever to interact with ChatGPT.
This guide will walk you through everything you need to know about using ChatGPT on a Mac, from downloading the app to using its cool features. So let’s begin.
How to Get the ChatGPT App for Mac
To begin using ChatGPT on your Mac, you first need to download the app. However, unlike most apps for macOS, this one isn’t available on the App Store. Instead, you’ll have to download it from OpenAI’s website and install it manually. Here’s how.
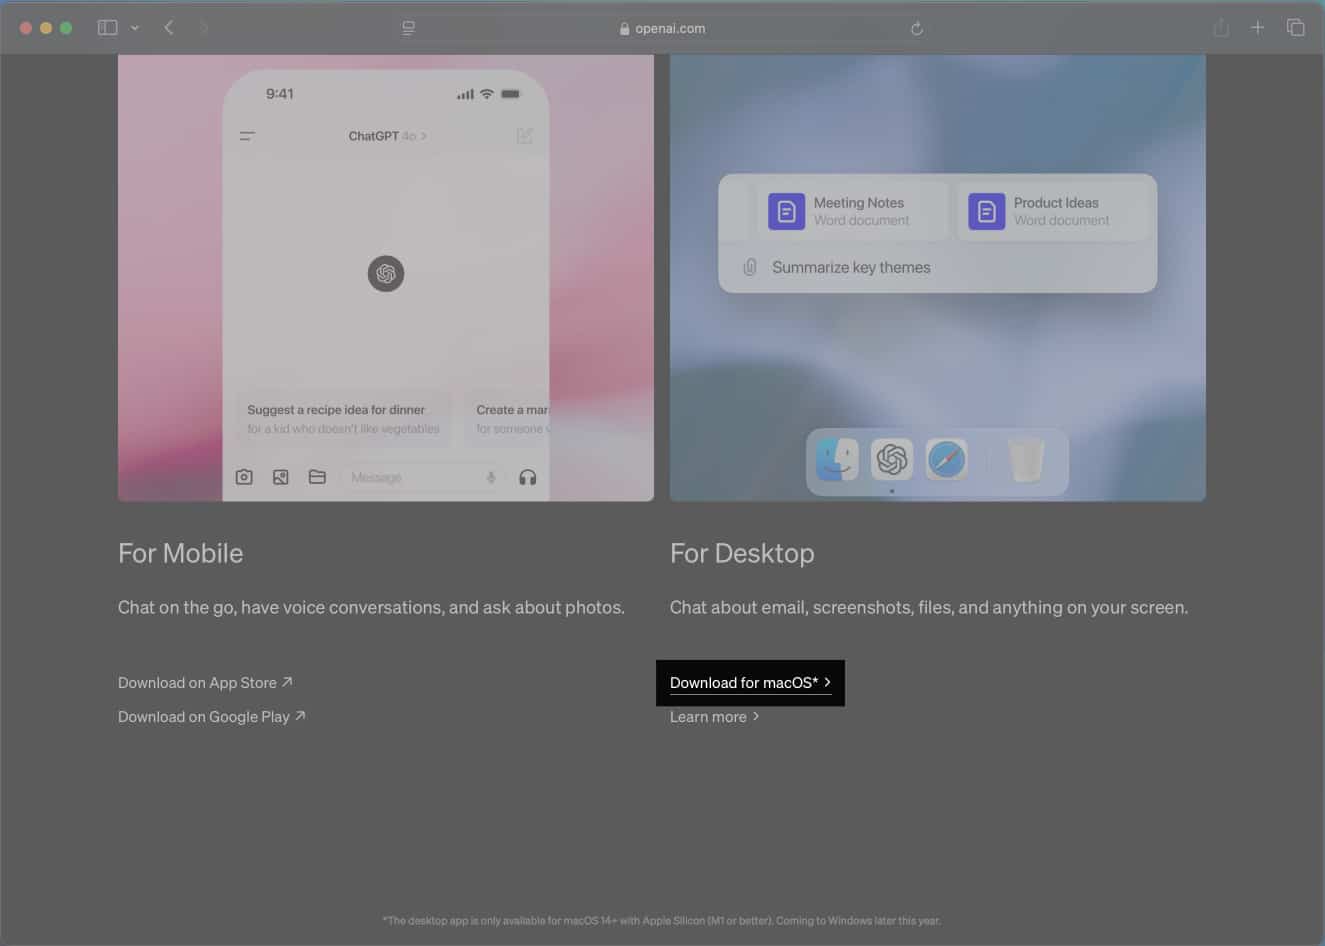
- Head over to the official ChatGPT Mac app download page.
- Scroll down to the For Desktop section and click on the Download for macOS button.
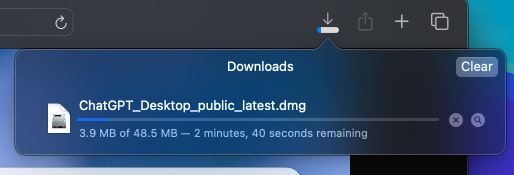
- This should download the ChatGPT Installer. Once done, open the downloaded DMG file.
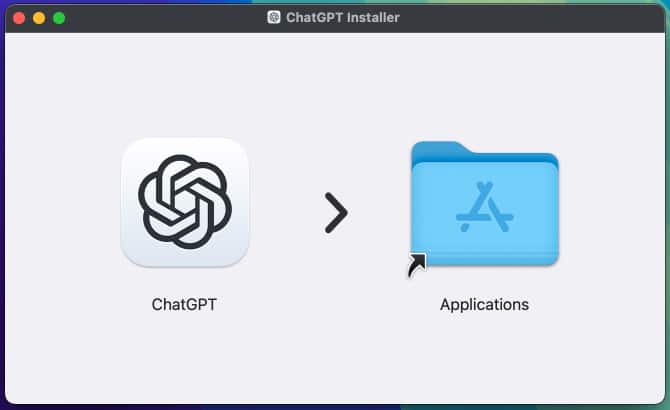
- Now, drag the ChatGPT app to the Applications folder.
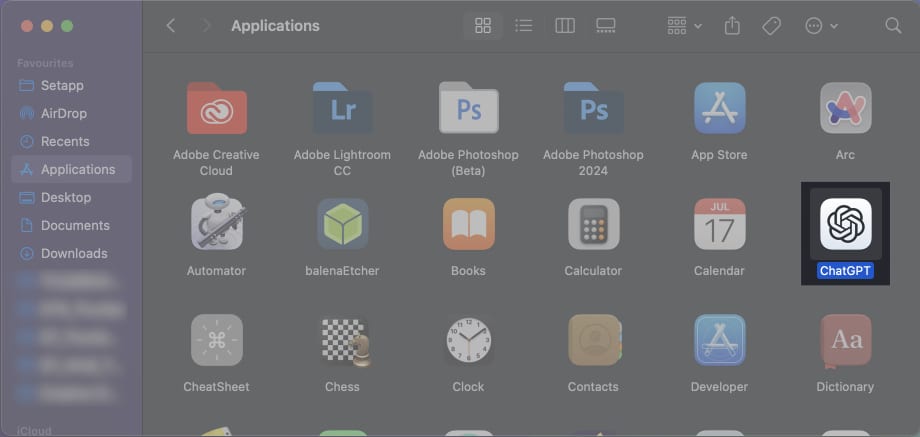
- Open the Applications folder in Finder and find and double-click the ChatGPT app to launch it.
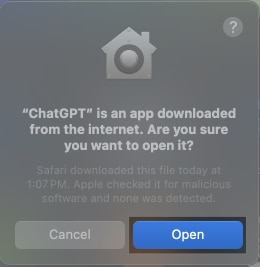
- Since you downloaded and installed this app manually, macOS will throw up a warning. Click on Open to proceed.
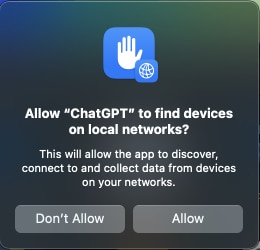
- The app may also ask for some necessary permissions. Grant it access for the same.
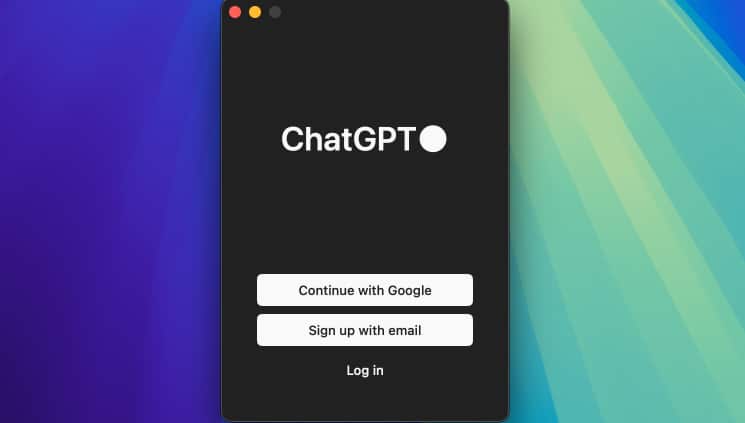
- When the ChatGPT app launches, you can log in with your ChatGPT account if you have one. Or, you can choose to log in with Google or sign up with an email.
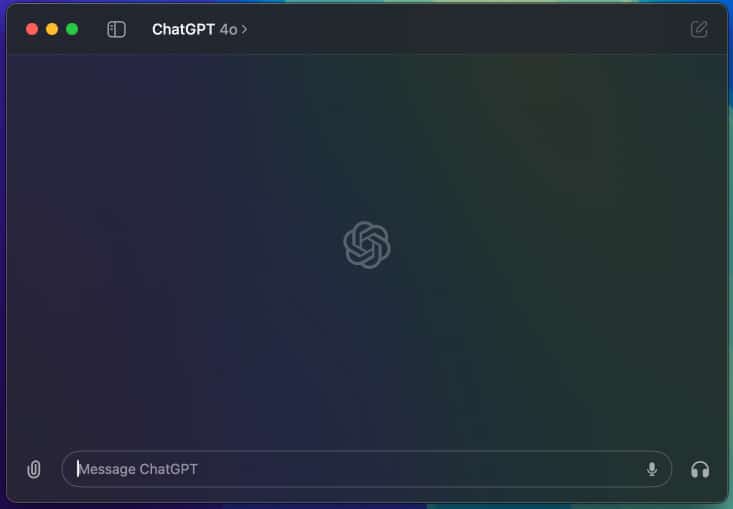
- Once you’ve logged in, this should open the ChatGPT window. You can interact with ChatGPT here, and start using it.


Note:
-
The ChatGPT macOS app is only available on Apple Silicon Macs (M1 or newer) running macOS 14 Sonoma or later.
How to Use the ChatGPT Macos App
Now that you have the ChatGPT app installed on your Mac, let’s explore its features. You can use ChatGPT in various ways, from asking simple queries and analyzing your documents to even voice conversations.
What’s more, you can even choose which model you wish to use inside the ChatGPT app. The default model here is GPT-4o. However, for free users, the app only allows a limited number of requests. On the other hand, Plus users can click on the model and select a different version of their choosing.
Quickly Access ChatGPT on a Mac
The best part about the ChatGPT app on your Mac is that you can trigger the app quickly with the help of shortcuts. There are two ways to go about it.
1. Dock and menu bar: You can pin the ChatGPT app to your Dock for easy access. Alternatively, there’s a ChatGPT icon in the top menu bar as well, which you can click on to quickly call for ChatGPT.
2. Keyboard shortcuts: Similar to macOS’ Spotlight Search feature, ChatGPT has a quick keyboard shortcut too. You can press the Option + Space keys on your keyboard to open the chat bar.
Note:
-
The chat bar feature only works while the ChatGPT app is running in the background. As such, we recommend adding the app to launch directly at the time of login.
Ask Questions to ChatGPT
This is where the magic happens! ChatGPT is a powerful language model, so feel free to ask it anything. ChatGPT can do it all, from general knowledge to cooking recipes, from brainstorming ideas for a presentation to even checking the internet for certain topics.
Simply open the ChatGPT app, type in your query, and press the Return key. The AI chatbot will answer your questions in an informative way, just like a conversation with a knowledgeable friend.

Take a Screenshot With the Help of ChatGPT
While the most obvious use case is to directly ask ChatGPT a question, the desktop app also allows you to capture a screenshot. Once you have done so, you can ask the AI chatbot to analyze the content and answer additional questions based on it.
However, the first time you try this feature, you will have to grant the app the necessary permissions. Here’s how to do that.
- Open the ChatGPT app on your Mac.
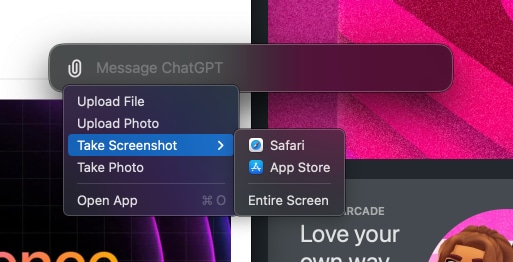
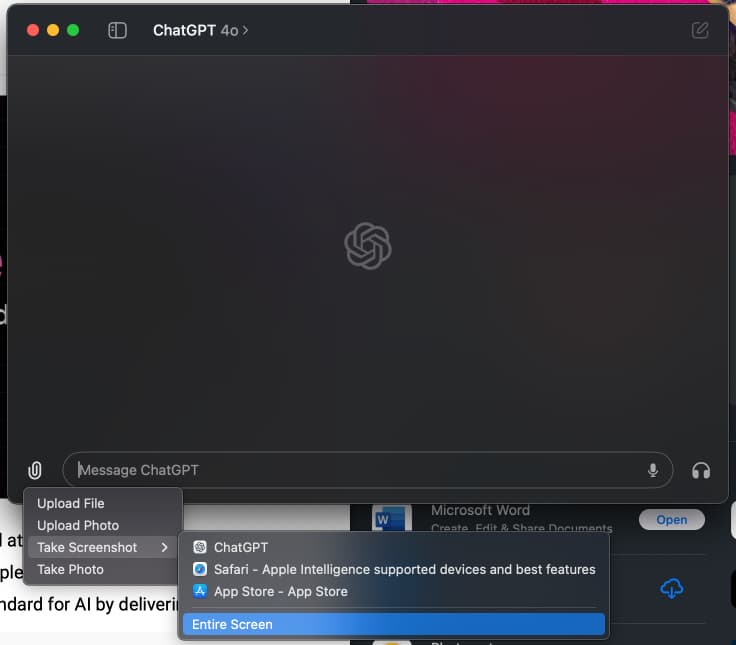
- Click on the Attach option (indicated with the paper clip). From the list of options, select Take Screenshot.
- Depending upon the open apps, you can choose to take a screenshot of a specific app, or the entire screen. Choose as per your requirement.
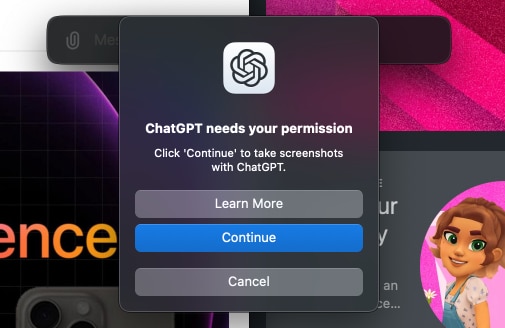
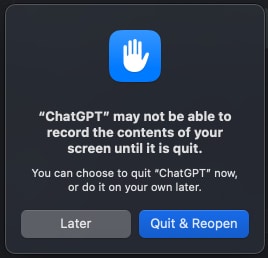
- The app will prompt you that ChatGPT needs your permission for the same. Click on Continue.
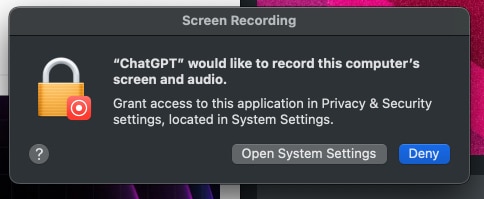
- Now, click on Open System Settings.
- You should be taken to the Screen & System Audio Recording settings page. Here, enable the toggle next to ChatGPT.
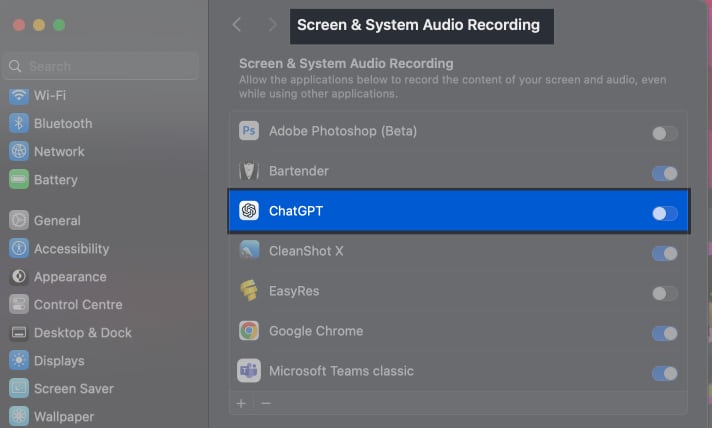
- Enter your password to authorize. Once done, restart the ChatGPT app as prompted.
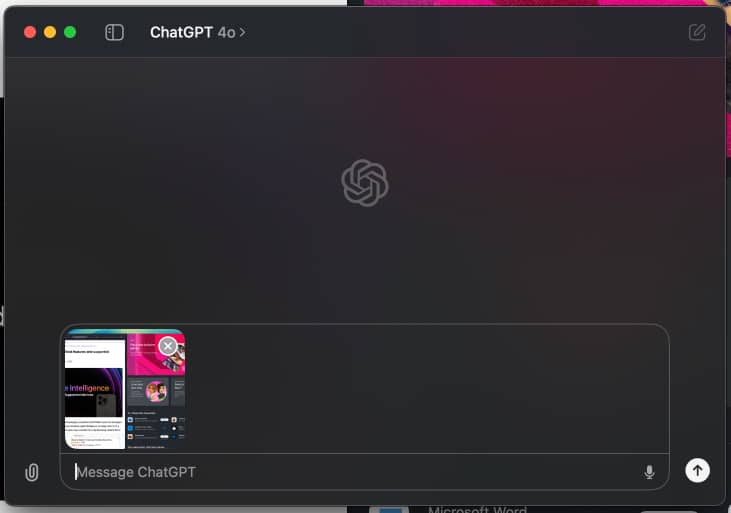
- After this, repeat the first three steps. You should now be able to successfully take a screenshot.
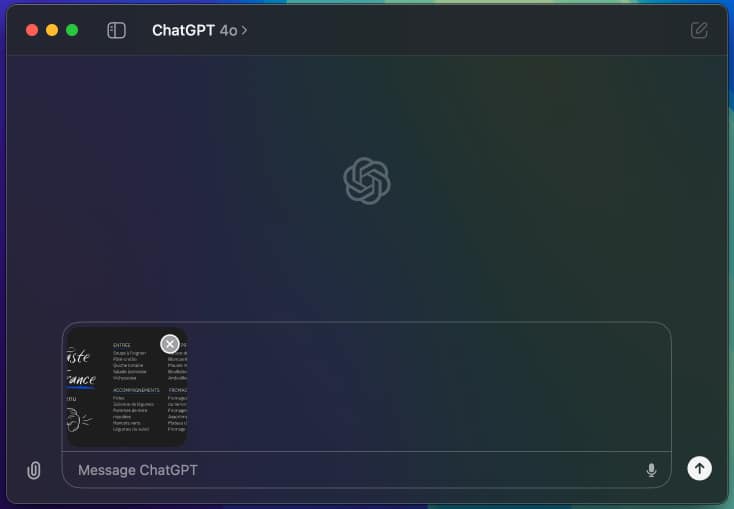
- The screenshot should automatically be attached to the ChatGPT window. You can now ask a query regarding the content on your screen directly.


Upload Files in ChatGPT App
Apart from attaching your screenshots, you can upload files like documents, code, or scripts directly into the app. ChatGPT will analyze the content and respond accordingly. Think of it like Apple Intelligence, via the ChatGPT app, for free. Here’s how to use it.
- Launch the ChatGPT app.
- Click on the Attach icon. If you wish to upload a photo, click on Upload Photo.
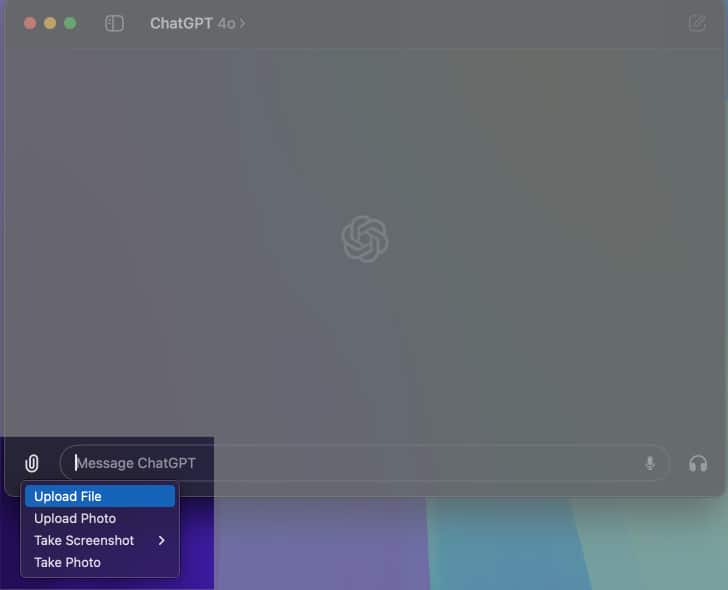
Alternatively, if it’s a document, script, or some other file, click on Upload File. - Browse to the file you wish to upload and select it.
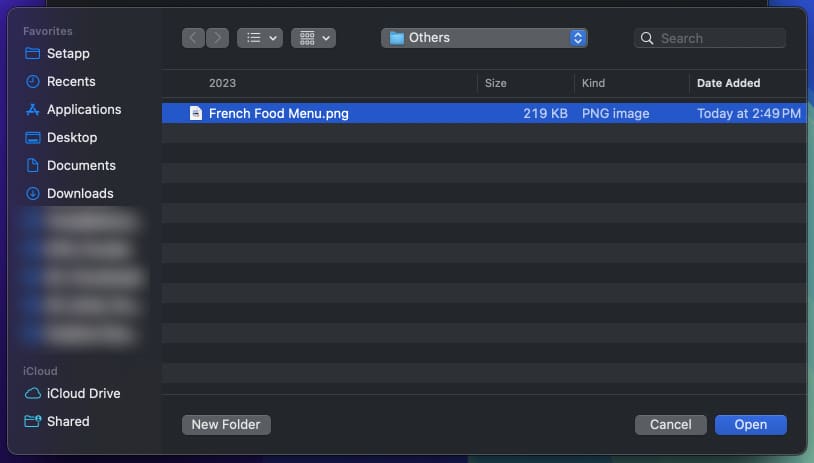
- The file will be attached to your ChatGPT query box. You can then ask a relevant question related to the file you uploaded. Once done, press Return.


Based on the file and your query, the AI chatbot will then revert with an answer.
Start Voice Conversations With ChatGPT
Similar to Apple’s Siri, ChatGPT also lets you interact with it using voice commands. This means you don’t have to type your questions, you can just speak to the app. This is a great way to chat hands-free, perfect for giving ideas or getting summaries of complex topics. Here’s how to use it.
- Open the ChatGPT app from the Dock or the menu bar. The voice chat feature isn’t available in the chat bar option.
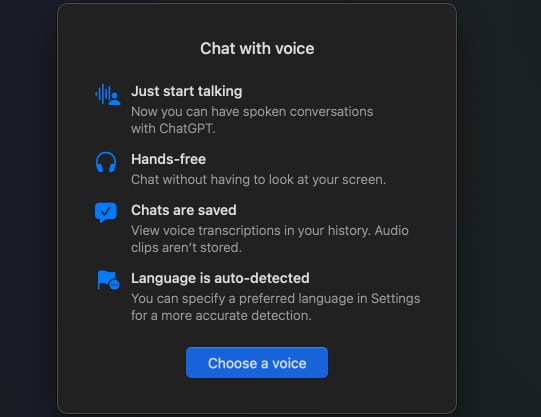
- Click on the headphone icon to set up the Chat with Voice feature.

- In the new window that pops up, click on Choose a Voice.
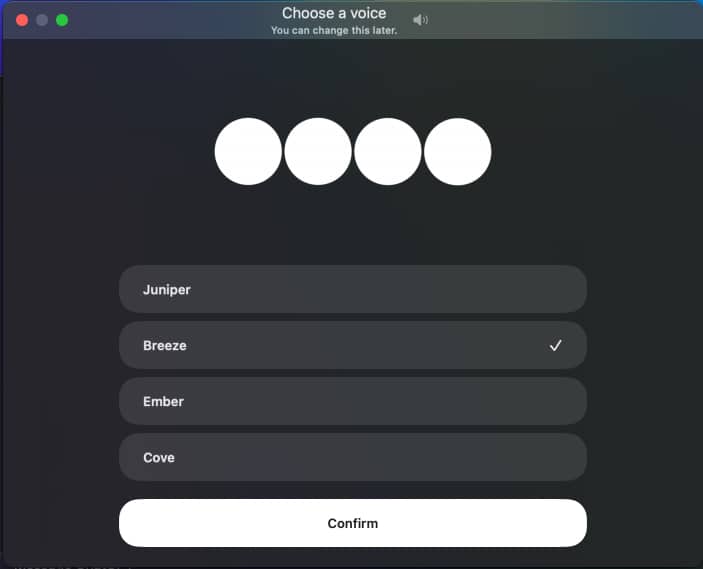
- The app will now show you a handful of voice options to choose from. You can click on each of them to hear a test voice. Once you’ve made up your mind, select the voice you want and click Confirm.
- Next, hit the Allow button to grant the ChatGPT app access to your microphone.
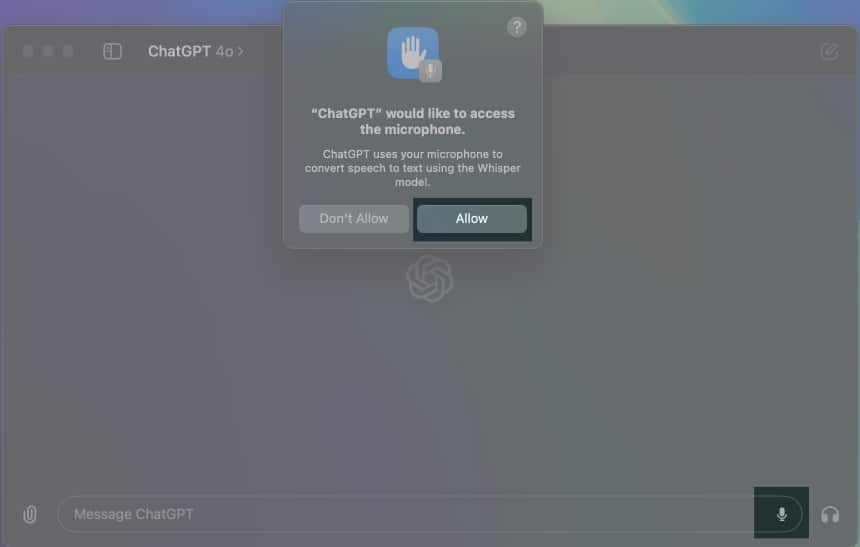
- You can now use your voice to interact with ChatGPT.


Note:
-
At the time of writing, OpenAI is updating its Voice Mode with GPT-4o capabilities, which will first be available to ChatGPT Plus subscribers. We will update this post when the feature goes live, so make sure to check back.

Access Chat History and Search Conversations
The ChatGPT app keeps a record of all your conversations. In addition, there’s also a convenient search option to search within the conversations. Here’s how to use it.
- Launch the ChatGPT app from the Dock or the menu bar. The history feature isn’t available in the chat bar option.
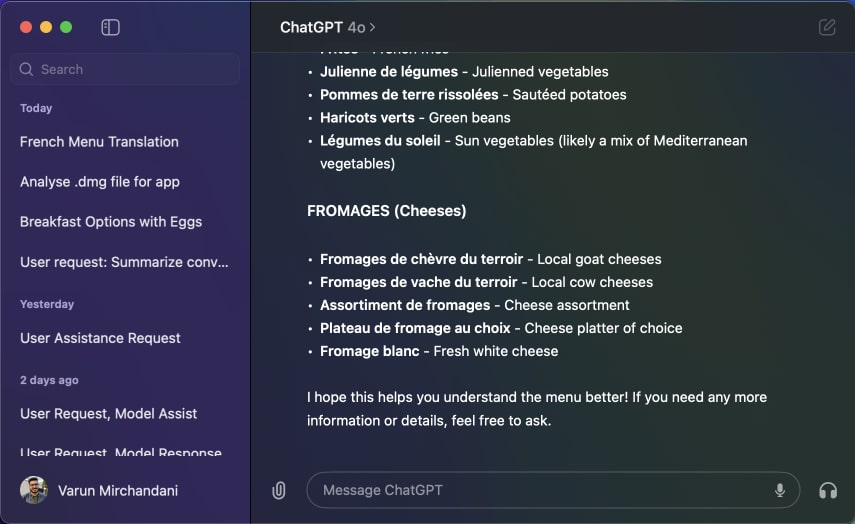
- Click on the sidebar icon at the top.

- This will show you a list of the conversations you’ve had with ChatGPT. Click on any of them to open up a previous conversation.
- Alternatively, if you don’t recall the entire conversation but only remember a part of it, you can search for it. Click on the search bar at the top, and type in the keyword related to what you’re looking for in your past conversations.
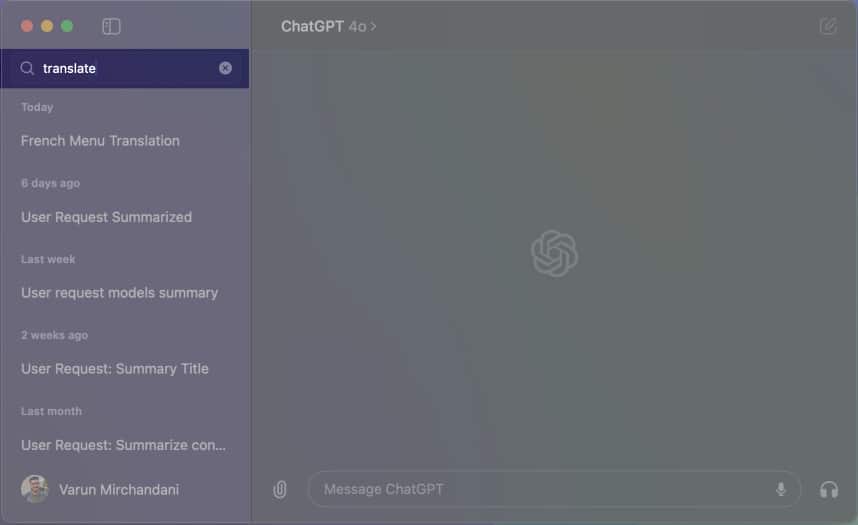
- When ChatGPT returns a list of past conversations, open the one you want to view.


Start a Temporary Chat
Sometimes, you might not want to save a conversation. For those situations, the app offers a Temporary Chat option. Think of it as using ChatGPT in incognito mode. This allows you to have a private conversation with ChatGPT that won’t be saved in your history. Here’s how to use it.
- Open the ChatGPT app from the Dock or the menu bar. The Temporary Chat feature isn’t available in the chat bar option.
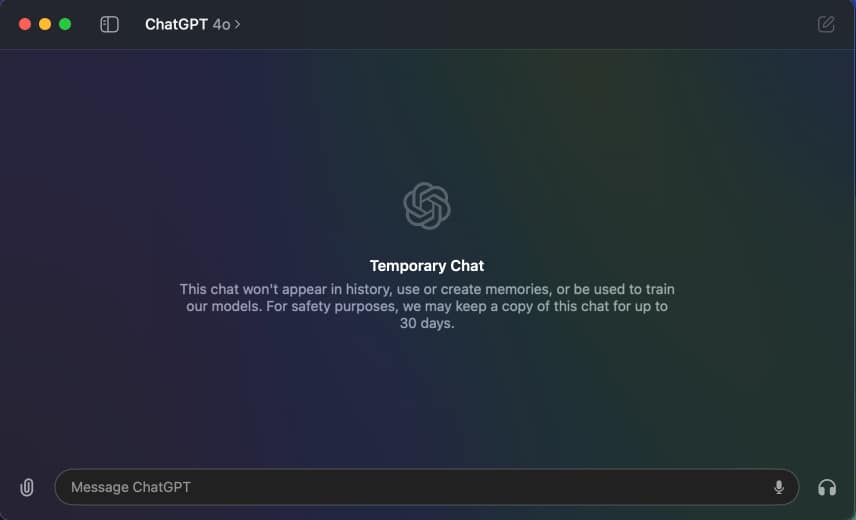
- Click on ChatGPT, and enable the toggle next to Temporary Chat. Alternatively, you can use the Shift + Command + N keyboard shortcut.

- The ChatGPT app should reflect a Temporary Chat window. You can start chatting in this window as usual, and it won’t be saved to your history.


How to Customize ChatGPT on Your Mac
The ChatGPT app also allows you to personalize your experience. You can change the keyboard shortcut for the launcher or adjust the way AI responds to your queries. Here’s how.
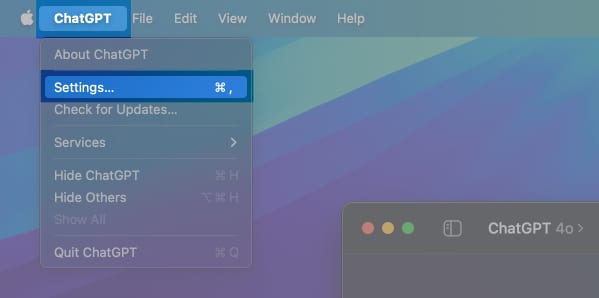
- Open the ChatGPT app (not the chat bar) from the Dock or the menu bar.
- From the menu bar, navigate to ChatGPT → Settings.
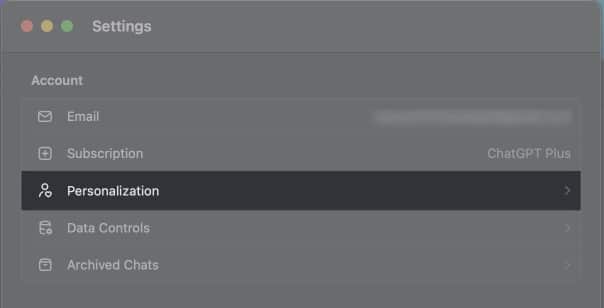
- Inside the settings window, click on Personalization under Account Settings.
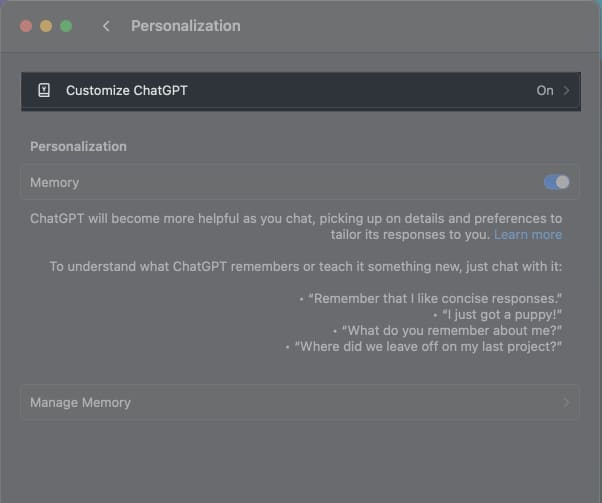
- Now, click on Customize ChatGPT.
- Here, you can define custom instructions for the app to follow. These instructions will be applied to your new conversations.
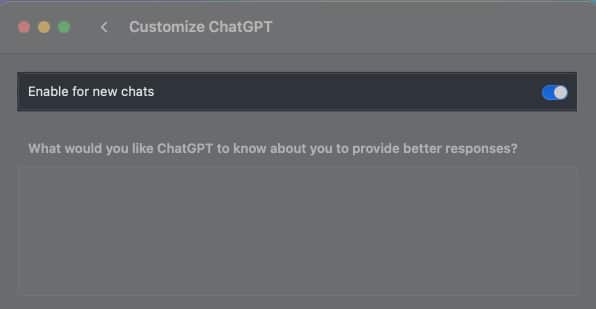
- Additionally, you can even customize the GPT-4 capabilities. These include the ability to browse the internet, generate images using DALL-E, and execute code using Code Interpreter.
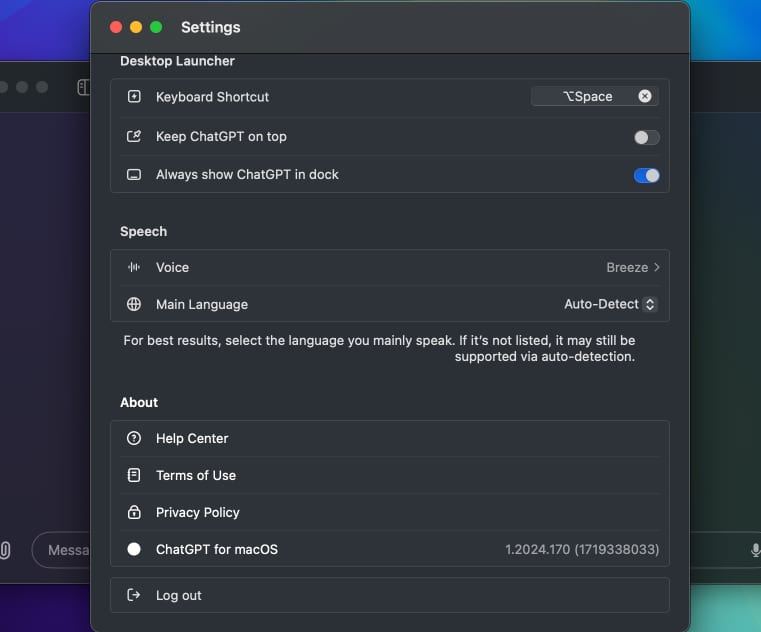
- Go back to the Settings page. Scroll down to the Desktop Launcher section. Here you can customize the keyboard shortcut for the chat bar, and choose to show ChatGPT in the Dock, alongside other settings.


Note:
-
GPT-4 Capabilities are only available to ChatGPT Plus subscribers.
How to Delete ChatGPT Conversations on the Mac App
If you want to clear out your chat history, the app provides an easy way to do that. Here’s how.
- Open the Chat History inside ChatGPT as shown above.
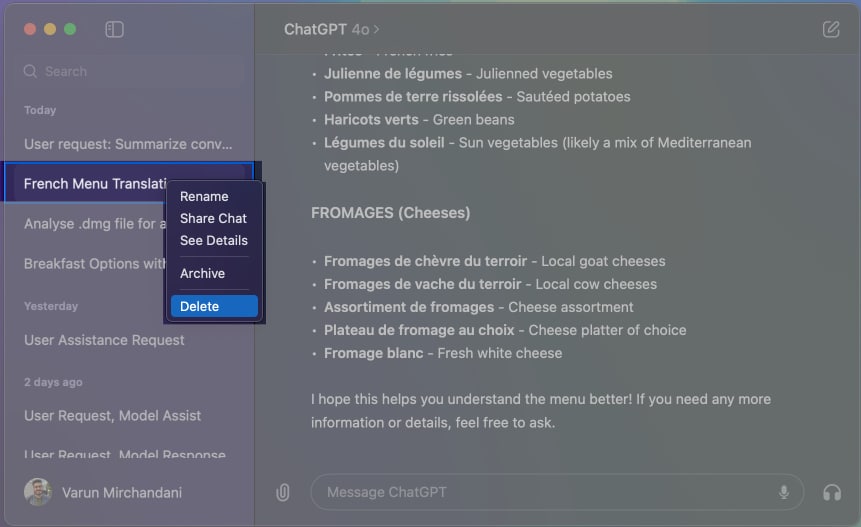
- Now, Control + Click on the conversation you’d like to delete. From the options that pop up, select Delete.
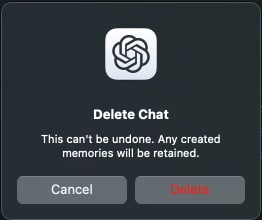
- In the warning that pops up, click on Delete to confirm, and your conversation should be deleted.
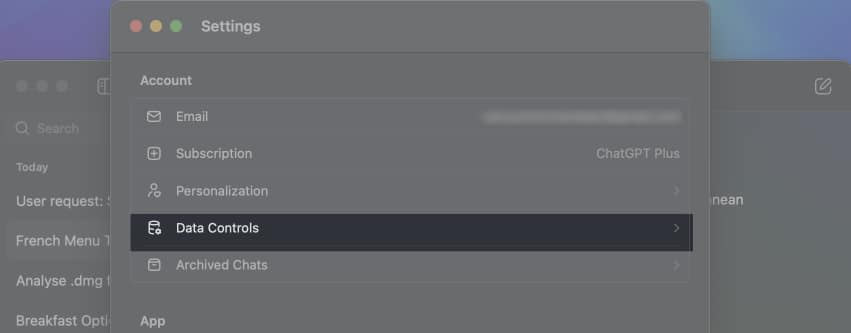
- Alternatively, if you wish to delete all chats, from the menu bar, navigate to ChatGPT → Settings. Now, under Account settings, click on Data Controls.
- Here, click on Delete All Chats.
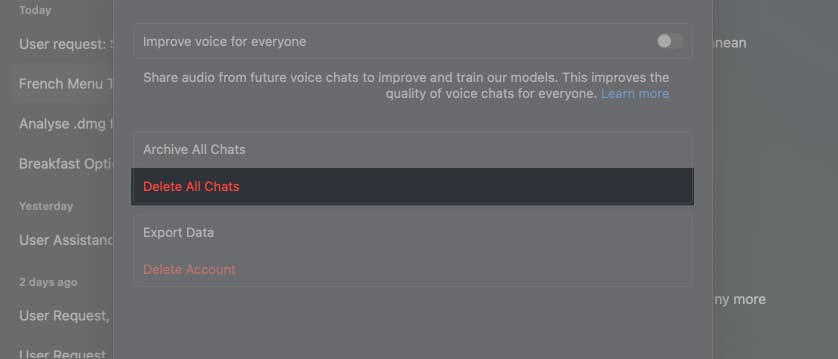
- Finally, hit Confirm.


Signing off
And there you have it. The ChatGPT macOS app is a powerful tool that can enhance your productivity and creativity. From downloading and installing to utilizing all its fantastic features, you should now know how to make the most out of this powerful tool. With its easy-to-use interface and versatile features, it’s one of the best apps for macOS that you can use.
Read more:


