Most Useful Terminal Commands for macOS (Beginner to Advanced)
Terminal is one of the most powerful macOS apps, allowing you to execute commands. Although Terminal commands may seem intimidating to carry out, they aren’t! Once you know them, you can quickly perform tasks like shutting down your Mac or copying contents from one place to another in a few clicks.
Terminal is a CLI (Command Line Interface), the language we type, which interacts with the Mac. This tool is often overlooked because it differs from the GUI (Graphical User Interface) and offers a richer interface. However, I have a useful list of macOS Terminal Commands that you can learn quickly and use instantly. Let’s start with the basics!
Spotlight is undoubtedly the easiest way to open Terminal on Mac. Follow the steps below to open Terminal.
Tap the magnifying glass icon in the menu bar to open Spotlight. Alternatively, you can also press Command + Spacebar to open Spotlight.
Type Terminal in the Spotlight Search bar.
Press Return. The terminal is now open and ready to use.
Now, let’s see how to get most of Terminal!
1. Force Your Mac to Stay Awake
It is annoying when your Mac goes to sleep during a short break. Of course, you can change Sleep Settings in System Preferences. However, it is easier to keep your Mac awake using the Terminal with the following command.
caffeinate
That’s not all! You can also add a timer to the command. Doing so will disable “caffeinate” mode after a preset time. You need to put the -t flag and specify the time in seconds, as shown below.
caffeinate -t 150000
In this case, your Mac will exit the mode after 15,000 seconds or 250 minutes. You can increase or decrease the timer by changing the number of seconds in the command.
2. Flush DNS Cache
I have seldom faced issues with Mac’s DNS cache. Yet I would suggest you flush the DNS cache on Mac every once in a while. Not doing so will lead to problems like loading websites and 404 errors. (add screenshot- macos-shell-flush-dns)
Enter the following command to flush DNS on a Mac.
Too many apps in the Dock triggering your OCD? Well, you can increase the spacing between each app using terminal commands. Once done, your Dock will look neat and tidy.
Once done, type: killall Dock and press Return again.
4. Change Default Screenshot Name
Mac saves screenshots with the date and time by default. The naming convention appears unprofessional. Worry not; once again, macOS Terminal comes to the rescue. You can change the default name for a screenshot using the below command.
defaults write com.apple.screencapture name "New Screen Shot Name"
Now type:
killall SystemUIServer
5. Change Default Screenshot Format
Now that you have fixed the screenshot naming, how about changing the format? macOS saves a screenshot in the PNG format. Some online portals, such as immigration portals, require images to be in .jpg format.
Spending time to convert saved images to other formats is not ideal. Instead, you can use the terminal code to change the default image format. Furthermore, you can choose between JPEG, TIFF, GIF, or even RAW (ideal for post-processing photos)
defaults write com.apple.screencapture type jpg
5. Download Files Without a Browser
Want to download a file directly? With Terminal, you can download a file directly from the Internet. This method is useful only if you have a direct download link. Type the following command.
cd ~/Downloads/
curl -O [URL of file you want to download]
6. Compress and Password-Protect Folders
I recommend password-protecting sensitive data before sharing it with anyone. You can share the password separately with recipients. Using Terminal, you can compress and password-protect the folder. You need to navigate to Desktop and select the folder using the below command.
cd ~/Desktop/
Select the folder
zip -er <output folder name.zip> <source folder name>
Swap Output folder name.zip with the desired name. Specify the origin in the source folder name. In other words, you need to mention the origin and target file names. Interestingly, you can also change the extension of the output file. Simply add an extension (e.g., .pdf) at the end of the above command.
7. Display Hidden Files and Folders
macOS hides critical files. The fail-safe mechanism assures that you don’t delete a system file by mistake. Doing so could crash your Mac. However, the feature becomes a limitation whenever you want to view hidden files on an external drive.
The solution for this is the below Terminal command that lets you view hidden files.
A word of caution: Don’t delete important system files. Before deleting anything, run a Google search. Use “False” instead of “True” in the above command to hide files again.
8. Access iCloud Drive Using Terminal
To access the data from your iCloud Drive, use the following command.
cd ~/Library/Mobile Documents/com~apple~CloudDocs/
However, we already have a detailed guide on how you can access, copy, or move data to your iCloud Drive, which you can check out anytime.
9. Shut Down or Restart Mac Using Terminal.
To shut down your Mac with CLI (Command Line Interface), aka Terminal, use.
sudo shutdown -h now
Just as you shut down, you can restart your Mac by
sudo shutdown -r now
10. Supercharge Time Machine Backup
Whenever you’re updating the Mac to the new version, backups are essential. The easiest way to back up is to use Time Machine. But do you know? You can speed up Time Machine backup using the terminal with this command.
sudo sysctl debug.lowpri_throttle_enabled=1
11. Copy Contents From One Folder to Another
Copying contents from one place to another is fairly easy with Terminal. Type in the following command:
ditto -V ~/original/folder/ ~/new/folder/
Replace original with the current directory and new with the name of the directory to which you want to copy the contents.
12. Make Your Mac Say Anything You Want
This is the coolest command that macOS provides. You can make your Mac say anything you want by using the say command followed by the words.
SAY “HELLO, IGEEKSBLOG”
13. Declutter Your Desktop Instantly
If your desktop has become a dumping ground for files, you can hide all desktop icons without deleting anything. Here’s how
Enter the following command and hit Return:
defaults write com.apple.finder CreateDesktop -bool false && killall Finder
This removes all desktop icons from view.
To bring them back later:
defaults write com.apple.finder CreateDesktop -bool true && killall Finder
14. Quickly Open Apps, Files, or Websites
Instead of searching through Finder or Spotlight, you can use Terminal to open apps, files, or websites instantly.
open -a "Safari"
open MyFile.pdf
open https://www.igeeksblog.com
15. Check Battery Health From Terminal
This Terminal command displays battery information beyond what System Settings shows:
system_profiler SPPowerDataType
This displays battery health, cycle count, and power usage details.
16. Test Your Internet Connection From Terminal
macOS includes a built-in network testing tool that lets you quickly check your internet performance without relying on third-party websites or apps, making it useful for quick diagnostics and troubleshooting.
networkQuality
This runs a basic internet speed test. If you want results, try this command instead:
networkQuality -v
You can also save the output to a file for reference or sharing.
networkQuality -v > ~/Desktop/speedtest.txt
17. Customize the Dock to Show Only Active Apps
If you prefer a minimal Dock that only shows apps currently in use.
defaults write com.apple.dock static-only -bool true && killall Dock
This hides inactive apps from the Dock.
To restore the default Dock behavior:
defaults write com.apple.dock static-only -bool false && killall Dock
18. Convert Files Into Custom Ringtones
With iOS 26, Apple finally supports setting custom ringtones on iPhone. On older iOS versions, you still need third-party workarounds. Using a few simple macOS Terminal commands, you can streamline the entire process. Here is how.
First, convert the audio file into AAC format, which iOS requires for ringtones.
afconvert input.mp3 output.m4a -f m4af
Next, rename the file extension from .m4a to .m4r, the ringtone format recognized by iOS 26.
mv output.m4a output.m4r
After this, sync the .m4r file to your iPhone using Finder, and it will appear under custom ringtones in iOS 26.
Signing Off..
You do not need to be a power user to benefit from macOS Terminal. Even a small set of practical commands can help you work faster, troubleshoot issues, and customize your Mac more effectively. With the right use cases, Terminal quickly becomes one of the most useful tools built into macOS.
If you find these Terminal commands useful, bookmark this post for future reference. It is the kind of guide that comes in handy when you need a quick fix or shortcut without digging through menus.
Mahit is an engineer by Education with a corporate stint to his name. He ditched the corporate boardroom wars in favor of the technology battleground. For the better part of a decade, he has worked for popular publishing outlets, including Dennis Publishing, BGR India, AppStorm, MakeUseOf, and iPhonehacks.
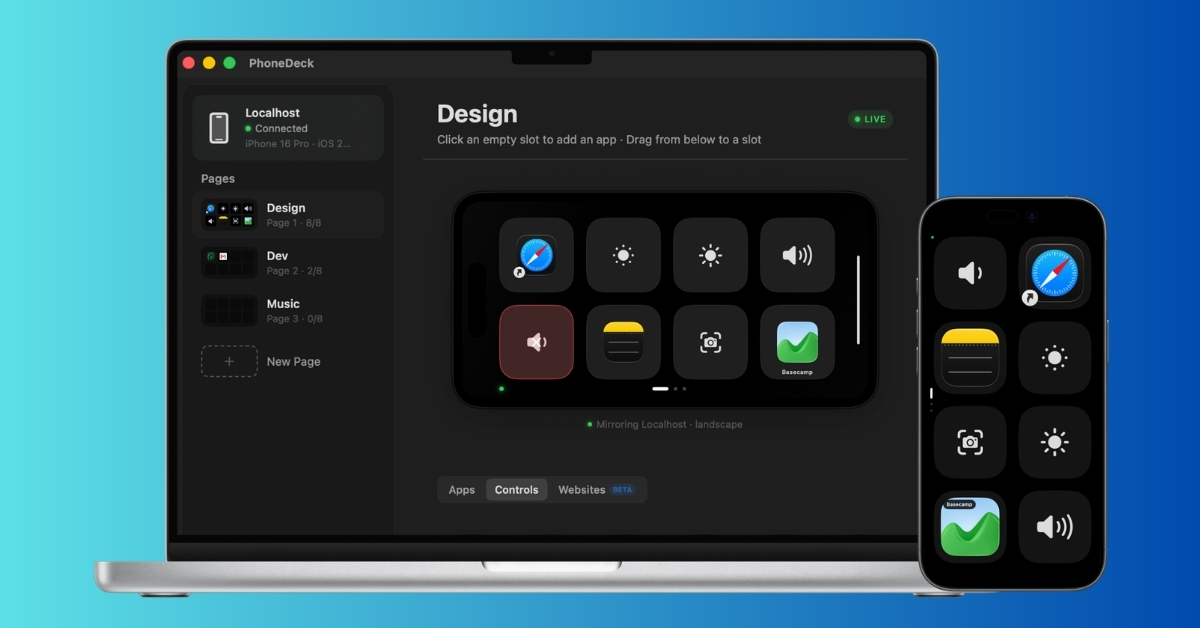
I wanted a Stream Deck for my Mac but didn’t want another gadget on my desk. So I turned an old iPhone into a customizable control panel using PhoneDeck. Here’s how it worked and whether it can replace a real Stream Deck.
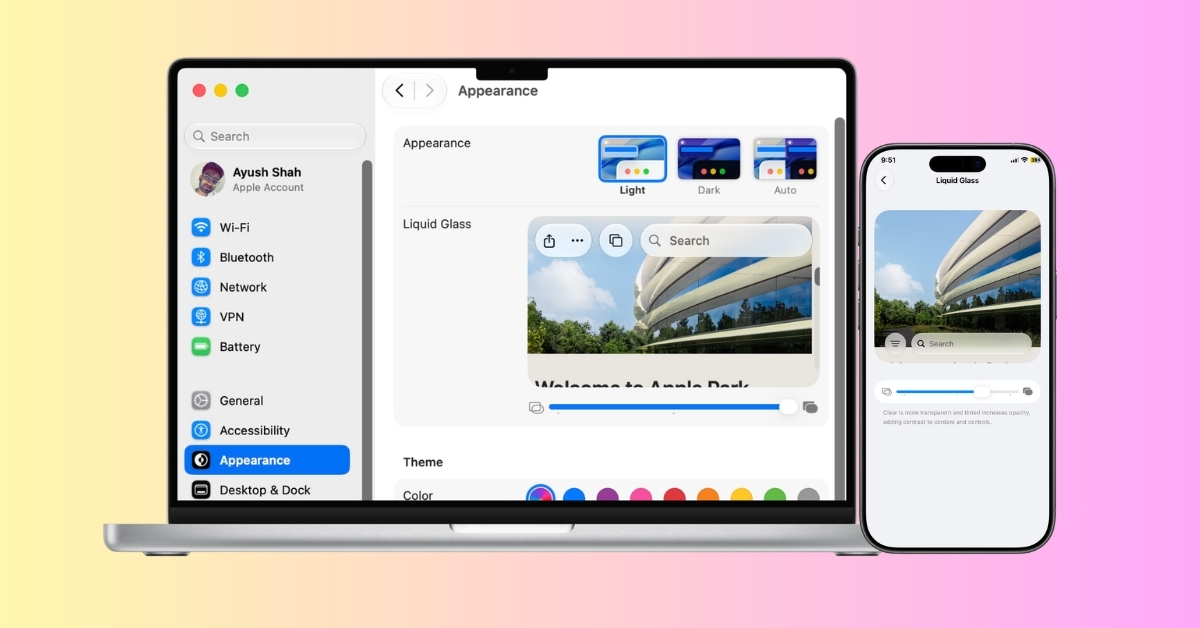
iOS 27 and macOS 27 finally let users adjust Liquid Glass transparency. Here’s how to customize the effect on iPhone, iPad, and Mac, and why Apple made the change.