FaceTime Like A Pro (eBook)

Get our exclusive Ultimate FaceTime Guide 📚 — absolutely FREE when you sign up for our newsletter below.

iPhone Is Disabled, Connect to iTunes? Here’s How to Unlock It Safely

Seeing “iPhone is Disabled, Connect to iTunes” can be stressful, but you’re not stuck forever. Here’s how to unlock your iPhone safely and recover access.

Seeing the message “iPhone is Disabled. Connect to iTunes” on your screen can feel like a nightmare. Whether it was you, your kid, or your pocket entering the wrong passcode too many times, the result is the same: you’re locked out. But don’t panic. There are ways to unlock your iPhone. However, you will lose your data unless you have a backup already. Let’s get started.

Why Does My iPhone Say “iPhone Is Disabled. Connect to iTunes”?

Apple built this lockout system to protect your data. After six wrong passcode attempts, your iPhone disables for one minute. Keep guessing, and the lock time increases: 5 minutes, 15 minutes, 1 hour. After too many failed tries (usually 10), your iPhone either disables permanently or, if you enabled it, erases itself completely.
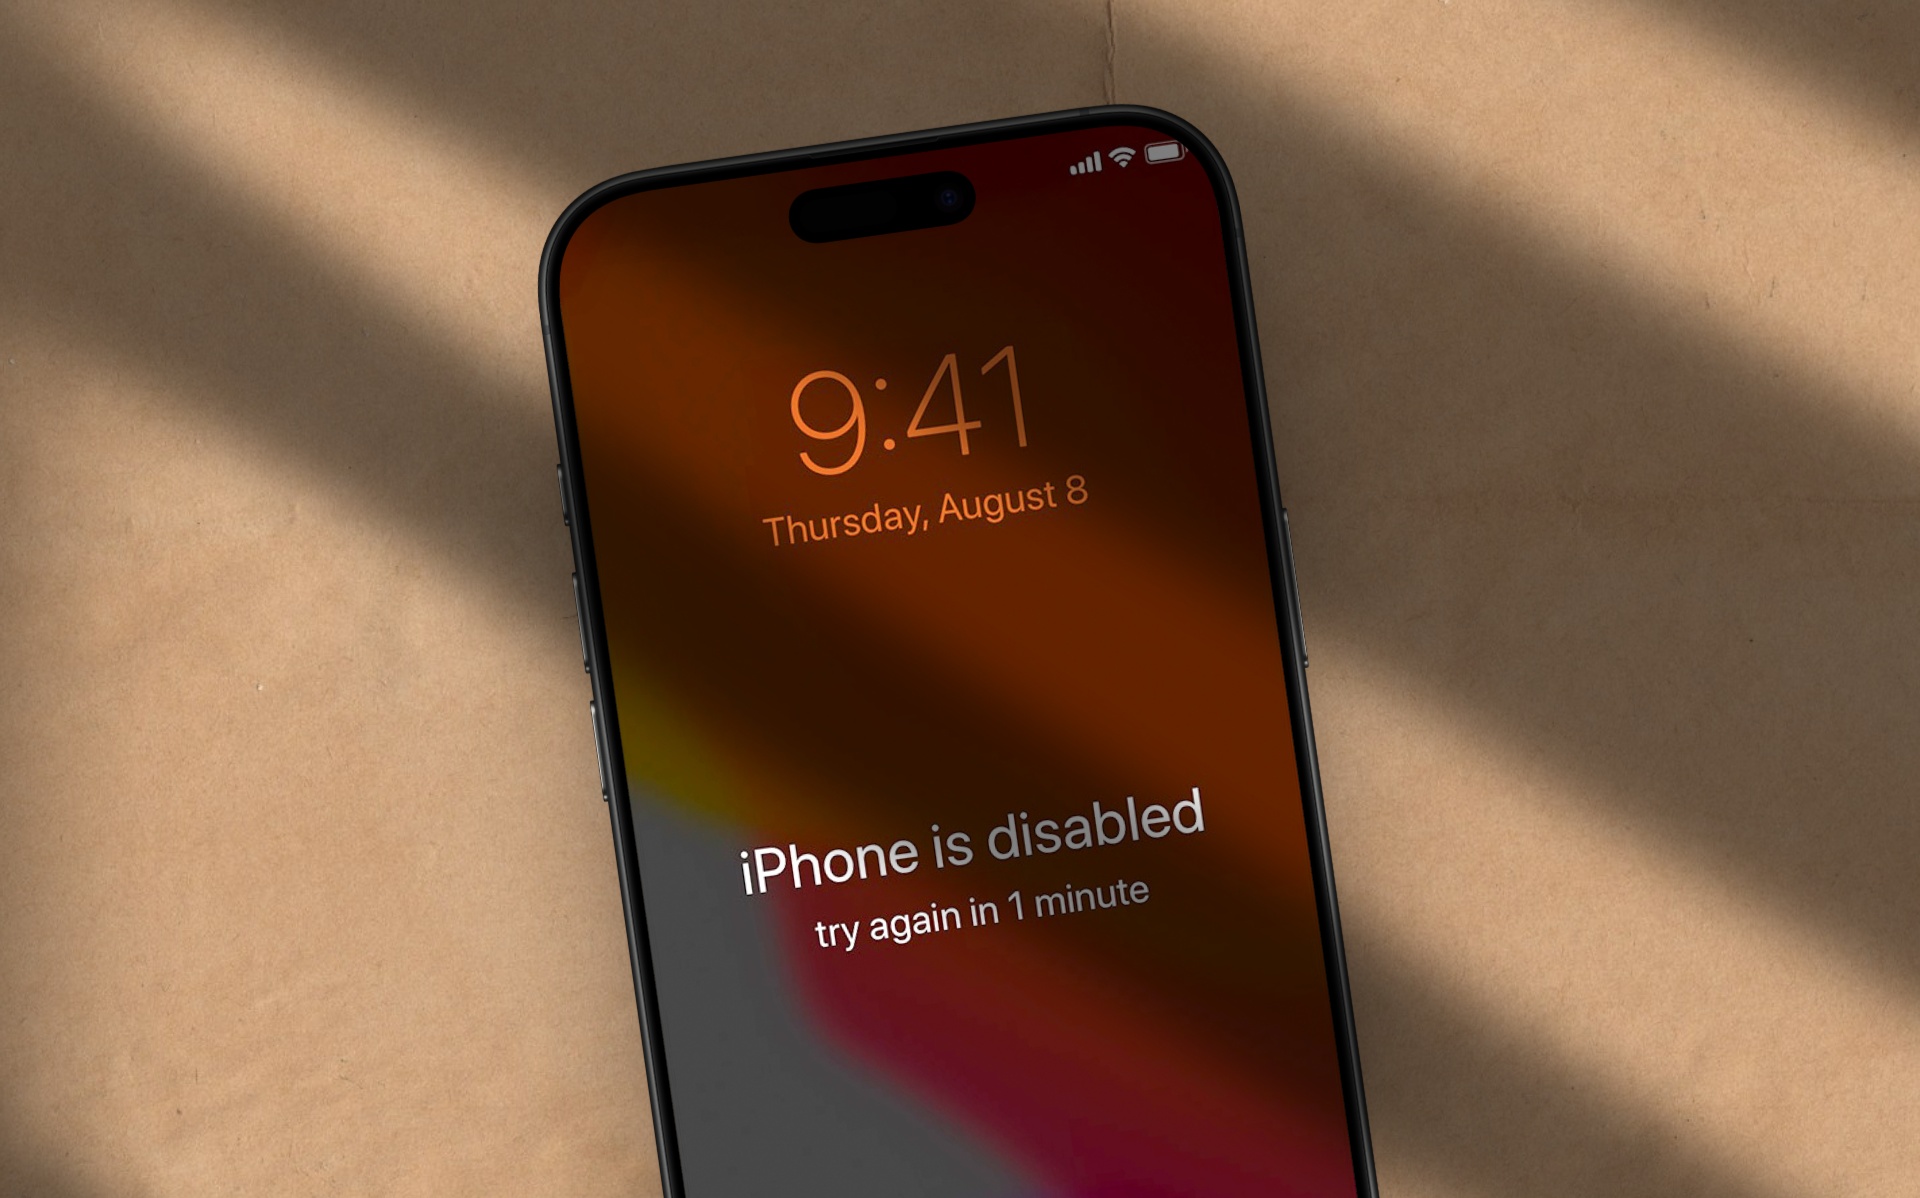
Iphone is disabled

Things to Know Before You Start

Before jumping into the recovery steps, here are a few important things you should understand. These points will help you know what to expect and avoid surprises later on:

  • You can’t unlock a disabled iPhone without erasing it.
  • That means you’ll lose data if you haven’t already backed up.
  • After wiping the iPhone, you can set it up as new or restore it from a backup.
  • You’ll need a computer or access to your iCloud account.

Many third-party tools claim to unlock your iPhone, but most are not safe to use. Stick to official methods.

FaceTime Like a Pro:

Get our exclusive Ultimate FaceTime Guide 📚 — absolutely FREE when you sign up for our newsletter below.

How to Fix “iPhone Is Disabled, Connect to iTunes” Error

You’ll need a device that uses the same Apple ID, or you can restore using any Mac or Windows PC.

Method 1: Use iCloud or the Find My App (No Computer Needed)

If you had Find My iPhone enabled, this is the easiest way.

  1. Go to iCloud.com/find or open the Find My app on another Apple device signed in to the same Apple ID.
  2. Tap All Devices (on iCloud) or go to the Devices tab in the app.
  3. Select your disabled iPhone.
  4. Tap or click Erase This Device (or Erase) and confirm your choice.
  5. Once erased, your iPhone will restart. You can now set it up like new or restore from an iCloud backup.

Method 2: Restore Using a Computer (macOS or Windows)

If iCloud isn’t an option, you’ll need a Mac or PC with iTunes or the Apple Devices app.

Step 1: Turn Off Your iPhone

Before you can enter recovery mode, power off your iPhone completely.

  • iPhones with Face ID: Hold the Side button and Volume Down.
  • iPhones with Home button: Hold the Top or Side button.
  • Slide to power off and wait a few seconds.
Power off your iphone

Step 2: Enter Recovery Mode

Connect your iPhone to your computer using a Lightning or USB-C cable. Immediately press and hold the correct button based on your model:

  • iPhone 8 or later: Hold the Side button.
  • iPhone 7 / 7 Plus: Hold the Volume Down button.
  • iPhone 6s or earlier: Hold the Home button.

Keep holding until the recovery mode screen appears, showing a cable and computer icon.

Check out this guide for clear, step-by-step instructions on how to put your iPhone into Recovery Mode.

Step 3: Restore Using Finder or Apple Devices App

Once you’re in recovery mode, your computer will prompt the next steps:

  1. On macOS Catalina or later: Open Finder.
  2. On older Macs or Windows: Open the Apple Devices app or iTunes.
  3. Grant permission for your iPhone to connect.
  4. Select your iPhone.
  5. When prompted, click Restore iPhone, then confirm by clicking Restore again.
    Restore iPhone

Once done:

  • If you have a backup, select Restore Backup and follow the on-screen instructions.
  • If not, choose Set Up as New iPhone to start fresh.

Method 3: Use DFU Mode if Recovery Fails

If recovery mode doesn’t work, DFU (Device Firmware Update) mode is your next option. This deeper restore method can help when your iPhone refuses to restore normally.

Put your iPhone into DFU mode (steps vary by model), connect it to your computer, and restore it using Finder or iTunes. This wipes everything and gives your iPhone a completely fresh start. Use it only if you’re comfortable with advanced troubleshooting.

Still Stuck? Contact Apple Support

If you’re still having trouble unlocking your iPhone, reach out to Apple Support. They can help walk you through your options and check for any hardware-related issues.

How to Avoid This Problem in the Future

Here are some practical tips to prevent being locked out again:

  • Use Face ID or Touch ID: It reduces the need to enter your passcode often.
  • Pick a memorable passcode: Avoid “1234” or “0000”. Use something secure but easy for you.
  • Enable Find My iPhone: This allows you to erase your iPhone remotely if locked out.
  • Back up regularly: Either to iCloud or your computer. If something goes wrong, at least your data is safe.
  • Disable Erase Data Option: Your iPhone might auto-erase itself after 10 wrong passcode attempts if this setting is enabled. To turn it off, go to Settings > Face ID (or Touch ID) & Passcode, scroll down, and toggle off Erase Data.

Final Thoughts: Regain Access and Prevent Future Lockouts

Getting locked out of your iPhone can be stressful, but it’s not the end of the world. Apple has built-in recovery tools that can help you regain access. Just remember, recovery means erasing your iPhone, so having a backup is critical.

And maybe, just maybe, keep your phone away from curious toddlers next time.

Don’t miss these related reads:

Ravi Teja KNTS
Ravi Teja KNTS

I’ve been writing about tech for over 5 years, with 1000+ articles published so far. From iPhones and MacBooks to Android phones and AI tools, I’ve always enjoyed turning complicated features into simple, jargon-free guides. Recently, I switched sides and joined the Apple camp. Whether you want to try out new features, catch up on the latest news, or tweak your Apple devices, I’m here to help you get the most out of your tech.

Articles: 185

FaceTime Like a Pro:

Get our exclusive Ultimate FaceTime Guide 📚 — absolutely FREE when you sign up for our newsletter below.

Leave a Reply

Your email address will not be published. Required fields are marked *