As an Apple user, you may already use iCloud to store your photos and backups. But do you know it also keeps your Apple devices in sync and protects your data? Taking advantage of such lesser-known features can improve your productivity and privacy. Here, I’ll share the best iCloud tips and tricks to maximize its benefits.
Table of Contents
- Access iCloud on different devices
- Control your iCloud backup
- Free up iCloud space
- Sync your passwords everywhere with iCloud Keychain
- Enhance your security with Advanced Data Protection
- Access your iCloud content across multiple devices
- Share Photo albums with non-Apple devices
- Sync your documents and data on Mac with iCloud
- Sync Safari browsing and reading list across devices
- Use iCloud Drive on iPhone and iPad
- Use iCloud to automatically download your purchases
- Set up private iCloud libraries on Mac
- Browse web more securely with iCloud Private Relay
- Use a custom email domain with iCloud Mail
- Automatically forward emails to another account
- Protect your privacy with random email addresses
- iCloud Family Sharing
1. Access iCloud on different devices
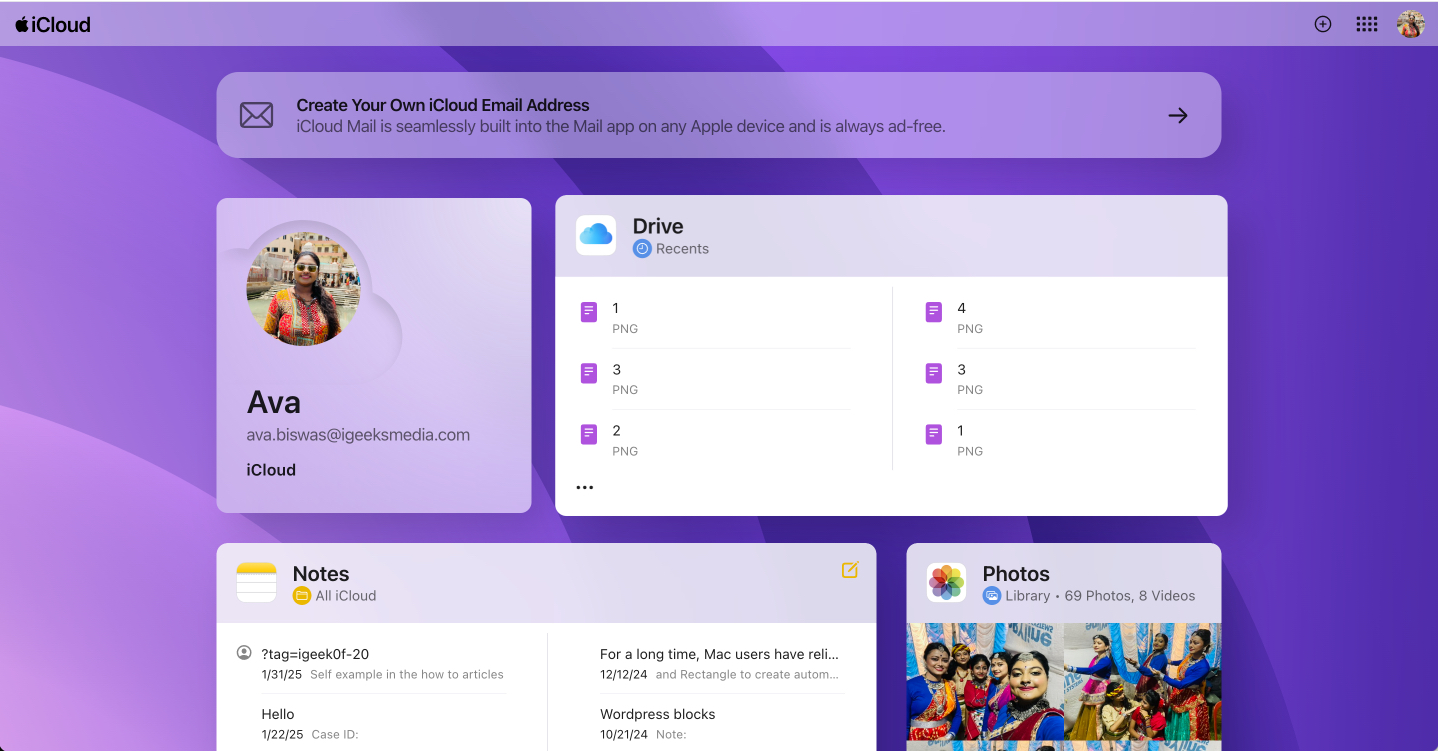
You can access iCloud through a web browser on any computer or mobile device, but the options for web use are significantly limited. Here’s how to access iCloud on Apple as well as non-Apple devices.
On Mac
- Click the Apple logo at the top left and choose System Settings.
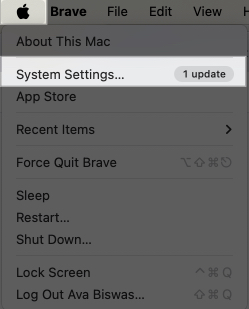
- Click Apple ID and select iCloud.
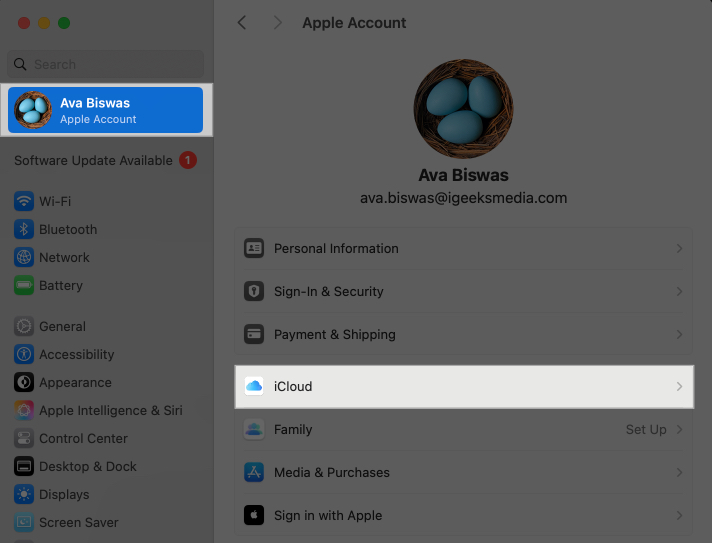
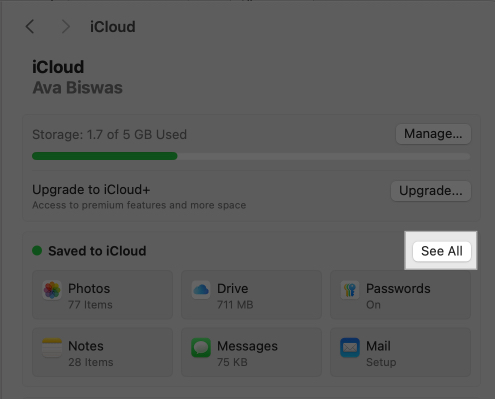
- From here, click See All to manage apps and features synced to iCloud.
On iPhone and iPad
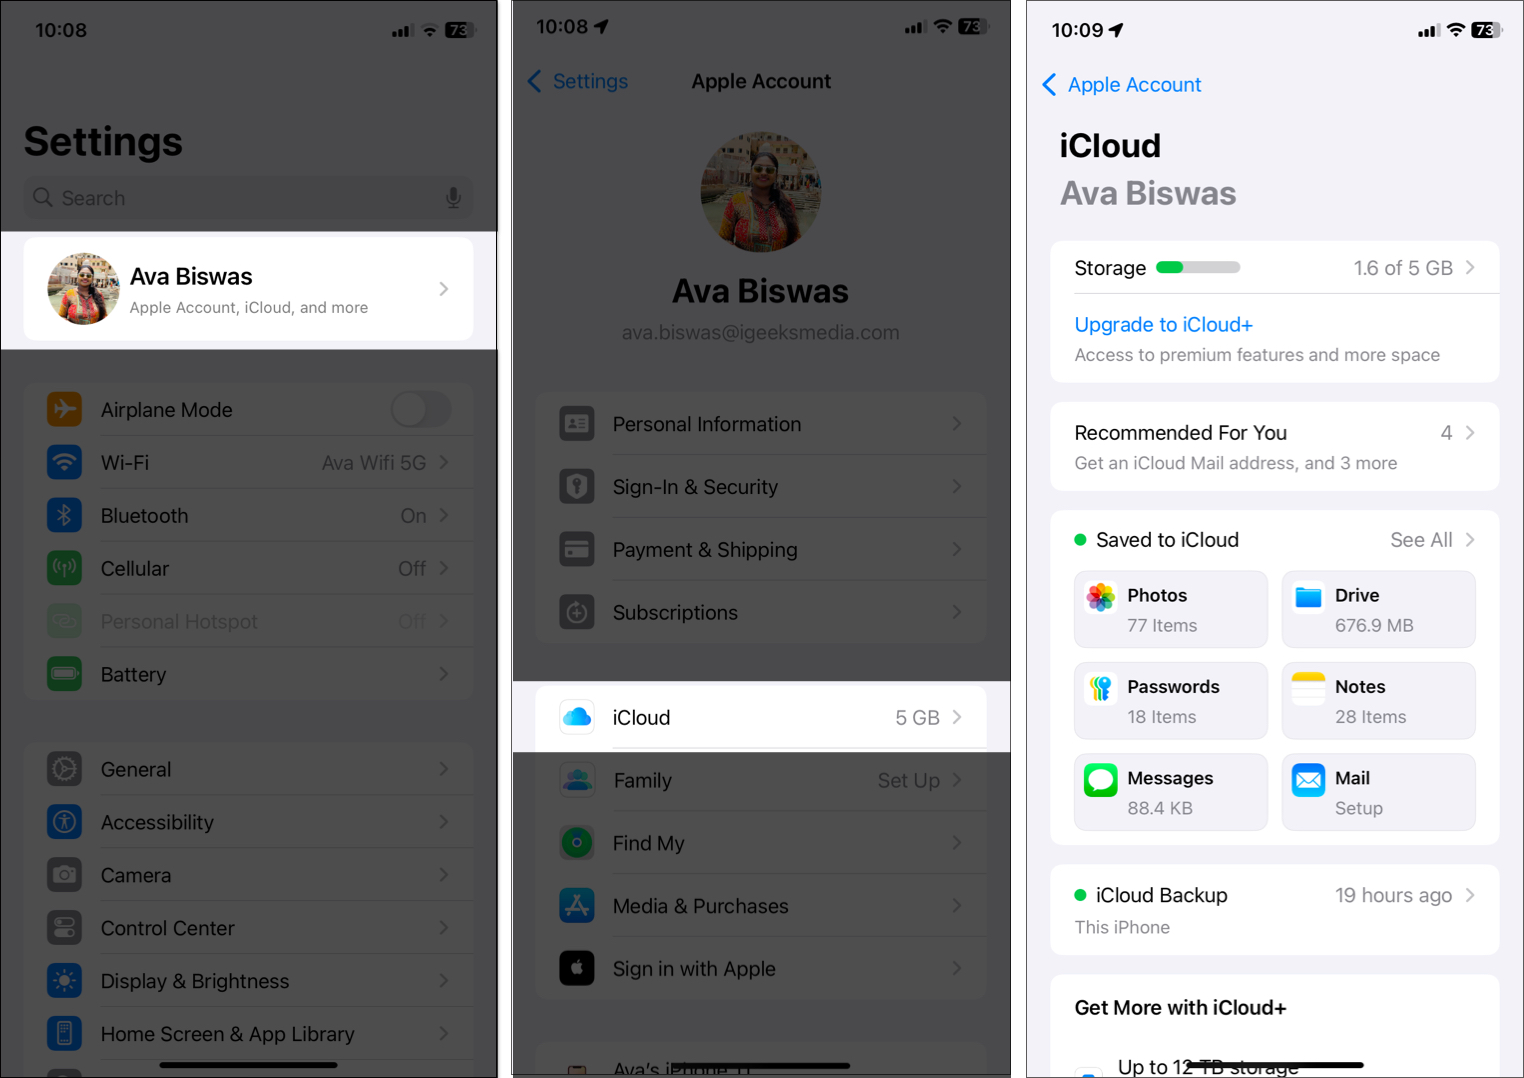
- Open Settings and tap your name at the top.
- Tap iCloud.
- Here, you can see the data saved on iCloud, manage apps and features, take backup, etc.
On Android and PC
You can use any browser to access iCloud web version. However, you need to enable this feature first.
On your iPhone, go to Settings → your name → iCloud → scroll down and toggle off Access iCloud Data on Web. Next, follow the steps on your non-Apple devices:
- Visit the official website of iCloud.com.
- Select Sign In and enter your Apple ID credentials.

- Now, you can access files saved on your iCloud. It also lets you create notes, reminders, emails, calendar events, etc.


2. Control your iCloud backup
You probably already know that you can backup your iPhone to iCloud by going to Settings → selecting your name at the top → iCloud → iCloud Backup.
But did you know that you can choose the exact apps to back up? This is especially useful if you’re on the free 5GB plan and wondering how to save space on iCloud.
You can stop apps like Facebook, Instagram, etc., from backing up to iCloud and eating your space. There’s no downside to it as Facebook, Instagram, and such apps already keep everything on their servers.
Here’s how to disable unnecessary apps from backing up on iCloud.
- Open the Settings app and tap your name from the top.
- Tap iCloud → iCloud Backup.
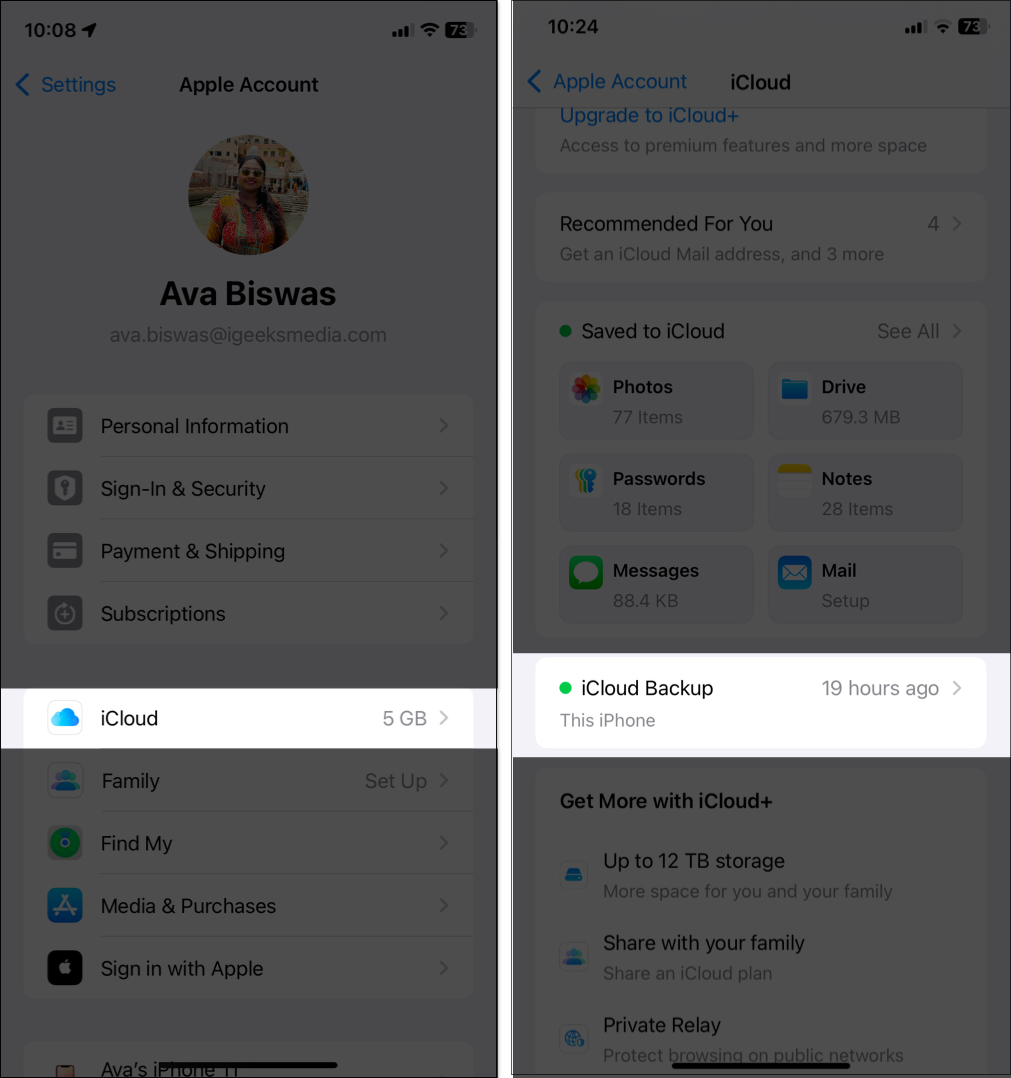
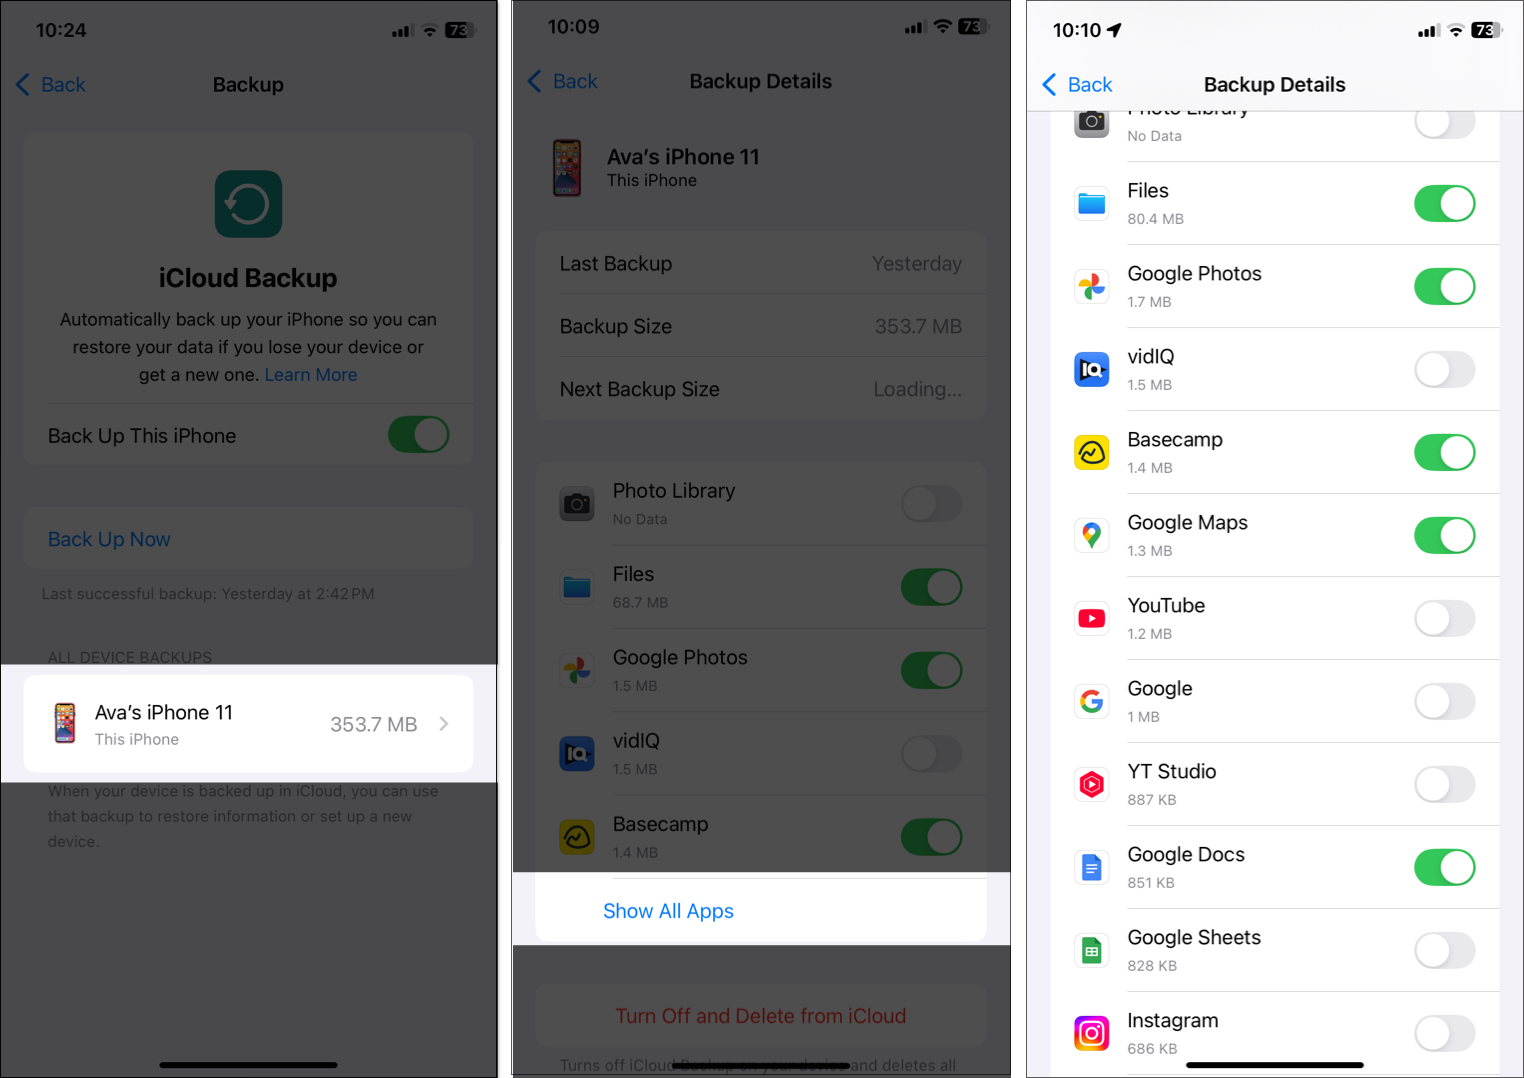
- Tap Backups and choose a device under BACKUPS.
- Tap Show All Apps and toggle off unnecessary apps. The next iCloud backup won’t have data from these apps.


3. Free up iCloud space
If you enable iCloud Photos and device iCloud backups, chances are you’ll fill up 5GB in a couple of weeks! Now, you can either free up iCloud space by going to iCloud settings → Storage → Select an app and Delete Data From iCloud or subscribe to a paid plan.
If, like me, you’re comfortable using iCloud alternatives to back up your photos, you may not need to buy the subscription plan. I use Google Photos to back up my pictures. It gives me 15GB (that comes with every Google account) of free storage, unlike Apple’s 5GB.
Additionally, if you choose to backup only the essential apps to iCloud (method explained above), you can easily manage with the 5GB free iCloud plan.
4. Sync your passwords everywhere with iCloud Keychain
iCloud Keychain is magic! Sure, there are tons of third-party password managers, but if I have something made by Apple, chances are I will rarely use one from a different developer.
With iOS 18, Apple has introduced the Passwords app to manage all your passwords, passkeys, verification codes, credit cards, etc. It securely encrypts and stores your username and credentials and makes them available on all your Apple devices.
You can enable syncing for it from iPhone Settings → Tap your name at the top → iCloud → Passwords and toggle on Sync this iPhone.
On Mac, the same can be done from the System Settings → Apple ID → iCloud → Passwords and toggle on Sync this Mac. You can learn more about the iCloud Keychain here.
Once it’s synced, you can autofill the passwords and other details on Safari and other supported websites.
Note:
5. Enhance your security with Advanced Data Protection
Apple takes security seriously, so it introduced iCloud Advanced Data Protection to protect your personal data from cyber threats and unauthorized access. This feature adds end-to-end encryption to data stored in iCloud.
This means that only you can access your data—not even Apple can read it. It ensures that even if hackers or government agencies try to access your iCloud data, they won’t be able to read it without your encryption key.
With it turned on, the following data types get end-to-end encryption, meaning they are fully protected:
- iCloud Backup (including device backups)
- Photos stored in iCloud
- Notes
- Reminders
- Safari Bookmarks
- Voice Memos
- Wallet Passes (not including Apple Pay)
- iCloud Drive files
However, Mail, Contacts, and Calendar are not included because they need to work with global email and scheduling systems.
To enable this feature, go to iCloud settings and select Advanced Data Protection. Now, turn it on and set up a recovery account, so even if you lose access to your Apple ID, you can regain your data. For more in-depth details, go through our guide on how to use iCloud Advanced Data Protection.
6. Access your iCloud content across multiple devices
iCloud is my go-to location for saving Contacts, Notes, Siri data, Photos, Wallet, Calendars, Mail, etc. I’ve enabled it on all my Apple devices. This lets me make changes on any device, and everything is synced effortlessly via iCloud on my iPhone and Mac.
To do the same, ensure you have the same Apple ID on your other devices, and follow the steps below.
- Open iPhone or iPad Settings and tap your name at the top.
- Tap iCloud and select See All next to the Saved to iCloud.
- Toggle on the apps you want to sync with iCloud.
On Mac, open System Settings → Apple ID → iCloud → See All and check these options.
Note:
7. Share Photo albums with non-Apple devices
Did you know that iCloud makes it easy to share photos and video albums with anybody? It doesn’t matter if they use an iPhone, Android, or a computer! You only need to create a Shared Album on your iPhone, add required photos and videos, and invite participants to join your album to access the content.
This makes it perfect for sharing any office pictures you snapped on your iPhone with everyone on the team, regardless of which device they use.
8. Sync your documents and data on Mac with iCloud
You can configure iCloud on your Mac to store all your documents and files, including those on the Desktop, in the cloud.
To do so, launch System Settings → Apple ID → iCloud → Click iCloud Drive, and toggle on Sync this Mac and Desktop & Documents Folders if not already enabled.

If you use apps like Pages, Keynote, Numbers, etc., you can check them as well. (I use Pages on my iPhone and Mac. Having iCloud Drive enabled syncs everything on both my devices!)
9. Sync Safari browsing and reading list across devices
Safari is one of the finest browsers for Apple devices, even when you compare it to Chrome or other popular choices. If you have multiple Apple devices, you can enable Safari iCloud tabs and sync your history, bookmarks, reading lists, etc.
On iPhone: Navigate to Settings and tap your name. Tap iCloud, select Saved to iCloud, and toggle Safari on.
On Mac: Open System Settings → Apple ID → iCloud → Click See All and toggle on Safari.
10. Use iCloud Drive on iPhone and iPad
Are you familiar with Google Drive, One Drive, or Dropbox? iCloud Drive is a similar tool by Apple–an online cloud storage service. You can use it to save files of any kind, including data from apps like WhatsApp.
To enable iCloud Drive on iPhone or iPad, open Settings, go to your Apple ID and tap iCloud. Now, tap Drive and enable Sync this iPhone. Once enabled, you can save your files and documents on iCloud Drive and access them across your Apple devices. To do so, open the Files app, tap Browse at the bottom, and select iCloud Drive.
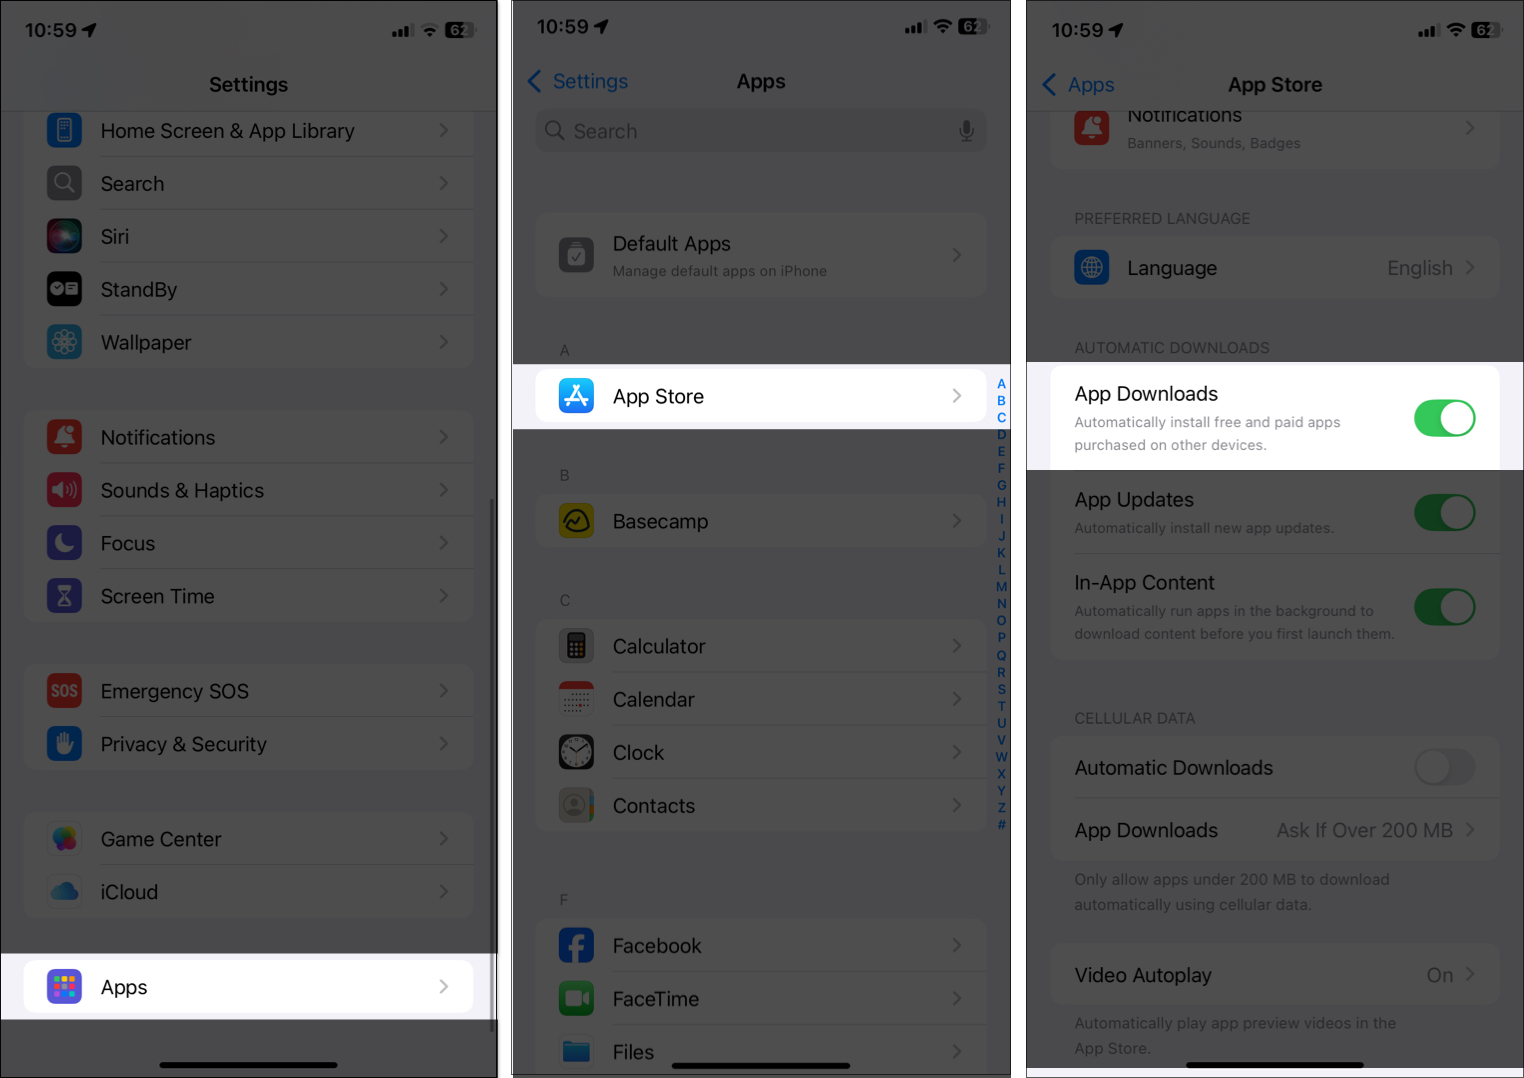
11. Use iCloud to automatically download your purchases
iCloud lets you automatically download music, books, apps, etc. This ensures that when you use a different iPhone, iPad, or Mac to purchase new apps or music, they download automatically on your other devices.
For this to work, you have to enable Automatic Downloads. Here’s how to do that on your iPhone or iPad:
- Open Settings, select Apps, and tap App Store.
- Toggle on App Downloads under AUTOMATIC DOWNLOADS.
- Go back and tap Music.
- Now, enable Automatic Downloads.
- You can repeat the same for Books.

12. Set up private iCloud libraries on Mac
Let me tell you about a secret, useful trick if you wish to have multiple photo libraries in your Mac’s Photos app. I’m not talking about albums, but separate libraries.
The sweet part is that only the main system photo library will sync to iCloud. The other library will stay discreet. You can use it to locally save some pictures you’d rather not sync on your other Apple devices.
For this, press the option (alt) key and open Photos from the Dock or Launchpad. Keep holding the key until you see the above screen. Next, click Create New. Once that’s done, in the future, click Choose Library to select it.
13. Browse web more securely with iCloud Private Relay
If you value online privacy, iCloud Private Relay is a feature you should know about. It helps protect your internet activity from being tracked by websites, advertisers, and even your internet service provider (ISP). When enabled, it hides your IP address and encrypts your internet traffic when you browse using Safari.
I find it quite useful as I often use public Wi-Fi and want to prevent companies from building a profile based on my browsing habits. Now, you may think it works similarly to a VPN (Virtual Private Network). However, there are some key differences between iCloud Private Relay and VPN.
When you visit a website, your IP address is usually visible to websites and advertisers. iCloud Private Relay changes this by directing you through two servers. So, no one, including Apple, can see both your IP address and the website you are visiting.
To use iCloud Private Relay, you need an iCloud+ subscription. If you already have iCloud+, open Settings → your Apple ID → iCloud. Here, select Private Relay and toggle on Private Relay.
If you’re experiencing email connection issues, it’s recommended that you disable iCloud Private Relay, as it helps provide the correct IP address.
14. Use a custom email domain with iCloud Mail
Do you own any domain (e.g., yourname.com)? Apple lets you use your domain name for email. If you have iCloud+, you can set up a custom email domain with iCloud Mail. This means you can send and receive emails using a professional, personalized address (e.g., yourname@yourdomain.com).
For users who don’t have a domain name yet, they can buy one from registrars like GoDaddy, Namecheap, or Google Domains. The best part is that you can also set up custom emails for your family and friends via Family Sharing.
Once you have the domain, visit the official iCloud website, sign in to your Apple ID, and select the menu icon next to your profile picture. Now, select Custom Email Domain → Add a domain you own and follow the instructions.
15. Automatically forward emails to another account
If you use iCloud Mail but also manage emails from another account (such as Gmail, Outlook, or a work email), setting up iCloud Email Forwarding can make your life easier. This feature automatically sends copies of your incoming emails to another email address, so you don’t have to check multiple inboxes manually.
Check out our post to learn how to set up iCloud email forwarding to another address.
16. Protect your privacy with random email addresses
Privacy is a big concern when signing up for websites, newsletters, or online services. Apple’s Hide My Email feature helps keep your personal email address private. It generates random, unique email addresses that forward messages to your real inbox. This way, you can avoid spam, protect your identity, and control who can reach you.
This feature is a part of the iCloud+ plan. So, if you have the subscription, go to iCloud from your Settings app, select Hide My Email, and set up your new email address for masking. You can also manage multiple email addresses and turn off hiding for specific websites.
17. iCloud Family Sharing
Apart from paid apps, music, and movies, Family Sharing also enables you to share iCloud storage with your family members who use Apple devices. This means that your family doesn’t have to pay for an iCloud subscription more than once.
In addition to sharing purchases, you can also share location, find each other’s misplaced devices, set Screen Time restrictions and communication limits on kid’s devices remotely.
To enable Family Sharing, open Settings → Tap on Apple ID Profile → Family → Set Up Family Sharing → Follow on-screen instructions.
Signing off
iCloud offers a wide range of features beyond basic storage, from privacy-focused tools like Hide My Email and Private Relay to powerful collaboration and security options. By using these tips and tricks, you can streamline your digital life, keep your data safe, and maximize your Apple ecosystem experience.
Which is your favorite iCloud feature? Let me know in the comments below!
You might also like:


