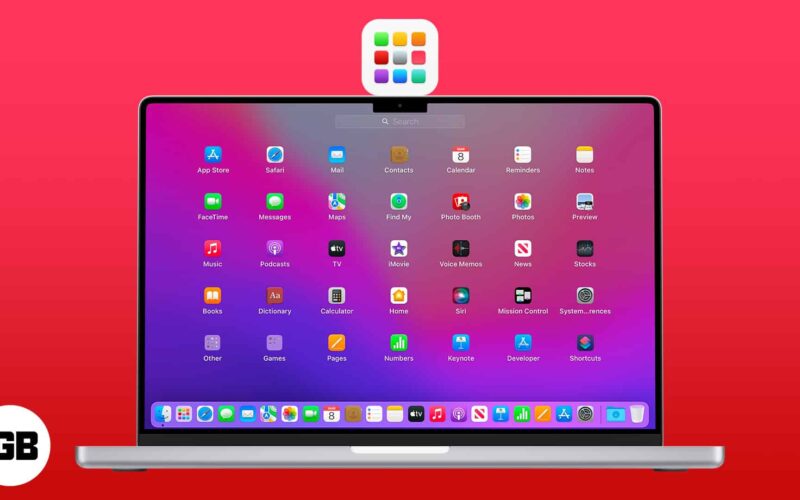
Whether pre-installed or downloaded, apps make lives easier and workflows more seamless. To make things smoother, Apple has made Launchpad an essential part of the macOS. Launchpad houses all our apps and is the best place to view, access, and manage them.
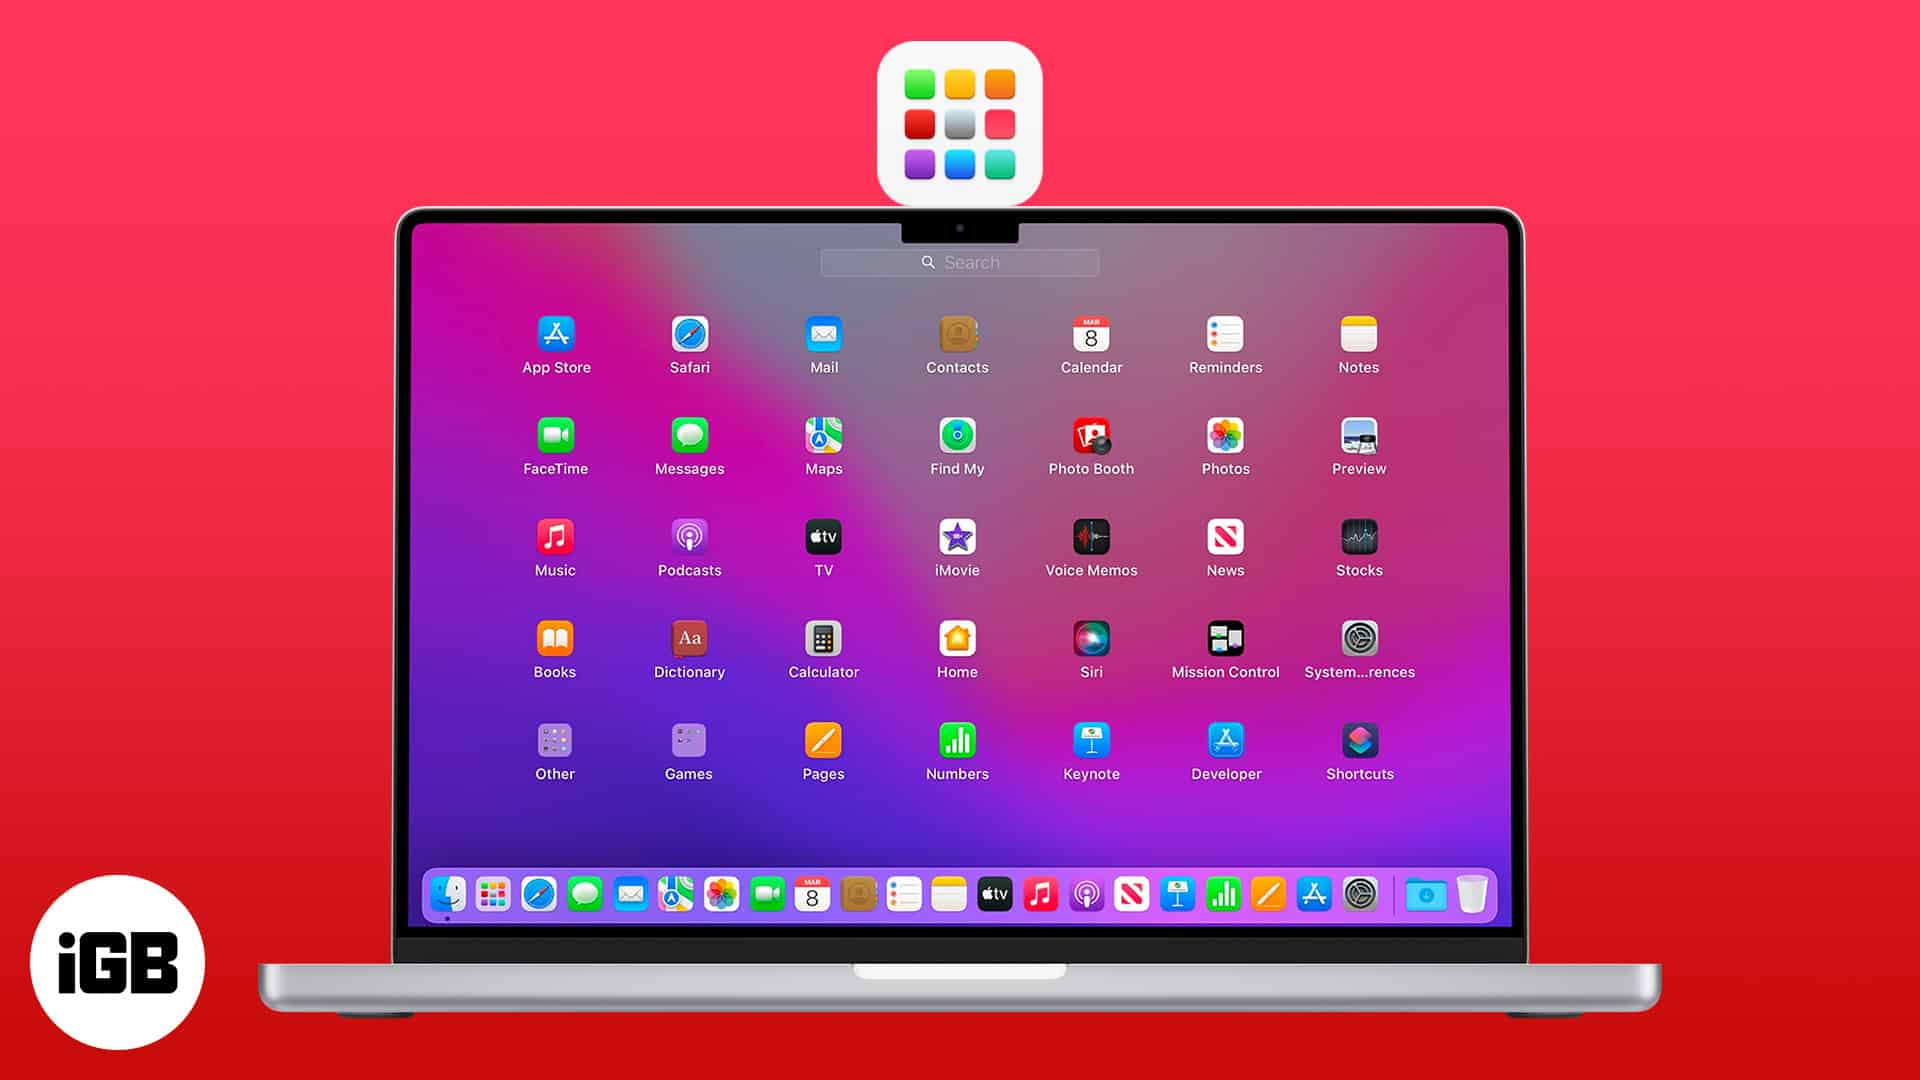
Below I’ll teach you how to use it and different ways to access your apps through Launchpad on your Mac. Let’s go!
- 4 Ways to open Launchpad on your Mac
- How to find and open apps in Launchpad
- How to organize apps in Launchpad
- Add or remove apps in Launchpad on Mac
4 Ways to open Launchpad on your Mac
There are plenty of ways to find and open apps, but opening it through Launchpad is a no-brainer for most people. This is especially true if you own an iPhone or iPad and prefer viewing your apps neatly organized and grouped a certain way.
But how do you open Launchpad? The most logical way is to access Launchpad from your Dock. However, that’s not the only way; mentioned below are all possible ways to access Launchpad.
1. Via Spotlight
If you’ve removed it from the Dock, you can search and launch Launchpad from Spotlight.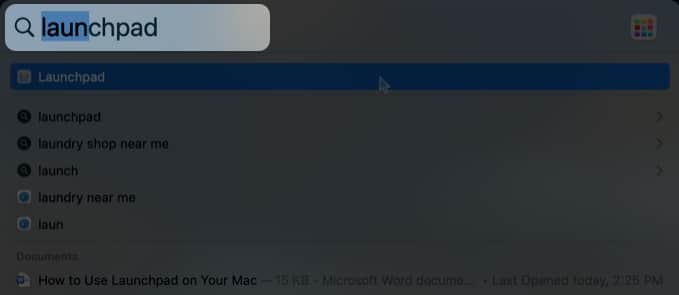
If you need to access the app regularly, just drag the app directly from Spotlight to the Dock.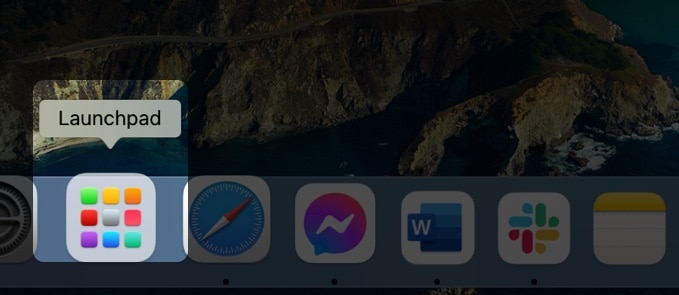
2. Trackpad gesture for Launchpad on Mac
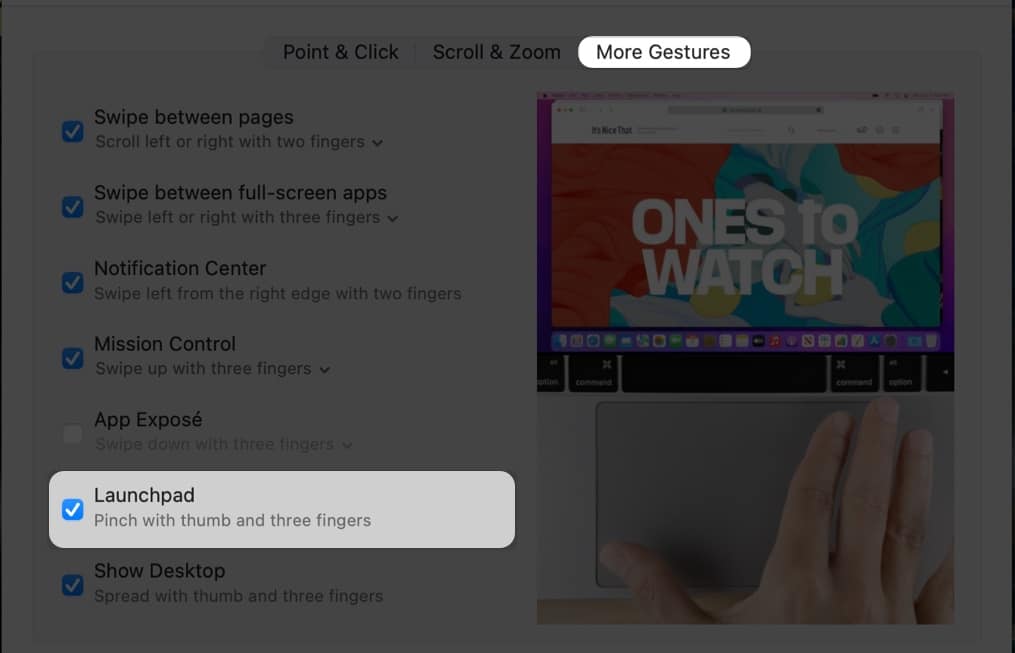
There’s a dedicated Trackpad gesture that lets you instantly access Launchpad. Make a pinching motion with your thumb and three digits on your trackpad. If it doesn’t work, the feature may be disabled.
To enable it:
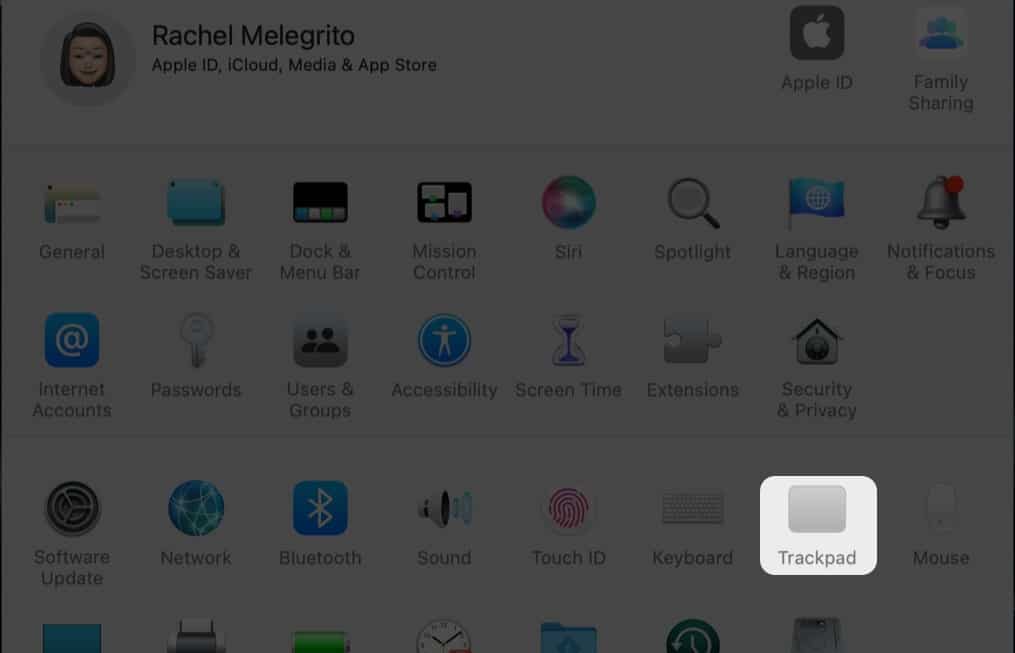
- Go to the Apple menu → System Preferences → Trackpad
- Click the More Gestures tab.
- Tick Launchpad.
3. Keyboard access to Launchpad
You may also speed up your access to your Launchpad by using your keyboard. On older Macs, you can start Launchpad by pressing the F4 key on your keyboard. However, on newer Macs, this key activates Spotlight instead of Launchpad.
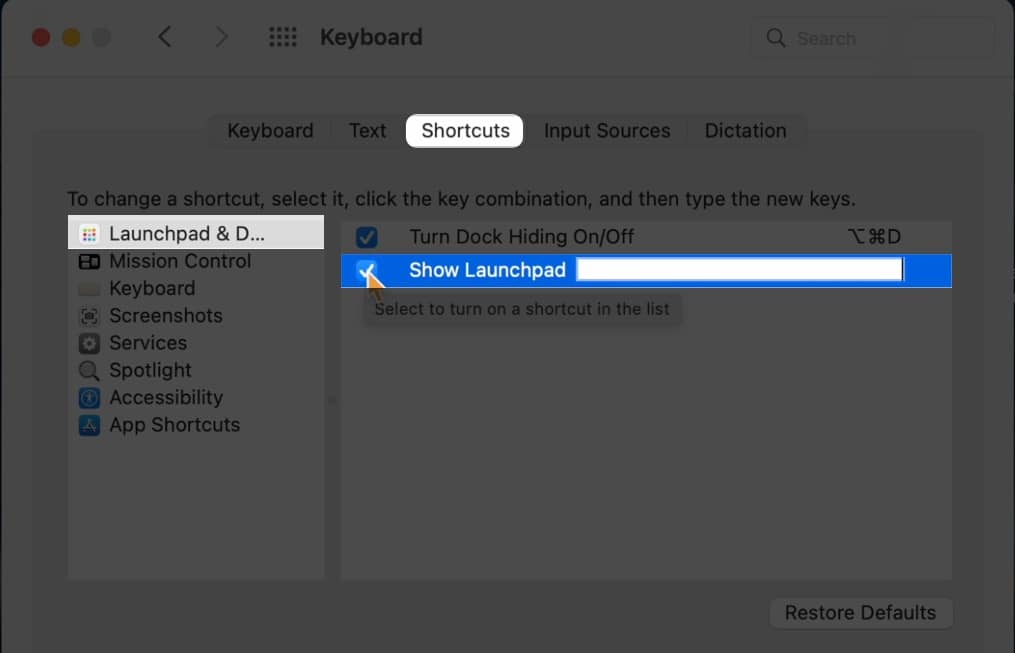
That said, you can also assign a keyboard shortcut for it. Just do the following:
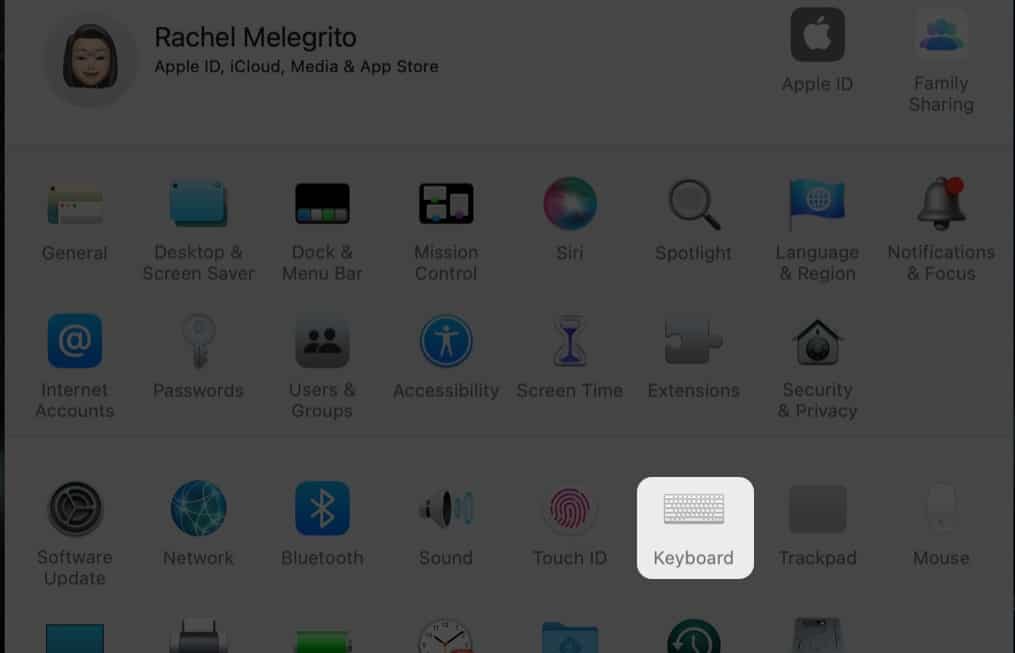
- Head to the Apple menu → System Preferences → Keyboard.
- Choose the Shortcuts tab → select Launchpad & Dock on the left-side pane.
- Tick Show Launchpad → press the keyboard shortcut combination you want to use.
4. Access Launchpad without clicking
If you’re really looking for ways to speed up your access to Launchpad, you may want to try setting up Hot Corners on your Mac. What it does is it automatically starts Launchpad as soon as your cursor hovers over a designated corner.
So these are the various ways you can open Launchpad. Closing it is more straightforward. Just click on any space without an app or press Esc.
How to find and open apps in Launchpad
To find an app in Launchpad, head to the search field at the top of the window and type its name.
If you’re trying to navigate Launchpad using your keyboard, you can switch pages by pressing Cmd + left arrow or Cmd + right arrow. You can also swipe left or right on the trackpad to navigate the pages.
You’ll find dots at the bottom to see which page you’re in. You can also directly click on a dot to go to a particular page immediately.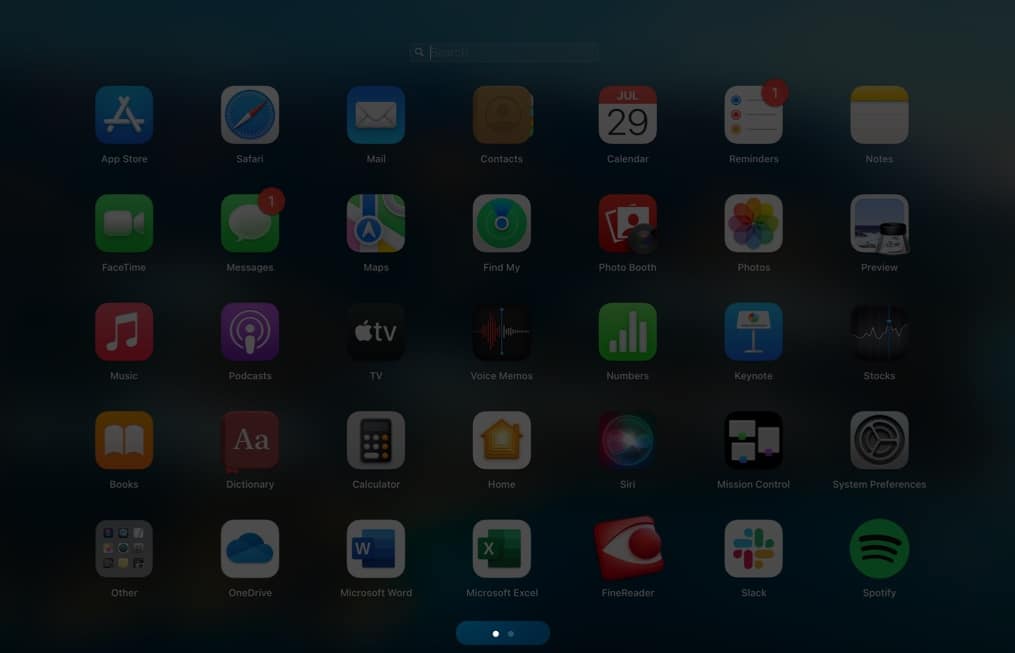
Note: If you’re looking for a game you downloaded, it’s likely stored in the Games folder in Launchpad. To open an app, you simply need to click it.
Control-click to quickly open an app from Launchpad
If you’re just looking to launch a specific app, you don’t have to open the Launchpad necessarily. If Launchpad is saved in your Dock, just control-click it. This will display a context menu that lists all the apps contained in Launchpad. You can scroll through and click the app you want to open.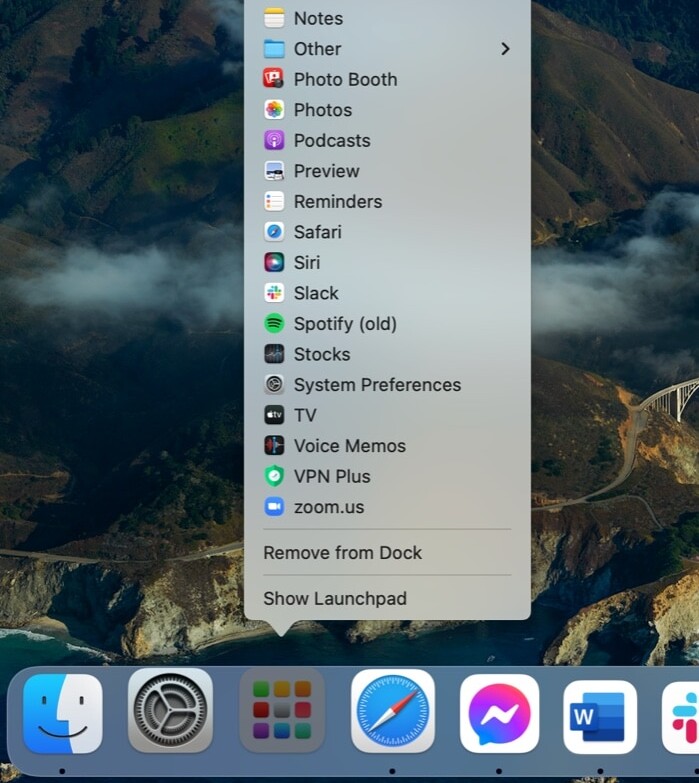
How to organize apps in Launchpad
If you own an iPhone or an iPad, you’ll immediately notice that Launchpad looks like an iPhone or iPad home screen. Not only that, but it also behaves similarly.
- To move an app on the same page: Just drag the app to your desired location.
- To move an app to another page: Drag the app to the edge of the screen. Release it once you’ve reached your desired page.
- To create a new folder: Drag an app on top of another.
- To rename a folder: Select the folder, then click on its name. Enter a new name.
- To add an app to an existing folder: Drag an app over the folder.
- To remove an app from a folder: Open the folder, then drag the app out of the folder.
Add or remove apps in Launchpad on Mac
All the apps you download from the App Store are automatically added to Launchpad. But for the apps, you didn’t download from the App Store, drag the app to the Applications folder in the side pane of Finder.
If you can’t find an app you downloaded on Launchpad, you may want to try our tips to help you get the missing apps back.
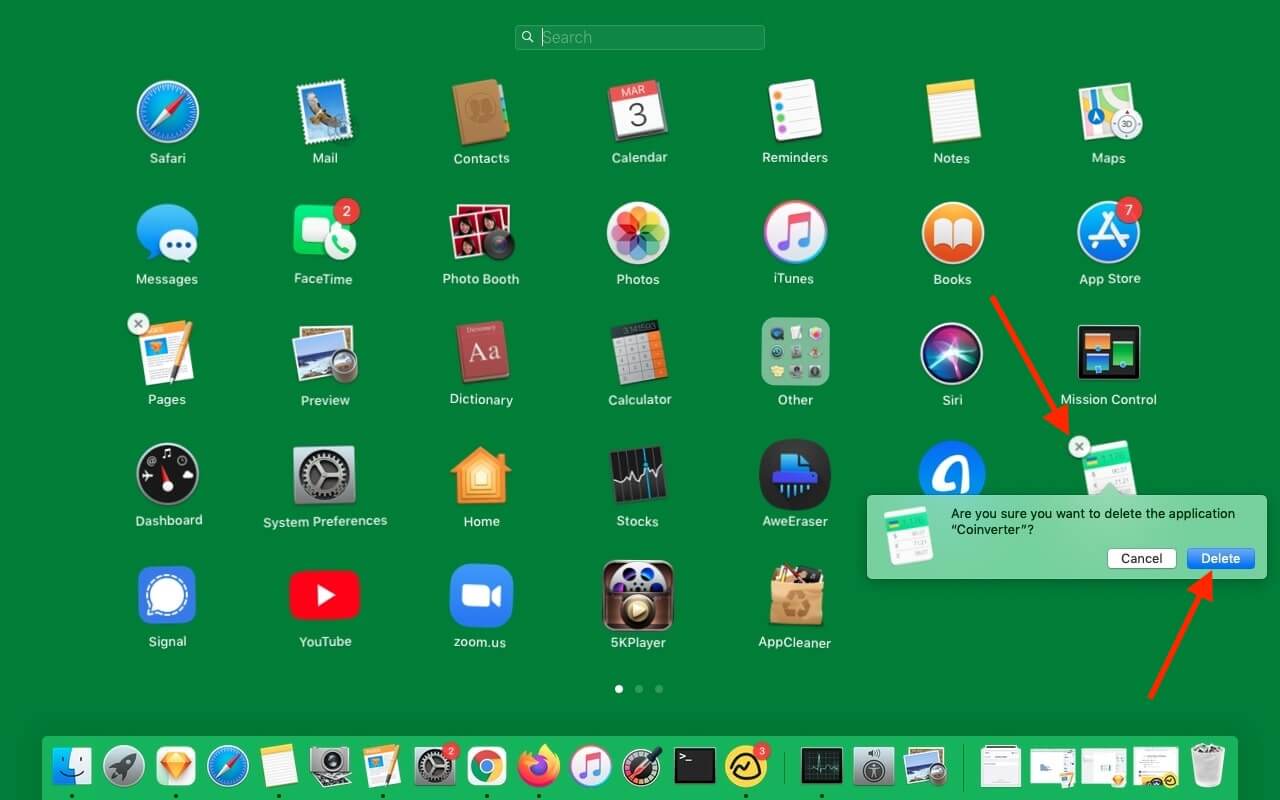
Removing an app from Launchpad follows the same process when you want to delete an app from your iPhone or iPad:
- Hold an app until all the apps start to jiggle.
- You should see a Delete button (x) on every app. Click the Delete button (x) of the app you wish to delete.
Note: You’ll see the Delete option on each app only if they are downloaded from the App Store. You cannot delete built-in apps. You may want to uninstall the app from Finder on your Mac instead.
Wrapping up…
Launchpad is the central location that holds all your apps. It also lets you organize them however way you want. If you want a faster way to access Launchpad on Mac, you can try setting up Hot Corners or assigning a dedicated keyboard shortcut for it.
How about you? Which method do you use to access Launchpad? Share them below.
More useful reads from iGeeksBlog:

