FaceTime Like A Pro (eBook)

Get our exclusive Ultimate FaceTime Guide 📚 — absolutely FREE when you sign up for our newsletter below.

How to Deactivate or Delete Facebook Account on iPhone, iPad, and Web

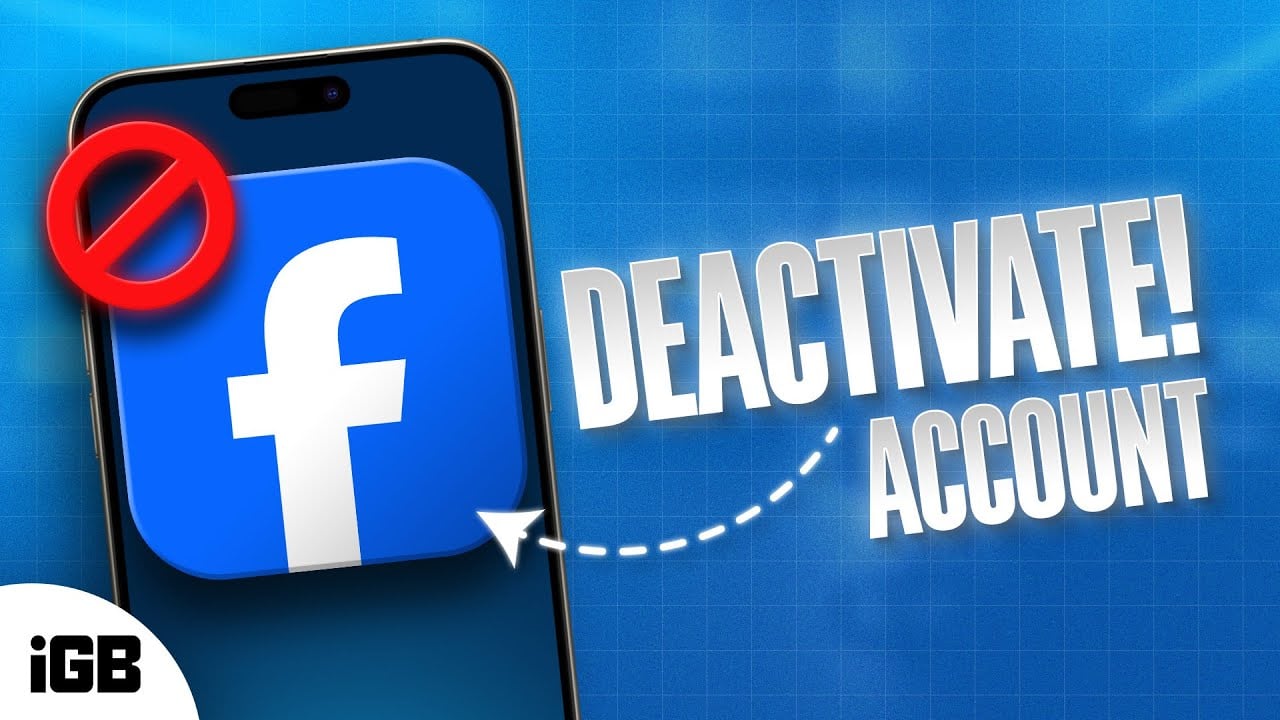
Thinking of leaving Facebook? Learn how to deactivate or delete Facebook on iPhone, iPad, and web, with backups, common fixes, and privacy settings to review.

Key Takeaways:

  • Download your Facebook data first using the Accounts Centre to save posts, photos, messages, and contacts before anything gets permanently erased.
  • Reassign admin roles on pages or groups if you’re the only admin—deleting your account without doing this could lock others out permanently.
  • Unlink third-party apps manually and back up comment threads, business details, or login codes tied to your Facebook identity.
  • Know the difference between deactivation and deletion—one’s temporary, the other wipes everything after a 30-day grace period with limited data retention.
  • You can reverse deletion within 30 days by logging back in, but after that window closes, recovery isn’t possible and all content is lost.

Taking control of your digital privacy often starts with a clear choice about how much Facebook you want in your life. Simple. If you need a break or you are done for good, there are two paths: deactivation, which hides your profile for a while and keeps messages, and deletion, which removes the account for real after a 30-day grace period if you do not sign in. This guide shows the exact steps on iPhone, iPad, and Safari on Mac, with must-do backups and fixes in the latest Meta Accounts Center.

Before You Continue: 6 Essential Steps to Take First

This is a critical checklist; do not skip these steps, or you will lose important data and access. Seriously.

1. Download Your Facebook Data

Navigate to SettingsSee More in Accounts CentreYour Information and permissions → Tap Export your information. Select your preferred format: HTML for easy viewing or JSON for developers. Choose Media Quality: High, Medium, or Low. Finally, select Date Range: All time or a specific period. Include photos, posts, messages, and contacts in your download.

Tip: The export can take hours or days, depending on your data volume. Keep the device plugged in, keep a local copy on your Mac, and store another in cloud storage.

FaceTime Like a Pro:

Get our exclusive Ultimate FaceTime Guide 📚 — absolutely FREE when you sign up for our newsletter below.

2. Transfer Page/Group Ownership

If you are the sole admin of any Facebook Pages or Groups, assign at least one other admin before deletion. Otherwise, these assets will be deleted or become inaccessible when your account is removed.

Go to your PageSettingsPage SetupPage Access → Add People to assign new admins.

Review third-party apps using Continue with Facebook login. Go to Settings & PrivacyYour ActivityApps and Websites to see connected services. Change login methods for important apps before proceeding. Also, check SettingsPasswords to update saved logins on your Apple devices.

4. Save Important Information Manually

Facebook’s data export does not include everything. Manually save what matters; quick screenshots on iPhone or a PDF from Safari can capture the rest.

  • Pinned posts and their context
  • Detailed comment threads
  • Two-factor authentication backup codes
  • Ad receipts or business documentation
  • Group discussions you want to preserve

5. Check Business Assets, If Any

If you manage business accounts, transfer ownership of:

  • Ad accounts in Meta Business Suite
  • Facebook Pixels
  • Product catalogs
  • Business Manager access

Warning: Deleting your personal account can affect the business assets you manage.

6. Notify Your Network

Let friends and family know about your departure and share alternative contact methods. Consider posting a farewell message or sending direct messages to close contacts. Share your contact card via iMessage or AirDrop.

How to Deactivate Your Facebook Account (Temporary)

Deactivation hides your profile from others while preserving all your data. Reactivation is simple, just sign in again on any device, and your account will return.

On the Facebook App (iPhone & iPad)

  1. Launch the Facebook app.
  2. Navigate to the Menu (or profile icon) → Select Settings & Privacy.
  3. Choose Settings to proceed.
    Tap menu settings and privacy settings in facebook app
  4. Tap See more in Accounts Centre.
  5. Select Personal details.
    See more in accounts centre personal details in facebook
  6. Access Account ownership and control → choose Deactivation or deletion.
  7. Now, choose the account you wish to deactivate.
    Tap account ownership and control deactivate or delete select your account in facebook
  8. Select Deactivate account → Tap Continue.
  9. Enter the Password of your account and tap Continue.
  10. Choose a reason that seems most feasible to you and hit Continue.
    Select deactivate account continue continue in facebook app
  11. Hit ContinueDeactivate my account when prompted.
    Tap continue deactivate my account in facebook
  12. In this instance, you’ll be logged out of your account.

Note: You can keep Messenger active even while your main profile is deactivated. Toggle Keep using Messenger if needed.

On the Facebook Website (Web)

  1. Go to facebook.com and click your profile picture in the top right corner.
  2. Select Settings & PrivacySettings.
  3. Click See more in Accounts Centre in the left sidebar.
  4. Open Personal detailsAccount ownership and controlDeactivation or deletion.
    Select deactivate and press continue to deactivate account
  5. Note that all pages signed up using your account as admin will also be deactivated. Press Continue.
    Press continue in facebook
  6. Now, consider a viable reason and explore the different options available.
  7. Hit Deactivate when settings are set as per your preference.
    Fill in the details and press deativate
  8. If prompted, enter the password of your Facebook account.
  9. Finally, click Deactivate Now to conclude the process.
    Press deactivate now to conclude the process in facebook

How to Permanently Delete Your Facebook Account

Warning: This action is permanent after 30 days. Make sure the essential steps above are complete.

On the Facebook App (iPhone & iPad)

  1. Open Facebook → tap MenuSettings & PrivacySettings.
  2. Tap See more in Accounts Centre.
  3. Go to Personal detailsAccount ownership and controlDeactivation or deletion.
  4. Select your Facebook profilechoose Delete account → tap Continue.
    Tap delete account continue continue in facebook app
  5. Review and complete any required steps:
    • Download your information (if not done already), and keep a local copy on your Mac.
    • Manage Pages and Groups, transfer ownership where needed.
    • Choose Messenger settings.
  6. Re-enter your password when prompted. iCloud Keychain can fill it, and Face ID or Touch ID can confirm.
  7. Tap Delete Account to confirm.
    Enter password press continue delet account in facebook

On the Facebook Website

  1. Navigate to facebook.com → click your profile pictureSettings & PrivacySettings.
  2. Click See more in Accounts Centre.
  3. Go to Personal detailsAccount ownership and controlDeactivation or deletion.
    Choose delete account press continue
  4. Select Delete account and follow the on-screen instructions.Press delete account when prompted
  5. Any pages integrated into your account will also be deleted. Press Delete Page to proceed.
    Press delete page
  6. Confirm your account by entering the password and pressing Continue.
    Enter your password and press continue
  7. Click Delete Account to conclude the process.
    Press delete account to conclude the process

Important: You have 30 days to cancel deletion by logging in. After this grace period, your account and data will be permanently removed; some information may remain in Facebook backups for legal compliance.

Troubleshooting Common Issues

Can’t Find Accounts Centre

  • Update the Facebook app from the App Store to the latest version
  • Force quit and relaunch, swipe up and flick the app card
  • On iPhone or iPad, there is no cache toggle. Try SettingsGeneraliPhone StorageFacebookOffload App, then reinstall; on Android, clear cache or restart.
  • Try the web version in Safari on iPhone, iPad, or Mac

“Delete” Option is Greyed Out

You are likely the sole admin of a Page, Group, or business asset; transfer ownership or assign another admin in Page Roles or Meta Business Suite.

Password Not Working

Use Forgot Password, reset the password, then retry; check iCloud Keychain for saved logins.

30 Day Grace Period Confusion

Any login during the 30-day period cancels deletion automatically; avoid logging in and avoid opening Messenger or third-party apps that use Facebook login during this window.

What Happens After Deactivation or Deletion

Immediate Effects

Deactivation:

  • Profile becomes invisible to others.
  • Your name disappears from friend lists and tags.
  • Comments and posts remain, but show as “Facebook User”.
  • Messenger can remain active (optional). Toggle this during deactivation.

Deletion:

  • Same immediate effects as deactivation.
  • 30-day countdown begins.
  • Account enters deletion queue.

30-Day Grace Period (Deletion Only)

During this period:

  • Your profile remains invisible.
  • You can cancel by logging in from any app or browser.
  • Facebook systems prepare for permanent removal.
  • No new activity can occur on your account.

Post-Deletion:

  • Profile, photos, posts, and messages are permanently removed; this cannot be reversed.
  • Some data may remain in Facebook’s backups for up to 90 days for legal compliance.
  • Third-party apps lose access to your Facebook data. iOS logins that use Continue with Facebook will stop working until changed.
  • Comments on others’ posts may show as “Deleted User”.

Alternatives to Full Account Deletion

Privacy Settings Optimization

Instead of deleting, consider tightening your privacy:

  • Limit the post audience to Friends Only.
  • Disable Face Recognition features.
  • Adjust Ad Preferences and data usage.
  • Turn off Location History and Activity Off Facebook tracking.

App Removal

Delete the Facebook app from your devices, but keep your account active. This reduces impulsive browsing while preserving your data and connections. On iPhone or iPad, Offload App keeps documents while removing the app, and you can hide the icon in App Library.

Limited Use Approach

  • Unfollow (don’t unfriend) people whose posts you don’t want to see.
  • Set time limits using iOS Screen Time or Android Digital Wellbeing.
  • Use Quiet Mode to pause notifications temporarily.
  • Curate your feed by hiding or snoozing content sources.

Messenger-Only Access

Deactivate your main Facebook profile while keeping Messenger active for communication. This lets you stay in touch without the main social feed distractions. Messages continue to work in the Messenger app.

Reactivating Your Facebook Account

From Deactivation

Simply log in to Facebook with your email or phone number and password, in the app or in Safari. Your profile, friends, photos, and posts are restored immediately, and Messenger picks up where you left off. iCloud Keychain can fill in the login with Face ID or Touch ID.

From Deletion Queue (Within 30 Days)

  1. Log in to Facebook normally.
  2. You will see a prompt to Cancel Deletion.
  3. Click or tap Cancel Deletion to restore your account.
  4. Your account exists in the deletion queue and will become active again.

What’s Restored vs. What’s Lost

Restored: Friends list, photos, posts, messages, settings, and Page admin access.

May be lost: Stories that expired during deactivation, some notifications, and recent activity from the deactivation period.

Video: How to Deactivate or Delete Your Facebook Account

How to Deactivate or Delete Your Facebook Account on iPhone (2024 Guide)

Final Thoughts

Taking a break from social media or leaving permanently is a valid choice for your mental health and digital well-being. Whether you choose temporary deactivation or permanent deletion, you’re taking control of your online presence. Do what feels sustainable.

Consider regular privacy audits, set intentional usage boundaries, and keep social media in a supporting role, not the main event, in your real-world relationships. On iPhone and iPad, use Screen Time app limits, Downtime, and Focus modes, hide the app in App Library, and let Notification Summary batch alerts.

FAQs

Can I recover my Facebook account after deleting it?

Yes, but only within 30 days of deletion. Log in and choose “Cancel Deletion” when prompted. After 30 days, recovery is not possible, and opening Messenger can count as a login during that window.

How do I download my Facebook data before deletion?

Go to Settings → See More in Accounts Centre → Your Information and permissions → Tap Export your information. Select format, quality, and date range, then request the download.

Why can’t I find the Delete account option in my app?

Update your Facebook app, or you might be the sole admin of Pages or Groups. Transfer ownership first, or use the web version and check the Accounts Centre.

How long does Facebook keep my data after account deletion?

Messenger conversations are deleted from your account after 30 days. You can keep Messenger active only during deactivation, not during deletion.

How long does Facebook keep my data after account deletion?

Most data is removed after 30 days, but some information can remain in backups for up to 90 days for legal compliance.

Can I delete Facebook but keep Instagram?

Yes. Facebook and Instagram accounts are separate. Deleting Facebook does not affect Instagram, even if both are linked in the Meta Accounts Centre.

Will deleting Facebook affect apps that use Facebook Login?

Yes, you will lose access to apps and services that rely on “Continue with Facebook.” Change their login methods before deletion and update saved passwords in Settings → Passwords.

Read more:

Add Igeekblog as a preferred source on Google

Sagar
Sagar

I am an aspiring tech blogger who is always in love with new generation iPhones and iPads. At iGeeksBlog, I am dedicated to rendering the How-To's, Troubleshooting bugs, and reviewing apps that are a great deal of help. When I am not writing, I am daydreaming about the future of all things Apple and watching videos of smartphone battles on YouTube.

Articles: 14

FaceTime Like a Pro:

Get our exclusive Ultimate FaceTime Guide 📚 — absolutely FREE when you sign up for our newsletter below.

Leave a Reply

Your email address will not be published. Required fields are marked *