Since PDFs are one of the most widely used file formats for contracts, forms, study material, invoices, and official documents, it’s only natural to need a quick way to highlight text, add comments, fill out forms, or sign documents right from your iPhone.
Fortunately, you don’t always need a Mac or a paid app to get the job done. Your iPhone comes with built-in tools that enable you to annotate, mark up, and sign PDFs with ease. This post details all the ways you can edit a PDF on an iPhone or iPad.
Edit a PDF Using the Preview App on iPhone or iPad
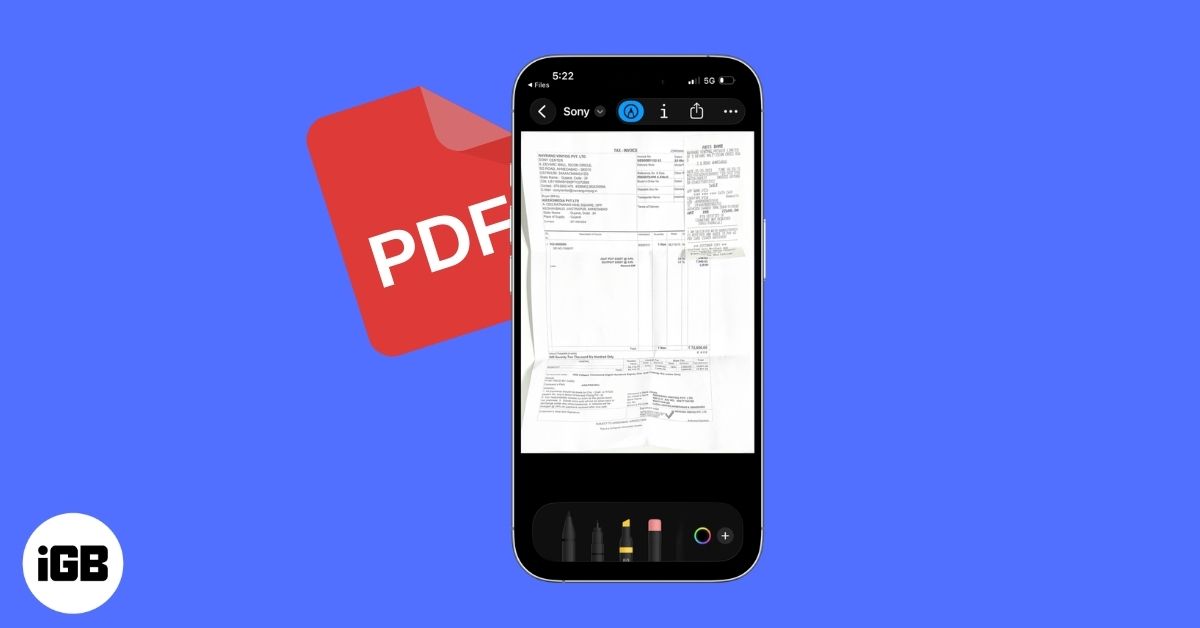
Introduced with iOS 26, the Preview app is now the primary PDF workspace on iPhone. It is designed for visual edits and annotations, focusing on markup tasks instead of rewriting original text. Think of it as the touch-optimized version of Preview on Mac, tuned for iPhone.
- Open the Preview app on your iPhone.
- Now, browse and open the PDF file you want to edit.
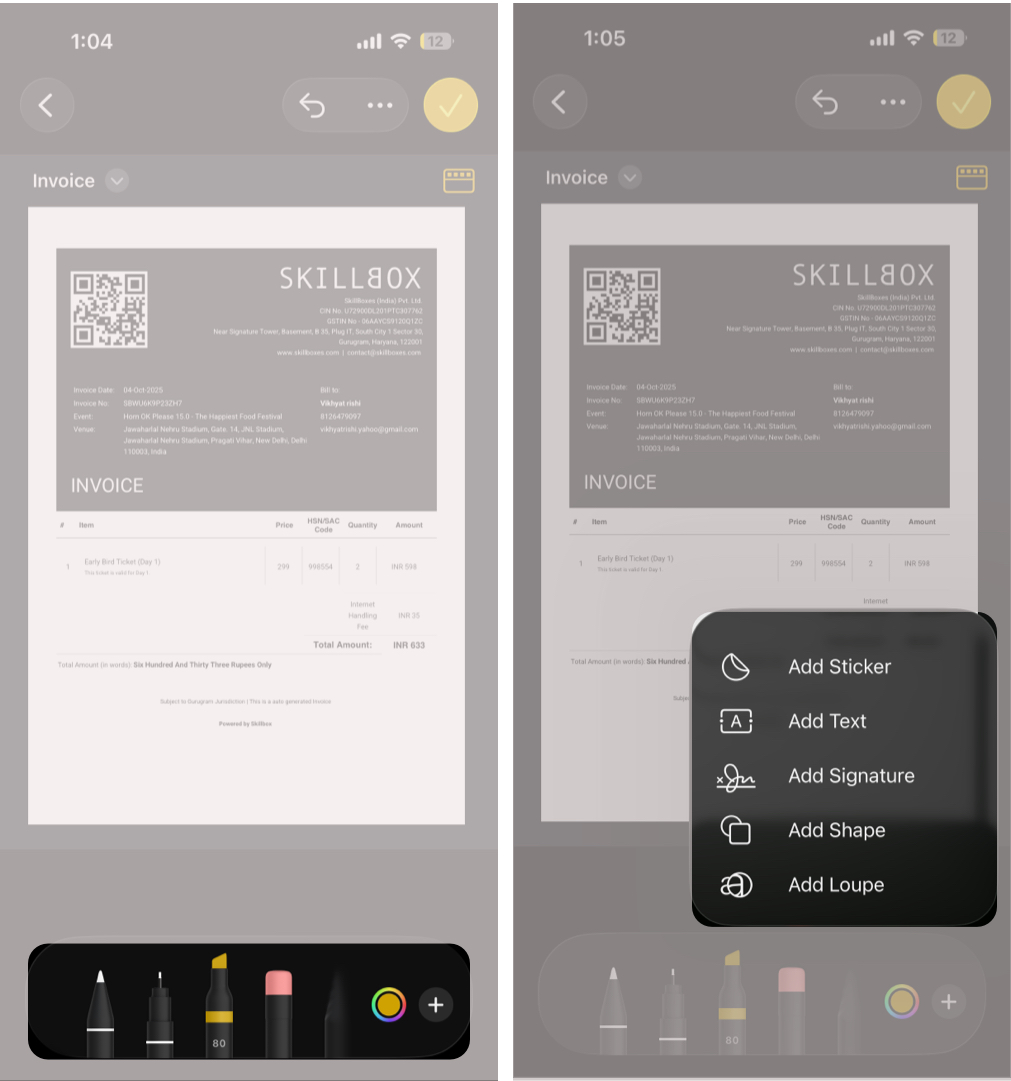
- Here, tap the Markup (pen tip) icon to reveal editing tools.
- Next, select the pen option if you want to draw freehand on the document.
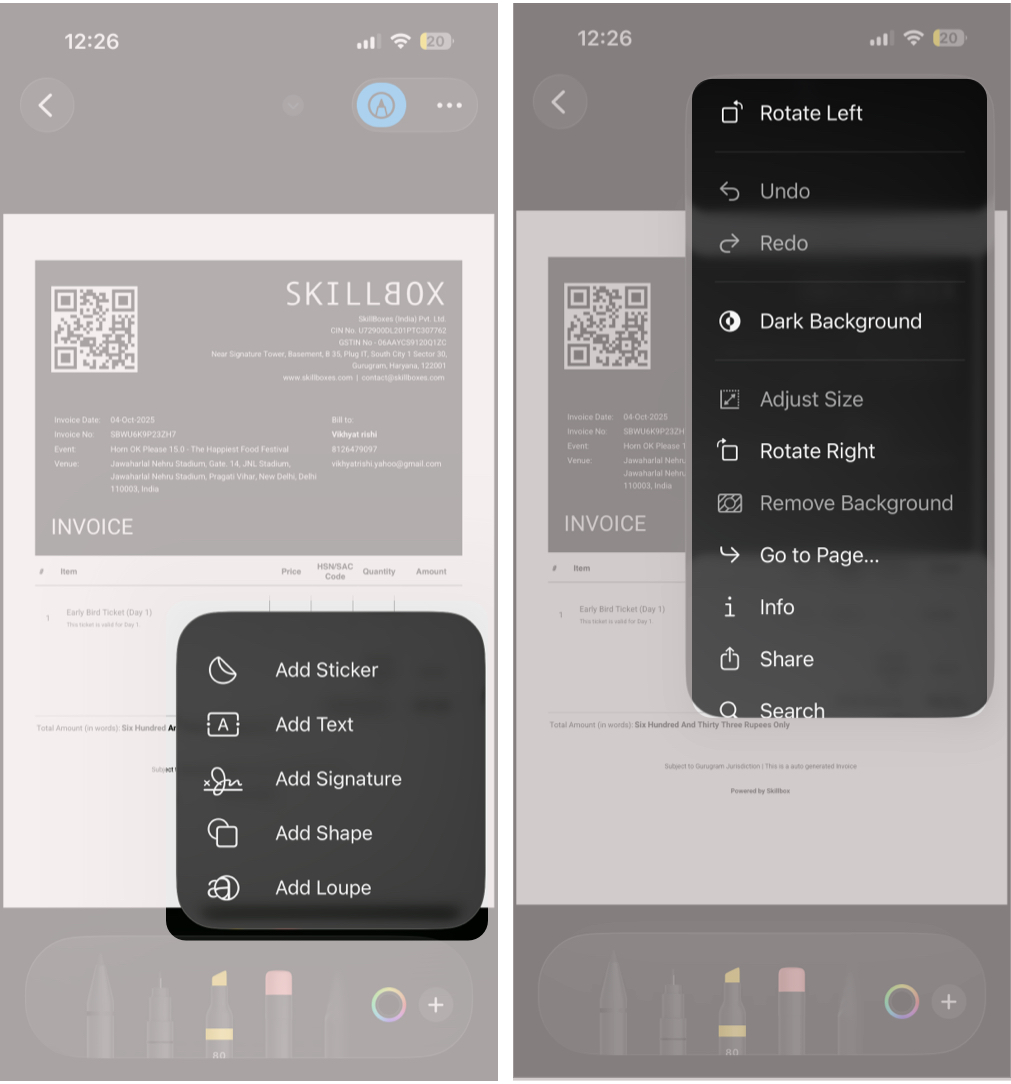
- Otherwise, tap the + button to add a sticker, text box, signature, shape, or loupe to the PDF file.
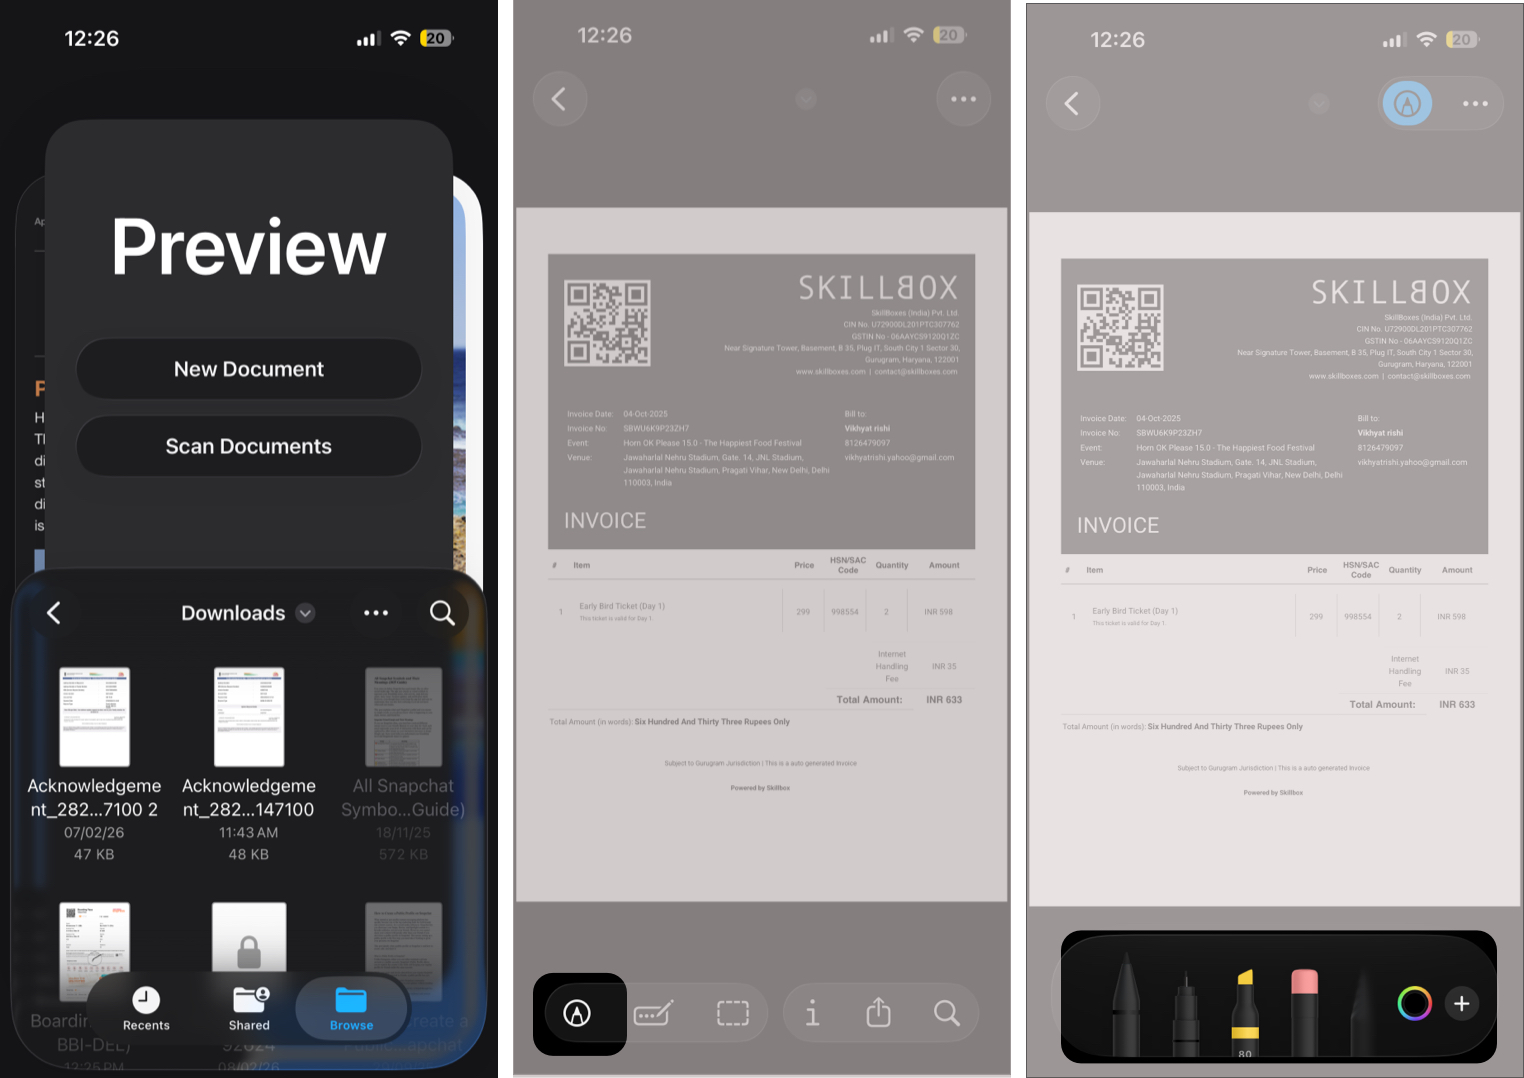
- Tap the three dots button at the top right corner and select the appropriate option to undo the changes, or rotate the document left and right.
- If the PDF file is a multipage PDF, you can tap the page thumbnails in the top left to view all the pages within the PDF, then tap the three dots button on either page to:
- Insert Blank Page
- Insert another document from Files
- Scan Pages
- Delete Page
- Once you’re done editing, tap the < (Back) button in the top-left corner to exit the document. All changes are saved automatically.
Edit a PDF Using the Files App
Starting with iOS 26, when you open a PDF in Files, iOS automatically opens it in Preview, where you can edit it using the built-in Markup tools. This means Files no longer handles editing directly. Instead, it acts as the browser and storage layer, while Preview provides the editing interface.
Once the PDF opens in Preview, you can:
- Highlight and underline text
- Add text boxes and comments
- Draw freehand annotations
- Insert a saved or new signature
- Fill out interactive PDF forms
- Rotate pages
- Delete pages
All changes are saved back to the original file location in Files. Unless you manually create a duplicate, edits overwrite the existing document.
Edit a PDF Using the Notes App
If you want to combine PDF annotation with other written context, the Notes app lets you embed a PDF inside a note so you can annotate it while adding text, lists, or other commentary around it.
Unlike Preview, where edits stay in the PDF itself, annotations inside Notes live within that note unless you export the annotated file separately.
- Open the Notes app and create a new note.
- Here, tap the paperclip (Add Attachments) icon, then select the Attach File option in the contextual menu that appears.
- Browse and select the PDF file you want to edit, and it will automatically be embedded within the note.
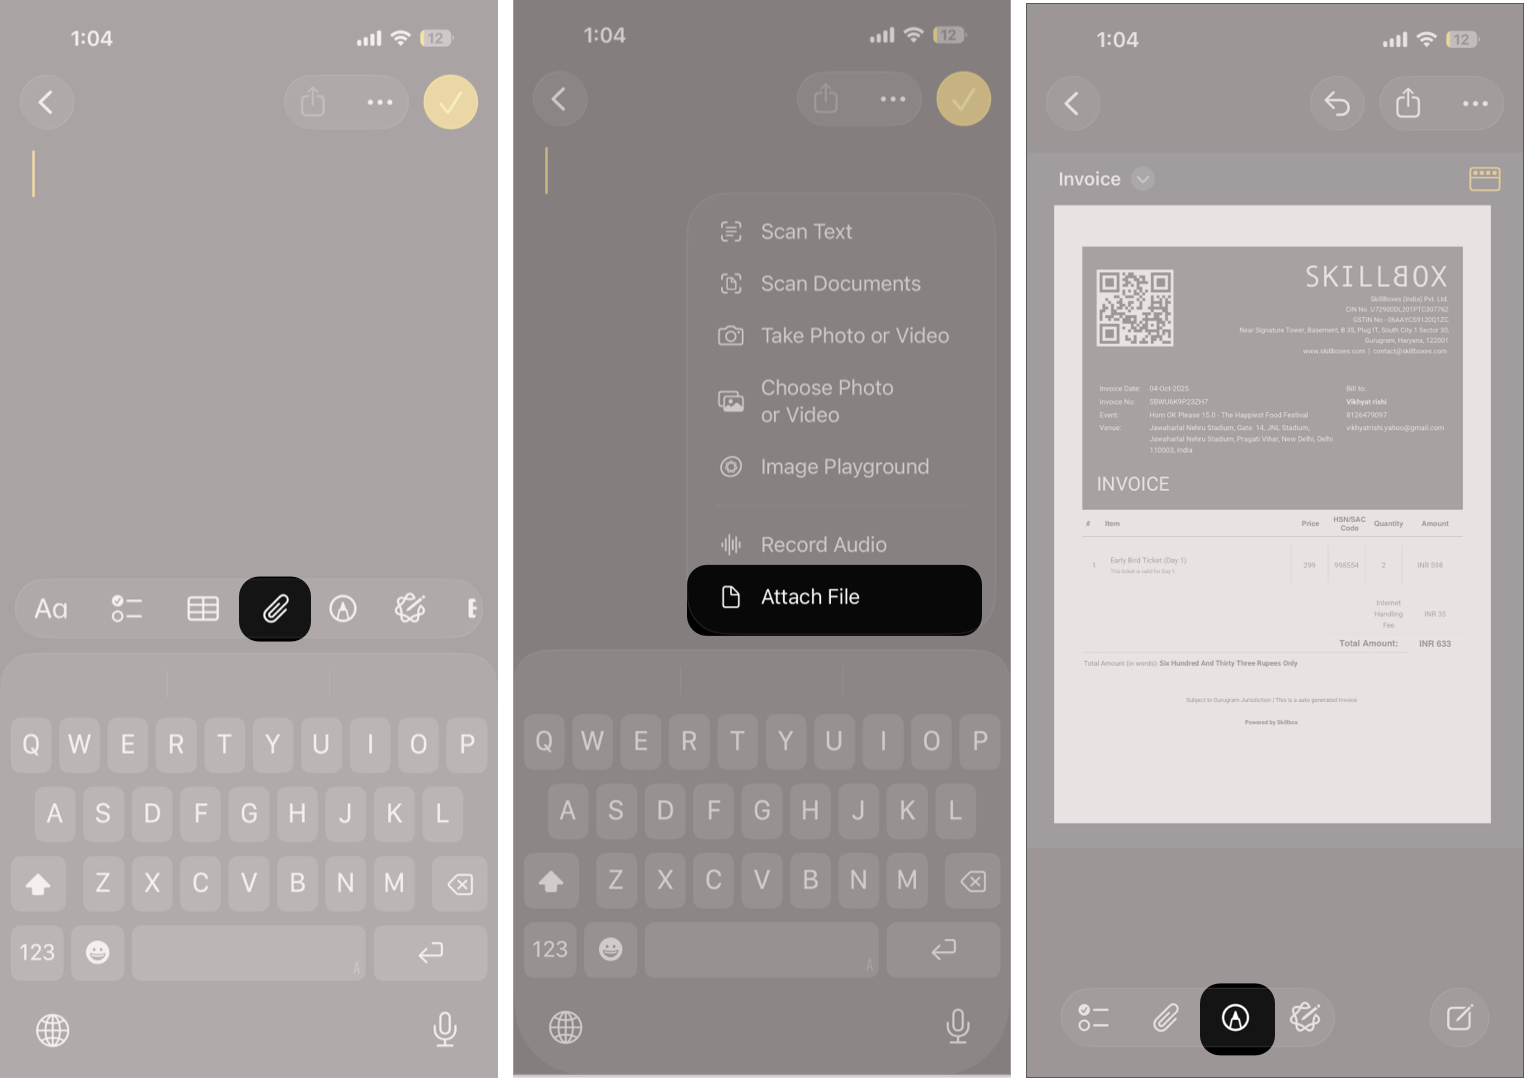
- Now, tap the Markup (pen tip) icon at the bottom to:
- Highlight and underline text
- Add text boxes and comments
- Draw freehand annotations
- Insert a saved or new signature
- Tap the right tick button at the top right to exit the Markup interface.


This method works well if you want to review a document with commentary or add context to your annotations.
Use Third-Party Apps for Advanced PDF Editing
Apple’s tools handle most annotation workflows well, but they do not alter the internal text objects of a PDF. That means you cannot use Preview or Notes to:
- Rewrite the existing paragraph text
- Merge multiple PDFs into one file
- Reorder pages across separate documents
- Perform advanced layout or typeface edits
For those capabilities, you’ll need a dedicated PDF editor from the App Store. Popular options include:
- Adobe Acrobat Reader: Form filling and limited text edits
- PDF Expert: Deep editing, page management, and annotations
- Foxit PDF Editor: Professional workflows and collaboration
These apps offer more control over text layers and document structure, often with subscription plans for full capabilities.
What You Can and Cannot Edit on iPhone or iPad
Here’s a quick summary of the editing limits:
| You Can Edit on iPhone | You Cannot Edit Natively on iPhone |
|---|---|
| Highlight and underline text | Rewrite existing paragraph or body text |
| Add text boxes and comments | Change fonts used in the original document |
| Draw freehand annotations | Redesign layouts or adjust document structure |
| Insert digital signatures | Merge multiple PDFs into one file |
| Fill out interactive PDF forms | Reorder pages across separate PDF files |
| Rotate individual pages | Perform advanced typography adjustments |
| Save annotated copies | Batch edit multiple PDFs at once |
Tips for Editing PDFs Efficiently on iPhone
Editing PDFs on a smaller screen can feel limiting at first, but the following smart adjustments can make the process faster and more precise:
- Use a stylus for cleaner and more controlled annotations.
- Zoom in before highlighting to ensure accurate text selection.
- Duplicate important PDFs before making major edits.
- Use different highlight colors to categorize feedback.
- Store frequently edited files in iCloud Drive for easy access across devices.
- Rename edited files clearly to avoid version confusion.
Editing PDFs on iPhone Made Easy…
Editing a PDF on iPhone no longer feels limiting. With Apple’s built-in tools, you can review documents, add annotations, fill forms, and sign files directly from your device without switching to a computer. For most everyday tasks, the Preview app delivers everything you need in a clean and reliable interface, while Notes offers flexibility when you need contextual annotations. And when advanced structural editing is required, dedicated PDF editors remain available.
Still stuck with a specific PDF issue on iPhone? Drop a comment, and we’ll help you out.
Read more:


