While many tech giants are hell-bent on siphoning users’ data, Apple has become more relentless when it comes to safeguarding users’ privacy and security. For those who put the safety of personal data above everything else, there had never been a better time to switch to iOS before.
With a slew of notable measures, Apple has enhanced the security and privacy of iPhone. So, data trackers no longer have a free run. Moreover, they must make it crystal clear as to why they are tracking and what sort of info they have picked up.
Whether you are new to iOS/iPadOS or have driven the Apple ecosystem for years, these are the best tips to make your iPhone and iPad more secure and safer in 2025. Of course, you might already be knowing some tricks but I bet there are quite a few features that you might not have come across as yet. Having said that, let’s get on with the tips!
16 Best iPhone security tips to protect your device
Allow Apps to Track Your Location Only Once
No more continuous location tracking in the background. Unlike before, you can allow apps to access your location only once. So, the next time they need to have your location data, they must ask for your permission. That’s not all, apps must have to come up clean with the reason regarding why they need your location data.
Whenever an app gets access to your location, a popup will appear on the screen with three options: Allow While Using App, Only Once, and Don’t Allow. Select Only Once in the popup.
Remove Location Data from Photos and Videos
For all the social media buffs or anyone who likes sharing their photos and videos all over the web, this one is a must-have feature. It offers an upfront way to remove geotags from images so that no one can figure out where the shots had been taken. While sharing images, tap on Options in the share sheet and disable the Location toggle.
Get Location Alerts
Features like “Location Alerts” keep you fully aware as to what is happening with your data. Thus, you have more command over your privacy. When you allow an app to track your location, Apple keeps you in the loop through alerts showing the map of the location data that the app has picked up. And oh, it also provides the reason for that.
To take advantage of this feature, launch Settings → Privacy → Location Services → Location Alerts. Next, turn on the toggle, if it’s not already enabled.

Use Sign In With Apple
When we talk about iOS 13 and of course the recently introduced iPadOS, we must never overlook “Sign In With Apple”. It can go a long way in protecting your data from falling into the wrong hands. While it may seem to be quite similar to other offerings like “Sign In With Facebook”, it stands out from others on many fronts.

First and foremost, Apple doesn’t compile users’ data nor does the company sell it out to others. What’s more, the tech giant forwards a unique email to you so that your real identity remains shielded. Not to mention, it provides you an option to hide your email ID as well.
To get started with this feature, make sure you have enabled two-factor authentication. Then, at the login page of any supported website or app (across platforms like iOS, macOS, Android, and Windows), simply hit Sign In With Apple. After that, you have the option to edit your info and even hide the email. In the end, authenticate using Touch ID or Face ID and you are ready to go!
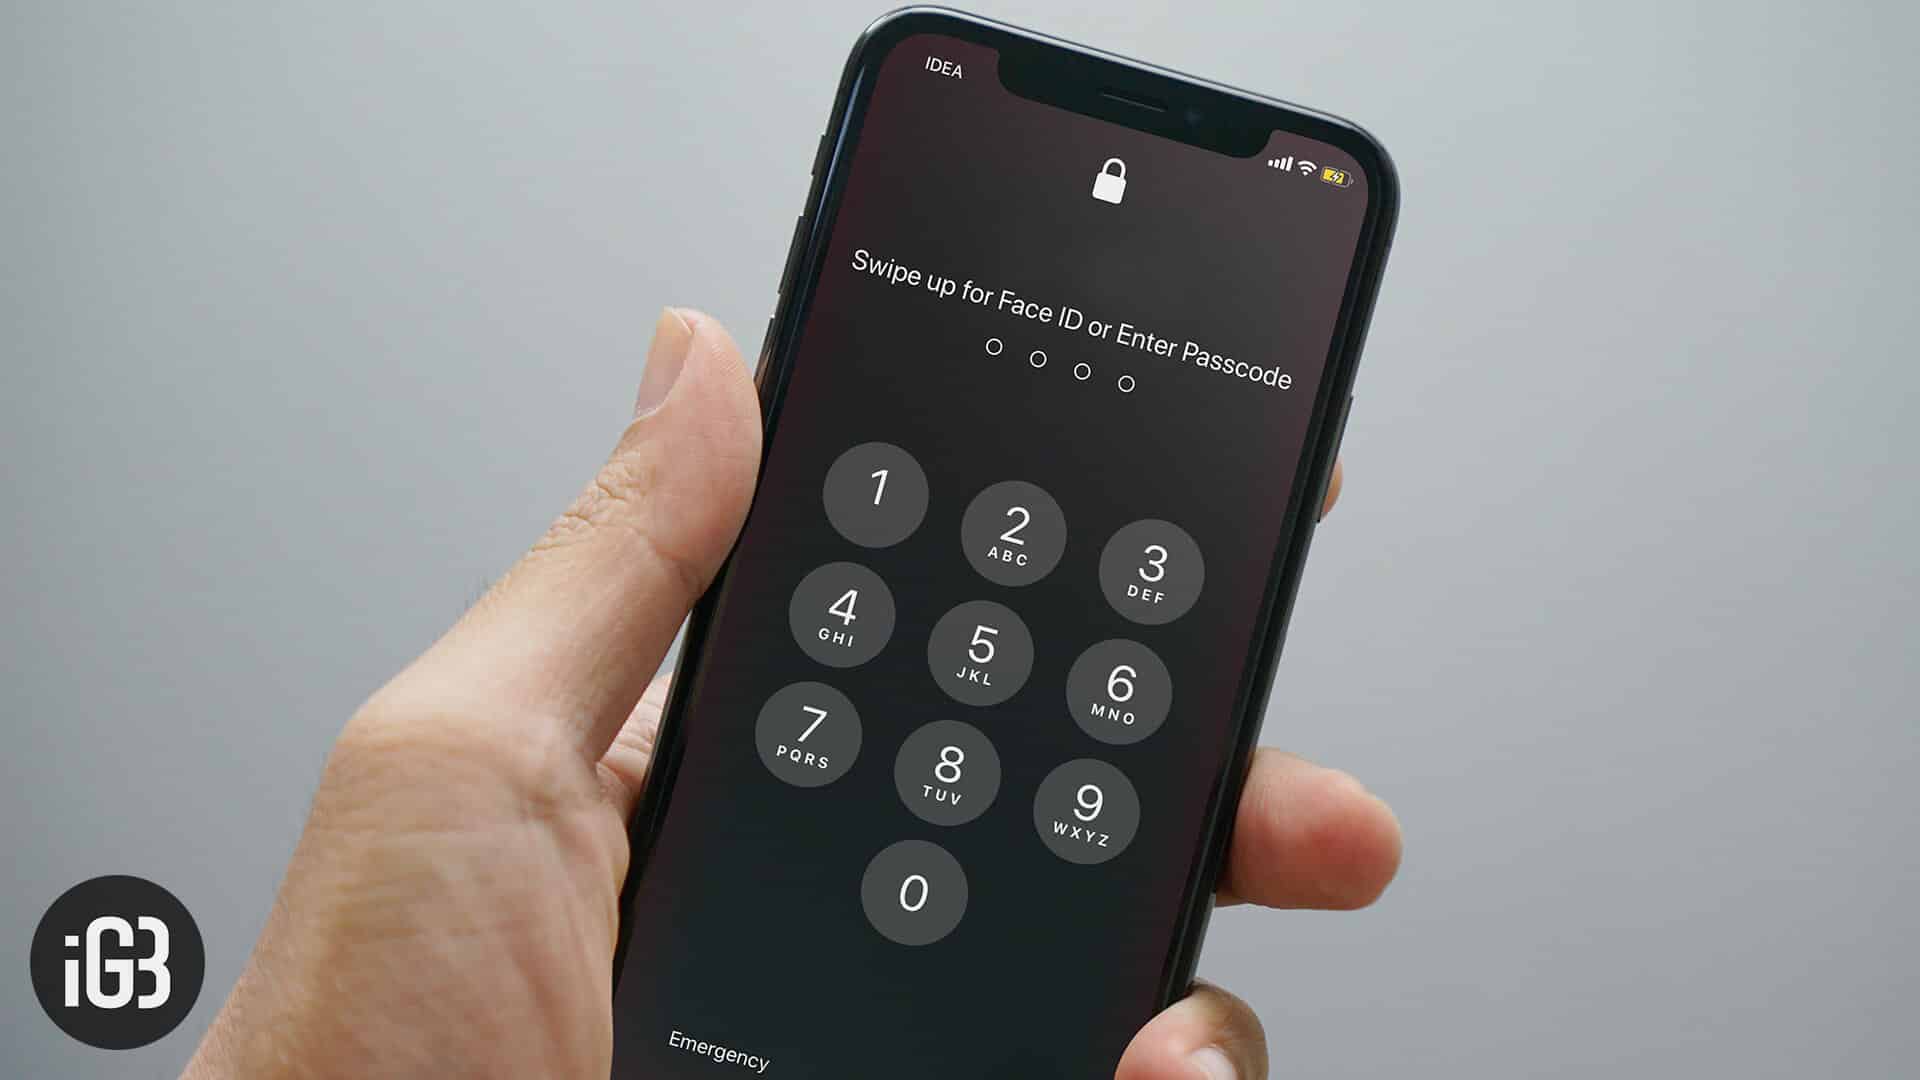
Create Alphanumeric Passcode
One of the first layers of safeguard that can go a long way in protecting your device is “Alphanumeric Passcode“. The combo of alphabets and numbers makes it really robust. Besides, make the most of Face/Touch ID to prevent unauthorized access to your data.
Apple’s Face ID is undoubtedly the most advanced and secure. Powered by the TrueDepth camera, it allows you to authenticate with the desired shield. Moreover, Apple says that it’s superior to Touch ID as far as security is concerned.
Disable Notification, Control Center & Siri on Lock Screen
If you think that creating alphanumeric passcode would secure your iPhone, think again. Your locked iPhone is still accessible to any pro-iPhone user, who can easily sneak into your device from Control Center or Notification Center.
On the locked screen of your iPhone, anybody can swipe up Control Center and gain access to Flash, Camera, Airplane Mode, Bluetooth, etc. And Notification Center gives easy access to messages and updates.
Moreover, if you have left Siri enabled on the lock screen, culprits can ask questions and give commands to Siri to get some information. To avoid this situation, you should disable Notification & Control Center and Siri from the lock screen of your iPhone.
Disable Siri Suggestions on the Lock screen
With iOS 12, Siri offers a suggestion on the Lock screen. It does so to keep you alerted about things that you do every day. For instance, if you use an app to learn drawing every day, the personal assistant offers you suggestions around the same time so that you don’t forget to draw.
It’s undoubtedly very helpful. But it can also expose your privacy about what you do. Hence, turning off Siri suggestions on Lock screen would be a wise idea.
Two-Factor Authentication/2-Step Verification
Two-factor authentication can be enormously helpful in providing the needed shield to your account. Once enabled, it lets you access your account only on your trusted devices. The biggest and most obvious advantage of this feature is that even if someone has got the access to your passwords, your account will continue to be safeguarded.
Today, most apps let you enable two-step verification to let you add an additional layer of security to your account. Once you have turned on this feature, every time you log in to your account, you will have to authenticate using a security code.
- How to Enable Two-Factor Authentication for Apple ID
- How to Enable Two-Step Verification for Google Account
Clear Your History
Another important thing that can be very pivotal in offering an additional shield to your personal info is keeping the browsing history cleaned up. Though it’s really helpful when you quickly access the already visited sites through instant suggestions, it can expose your privacy about what you search and read. If you don’t want anyone to ever find what you are up to on the web, delete the history once you have browsed the web.
You can also take advantage of incognito mode to browse the web privately. Today, most web browsers including Safari let you enable private mode. So, you won’t have any problem keeping your personal info safe.
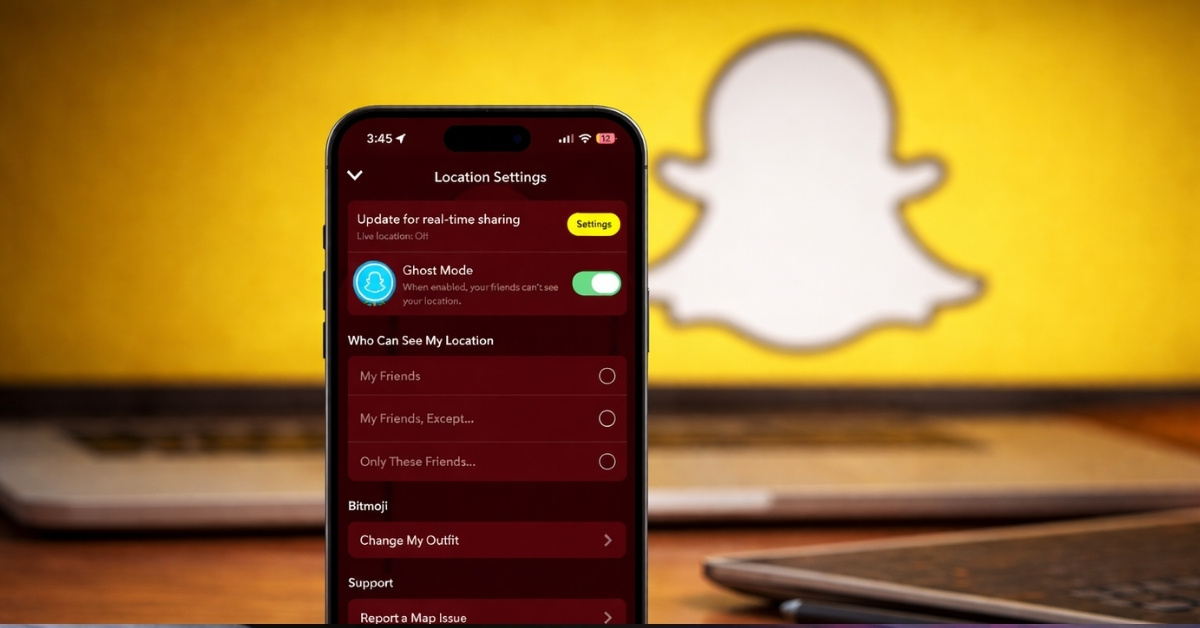
Manage Location Services
Learn to say “No” to any app that asks for location access on your iOS device. This feature doesn’t only enjoy your private information but also drains the battery and processor on your iOS devices.
The latest iOS versions let you manage Location Services in a better way. For instance, you have the option to allow an app to access your location only when you are using it. So, if you must allow an app to have access to your location, do take advantage of this neat feature. Settings ⟶ Privacy ⟶ Location Services.

Manage Your Passwords
If you are fed up with storing all those passwords at different locations, you should better download a strong password manager app. Such apps securely save all your important passwords at one place and let you use the same with a single master password or with your Touch ID.
iOS 12 comes with a robust password manager called “iCloud Keychain” to let you ideally manage all of your passwords. It also suggests strong keys to ensure your data has an extra layer of defense.
Enable Find My iPhone
“Find My iPhone” is a major security feature. What makes it stand out is the ability to let you track your lost device and even safeguard its data. Through Activation Lock, it stops anyone from using or selling your device. Unless someone has access to your Apple ID passwords, he can’t reactivate or erase your contents.
Use VPN to Browse the Web with Enhanced Safeguard
VPN apps can be immensely pivotal in offering the extra layer of defense to your sensitive information. It lets you securely browse the web and also prevents spammers from tracking your information. It hides your IP address so that no one is able to figure out what you are up to.
Use Vault Apps to Keep Your Contents Hidden
Don’t want anyone to bump into your personal photos or videos? Vault apps can be very handy in keeping them under wraps. You can create separate folders to keep all of your stuff perfectly organized. And, use a secure key to access them.
Customize Your Content And Privacy Restrictions
With iOS 12, you have more control over your content and privacy restrictions. Based on your need, you can allow/disallow installing, deleting and even in-app purchase.
You get various other options like preventing Siri from using explicit language and disallow password changes. In short, if you want to have immaculate control over all of your content, this is the way to go!
Settings ⟶ Screen Time ⟶ Content & Privacy Restrictions

Automatically Erase Your Data After 10 Failed Attempts
Don’t want your contents to get into the wrong hands? You can preset your device to automatically wipe out all the data after 10 failed passcode attempts.
Of course, when this feature is enabled, you wouldn’t want your device to be anywhere near your kid. But if you want to on the safer side of the stream, you should keep this feature in mind. Settings ⟶ Touch/Face ID & Passcode ⟶ Turn ON Erase Data.

Bonus:
Encrypt Your Backup
iTunes doesn’t back up some of your personal data like our saved passwords, Wi-Fi settings, Website history, and Health data. However, you can encrypt your backup to save them.
Once you have enabled the password-protected Encrypt backup option, iTunes will automatically create the encrypted backup from then onwards. It’s pretty simple to do, simply connect your device to computer → fire up iTunes → select the device and then check the box for Encrypt iPhone/iPad backup under Backups section.
iCloud automatically encrypts your entire backup. So, you don’t need to do anything to include all of your info. To back up your device through iCloud, head to Settings → Apple ID banner → iCloud → Turn on the switch next to iCloud Backup ⟶ tap on Back Up Now.

That’s pretty much it!
Signing off!
So, these are some of the most notable ways through which you can safeguard your iPhone and its data. Do you know any other ways to keep the device protected? Let us know that in the comments.
You might want to explore: