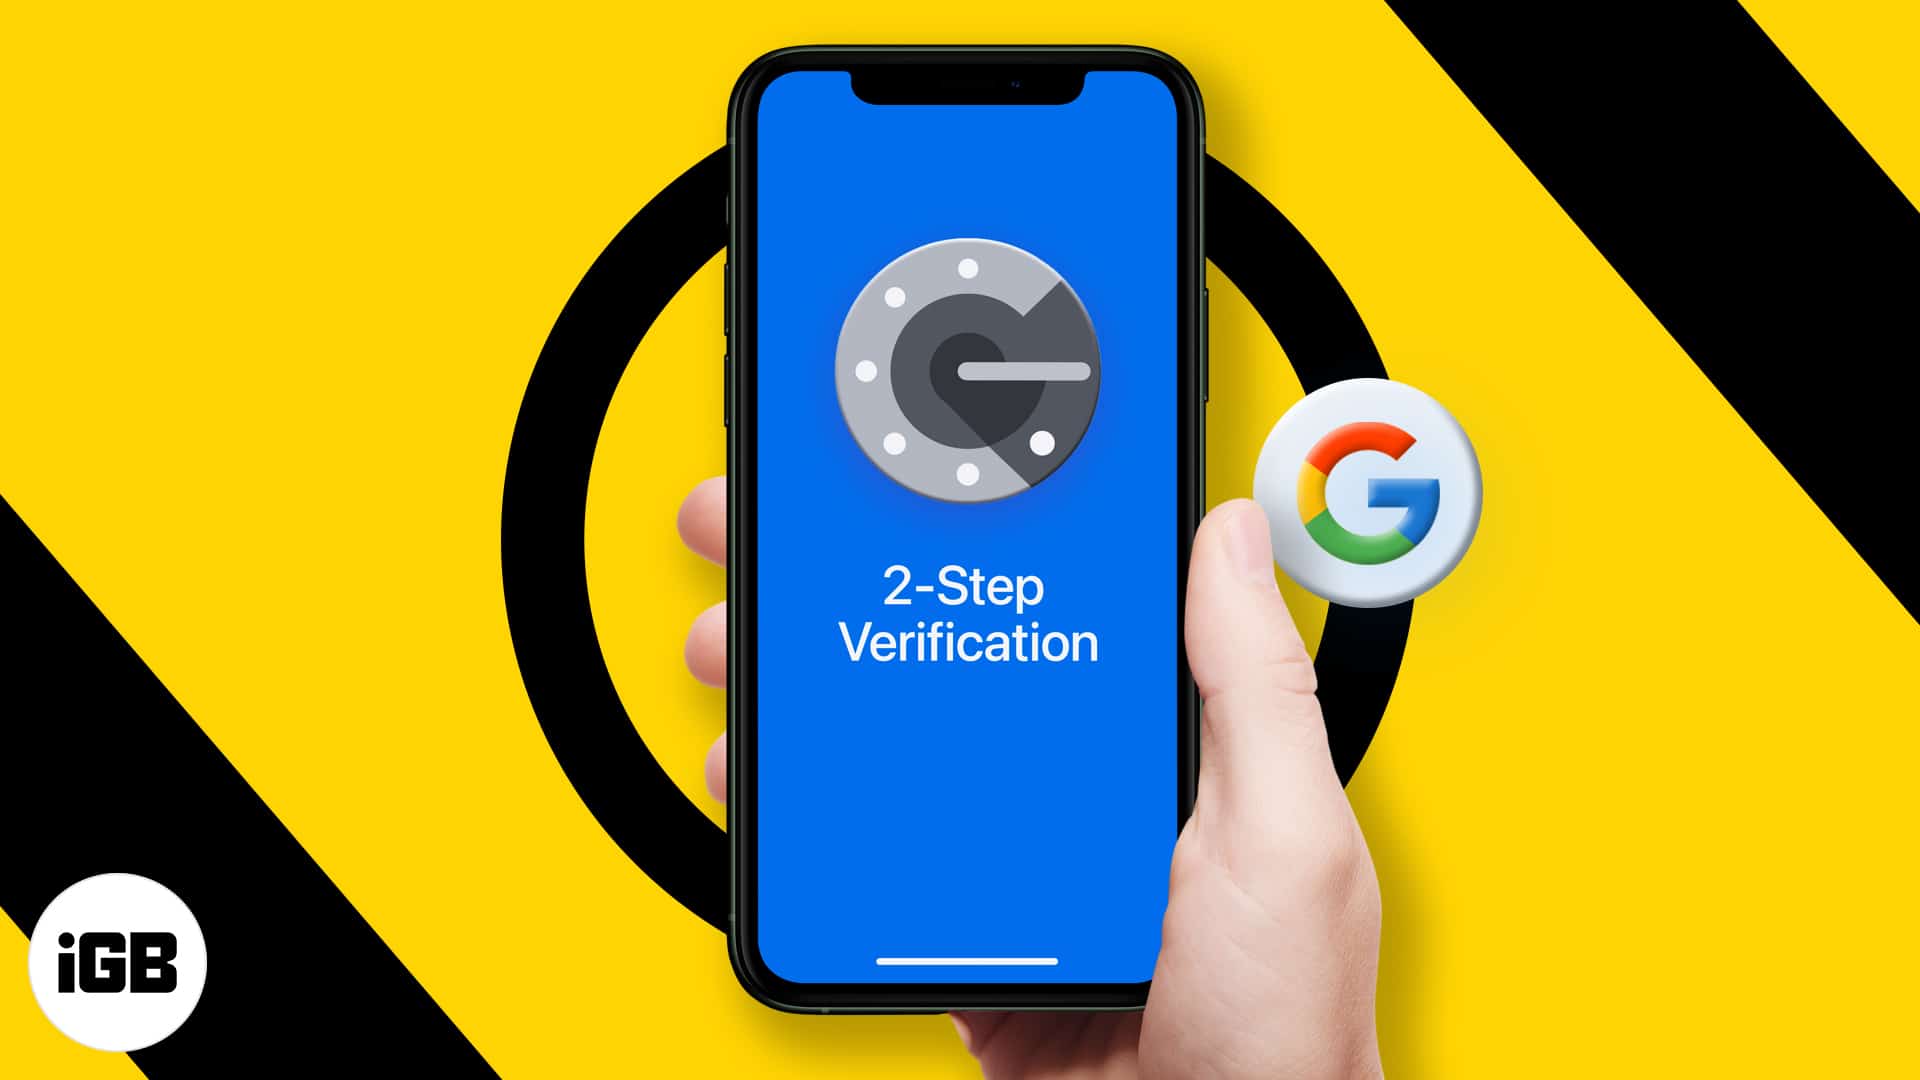
With one Google account, you can use many essential everyday services like Gmail, YouTube, Drive, Photos, and more. If you own a business, you might be using their products like Adsense, Webmaster Tools, Analytics, YouTube Creators, etc. Thus, it is vital to make sure that someone else can not log in to these. Enabling 2-step verification for your Google account will prevent unwanted access and keep data safe. Let me tell you more about it and help set it up from your iPhone or iPad.
What is 2-step verification?
How do you login to a website or app like Google?
Username + Correct Password = Successful Login
Google’s two-step verification adds an extra layer. Once you enable this, you must enter a one-time code (or verify via the prompt on your primary device) to log in.
Username + Correct Password + 2FA Code/authentication prompt = Successful Login
Two-step verification ensures that even if your password is breached in a data hack or shared with someone, they can’t log in without the additional code, that is, the two-factor authentication code.
Let us see how to set up 2-step verification for your Google account from your iPhone or iPad.
Turn on 2-step verification for your Google account
- Visit myaccount.google.com on your iPhone using a web browser like Safari or Chrome. Sign in if asked.
- Scroll right to the left on Home, Personal info, and tap Security.
- Scroll down and tap 2-Step Verification.
- Tap GET STARTED. Type your Google password to continue.
- Enter your phone number and choose how you would like to receive the codes.

- Enter the code on the subsequent screen and tap NEXT.
- Tap TURN ON.
Note: After enabling 2FA, scroll down to choose other verification methods like Google prompts and Backup codes. They are better verification options than SMS.
You have successfully enabled two-step verification for your Google account. From now, whenever you try to login into any service that Google owns (YouTube, Gmail, Google Photos, Drive, etc.), you will receive a code via text message that you have to enter after the correct Google account password.
Now, every time you try to log in from a non-trusted device, you must verify it’s you using any of the verification methods. I have explained below the list of options you have and how you can enable them.
How to verify it’s you while logging in to your Google account
After setting up two-step verification, you have to confirm every time to verify it’s you who’s trying to log in. For this, there are several methods. On the login screen, you have the choice to choose the verification method you prefer.
Verify using code received via text message or call
Google will send a code via SMS or call the registered mobile number. Enter this code to log in successfully.
SMS text messages are not hundred percent reliable and may take up to five minutes to arrive. Additionally, if you are in an area with no cellular connection or in a different country where your SIM isn’t operational, it’ll become next to impossible to verify with an SMS code. Even worse, what happens if you lose your phone! Enable other verification options just in case.
Use Google prompts in the Google or Gmail app on your phone
After setting up 2FA, scroll down to Google prompts → tap ADD PHONE → GET STARTED → NEXT, and authenticate via your Google password. If you get a prompt in your Gmail or Google app, tap Yes to confirm.

Note:
Ensure you download and sign in to the official Gmail or Google app on your iPhone.
Now, when you try to login into your Google account on some other device, you will receive a notification in your phone’s Google or Gmail app. It will ask if you are the one trying to sign in. Tap Yes to authenticate.
Use physical security keys for verification

If you have a security key that works via Bluetooth or Lightning port, tap ADD SECURITY KEY and proceed after enabling 2-step verification. If you have a security key with a regular USB, sign in to your Google account on a computer and set it up from there.
Depending on which security key you have, you will have to plug it into the device or connect via Bluetooth. Next, authenticate via the button or touch to complete the 2FA sign-in.
Use your backup code to sign in
Finally, if you cannot use any of the above methods, you can also enter one of the backup codes to sign in. You are free to generate new backup codes anytime you like. Just make sure to keep them somewhere safe.
To generate backup codes after turning on 2FA, scroll down to Backup codes, tap SET UP.

You will see ten codes. Download, print, or take a screenshot (and hide it on your iPhone.) You may also copy these codes, paste them into the iOS Notes app, and lock it.
Tip:
– You can also use Google authenticator or other authentication apps for login verification. Let’s understand more about Google authenticator and how to use it.
What is Google Authenticator and how to use it?
Google Authenticator is a free security tool that generates random codes to verify your identity when logging in to Gmail and other services like Facebook. It is a safer and better way to authenticate than an SMS. Moreover, it also works offline!
To use Google Authenticator, follow the below steps.
- Download Google’s Authenticator from the App Store.
- Tap SET UP and choose your phone.
- Next, you will see a QR code. Setting this up via a computer or iPad allows you to the QR code using the authenticator app on your iPhone. However, if you are following the steps on your iPhone, it isn’t possible. Thus, tap CAN’T SCAN IT?

- Now, copy the long code you see.
- Next, open Google authenticator. Tap Enter a setup key.
- Enter your Google address and paste the key. Ensure Time-based is selected and tap Add.

- Now, open the browser and tap NEXT. Copy the six-digit code from the authenticator, paste it here, and tap VERIFY. You have successfully enabled the authenticator app.


Skip 2-factor authentication on trusted devices
To ease the sign-in process, you may check “Don’t ask again on this computer” if the computer belongs to you. Do not do this on a public or office computer.

You can also remove trusted devices. Log in to your Google account → visit the Security tab → tap REVOKE ALL to remove trusted devices.
Now, you will be asked for the two-step verification code again on these devices while logging in.
How to turn off 2-factor authentication on iPhone
I would advise you not to, but you can turn off two-step verification of your Google account. To do this, follow the below steps;
- Log in and make sure you are in the Security tab.
- Tap 2-Step Verification.
- From the next screen, tap TURN OFF.

Have further questions? Feel free to ask via the comments below.
You will also love these: