How to Use AssistiveTouch on Apple Watch for Hands-Free Control
AssistiveTouch on Apple Watch lets you control your watch with hand gestures and wrist movements. Learn how to enable it, customize gestures, and make everyday navigation faster and easier.
- What is AssistiveTouch on Apple Watch: AssistiveTouch lets you control your Apple Watch using hand gestures and wrist movements, offering a simpler way to interact without touching the display.
- How to Enable AssistiveTouch: You can turn it on from Settings → Accessibility on your Apple Watch or through the Watch app on iPhone.
- How to Customize AssistiveTouch: You can personalize controls by assigning gestures, enabling Motion Pointer, choosing a scanning style, and setting up quick actions for smoother navigation.
- Using Gestures and Motion Pointer: Gestures like pinch, double pinch, clench, and double clench or wrist tilts move a cursor, allowing hands-free control of watch functions.
- Why AssistiveTouch Matters: It enhances accessibility and comfort, helping users manage actions like Apple Pay approval or navigation easily without relying on touch inputs.
AssistiveTouch on Apple Watch is an accessibility feature that lets you control your watch without touching the display. Once enabled, you can use hand gestures and wrist movements to navigate, making it useful for people with mobility challenges as well as anyone who prefers hands-free control.
This guide explains what AssistiveTouch is, how to enable it, and the best ways to customize it for your Apple Watch.
What is AssistiveTouch on Apple Watch?
AssistiveTouch is an accessibility feature that detects hand gestures and wrist movements to control a cursor and navigate the watch screen. Similar to AssistiveTouch on iPhone and iPad, it makes interacting with Apple Watch easier, especially since the display is small.
It works by using the built-in gyroscope, accelerometer, and heart rate sensor to track your movements. While designed for accessibility, many users turn it on for convenience, such as taking screenshots, adjusting volume, or quickly opening apps without touching the display.
How to Enable AssistiveTouch
You can turn on AssistiveTouch from either your paired iPhone or directly on your Apple Watch.
From iPhone:
- Launch the Watch app.
- From the My Watch tab, go to Accessibility.
- Scroll down to MOTOR functions and choose AssistiveTouch → Toggle on AssistiveTouch.
- If you’re enabling it for the first time, hit OK when prompted.

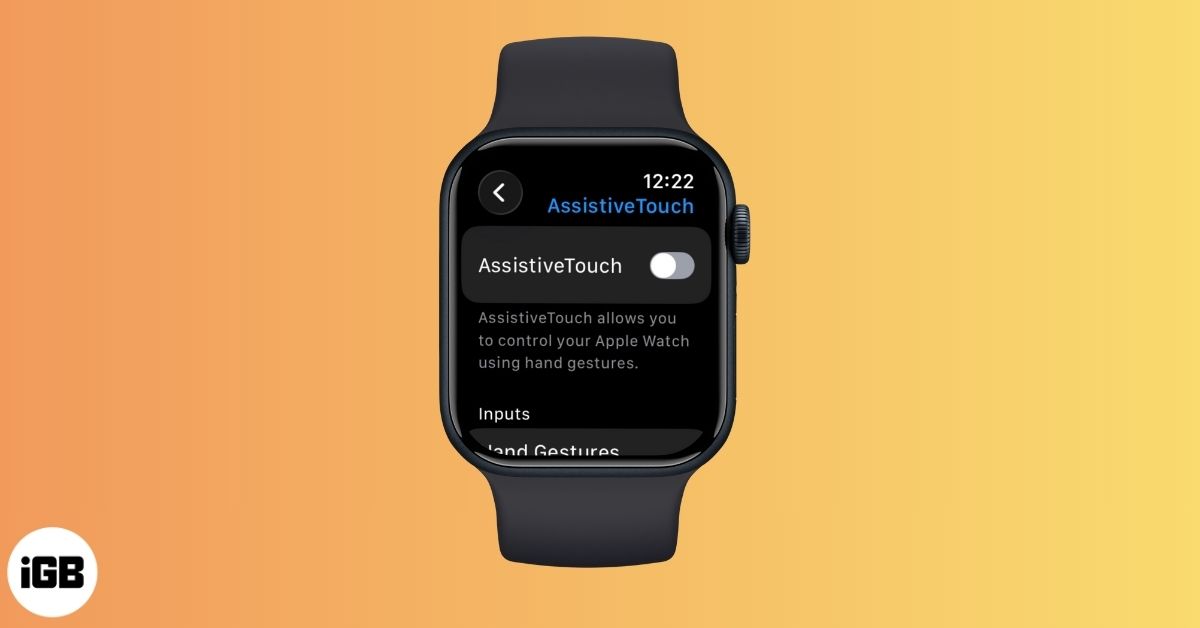
From Apple Watch:
- Open Settings → Accessibility.
- Toggle AssistiveTouch on.
How to Customize AssistiveTouch on Apple Watch
AssistiveTouch becomes much more useful when you tailor it to your needs. Here are the main options you can adjust.
1. Assign Actions to Hand Gestures
Enable hand gestures to control your watch with movements like:
- Access the Watch app on your iPhone → Accessibility → AssistiveTouch. Select Hand Gestures.
- On your Apple Watch, go to Settings → Accessibility→ AssistiveTouch → Hand Gestures.
- Toggle on Hand Gestures.
- Doing so will enable you to access your Apple Watch via hand gestures like:
- Tap: Press index finger to thumb.
- Double Tap: Press index finger to thumb twice quickly.
- Clench: Make a fist.
- Double Clench: Quickly close your hand to a fist twice.

- Tap the gesture → Choose any action you want to proceed with. As you can see above, I have assigned the Forwards action to the Tap gesture.
- Remember to toggle on Visual Signal from Activation Gesture. This will let you perform the action after the display turns on.

Once you’ve enabled Hand Gestures for your Apple Watch, activate it by following the action you chose. In my case, it is Double Clench.
Note:
Now, based on the customization gestures you have set, you can navigate through Apple Watch without touching the screen.
2. Enable Motion Pointer
The Motion Pointer lets you move a cursor simply by tilting your wrist.
- On your iPhone, launch the Watch app → Accessibility → AssistiveTouch. Tap Motion Pointer to proceed.
- On your Apple Watch, choose Settings app → Accessibility → AssistiveTouch → Motion Pointer.
- To adjust the sensitivity of the movement, move the pointer to the right or left as per your preference.
- To set the Activation Time, use the minus (–) or plus (+) signs accordingly.
- Set the Movement tolerance based on your preference.
I’d suggest going with Medium, as Low would reduce the speed of the circular pointer for items, and High would increase the speed (a bit difficult to control or stop). - You can assign commands to the four Hot Edges.

- Finally, tap Dwell Control to customize Timer Action or enable Shake to Start. Learn more about these features below.

When Dwell Control is enabled, the pointer hovers over an item for a preset dwell time (customizable, as shown above). After that, the item is automatically selected or activated.
With all the above settings in place, I can Shake to Start the Motion Pointer on my Apple Watch.
It can be controlled by tilting your hand up or down or from side to side. When the pointer is positioned over an item you would like to activate, just hold your hand in this position until the circle completes one cycle.
By doing so, the respective app will launch, and you can further control the functions in the same way.
3. Assign a Scanning Style
Choose how AssistiveTouch highlights items:
- Go to Settings → Accessibility → AssistiveTouch.
- Select Scanning Style.
- You select either one of the following:
- Manual Scanning: It allows you to move between gestures manually. If you opt for Manual Scanning, you can manually move between items on the screen or in a menu using the pinch or double-pinch gesture.
- Auto Scanning: It highlights the actions automatically so that you can perform your tasks faster. By using Automatic Scanning, each item on the screen or in a menu is automatically selected one after another.

- You can also control the scanning speed. Choose between Slow, Medium, or Fast.
4. Customize Appearance
If you want better visibility, enable High Contrast under:
- Go to Accessibility → AssistiveTouch → Toggle on High Contrast and set the color that is preferable to you.
- Now, you will be able to choose from different color combinations, use high-contrast screens for better visibility, and more.

5. Overview of Customize Menu
You can add your own actions beyond the default ones.
- Access Settings → Accessibility → AssistiveTouch.
- Go to Customize Menu → Add Action.
- Upon assigning the feature, define its position and the Autoscroll Speed per your requirement.
- You can even toggle on the Large Menu feature if you want to adjust the size of the action menu.

6. Side Button Confirmation
AssistiveTouch also works with Apple Pay.
- Tap Enable Confirm with AssistiveTouch → Choose Continue on Apple Watch.

- You’ll receive an alert on your Apple Watch for confirmation of the same.
- Click the side button twice to conclude the process.
This lets you approve payments quickly without entering your passcode.
Final Thoughts
AssistiveTouch makes Apple Watch more accessible and more convenient. With a few tweaks, you can control your watch using gestures, the Motion Pointer, or scanning styles without touching the display. Whether you enable it for accessibility or just as a shortcut tool, it can make everyday use faster and easier.
Frequently Asked Questions

Written by
Jignesh PadhiyarJignesh Padhiyar is the co-founder of iGeeksBlog.com, who has a keen eye for news, rumors, and all the unusual stuff around Apple products. During his tight schedule, Jignesh finds some moments of respite to share side-splitting content on social media.
View all posts →More from Apple Watch

Apple Watch Not Responding? 8 Fixes That Actually Work
Is your Apple Watch unresponsive or stuck on a black screen? Here are 8 proven fixes to help you unfreeze it and get it working again quickly.
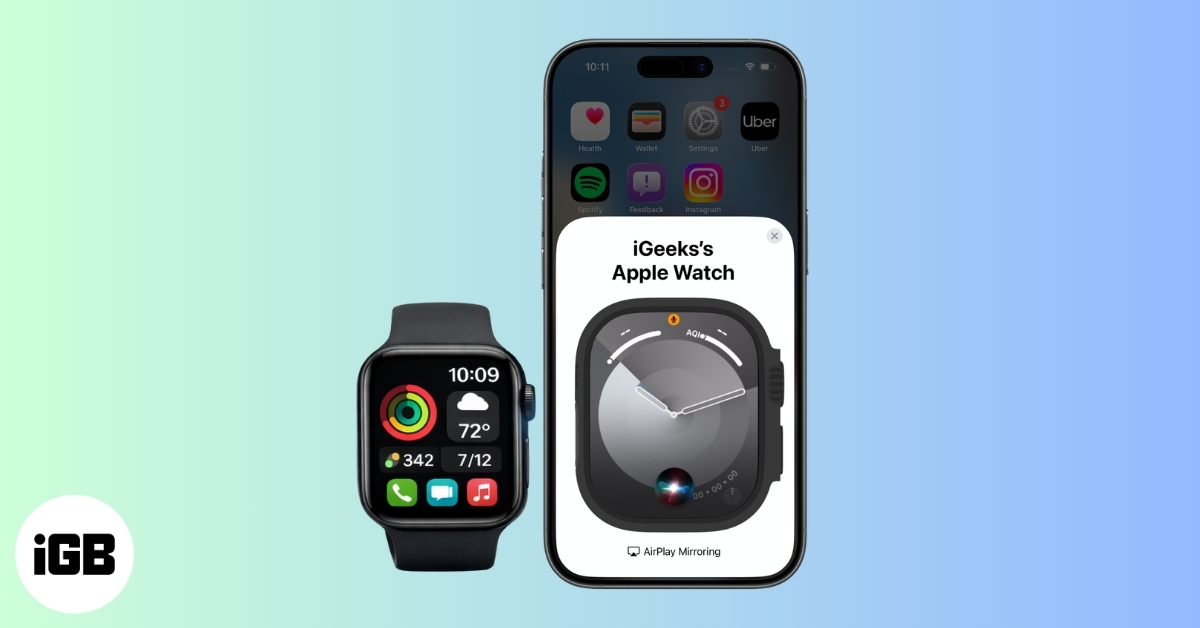
How to Mirror Your Apple Watch on Your iPhone: A Simple Guide
Want to control your Apple Watch using your iPhone? This guide explains how to turn on Apple Watch Mirroring, use it easily, and fix common issues.

How to Restore Apple Watch From a Backup
Need to reset or switch iPhones? Here’s how to restore your Apple Watch from a backup, what data comes back, and how to make sure everything syncs properly.