Apple has empowered elders and cognitively disabled people with Assistive Access, a thoughtfully designed feature that simplifies the entire iPhone and iPad experience. It highlights only the essential apps and presents them in a clean, easy-to-navigate layout. Users can operate the device with gestures, voice commands, or alternative input methods. It is genuinely one of the most supportive additions Apple has made to iOS, and this guide will help you set up and use Assistive Access on your iPhone.
What is Assistive Access on iPhone?
Assistive Access is an accessibility feature introduced in iOS 17 that makes the iPhone easier to use for individuals with cognitive disabilities. It reduces visual clutter and replaces the standard interface with large buttons, simple menus, and clear visuals.
You also get streamlined tools like VoiceOver, magnification, and switch control to guide navigation. The entire design becomes more comforting for users who may feel overwhelmed by traditional iPhone menus.
When Assistive Access is on, the interface changes noticeably and becomes more focused:
- The Home Screen displays only a small set of essential apps such as Phone, Messages, Camera, Photos, and Music. These appear as large, easy-to-tap tiles.
- Menus inside apps are simplified so only the necessary options appear. This reduces the chance of confusion.
- Text and icons become larger, and everything is spaced out to improve readability. For instance, in the Messages app, you can reply through an emoji-only keyboard or even a selfie video message.
- Only essential features stay accessible. This avoids accidental taps and hides non-critical system alerts, privacy prompts, and updates.
Through this simplified experience, Assistive Access supports users who need extra help to interact with technology independently. Apple also lets you choose which apps appear, so you can tailor the layout to your users’ needs.
Requirements to Use Assistive Access
Before setting up Assistive Access, there are a few things to prepare.
- Add the Face ID of the person who will be using Assistive Access.
- Install the required apps that the person needs to use during Assistive Access.
- Save the vital contact information so the person can quickly call or message them.
- Set up Siri so the person can use voice commands to control their device.
- Connect the device to Wi-Fi or cellular data so the person can access the internet and use apps that require an internet connection.
- Set a passcode on the device to protect it from unauthorized access.
How to Set Up Assistive Access on iPhone or iPad
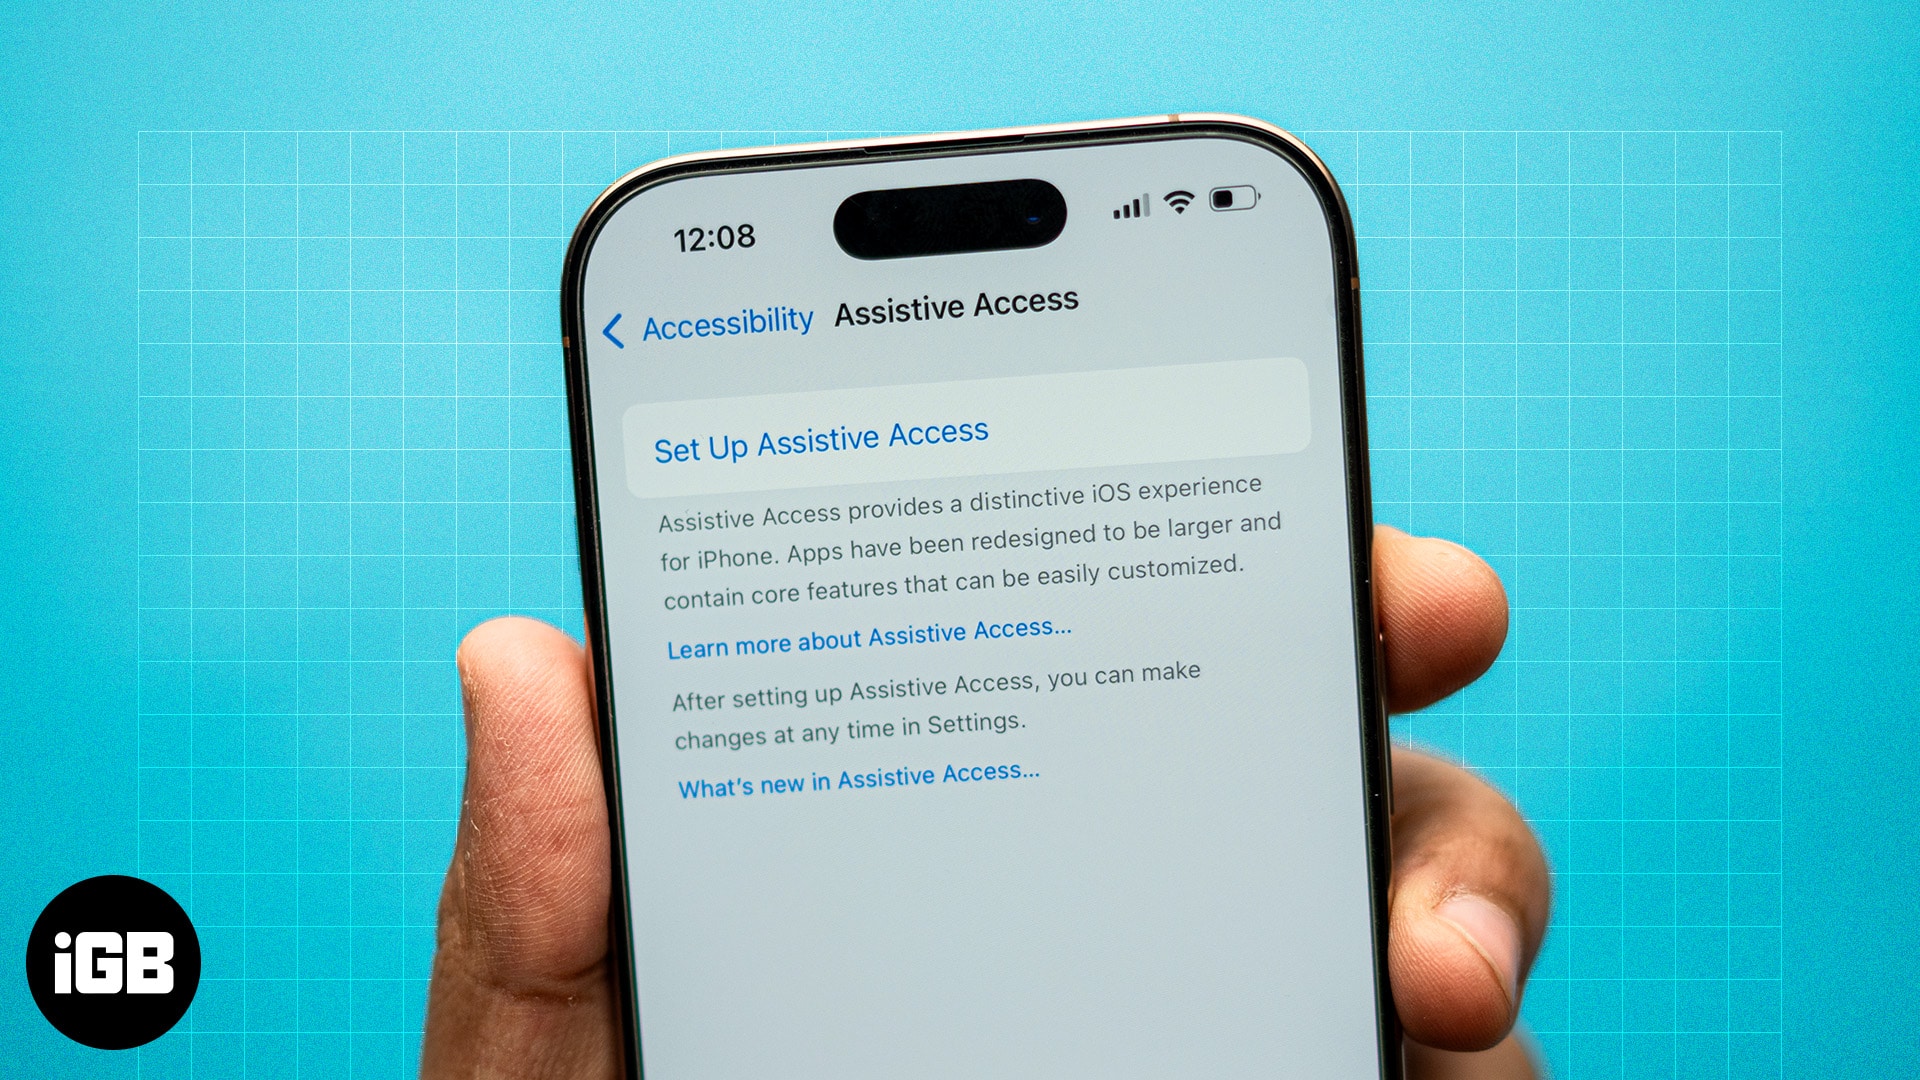
- Launch Settings → Head to Accessibility → Select Assistive Access.

- Choose Set Up Assistive Access → Tap Continue.

- Select Continue if you wish to activate Assistive Access for the current logged-in Apple ID.
You can also switch Apple ID by selecting Change Apple ID. - Choose Grid or Row as the appearance of the Home Screen → Press Continue.

- Tap the plus icon beside the apps you want to add → Customize the app and select Continue.
I’m using the Messages app here.
- You can choose from the Other Apps not optimized for Assistive Access → Tap Continue.
- Select Continue.

- Tap Continue when you’re sure that the person who will use this device knows the passcode of the device and their Face ID is added.
- Enter a password for Assistive Touch → Re-enter the password to confirm it.

- Enter your Apple ID and Password → Select Continue.

- Choose Enter Assistive Access Now → Enter the Assistive Access Passcode.

Now, your device will enter into Assistive Access mode after a few seconds.
How to use Assistive Access on iPhone or iPad
Once Assistive Access is active, the Home Screen changes to a clean layout with large icons for the apps you selected. The interface is more focused and includes a big Back button for easy navigation.
1. Unlock Your iPhone or iPad
- Press the Side Button on your iPhone or the Top Button on your iPad to wake the device.
Alternatively, you can tap your iPhone or iPad screen to do so. - Press Tap.

- Select Tap.

- Tap Open.

- Enter your device password. You can also use Face ID or Touch ID to unlock your device.


To lock your device, press the side button or the top button.
2. Use Apps in Assistive Access
Simply tap the app icon to open the app. You will see a persistent Back button and a more extensive interface.
For example, when I opened the Messages app with Assistive Access, the initial screen presented two columns of large contact cards, each featuring the contact’s image and name.
3. Read New Text Messages
If you receive a new text message while on Assistive Access, the Messages app will display a bell icon with a New alert in the top-left corner. Furthermore, if your device is locked, you will see the same icon in the top-right corner of the Open button.
4. Change Basic Assistive Access Settings
- Triple-press the Side Button or Top Button on your iPhone or iPad.
- Tap Settings in the top right corner of the screen.

- You have the following options here: Airplane Mode, Dark Mode, Bold Text, Volume, Brightness, and Text Size.


Once you have made the desired adjustments, tap the Back button to return to the Assistive Access Home Screen.
5. Access Emergency Options During Assistive Access
- Triple-press the Side Button or Top Button on your iPhone or iPad.
- Select Emergency from the top left corner of the screen.
- Use the Dialpad to call an emergency number.


Moreover, you can also check the user’s health information by selecting the *Medical ID in the top left corner of the screen.
How to Exit Assistive Access Mode
You may need to exit Assistive Access to add or remove apps, activate Siri, or change the auto-lock time.
- Triple-press the Side Button or Top Button on your device.
- Enter the Assistive Access password.


Now, wait a few minutes, and you’ll be back at your iPhone or iPad home screen.
1. Add or Remove Apps
- Open Settings → Head to Accessibility → Choose Assistive Access.
- Tap Manage Apps.

- To add an app: Select the plus (+) icon next to the app → Tap Continue.

- To remove an app: Tap the minus (-) icon beside the app → Select Remove.


2. Enable Siri During Assistive Access
- Open Settings → Go to Accessibility → Tap Assistive Access.
- Toggle Allow Siri.

3. Change the Auto-Lock Time
- Launch Settings → Navigate to Display & Brightness.
- Tap Auto-Lock.
- Choose a timestamp you want from the list.
You can also choose Never to always keep the display active.

Wrapping up
Assistive Access is a powerful and thoughtful tool that makes the iPhone feel more approachable. Even though it has a few limitations, it creates a safer and more independent digital experience for people who need extra support. What are your thoughts on this feature? Share them in the comments and let others know how it helped you.