FaceTime Like a Pro
Get our exclusive Ultimate FaceTime Guide 📚 — absolutely FREE when you sign up for our newsletter below.

FaceTime Like a Pro
Get our exclusive Ultimate FaceTime Guide 📚 — absolutely FREE when you sign up for our newsletter below.
Learn how to create and use Apple Passkeys on your iPhone, iPad, and Mac to enjoy faster, safer, password-free logins.
Do you know that the strongest password can be stolen, guessed, or exposed in a data breach? That’s why Apple introduced Passkeys. It’s a more secure, password-free way to sign in to apps and websites using Face ID, Touch ID, or your device passcode.
This guide breaks down what passkeys are, how they work, and how to set them up and use them across Apple and non-Apple devices in iOS 26, iPadOS 26, and macOS Tahoe.
Apple passkeys are a passwordless authentication method based on industry-standard FIDO technology. Instead of remembering and typing a password, you simply authenticate with Face ID, Touch ID, or your device passcode.
Each passkey consists of two parts:
Apps or websites verify your identity by checking that your device possesses the private key. Since this key never leaves your device, it can’t be stolen through phishing or server breaches.
Before using passkeys, ensure you have:
Creating a Passkey happens when you sign up for a new account or update an existing one on a supported website or app on your Apple device.

If the option doesn’t show up, the site doesn’t support Passkeys yet. Also, you can have both a password and a Passkey for the same account.
No problem, most services now offer a Convert to Passkey option:
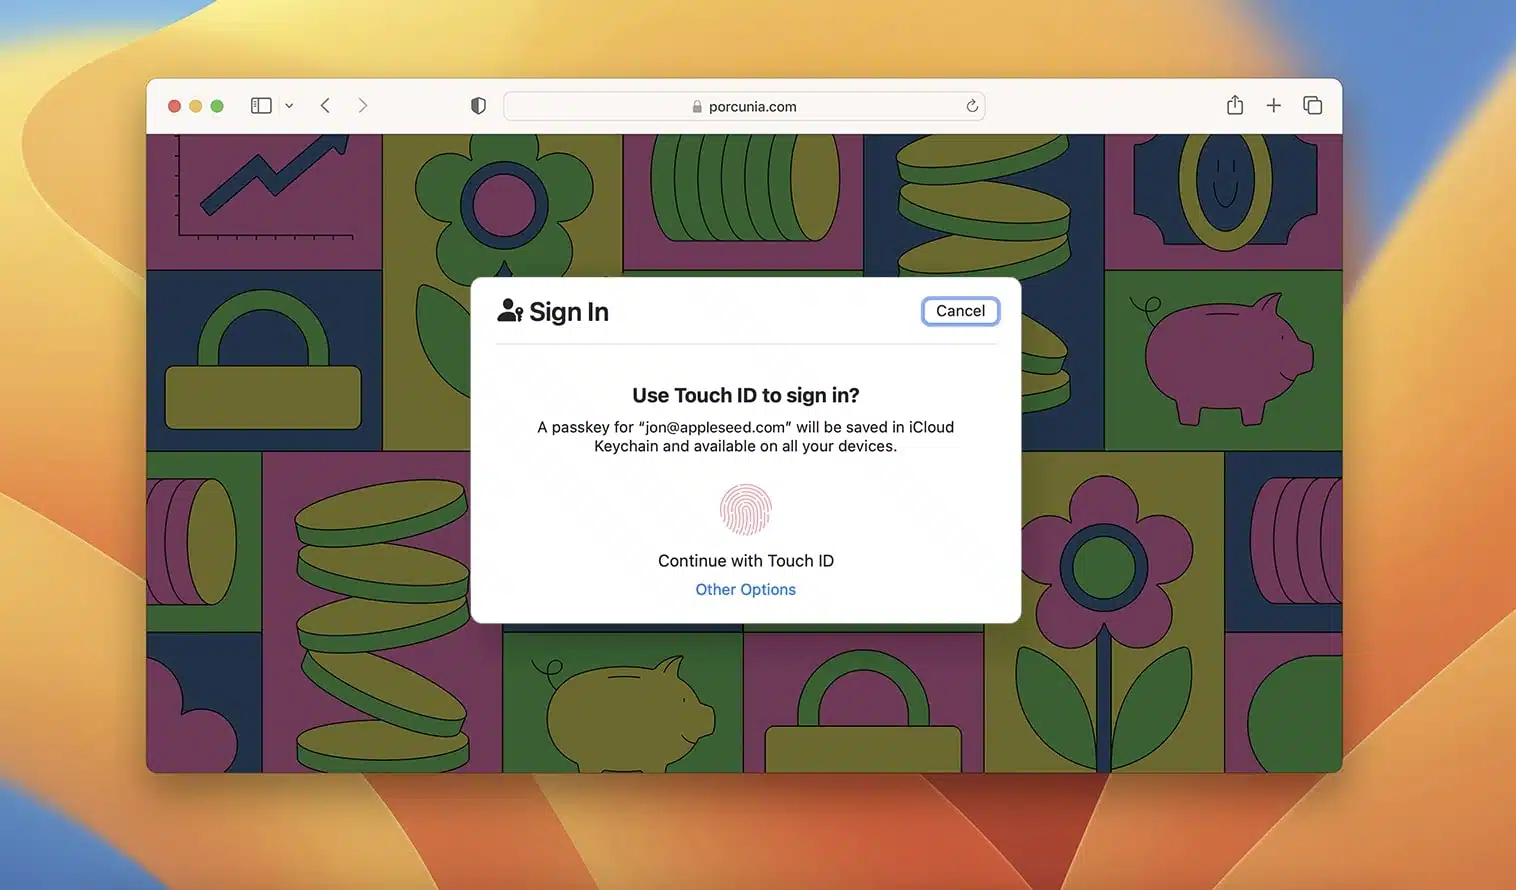
Once a passkey is created, logging in becomes instant:

No typing, no verification codes needed. Just authenticate and you’re in.
You can sign in with your passkeys even on Windows, Android, or shared public devices. Your Apple device simply needs to be nearby, because the login uses secure proximity verification.
Here’s how it works:

Important: Screenshots or photos of the QR code won’t work. The process requires real-time proximity between devices.
If you’re near someone else’s Apple device, you can also share a passkey via AirDrop.
All your Passkeys live in the Passwords app on your iPhone (it’s built-in on iOS 18 and later). Here’s how to handle them:
From here, you can also share Passkeys securely with family groups. Everything syncs automatically to your iCloud Keychain, so changes appear on your other Apple devices, too.
Passkeys rely on WebAuthn, a modern authentication standard built on public-key cryptography.
Here’s what makes them secure:
This model replaces the traditional shared-secret approach and eliminates attack vectors such as password reuse, credential stuffing, and SMS-based OTP hijacking.
If you lose one device, your passkeys remain available on your other Apple devices via iCloud Keychain.
But if all your devices are lost:
You can still recover your passkeys using iCloud Keychain Escrow, a highly secure recovery system that protects your data even from Apple itself.
You’ll need:
There are up to 10 attempts to recover your escrow records. Exceeding the limit deletes them permanently for your protection.
You can also designate an Account Recovery Contact who can help you regain access if you’re locked out.
| Issues | Solutions |
|---|---|
| Passkey option not appearing | The website/app may not support passkeys yet. Update your iPhone to the latest iOS version. |
| Passkeys not syncing | Make sure iCloud Keychain is enabled: Settings > [Your Name] > iCloud > Passwords & Keychain > Sync this iPhone. |
| Face ID/Touch ID failed | You can use your device passcode to unlock the passkey instead. |
Passkeys may sound technical, but in practice, they’re as simple as unlocking your device. They’re faster, safer, and more convenient than passwords, and they’re quickly becoming the new standard for secure sign-ins across the web.
As more apps and services adopt passkeys, you’ll spend less time managing passwords and more time enjoying frictionless, secure access.
What’s your experience with passkeys so far? Let me know below!
Read more: