FaceTime Like a Pro
Get our exclusive Ultimate FaceTime Guide 📚 — absolutely FREE when you sign up for our newsletter below.

FaceTime Like a Pro
Get our exclusive Ultimate FaceTime Guide 📚 — absolutely FREE when you sign up for our newsletter below.
Reduce eye fatigue and improve focus by enabling Dark Mode on your Mac.
Late-night work, binge-watching in bed, or just tired of staring at bright white menus all day? That’s where Dark Mode on Mac steps in. It not only makes your screen look cooler but also reduces eye strain, saves a bit of battery, and helps you focus better, especially in low light.
Whether you want it enabled all the time, only at night, or per app, here’s how to make the most of Dark Mode on your Mac.
Dark Mode is a built-in feature in macOS that changes the appearance of menus, toolbars, backgrounds, and supported apps from light to dark. It gives your Mac a sleek look and makes content like text and images stand out better.
Apple has been offering Dark Mode since macOS Mojave (2018), and it works across most of the system, including Finder, Messages, Safari, Notes, and more. Plus, it also supports third-party apps that are designed to follow your system’s theme.
Dark Mode is more than just a style choice. Here are a few ways it can benefit you:
Most importantly, Dark Mode is particularly helpful at night when bright white screens can feel harsh or even disrupt sleep patterns.
You can turn on Dark Mode in several ways. Let’s go over each of them.
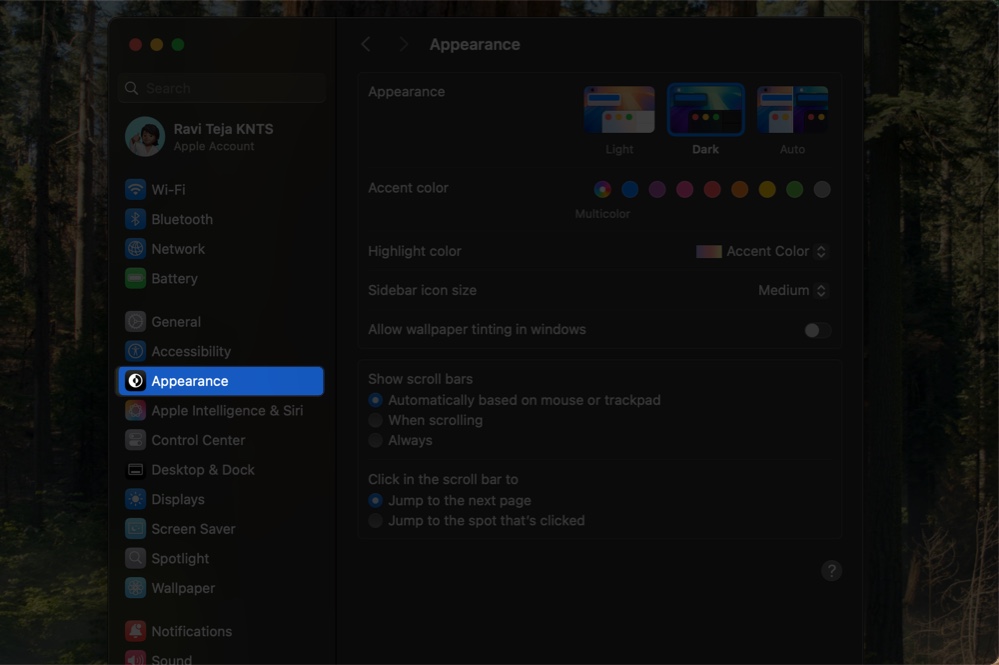
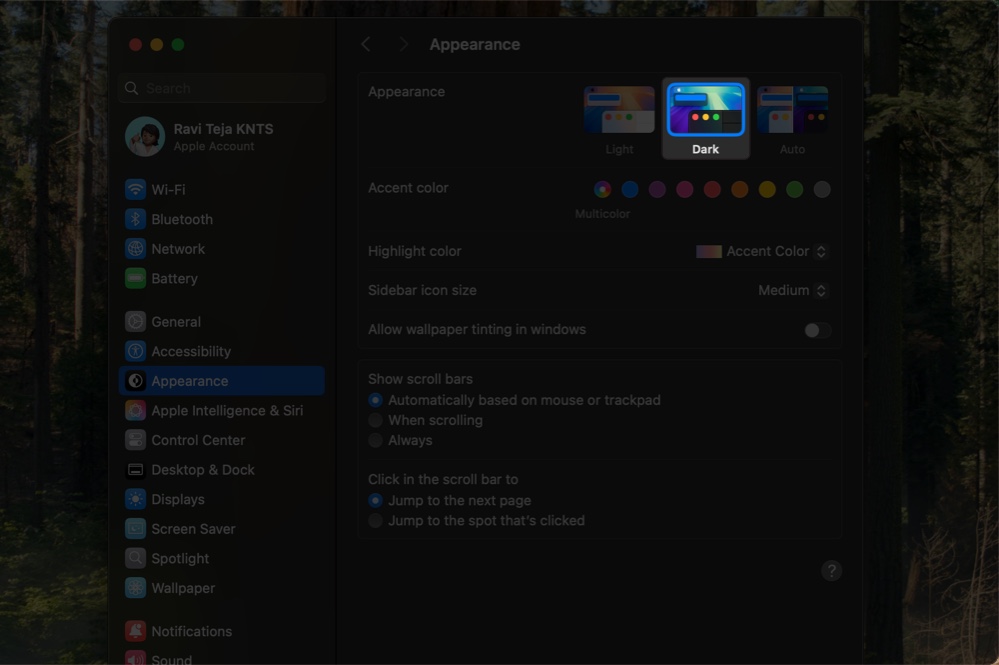
You can also pick Light to keep the default look or Auto if you want your Mac to switch automatically based on the time of day.
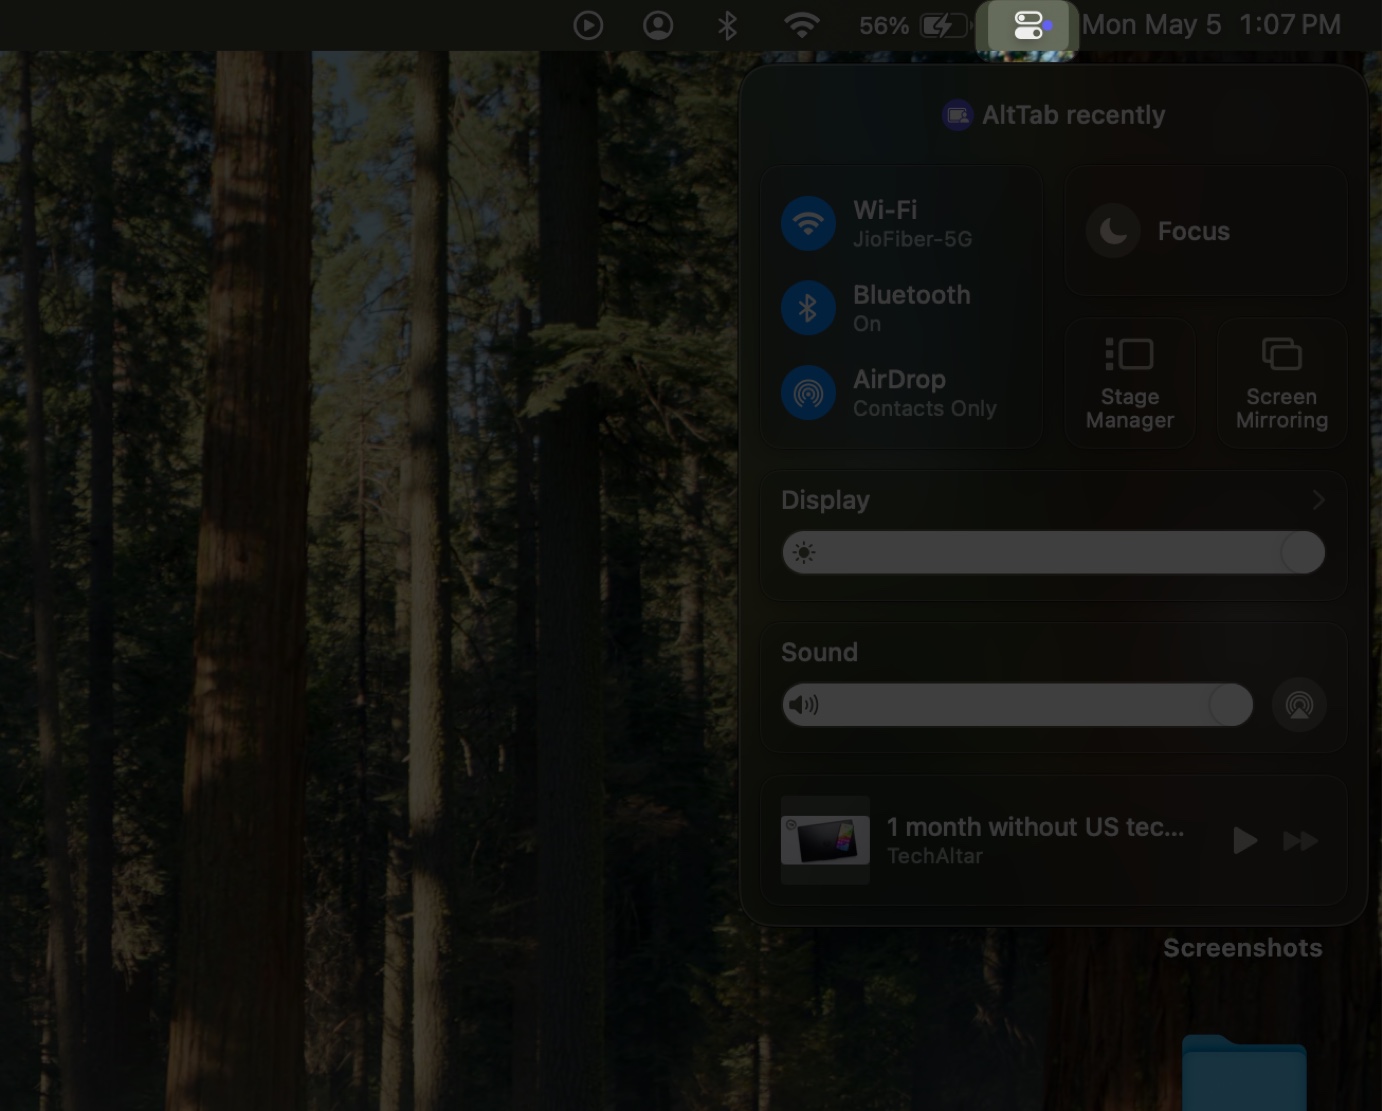
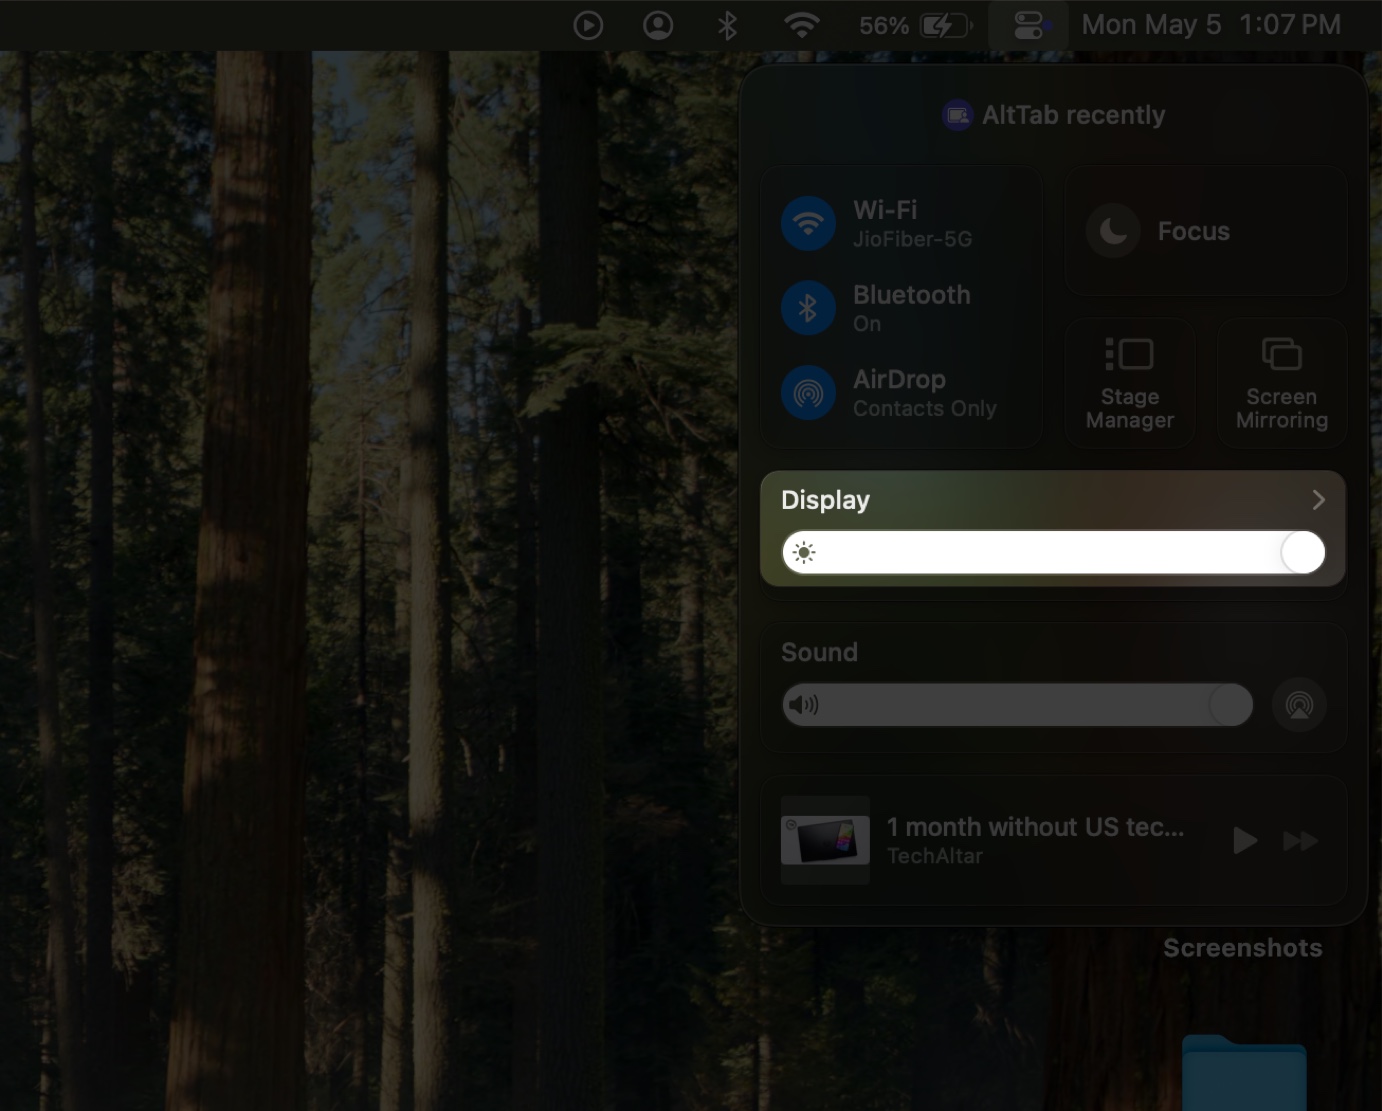
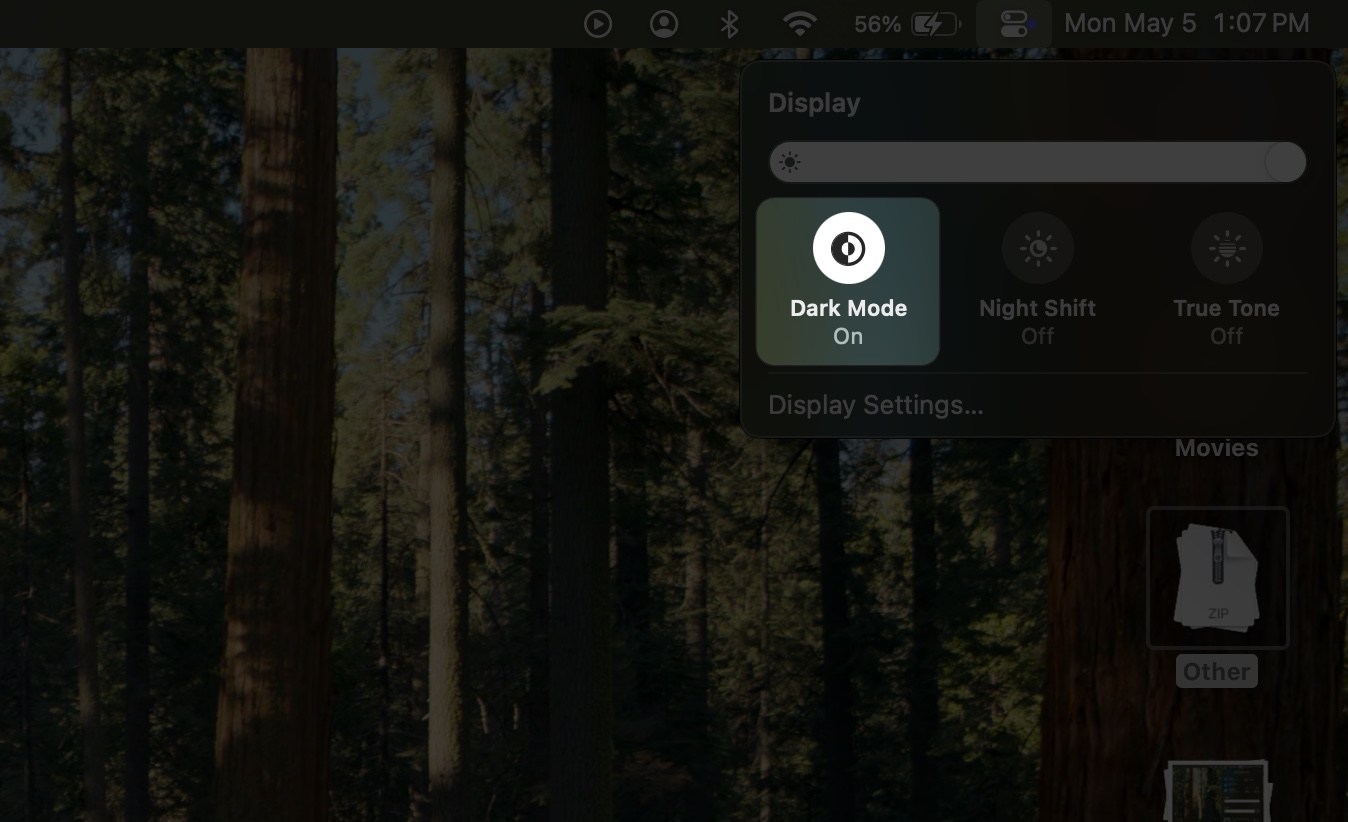
Pro Tip: You can drag the Display option out of Control Center and pin it to your menu bar for quicker access.
Open Siri by saying “Hey Siri” or using a keyboard shortcut. It can be the fn+S keyboard shortcut or pressing the Command key twice depending on your customization in System Settings > Apple Intelligence & Siri.
Then just say, Turn on Dark Mode or Turn off Dark Mode, and Siri will do the rest.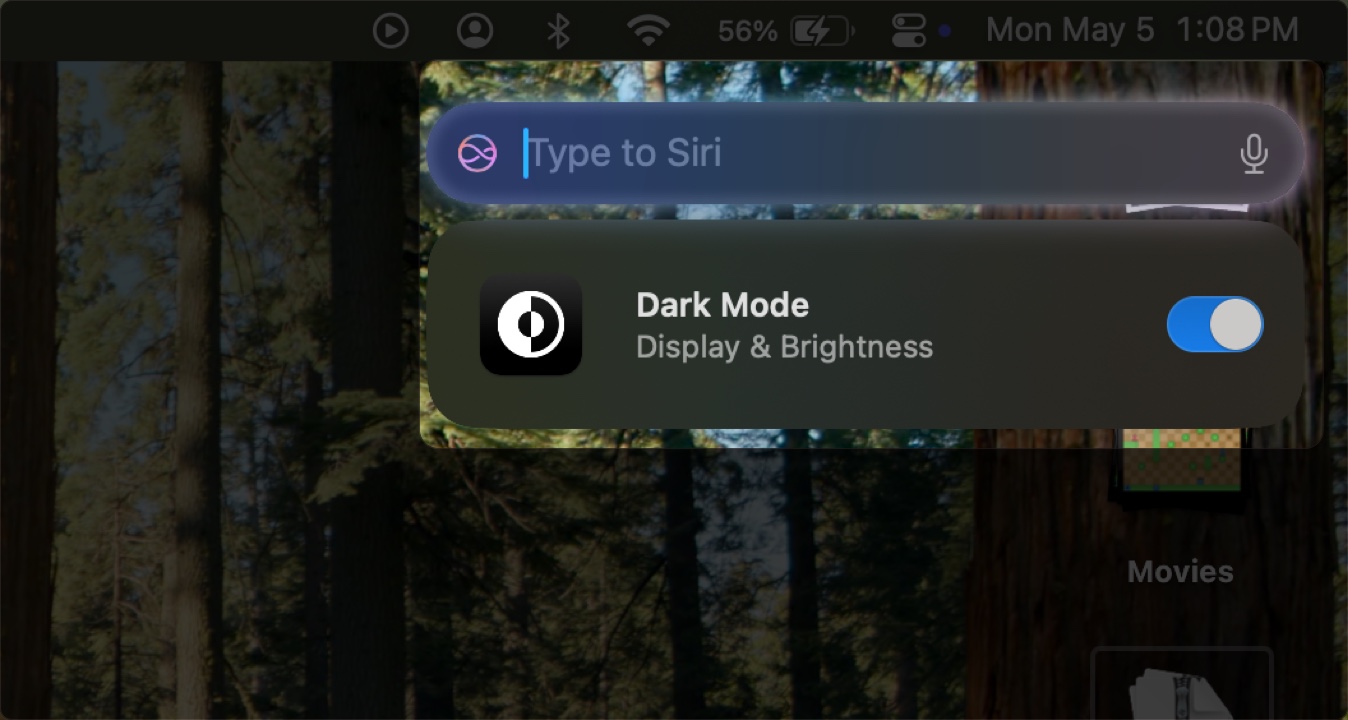
Also read: How to enable Dark Mode on your iPhone
When you choose the Auto appearance setting, your Mac will switch between light and dark themes based on your Night Shift schedule. During the day, it stays light; at night, it shifts to dark. This is a smart way to automate your display without manual switching.
However, keep in mind that Auto mode won’t activate until your Mac has been idle for at least a minute. Also, if you’re playing a video or using an app that prevents the display from sleeping, it may delay the switch.
Dark Mode is just the start. You can tweak how your Mac looks even further—without affecting usability—using the several built-in options available, as shown below.
When Dark Mode is on, many built-in apps automatically adjust their themes. Apps like Mail, Safari, Notes, Messages, Maps, and System Settings will all adopt a darker look. However, you can override it in some apps, as shown below:
Third-party apps may also follow Dark Mode if the developer has included support for it.
Dark Mode makes your Mac easier to use, better to look at, and more comfortable at night. Once you set it up, you can forget about it, especially if you use Auto mode alongside Night Shift. Not only that, but Dark Mode also helps reduce screen glare when you’re working in environments with low ambient light, like on a plane or in a dark room.
Whether you toggle it with a click, a voice command, or let it run on auto-pilot, Dark Mode is one of those small features that makes a big difference. Now that you know how to use it, give it a try and see what works best for your eyes and your workflow.
Don’t miss these related reads: