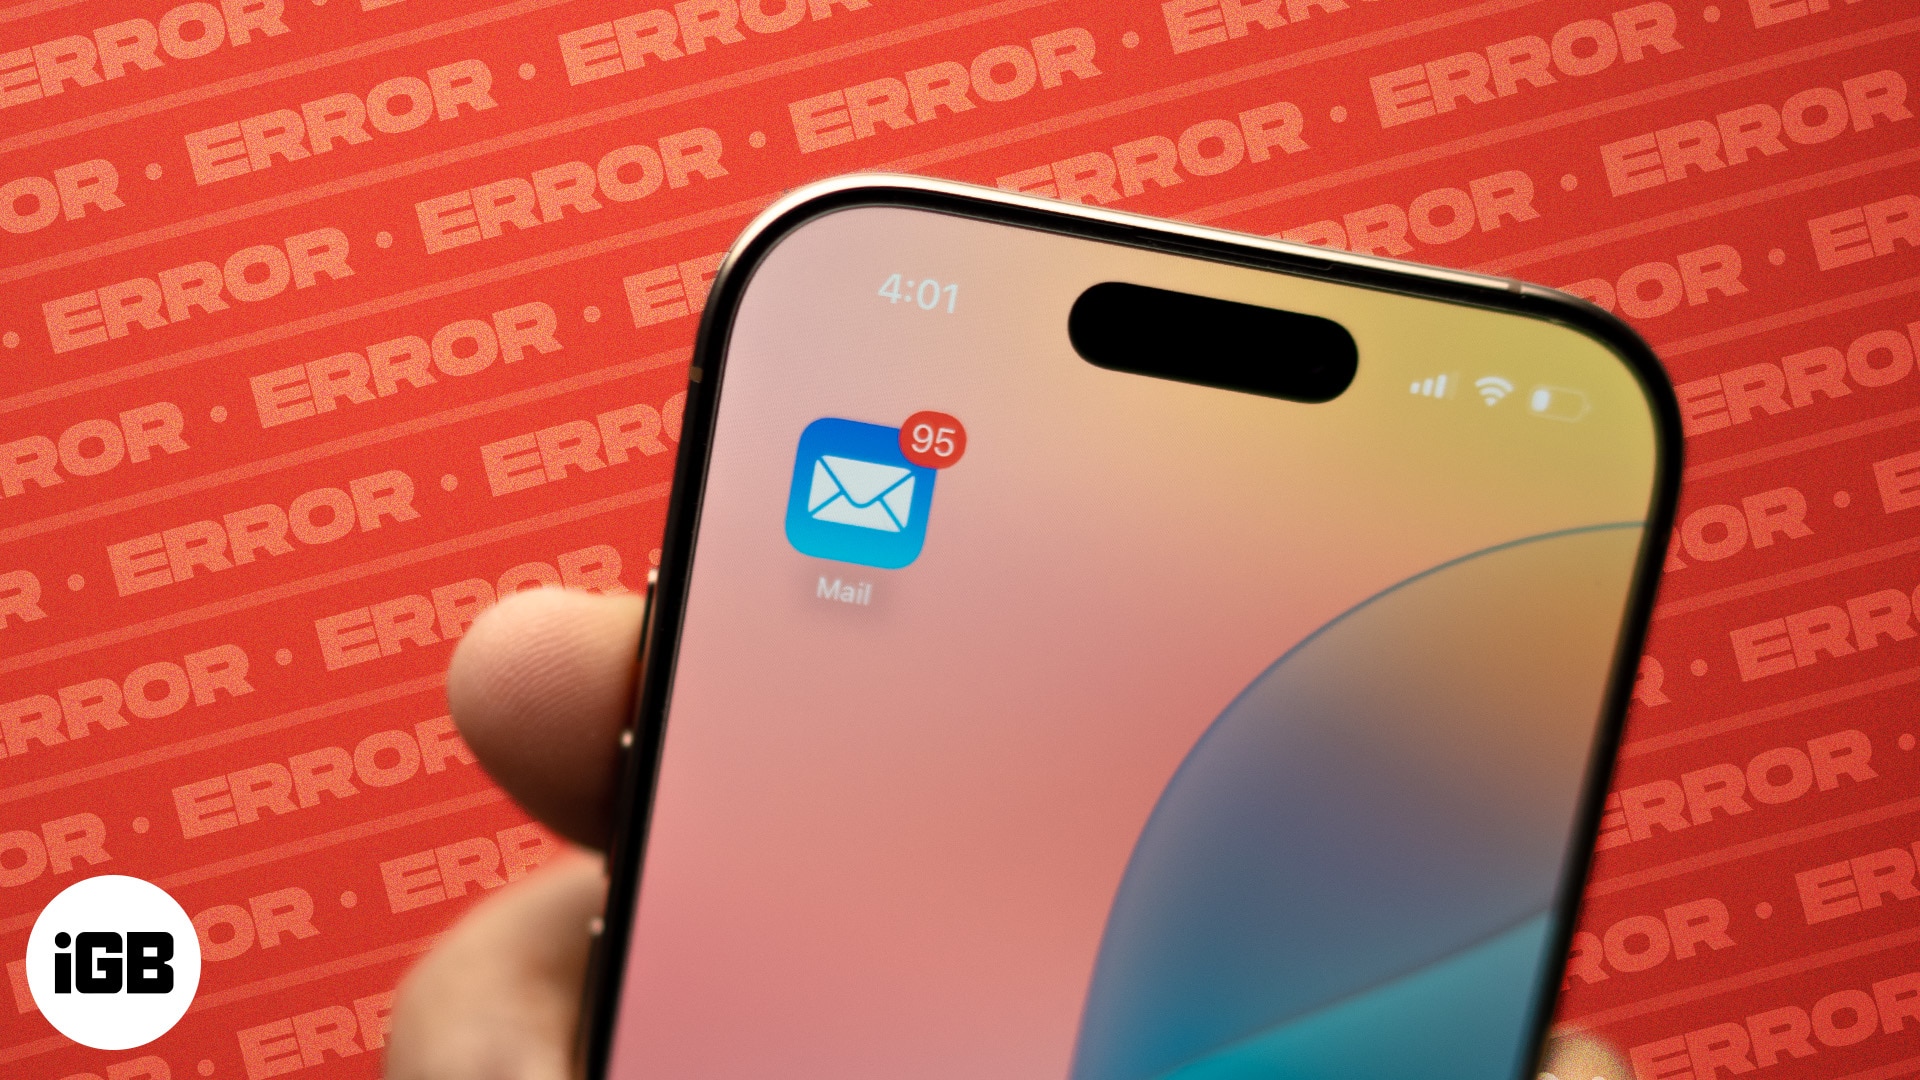
- Mail app issues often follow iOS updates and can include crashes, black screens, or failed email syncing due to bugs, poor connectivity, or server downtime.
- Start by checking your internet connection and Apple’s system status to rule out broader outages affecting Mail services.
- Restart your device and review Mail settings to confirm your login details, fetch frequency, and notification preferences are properly configured.
- Reinstall the Mail app or re-add email accounts if syncing still fails—low storage or account errors may be blocking updates.
- Reset Network Settings or contact Apple Support if deeper problems persist, especially after trying all basic troubleshooting steps.
Update:
your iPhone or iPad and now Mail won’t open, sync, or show emails? You’re not alone. Many iPhone users have reported their Mail app freezing, showing a black screen, or crashing entirely after the update. The good news? You can fix it yourself in minutes. Here’s a detailed guide explaining why it’s happening and 12 effective ways to fix the Mail app not working on your iPhone.
Why the Mail App May Stop Working on iPhone or iPad
After a recent iOS update, users on Reddit, Apple Support Communities, and MacRumors forums have reported issues like:
- Blank or black screens when opening the Mail app
- Inability to send or receive emails
- Frequent app crashes or freezes
- Emails not loading or syncing properly
While Apple hasn’t released an official fix yet, these issues may stem from:
- Software glitches in some iOS builds
- Poor internet connection
- Incorrect mail account settings
- Full mailbox or suspended account
- Server outages
12 Fixes to Get the Mail App Working on iPhone Again
Now that you know the cause, it is time to learn the troubleshooting steps you can perform to fix this frustrating issue.
1. Check Your Internet Connection
Ensure you’re connected to stable Wi-Fi or cellular data. Try toggling between both networks. Also:
- Go to Settings → Cellular → Toggle on Cellular Data.
- Scroll down and tap Show All.
- Turn on the toggle next to the Mail app if it is not already.
2. Check Apple System Status
If you use iCloud Mail, visit Apple’s System Status page. If the server is down, you’ll need to wait it out. For third-party providers, check their service pages or try logging in via browser.
3. Restart Your iPhone
A simple reboot can fix temporary iOS glitches. Press and hold the Power + Volume buttons → Slide to power off → Turn back on after a few seconds.
Once your iPhone boots up, check whether the Mail is working properly.
4. Verify Email Address and Password
Log in to your email provider’s website using the same credentials. If you can’t log in there either, the issue isn’t with your iPhone.
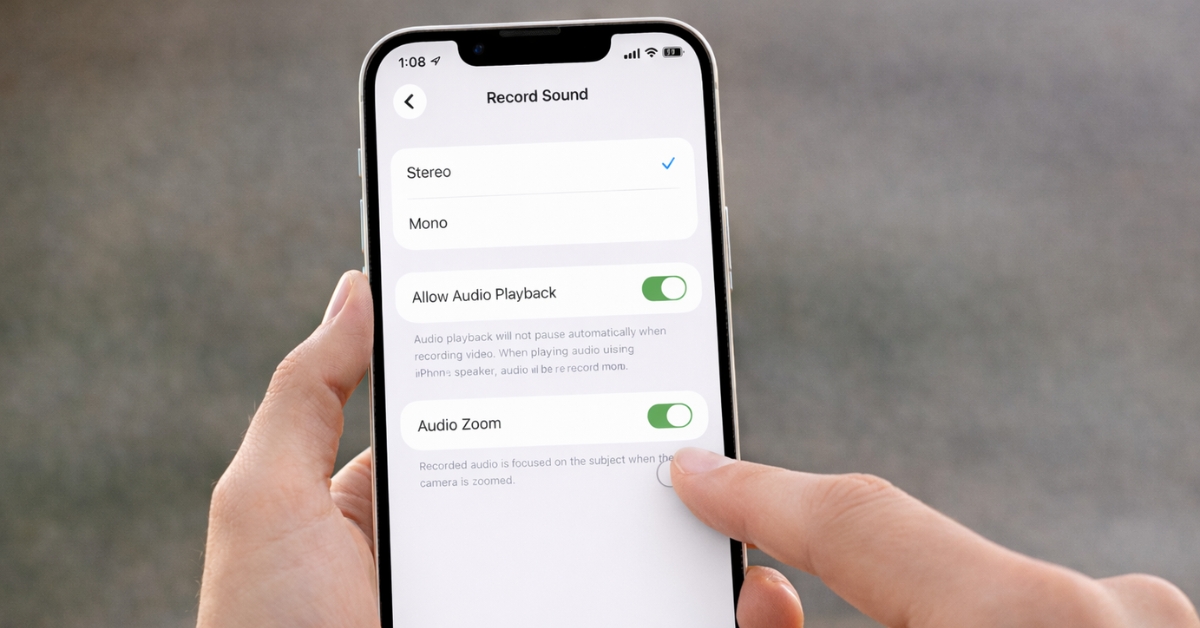
5. Adjust Mail Fetch Settings
If the Mail app is not able to load newer emails, check and adjust the Fetch settings for your iPhone or iPad.
- Launch Settings → Tap Apps, and select Mail → Mail Accounts.
- Tap Fetch New Data.
- Toggle on Push.
- Choose the Automatically option under the Fetch section.

6. Check Notification Settings
Another culprit behind delayed email alerts could be wrong Notification settings. Let’s correct them.
- Launch Settings → Notifications.
- Select the Mail app or the third-party app you use.
- Toggle on Allow Notifications.


Additionally, if you use Focus mode on your iPhone, ensure that the Mail app is included in the Allowed Apps section and that Time Sensitive notifications are turned on.
7. Set Date and Time Automatically
Incorrect time can disrupt email syncing:
To avoid such a scenario, you need to set the setting to Automatic.
- Go to Settings → General → Date & Time.
- Toggle on Set Automatically.


8. Free Up iPhone and iCloud Storage
If your iPhone storage is filled to the brim, you might not receive new emails in the Mail app. Go to Settings → General → iPhone Storage to check out available space. Accordingly, clear out some data from your device.

Even a packed iCloud storage could stop you from sending or receiving emails. Also, check its status; go to Settings → [your name] → iCloud and free up some storage if needed.
9. Remove and Re-Add the Email Account
There is a possibility of a server-related issue with your email. Deleting and resetting your email account may help resolve the issue.
- Open Settings → Apps → Mail.
- Tap Accounts and select the troublesome email service provider.
- Tap Delete Account → Delete from My iPhone to confirm.
Once done, re-add the account. Tap Add Account, select the provider, and sign in. You may also try uninstalling the Mail app, restarting your device, and reinstalling it from the App Store.
Note:
10. Contact Your Email Provider
If your credentials are correct and issues persist, your provider may be experiencing a server error. Contact their support team or admin (especially for work accounts).
11. Delete and Reinstall the Mail App
If nothing else is working, it’s time to clean the slate and start over. Delete the app and download it again from the App Store.
Steps:
- Long-press the Mail app icon → Remove App.
- Reboot your iPhone
- Download Mail again from the App Store
12. Reset Network Settings
Resetting your iPhone’s Network Settings can sometimes fix connectivity issues that affect the Mail app.
- Go to Settings → General → Transfer & Reset → Reset Network Settings.

- Enter your passcode and confirm your choice.

This will erase saved Wi-Fi networks and passwords, so you’ll need to re-enter them later.
When to Contact Apple Support
If you’ve tried all the above fixes and your Mail app is still buggy or won’t open, it’s time to escalate. Reach out to Apple Support via support.apple.com or visit your nearest Apple Store.
Mail App Fixed? Enjoy a Smoother Experience
You don’t have to live without your inbox. One of these methods will most likely get your Mail app running smoothly again. Don’t forget to share which fix worked for you in the comments below!
Some more iPhone troubleshooting guides: