How to Use AirPods Pro 2 as Hearing Aids: A Complete Guide
Turn your AirPods Pro 2 into personal hearing aids, using your iPhone’s built-in features for clearer hearing.
- New Hearing Aid Functionality: AirPods Pro 2 now function as hearing aids for mild/moderate hearing loss with FDA-cleared features.
- Prerequisites for Use: You need AirPods Pro 2, a compatible iPhone/iPad, and the latest firmware to use hearing features.
- Initial Setup: Set them up by taking a hearing test or uploading an audiogram, then enabling hearing aid mode.
- Customization: Fine-tune your experience by adjusting amplification, balance, tone, and ambient noise reduction in your settings.
- Specialized Modes: Use Media Assist for clearer media audio and Hearing Protection to reduce loud environmental background noise.
AirPods Pro 2 aren’t just for music—they now include built-in hearing health tools that let you use them like hearing aids. With a clinical-grade hearing test, customizable sound amplification, hearing protection, and Media Assist, they offer a powerful, user-friendly listening experience for people with mild to moderate hearing loss.
In this article, I’ll guide you through how to set up and use AirPods as hearing aids and share tips for getting the most out of them.
Understanding AirPods Pro 2 Hearing Health Features
The AirPods Pro 2 received a major upgrade in late 2024 with FDA-approved hearing health features. These include:
- Hearing Test: A five-minute test on your iPhone or iPad that uses pure-tone audiometry to check your hearing and create a personalized hearing profile.
- Hearing Aid Mode: A clinical-grade feature for adults with mild to moderate hearing loss, amplifying sounds based on your hearing test results.
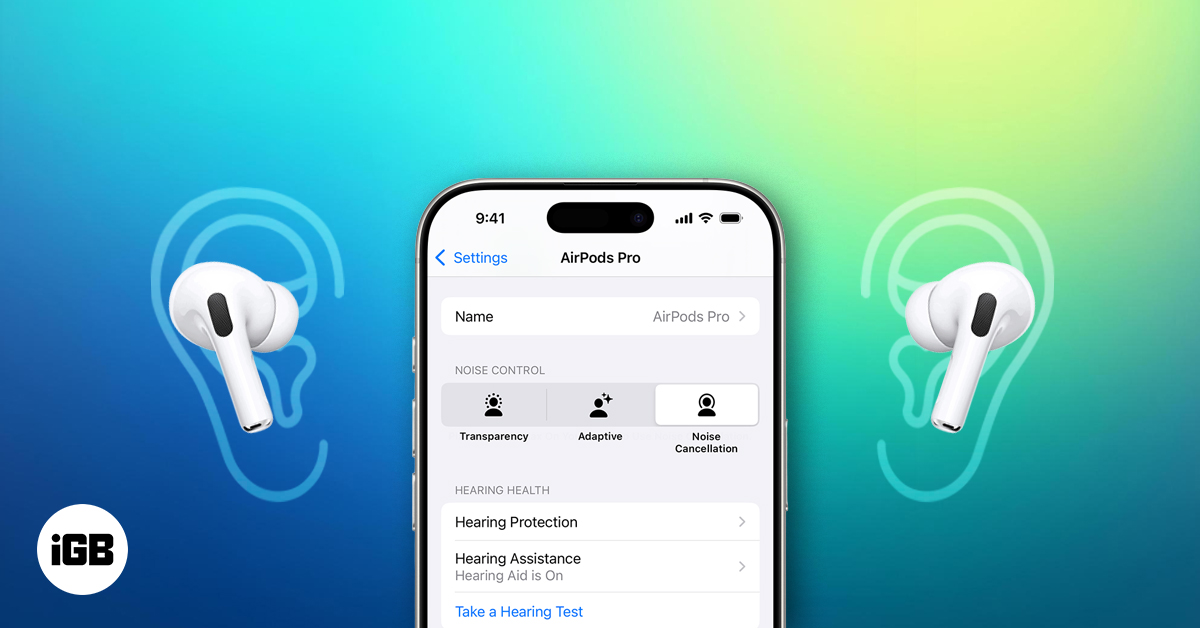
- Hearing Protection: Reduces loud environmental noises up to ~110 dB across all noise control modes (Transparency, Adaptive, and Noise Cancellation) to protect your ears.
- Media Assist: Enhances the clarity of music, videos, and calls by applying your hearing profile to media playback.
These over-the-counter (OTC) hearing aid functionalities make the AirPods Pro 2 a unique all-in-one hearing health device. They’re designed to help millions who may not realize they have hearing loss.
Prerequisites for Using AirPods Pro 2 as Hearing Aids
Before you dive in, make sure you have the right setup:
- AirPods Pro 2 updated to the latest firmware (version 7B19 or newer).
- An iPhone or iPad running iOS 18.1 or later, or a Mac with macOS Sequoia 15.1 or later.
- A quiet space to ensure accurate results.
- Use the included silicone ear tips for a snug fit, as third-party tips may affect performance.
- Users must be over 18 years old.
- Your region must support the features (check the AirPods Pro Hearing Health Availability page).
- Ensure your iOS is updated via Settings > General > Software Update.
- Charge your AirPods, as hearing features may consume more battery.
How to Set Up AirPods Pro 2 as Hearing Aids
Activating the hearing aid features on iPhone and AirPods Pro 2 is simple. You can either take Apple’s hearing test or use an audiogram from your audiologist.
Take the Hearing Test on iPhone or iPad
- Wear your AirPods Pro 2, ensure they’re connected to your iPhone or iPad, and find a quiet room (background noise can pause the test).
- Go to Settings > [Your AirPods] and select Take a Hearing Test under Hearing Assistance.
- Tap Get Started to begin.
- The system will check the fit of your ear tips and the ambient noise levels. If prompted, adjust your AirPods or try different tip sizes.
- Tap Next on each screen to proceed and then Start Test.
- You’ll hear a series of beeps at different frequencies and volumes in each ear three times. Tap the screen each time you hear a sound. The test takes about five minutes.
- Once complete, tap Show Results.
Your iPhone will reveal if you have hearing loss and prompt you to set up the Hearing Aid feature. Tap Done to save.
To view results:
- Go to the Health app > Hearing > Hearing Test Results.
- You’ll see an audiogram and a decibel hearing level (dBHL) score for each ear, along with classifications like Little to No Loss or Mild Hearing Loss.
To share the results:
Go to All Hearing Test Results > Export PDF to share with a doctor.
Alternative: Upload an Audiogram from a Hearing Professional
If you already have an audiogram from your audiologist, you can upload it to the Health app:
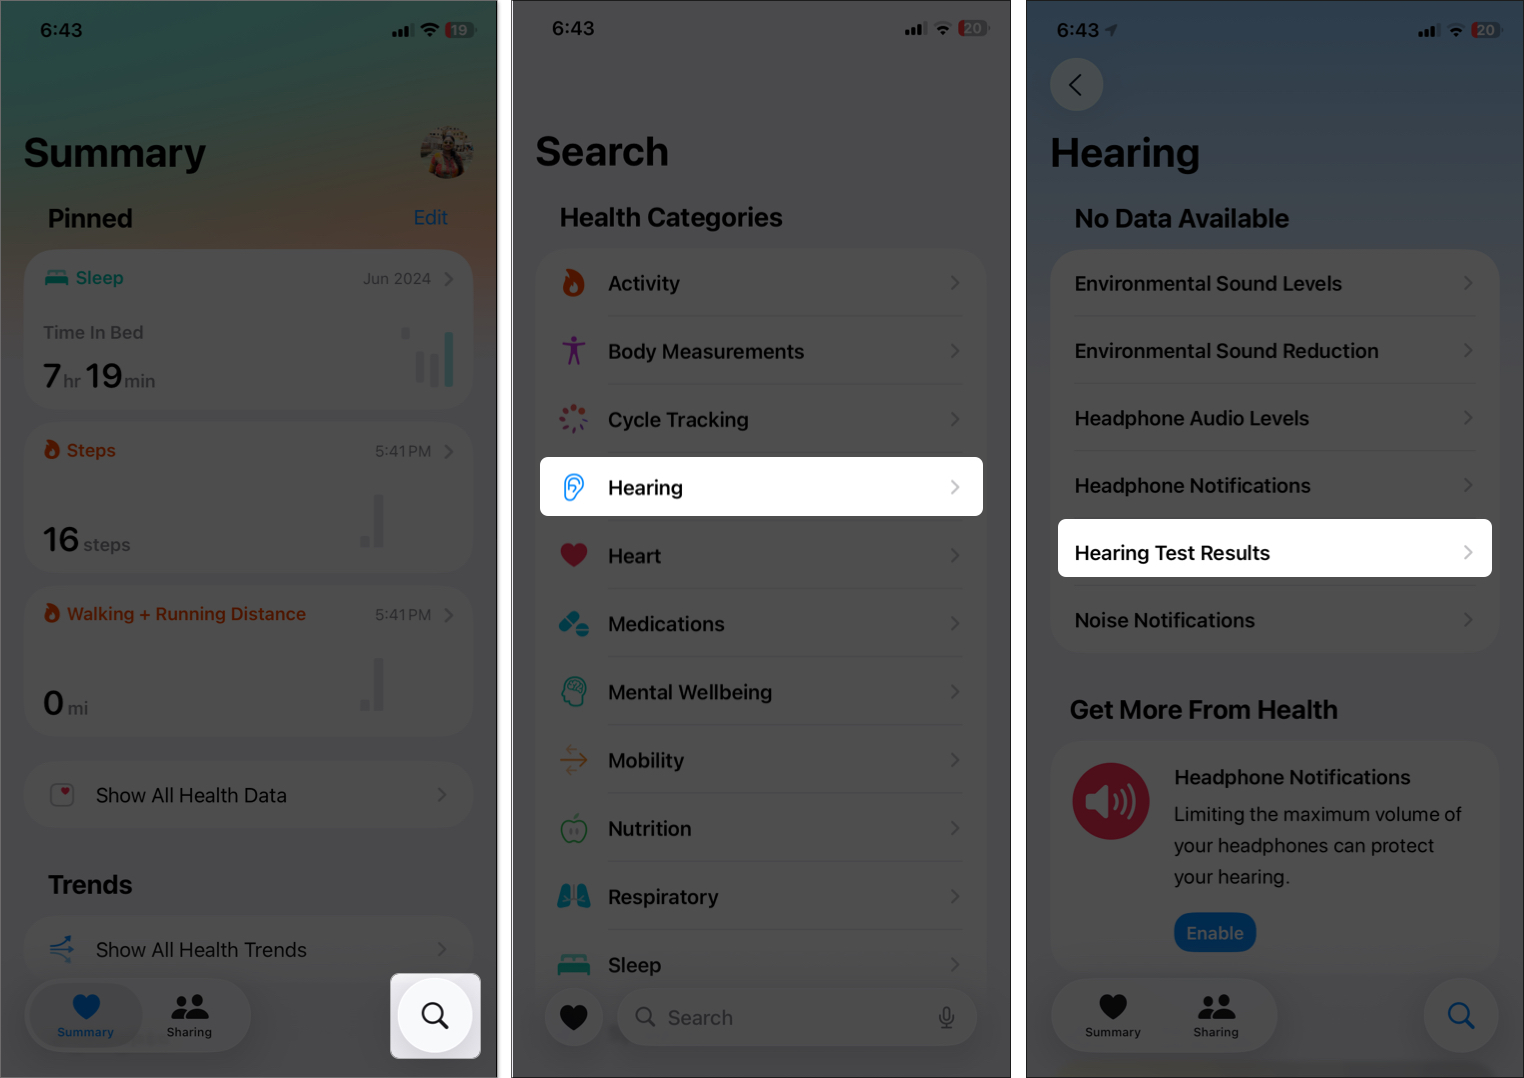
- Open the Health app, tap the search icon, and select Hearing, then tap on Hearing Test Results.
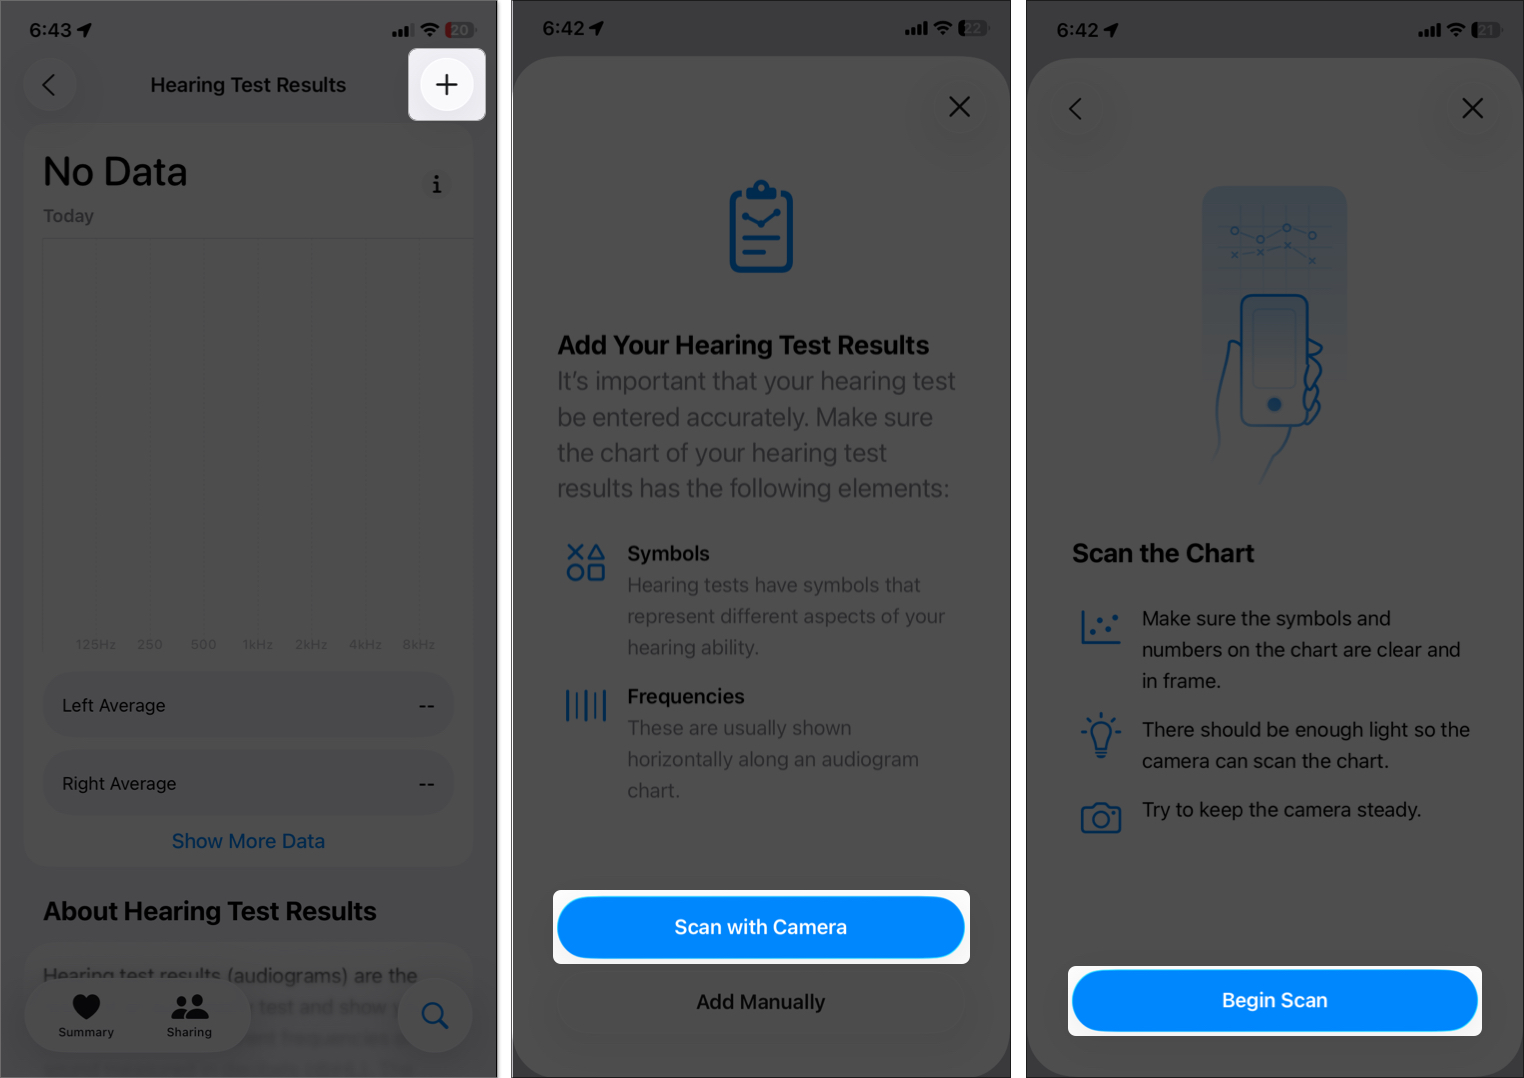
- Tap the plus icon at the top right corner.
- Tap Scan with Camera > Begin Scan option on the pop-up.
- Now, scan a printed audiogram using your iPhone’s camera.
- Apple will analyze and show the results. Tap Done to save it in the Health app and use it to set up the Hearing Aid feature.
Note:
Enable Hearing Aid Mode on AirPods Pro 2
Now that your iPhone has your hearing profile, follow these steps to activate Hearing Aid mode:
- Connect your AirPods and go to Settings > [Your AirPods] > Hearing Assistance.
- Tap Use a Prior Test Result to select your test result.
- Answer a few questions like your age, if you’re experiencing any health issues, etc., and tap Next.
- Choose a hearing result from the list and tap Next.
- Tap Set Up Hearing Aid > Turn On Hearing Aid > Done.
Your AirPods will now amplify sounds in real time based on your profile, especially in Transparency mode. These settings are stored on the AirPods, so they’ll work even when your iPhone or iPad isn’t nearby.
Note:
Customize Hearing Aid Settings
You can fine-tune the settings for a more personalized experience.
From Settings
- Go to Settings > [Your AirPods] > Hearing Assistance > Adjustments.
- Adjust these options:
- Amplification: Slide to increase or decrease how much sounds are boosted.
- Balance: Adjust the left-right balance if one ear needs more amplification.
- Tone: Modify the sound profile for more bass (Darker) or more treble (Brighter) audio.
- Ambient Noise Reduction: Reduce background interference.
- Conversation Boost: Toggle on to focus on voices directly in front of you, ideal for noisy settings.
From Control Center
- Swipe down from the top-right corner of your iPhone or iPad.
- Tap the ear icon (to add it, tap + > Add a Control > Hearing).
- Tap Hearing Assistance to access settings.
Make small adjustments gradually, as large changes can overwhelm your auditory system.
How to Use Media Assist
Media Assist applies your hearing profile to enhance music, video, and call clarity across all noise control modes.
To activate Media Assist:
- Go to Settings > [Your AirPods] > Hearing Assistance.
- Toggle on Media Assist.
- Ensure Adjust Music and Video and Adjust Calls and FaceTime options are enabled.
Media Assist delivers clearer movie dialogue, sharper vocals, and improved call audio. It’s ideal if you don’t need full-time hearing amplification.
Turn On Hearing Protection on AirPods Pro 2
Hearing Protection works across all modes to shield your ears from excessive noise.
To ensure it’s on:
- Go to Settings > [Your AirPods] > Hearing Protection and confirm the toggle is enabled.
The H2 chip reduces environmental noise 48,000 times per second. You’ll get:
- 11–15 dB noise reduction in Transparency mode
- 25–29 dB reduction in Adaptive mode
Note:
It won’t protect you from sudden noises like fireworks or gunshots.
Tips for Optimal Performance
Now that you know how to amplify sound with AirPods Pro 2, follow these tips for better results:
- Clean your AirPods and ear tips regularly to maintain microphone quality.
- Use the Ear Tip Fit Test to ensure a secure fit.
- Start with short sessions if new to hearing aids. Gradually increase usage.
- Retake the Hearing Test occasionally to keep your profile up to date.
- Try different listening modes—Transparency, Adaptive, and Noise Cancellation—to suit your environment.
- Avoid sharing your AirPods while using hearing features, as settings are personalized.
Limitations and Considerations
While the AirPods Pro 2 offer a breakthrough in accessible hearing care, they do have limitations:
- Battery Life: Only 5.5–6 hours, which may not last a full day.
- Sound Quality: Some users report less natural sound than traditional hearing aids.
- Comfort: May be uncomfortable for extended use.
- Severity: Suitable only for mild to moderate hearing loss.
- Frequency Range: Tests only up to 8 kHz (vs. 20 kHz in clinical tests).
- Protection Gaps: Doesn’t guard against sudden loud sounds or anything over 110 dBA.
- iOS Dependency: Requires iOS 18.1+; no support for Android or older devices.
For occasional use, especially in quieter environments, they’re a smart option. But clinical hearing aids remain better for full-time wear and noisy settings.
When to See a Hearing Professional
Contact an audiologist or doctor if:
- You suspect serious hearing loss.
- You experience tinnitus, ear pain, or ringing
- You struggle to hear in loud environments
- Apple’s hearing test results are inconsistent (e.g., “Unable to Classify” errors)
Audiologists can run advanced tests like tympanometry or bone conduction in a soundproof booth to diagnose the issue.
Tip:
A Smarter Way to Hear
The AirPods Pro 2’s hearing health features are a game-changer, making hearing support more accessible and reducing stigma. From a clinical-grade hearing test to real-time amplification and hearing protection, Apple’s approach is both modern and practical.
If you don’t own AirPods Pro 2, older AirPods models support Live Listen. It uses your iPhone’s microphone to send amplified sound to your earbuds. Turn it on via Control Center > Hearing > Live Listen. You can also enable Adaptive Audio and Conversation Awareness for casual conversations.
Got questions? Drop them in the comments. I’m happy to help!
Related articles worth reading:
Topics

Written by
Ava BiswasAva is a die-hard Apple aficionado and seasoned writer with a knack for breaking down complex tech concepts into easily digestible content. Having honed her writing and editing skills over 4 years at renowned media houses like TechBurner, Ava crafts informative and engaging articles including troubleshooting guides, product reviews, editorials at iGeeksBlog. When not typing, you can find her exploring the latest Apple releases or pondering the future of tech innovation.
View all posts →