FaceTime Like a Pro
Get our exclusive Ultimate FaceTime Guide 📚 — absolutely FREE when you sign up for our newsletter below.

FaceTime Like a Pro
Get our exclusive Ultimate FaceTime Guide 📚 — absolutely FREE when you sign up for our newsletter below.
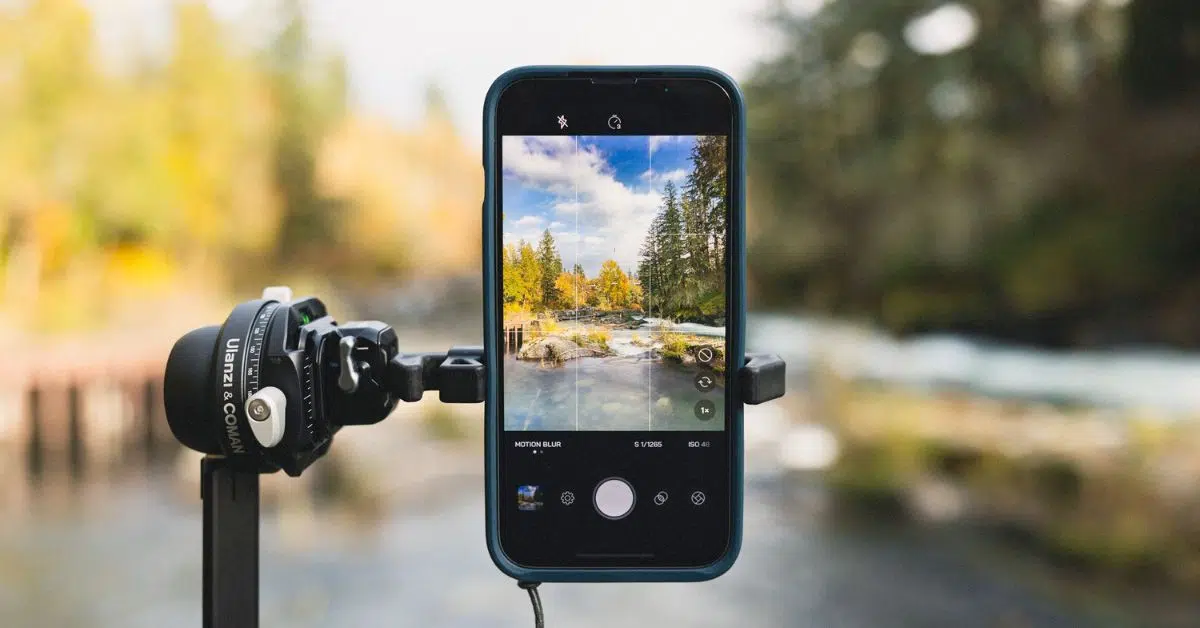
Apple’s iPhone 17 Pro introduces ProRes RAW recording, offering unmatched editing flexibility. Here’s how to use it, the gear you’ll need, and tips for best results.
Apple, with the iPhone 17 Pro and Pro Max, has become the first brand to offer ProRes RAW video recording on a smartphone. This format provides filmmaker-grade control over editing and color grading in post-production, surpassing the capabilities of standard video. However, similar to Apple’s standard ProRes video recording, ProRes RAW also requires some setup and knowledge.
This post provides an in-depth overview of everything you need to know about ProRes RAW on the iPhone 17 Pro, from what ProRes RAW is to the necessary equipment and step-by-step instructions.
Unlike standard ProRes video, Apple’s ProRes RAW preserves the raw sensor data from your iPhone’s camera. This means you can tweak exposure, white balance, ISO, and other parameters later in editing software like Final Cut Pro or DaVinci Resolve, without sacrificing quality. It’s designed for professionals who want the most control over their footage.
ProRes RAW is not as simple as hitting record. Make sure you have the following:
Now that you have everything you need, recording ProRes RAW video on your iPhone 17 Pro/Pro Max is pretty simple, just ensure you have the right app installed. We are using Version 2.0 of Apple’s Final Cut Camera app to help you understand it better.

Once you’re done with the recording, connect the external SSD or your iPhone to your Mac and import the ProRes RAW files into Final Cut Pro or DaVinci Resolve to begin color grading and editing.
You may like to read: All the New Camera Features on the iPhone 17 Pro
| Feature | Standard Video (HEVC/H.264) | Apple ProRes | Apple ProRes RAW |
|---|---|---|---|
| Quality | Good, optimized for playback and sharing | High, visually lossless compression | Highest, preserves unprocessed sensor data |
| File Size | Smallest (efficient compression) | Large (up to 10x bigger than standard) | Huge (can be 20–30x bigger than standard) |
| Editing Flexibility | Limited: White balance and exposure mostly locked in | Moderate: Good for color grading, less flexible with exposure/ISO | Maximum: Adjust ISO, white balance, exposure, and color grading in post |
| Performance | Plays smoothly on all devices | Requires a powerful device for editing | Needs fast storage, Apple Silicon Macs for smooth editing |
| Storage Needs | Minimal – easy to store and share | High – internal storage fills quickly | Extreme – external SSD or 2TB iPhone recommended |
| Best For | Everyday shooting, social media, casual creators | Content creators, vloggers, YouTubers | Filmmakers, professionals, advanced creators |
| Workflow | Shoot → share, minimal editing | Shoot → edit in Final Cut/Resolve → export | Shoot → heavy editing workflow → grading and mastering |
| Dynamic Range | Limited | Better than standard | Maximum dynamic range retained |
| Supported Devices | All iPhones | iPhone Pro models (since iPhone 13 Pro) | Only iPhone 17 Pro and iPhone 17 Pro Max |
| External Storage Support | Not needed | Optional for high-res ProRes | Essential for ProRes RAW HQ and longer shoots |
Use these tips to make the most of the ProRes RAW recording capability of your iPhone 17 Pro:
While recording ProRes RAW on the iPhone 17 Pro unlocks professional-level filmmaking on a device that fits in your pocket, it requires more preparation, such as external SSDs and editing software. However, the results are worth it if you want cinema-quality footage with total editing control.
It might be overkill for everyday users, but for creators, filmmakers, and professionals, it’s a game-changer that brings the iPhone much closer to dedicated cinema cameras.
Have you tried recording in ProRes RAW on your iPhone 17 Pro yet? Share your experience, questions, or editing tips in the comments below.
Related articles worth reading: