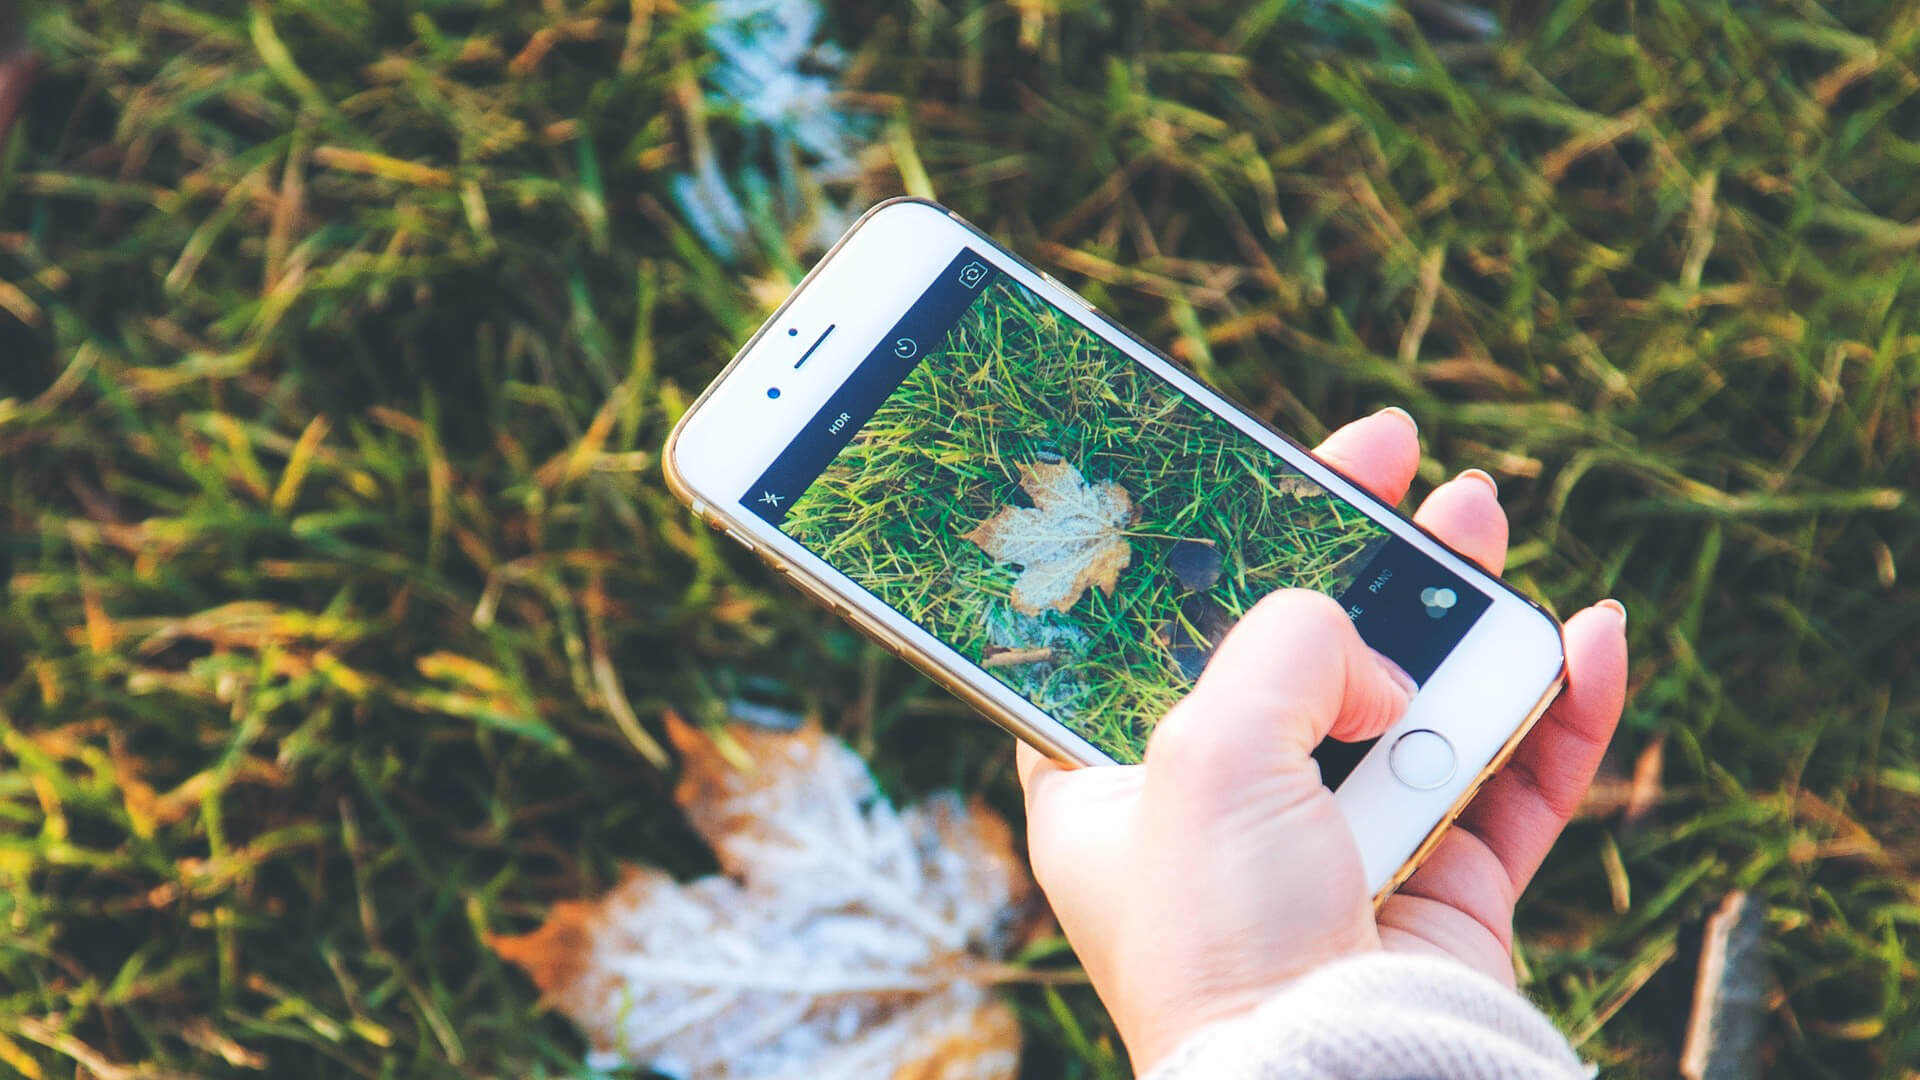
Flickr ranks iPhone as the numero uno smartphone to take pictures. Apps like Instagram have proven that more people like using their iPhone to click interesting pictures.
And as we cruise through the stats, we find that a lot of people want to take up iPhonography (iPhone photography) seriously. There’s a growing number that wants to take DSLR-like photos using their iPhone. Even though the iPhone doesn’t boast of an ultra-high resolution camera, it takes pictures that are worth sharing.
We’re as much interested in taking pictures on the iPhone that are comparable to a DSLR camera as many folks. And here’s a list of things you can do to capture better pictures on your iPhone.
Capture a DSLR-like Photo on your iPhone
1. Learn about Composition, Focus, HDR, and Exposure
Even with a DSLR camera, many people only take average photos. You need to understand the fundamentals in order to click pictures that look like they’ve been taken on a DSLR. To this effect, you’ll have to learn about stuff like composition and exposure.
The composition is all about how you frame the picture. It’s not hard but it’s a matter of finding the right balance and frame. The iPhone offers touch-based auto-exposure settings which can be used to light-up or darken the scene you are capturing! The same applies to the focus element too.
Most folks simply point and click on their iPhones but when you tap and hold onto an area on the photo, the iPhone auto-focuses and creates an auto-exposure lock. You can exploit this feature to create interesting photos.
2. Go Macro Most of the Time
Since we’ve got a fixed lens here, it’s best to go macro most of the time to get DSLR-like photos. The iPhone is pretty good at macro photography and with the right exposure and focus, you can click cool pictures.
The flip-side to this is scenic landscape shots of mountains, sea, horizon and a cityscape. The iPhone is pretty good at capturing these too and brings up some really nice professional-looking photos if you get the composition and exposure right.
3. Use Lens Accessories
There are hundreds of iPhone photography accessories. Some of our favorite ones are things like macro lenses, fisheye lenses, and telephoto lenses. You should also try experimenting with various lighting effects that can be conjured up by the LED lights.
4. Don’t Use Filters But Process Images
Filters (like those found on Instagram) are no longer cool. In fact, they’ve been used so much and so often that it’s now got boring. If you want to appear professional and evoke a congratulatory note, you need to be much more original and authentic than just the Instagram filters.
This doesn’t mean you shouldn’t process your photos. Do them freely but keep away from using all the fancy and cutesy filters.
5. Use a Cam Stand
The best advice you can ever get is to use an iPhone stand when you capture photos. The surprising amount of stability and clarity you get is unmatched and only felt when you use a cam stand. There are a lot of iPhone cam stands you can buy for very cheap prices. If you’re serious about iPhone photography, buy one.
That’s all, folks!
Give these tips a try and do share your feedback with us in the comment.


Leave a Reply