FaceTime Like a Pro
Get our exclusive Ultimate FaceTime Guide 📚 — absolutely FREE when you sign up for our newsletter below.

FaceTime Like a Pro
Get our exclusive Ultimate FaceTime Guide 📚 — absolutely FREE when you sign up for our newsletter below.
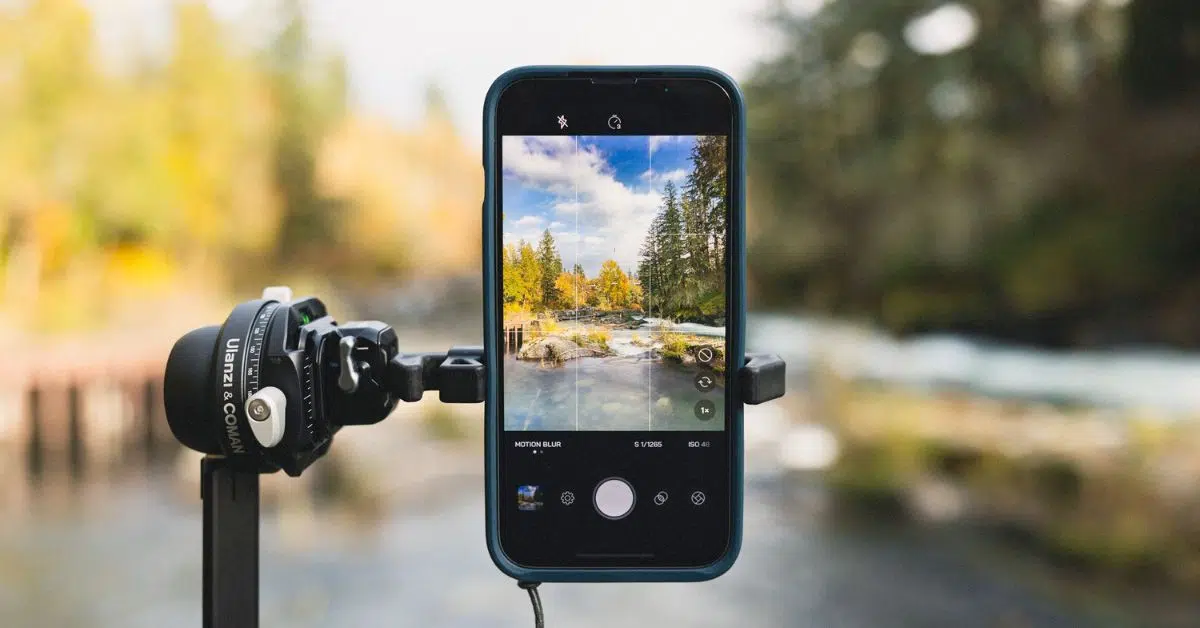
Want DSLR-level control on your iPhone? Apple ProRAW lets you capture uncompressed photos with stunning detail. Here’s how to master it like a pro!
If you love iPhone photography, you might have noticed the ‘RAW’ option in your Camera app but never bothered to try it. Here’s why you should—and exactly how to shoot Apple ProRAW photos on your iPhone.
Normally, when you take a photo on your iPhone, it’s saved as a JPEG or HEIC. These photos appear bright, sharp, and ready to share because your iPhone edits them automatically. But the downside is that you can’t edit them much later, as most details are compressed or permanently altered in the file.
RAW photos work differently. They retain all the original data from the camera sensor without any edits. This gives you full freedom to adjust brightness, shadows, or colors exactly how you want. However, RAW photos can initially look flat or dull since they don’t include Apple’s smart processing.
This is where Apple ProRAW comes in. It combines the best of both worlds:
In simple words: ProRAW gives you a RAW photo with Apple’s magic touch already added, so you get a great-looking image that you can still fine-tune to match your unique style.
Only Pro models support shooting in Apple ProRAW:
Before you can shoot in ProRAW, you need to enable it:

Once it’s enabled, you’ll see a RAW button in your Camera app.
Also Read: 10 Best iPhone Camera Settings for Stunning Photos
Here’s how to capture a ProRAW photo on your iPhone:

You can tap the RAW button anytime to toggle it on or off before capturing. If you have an iPhone 14 Pro or newer, you can choose between 12MP and 48MP ProRAW photos. Long-press the RAW button to select your preferred resolution.

After capturing a photo, you may want to confirm if it was shot in RAW. To check:

Apps like Adobe Lightroom make this even easier by showing a DNG sticker on RAW photos directly in the thumbnail view, making them easier to identify for editing.
ProRAW is a powerful tool that turns your iPhone into a pro-level camera. Use it when you want the best image quality and full editing control. Since it retains all the details, you can fine-tune lighting, color, and tone even after the shot.
It’s ideal for landscape photography, night shots, or scenes with both shadows and highlights, where preserving every detail is essential. For casual photos, food pics, or selfies meant for quick sharing, JPEG is still the fastest option.
Related articles worth reading: