FaceTime Like a Pro
Get our exclusive Ultimate FaceTime Guide 📚 — absolutely FREE when you sign up for our newsletter below.

FaceTime Like a Pro
Get our exclusive Ultimate FaceTime Guide 📚 — absolutely FREE when you sign up for our newsletter below.
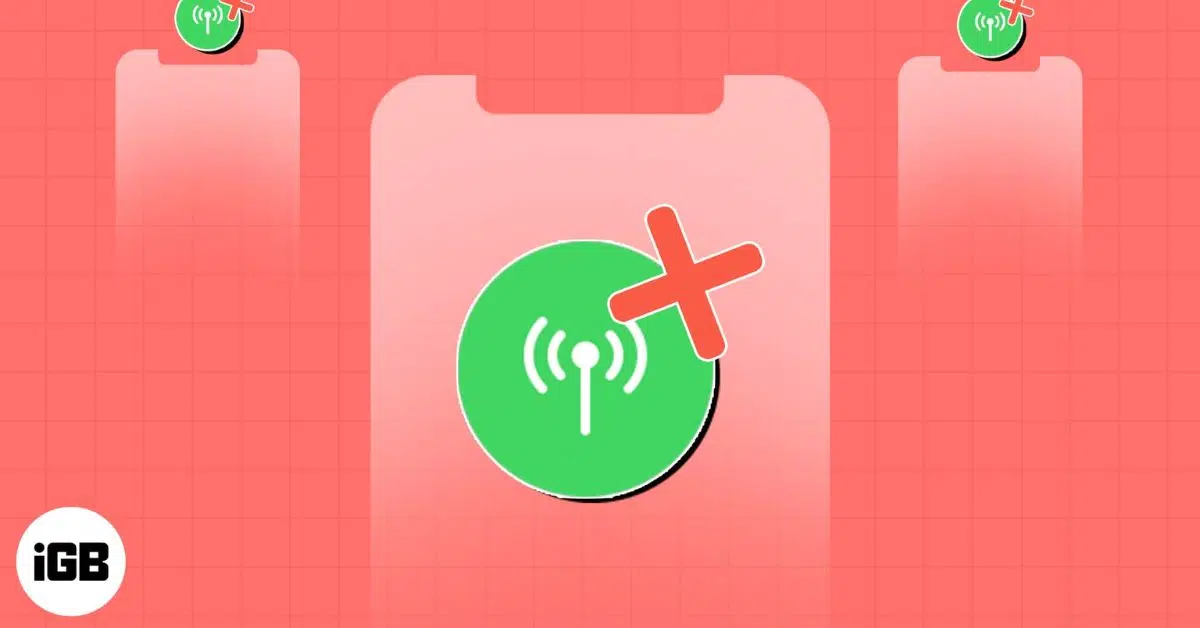
If your iPhone shows “No Service” or “Searching,” don’t panic. From toggling Airplane Mode to updating iOS, these quick fixes can help restore your signal.
Are you unable to make or receive calls on your iPhone? Is your device showing alerts like “No Service” or “Searching”? This usually points to a software or hardware problem preventing your iPhone from connecting with your carrier.
Here are some quick fixes to try when your iPhone has no service.
It could be due to a failed carrier settings update, incorrect network settings, or even a hardware issue with your iPhone. Sometimes, the carrier itself may face operational issues.
Other common reasons include:
There are several ways to troubleshoot the No Service error on iPhone. Let’s go step by step.
If you live in a rural area with no nearby cell towers, you likely won’t have the best cellular reception. Search the web for “your carrier cell coverage map.” Here are the cell coverage maps for AT&T, T-Mobile, and Verizon.
Additionally, some areas lack reliable 5G networks. So, try switching to 4G for better cellular reception. For that, go to Settings → Cellular → Cellular Data Options → Voice & Data → Select LTE.
Are you out of your carrier’s coverage zone? In that case, consider getting a cellular data signal booster for your home.
Alternatively, if you have Wi-Fi, check its network condition using a Wi-Fi analyzer app. If your connection is strong and reliable, enable Wi-Fi calling to contact anyone.
Refreshing your network connection often fixes temporary glitches.
To do so, go to Settings → Toggle on Airplane Mode → Wait for a few seconds and toggle it off. Now, toggle Cellular Data and check the network status bar.

This simple solution may fix the No Service error, but you can check out the fixes mentioned below if your iPhone still has no service.
Restarting your iPhone might help you fix the error, so don’t hesitate to try it.
You can skip this solution if your iPhone uses eSIM rather than a physical card.
Sometimes, the problem isn’t too advanced; this could be the case with your iPhone. If you inserted the physical SIM card incorrectly, or it shook out of place during use, that may be why your iPhone has no service.
Try reinserting the SIM card properly and restarting your iPhone. If the problem persists, proceed to the next step.
This one is obvious, but sometimes small mistakes trip you up.
Go to Settings → Cellular → Toggle off Cellular Data → Toggle on Cellular Data after a few seconds.
Sometimes your carrier doesn’t connect you to the network if you’re out of your home network zone, which may be why your iPhone says ‘no service.’ So, make sure data roaming is enabled on your device.
To do so, open Settings → Cellular → Cellular Data Options → Toggle on Data Roaming.
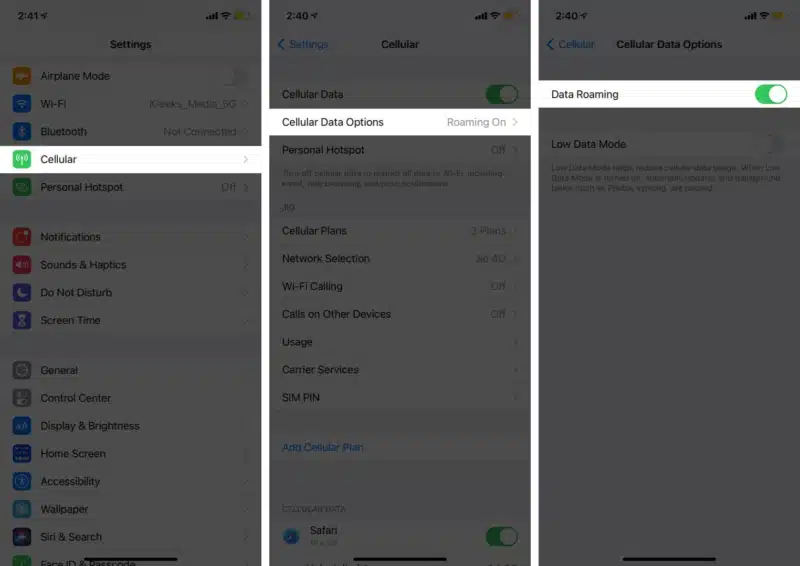
You may also enable automatic network selection to avoid connecting to the wrong network. From the Cellular Data Options menu, select Network Selection → Toggle on Automatic.
On a rare occasion, your network settings may be corrupted, causing your iPhone to display the “No Service” error message. Resetting the network to its factory default settings could help you resolve that issue.
To do so, open Settings → General → Transfer or Reset iPhone → Reset → Reset Network Settings. Now, enter your passcode and tap Reset Network Settings.

Note: Resetting network settings to default will reset Wi-Fi networks and passwords, cellular settings, VPN, and APN settings. It will NOT delete any photos, videos, or files stored on your device.
Sometimes, the wrong Date and Time settings are the culprit behind the No Service message.
To modify the date and time:
You may have installed the wrong carrier settings, or a bug in the latest carrier settings update could be causing the No Service error message on your iPhone. In such a case, see if an update is available for your carrier settings.
Note: Make sure you’re connected to a Wi-Fi network.

Now reboot your iPhone and check if it still has no service.
Apple regularly releases iOS updates to fix bugs, introduce new features, and improve security settings.
If you frequently encounter the “No Service” issue after updating to iOS 18, install the next iOS update as soon as Apple makes it available.

If none of the fixes worked out for you, there might be an issue on your mobile carrier’s end. It’s best to contact your service provider for help fixing the issue.
We hope one of the solutions mentioned above solves your issue. If you’re still getting the No Service error, I suggest contacting Apple Support and chatting with the troubleshooting team online or scheduling an in-person appointment. It could be a hardware issue specific to your iPhone.
Have any other related questions? Share them in the comments below.
Read more: