FaceTime Like a Pro
Get our exclusive Ultimate FaceTime Guide 📚 — absolutely FREE when you sign up for our newsletter below.

FaceTime Like a Pro
Get our exclusive Ultimate FaceTime Guide 📚 — absolutely FREE when you sign up for our newsletter below.
Master iPhone photography with iOS 26. From ProRAW to Night mode, here are the best camera settings to capture stunning, professional-quality photos.
With every new iOS update, the iPhone camera gets smarter and more powerful. Even in auto mode, it takes impressive photos. But if you really want professional-level results, you need to tweak a few hidden settings.
The redesigned Camera app in iOS 26 adds new tools, features, and shortcuts that make it easier than ever to capture amazing shots. From ProRAW resolution control to Night mode tips, here are the best iPhone camera settings in iOS 26 you should use to take stunning photos.
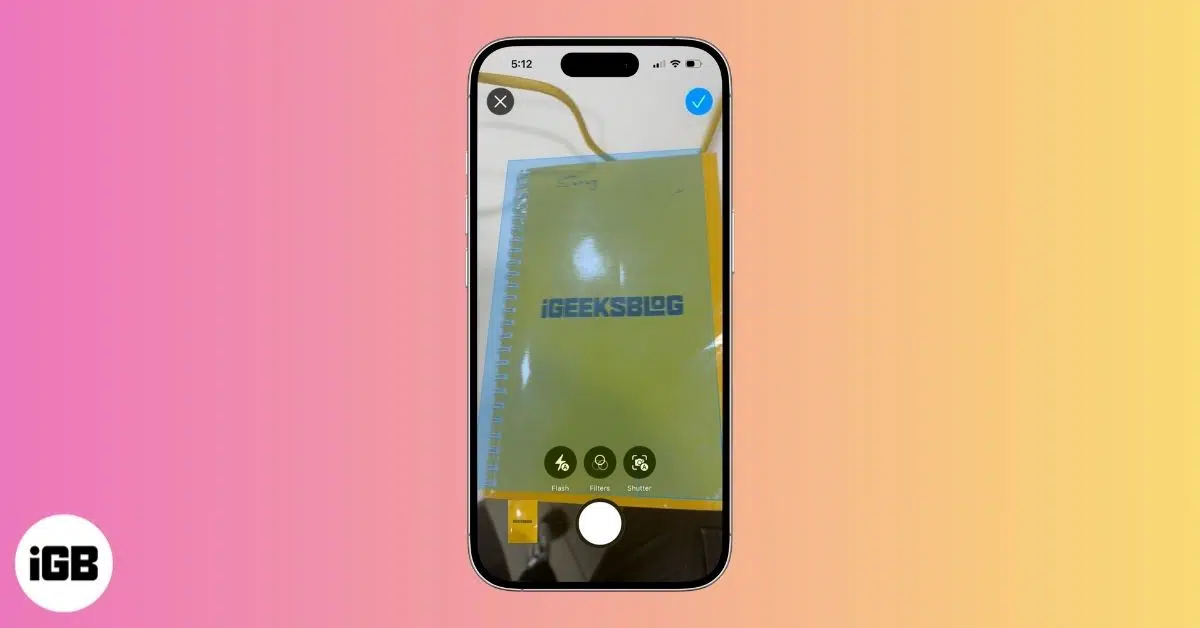
The Camera app in iOS 26 gets a fresh look with the new Liquid Glass theme, featuring translucent overlays, smoother animations, and easier swipe-based mode switching. Apple has also added quick-access camera settings and lens cleaning reminders to help keep shots sharp.
Some older toggles are now tucked into menus, so it may take a moment to find them. Note that advanced features like ProRAW and Resolution Control are limited to the latest iPhone 17, 16, and 15 series.
Here’s a breakdown of the most useful settings in iOS 26 and how to use them.
Choose the default resolution for the Main or Fusion camera, or turn on 48MP, ProRAW, and Resolution Control for more detail. Just head to Settings > Camera > Formats and select your preference.

With ProRAW, you can set the default compression format. Open the Camera app, tap the control icon at the top, and pick your preferred format. In iOS 26, you can also adjust resolution and frame rate directly within the Camera interface.
Prioritize Faster Shooting speeds up capture when you’re rapidly pressing the shutter, but it does so by cutting back on image processing. If you want maximum sharpness and detail — especially for creative shots — turn it off. Go to Settings > Camera and toggle off Prioritize Faster Shooting. This gives your iPhone more time for full computational processing, reducing noise and improving detail.
In iOS 26, Apple has refreshed the Camera interface. Tap the menu icon in the top-right corner or swipe up from the bottom to reveal the controls. From there, you can toggle options like:

You can also change the Exposure, Photographic Styles, and Aspect Ratio of your photo from here.
Your iPhone’s auto exposure isn’t always perfect. For low light or when you want a specific mood, take control by adjusting the exposure manually.
To adjust exposure manually, open the Camera app and tap to focus on your subject. A sun icon will appear next to the focus square — swipe up to brighten or down to darken.
Grid lines in the iPhone Camera app help you frame shots more evenly. Place your subject along the lines or at their intersections for a balanced, visually appealing composition rather than keeping everything centered.
To enable grid lines, go to Settings > Camera and switch on Grid and Level. The next time you open the Camera app, you’ll see a grid overlay to help compose balanced, professional-looking shots.
Now let’s get practical — here are the best settings for different shooting situations, plus a few tips to help you along the way.
Night mode on iPhone helps you shoot clear photos in low light by using longer exposure and smart processing to capture more detail and reduce noise.
Night mode turns on automatically in low light, shown by a moon icon at the top of the screen. The exposure time adjusts to the scene, but you can also tap the icon and slide the bar to set it manually.
Handheld Night mode shots max out at 3 seconds, but with your iPhone on a tripod, you can extend exposure up to 30 seconds. This makes it perfect for astrophotography or very low-light scenes.
Turn off the flash to avoid harsh lighting and let Night mode work naturally. Tap and hold to lock focus and exposure so the camera doesn’t refocus mid-shot, and avoid zooming in since it can increase noise.
Portrait mode adds a depth-of-field effect, blurring the background while keeping your subject sharp. It’s ideal for portraits and close-ups, and works just as well on objects—not just people.
To use Portrait mode, open the Camera app and swipe to Portrait. Frame your subject, and your iPhone will automatically add the background blur effect.
In Portrait mode, tap the f icon at the top left to adjust background blur using the slider. You can also swipe left on the square box above the shutter to pick a lighting style.
For more control, you can adjust focus and exposure separately—perfect when your subject and background have very different lighting.
Say you’re photographing a coffee cup near a bright window. If you focus only on the cup, it may look too dark compared to the background. By locking focus on the cup and then adjusting exposure, you can brighten it without blowing out the background.
To do this, tap and hold on your subject until you see a yellow box with AE/AF Lock. Focus is now fixed. Slide your finger up or down to change exposure (brightness) without affecting focus.
Burst mode is perfect for fast action like sports or wildlife, letting you capture multiple shots in quick succession and pick the best one later.
In the Camera app, press and hold the shutter button to start Burst mode; it will keep shooting until you release. For easier access, go to Settings > Camera and enable Use Volume Up for Burst. After that, you can just hold the Volume Up button to fire off bursts.
Use Panorama (Pano) mode to capture wide landscapes or cityscapes that don’t fit in a single frame. In iOS 26, stitching is faster and better at handling motion blur.
Open the Camera app, swipe to Pano, and pan slowly across the scene, starting from a darker area and keeping the arrow level. You can pause mid-pan to let exposure adjust, then continue. Move smoothly at a steady pace to avoid wavy horizons or distortions.
When done, review the shot for stitching errors like warped horizons or duplicated people. If needed, try again with steadier, slower movement.
Here are some advanced tips and creative hacks to take your iPhone photography to the next level.
iOS 26 now gives you Lens Cleaning reminders when it detects smudges, helping you avoid blurry or hazy photos. To enable it, go to Settings > Camera > Lens Cleaning Hints. When prompted, gently wipe the lens with a microfiber cloth for sharper images and fewer flares.
On iPhone 17 and 16, the new Camera Control button lets you choose which controls appear and in what order. Customize quick toggles like ProRAW, Flash, Timer, or Filters so you can switch settings instantly without digging through menus.
With AirPods or AirPods Pro (H2 chip), you can trigger the shutter remotely—perfect for tripod shots, long exposures, or creative framing. To set it up, go to Settings > [Your AirPods] > Camera Remote, assign a gesture, and press the stem to snap a photo or start recording.
If you pair your iPhone with AirPods and AirPods Pro with the H2 chip, you can use them as remote shutter releases. This is super useful for tripod shots, low-light exposures, or creative framing because you don’t have to physically tap the screen.
Even experienced photographers hit snags. Here are common iPhone camera issues and how to fix them.
| Issues | Solutions |
| Dealing with lens flare, glare, and reflections | Try tilting your phone slightly, shading the lens with your hand or a hat, turning off auto flash, and wiping the lens clean. |
| When Night Mode fails or produces blurry shots | Mount your iPhone on a tripod for stability and use the timer or a remote shutter to avoid shake. For sharper shots, turn off Night mode and manually adjust exposure or ISO. |
| Handling motion blur or shaky shots in handheld conditions | Hold your iPhone with both hands, tuck in your elbows, and use a short exposure or Burst mode to boost your chances of a sharp shot. |
| Battery drain concerns while using high resolution or ProRAW formats | Avoid continuous ProRAW shooting, close background apps, and keep your iPhone charged. Low Power Mode can help save battery but may reduce camera performance. |
By fine-tuning these iPhone camera settings, you can dramatically improve your photos and elevate your photography. With iOS 26, Apple has added more controls than ever — it’s all about knowing when to let the iPhone handle things and when to step in.
Experiment with different settings, review your shots, and adjust your approach to see what works best in different lighting and situations. For quick, casual photos, the automatic settings are still your friend.
Did I miss any of your favorite iPhone camera tricks? Share them in the comments!
FAQs
The App Store has no shortage of powerful camera apps with advanced controls and creative features. Popular picks include Halide Mark II, Focos, and Adobe Lightroom. For more options, check out our full comparison of the best iPhone camera apps.
To turn off the camera shutter sound on iPhone, flip the mute switch on the side to enable silent mode. Keep in mind, though, that in some countries this option is restricted by law.
If your iPhone’s front camera isn’t working, it could be due to software glitches or hardware issues. Check out our detailed guide on how to fix the iPhone front camera for step-by-step solutions.
Read more: