Did you know your Mac lets you open apps, type messages, click buttons, and scroll through web pages — all with just your voice? Thanks to Voice Control, Apple’s powerful accessibility feature, you can operate your entire Mac hands-free.
Whether you need a voice-driven interface due to mobility limitations or simply want a new way to boost productivity, this guide walks you through everything about using and customizing Voice Control on Mac.
What is Voice Control on Mac?
Voice Control is an accessibility tool on macOS that lets you control your Mac using voice commands. Unlike Siri, which is designed for short tasks, Voice Control is made for full system navigation and dictation.
You can open apps, scroll, click buttons, type text, and interact with any UI element — all by speaking naturally. It’s available in multiple languages, works offline, and processes commands on-device to preserve your privacy.
Even during a call, Voice Control remains active and functional. It displays item numbers, names, or a screen grid, so you can say things like “Click 5” or “Open Safari” to control what’s on screen.
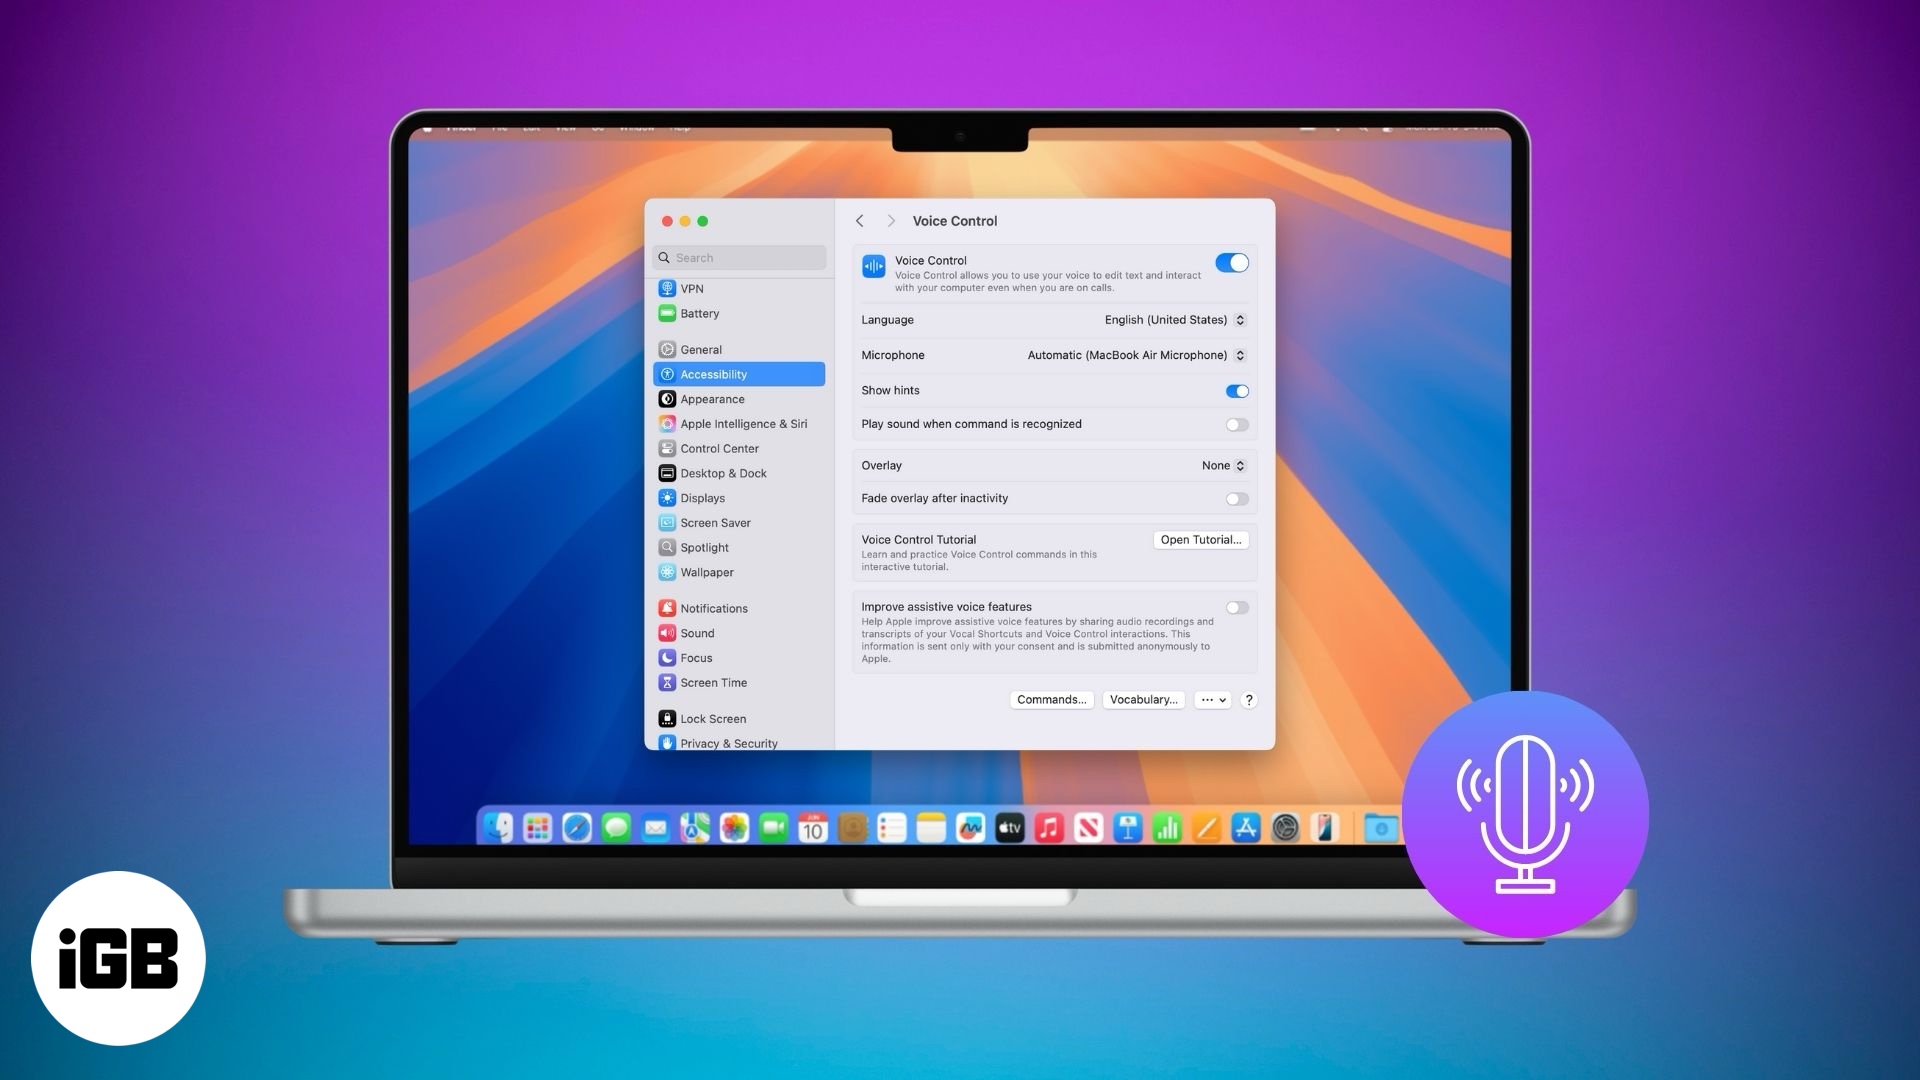
How to Enable Voice Control on Mac
Setting up Voice Control takes just a few steps:
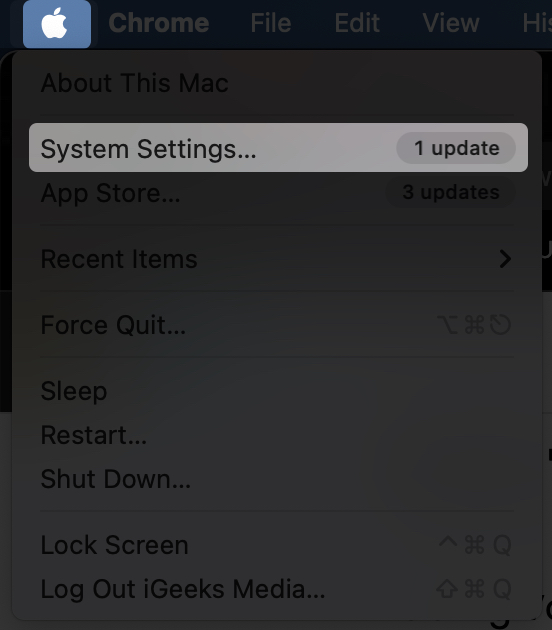
- Click the Apple menu → System Settings.
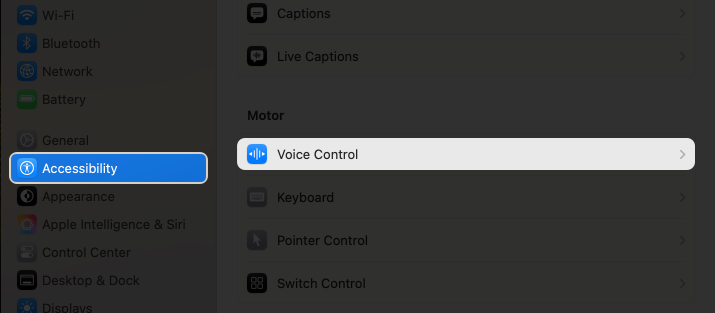
- Scroll down to Accessibility in the sidebar.
- Under Motor, click Voice Control.
- Toggle on Voice Control switch.
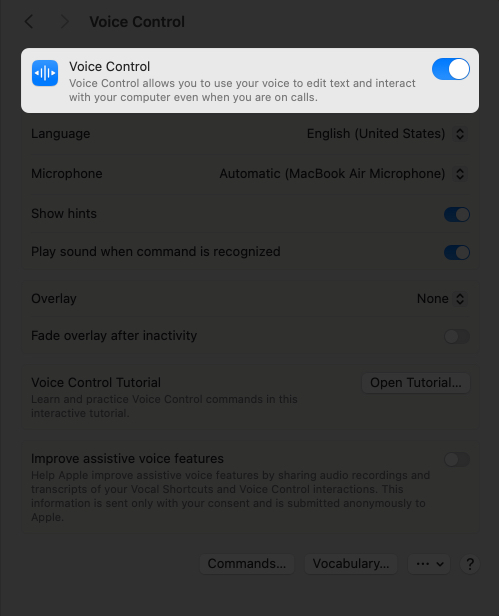
- The first time you enable it, macOS may download language files. Ensure you’re connected to Wi-Fi.
- When prompted, allow microphone access. A blue microphone icon in the menu bar will confirm that Voice Control is now active and listening.
Voice Control Commands to Use Your Mac Hands-Free
Voice Control offers a wide range of commands to navigate and control your Mac. Below are key ways to use it effectively.
Basic Navigation Commands
Here are some core commands to get started:
- Open an app: Say, “Open Safari” or “Open Notes.”
- Click a button: Say, “Click OK” or “Click Save.”
- Scroll: Say, “Scroll down” or “Scroll up.”
- Go to a menu: Say, “Show menu bar” or “Open Apple menu.”
- Select an item: Say, “Click Finder” or “Select text field.”
- Use a key: Say, “Press return key” or “Press command Z key.”
If you’re unsure of what to say, just say “Show commands” and a full list will appear.
Use Number, Name, and Grid Overlays
Voice Control uses overlays to label on-screen items for easier voice interaction:
- Number Overlay: This feature assigns numbers to clickable items (e.g., buttons and links). Say, “Click 5” to select the item labeled with the number 5.
- Name Overlay: This displays the names of clickable items. You can say the name of the item, like “Click Save Button.”
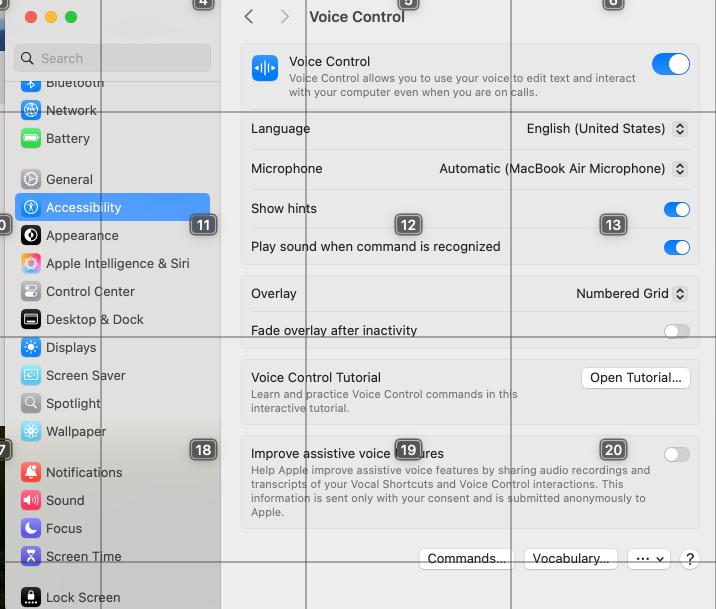
- Grid Overlay: Divides the screen into a numbered grid. To move your mouse pointer to that section of the grid, say, “Show grid,” then say a number (ex. “Click 3”)
So, to show overlays, say, “Show numbers,” “Show names,” or the “Show grid” command. After using these commands, you can hide the overlays by saying, “Hide numbers,” “Hide names,” or “Hide grid.”
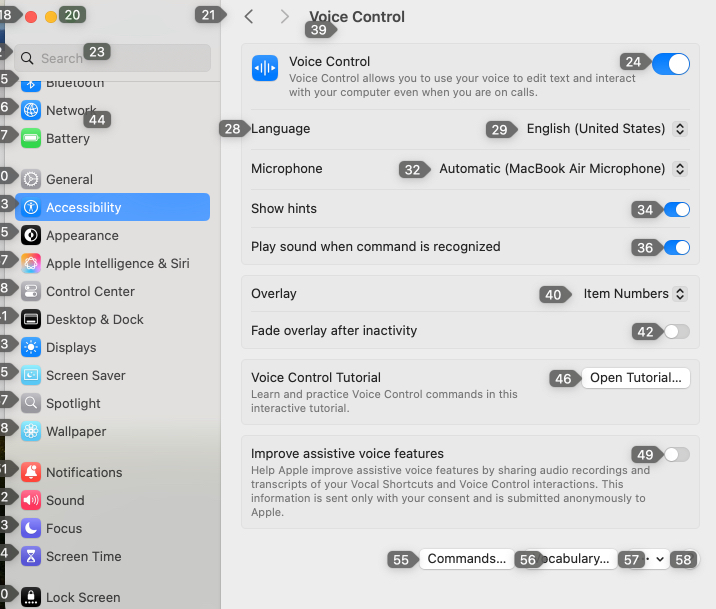
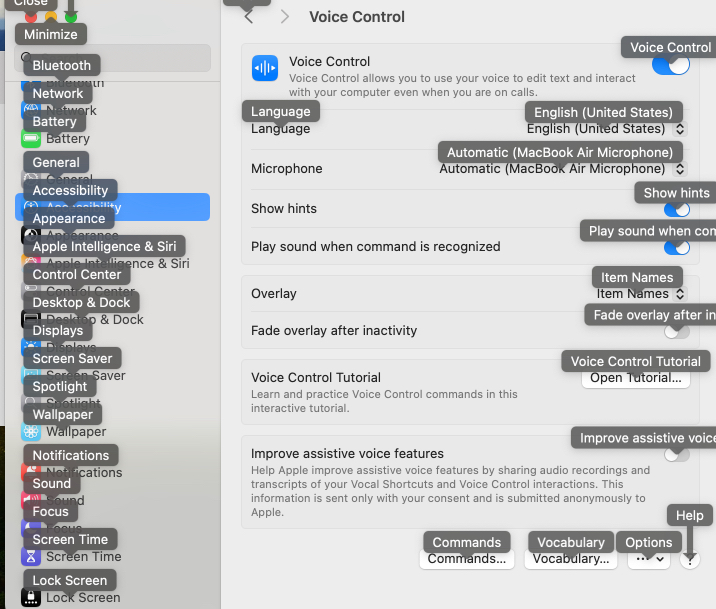
To automatically enable overlays, go to Settings → Accessibility → Voice Control → Overlay dropdown.
Related: Best Mac settings you should change right now
Dictate and Edit Text with Voice
Voice Control also supports advanced dictation and text editing:
- Dictate text: Click a text field (e.g., say, “Click text field”) and start speaking. Your words will appear as text. For punctuation, say things like “comma,” “period,” or “question mark.” To create a new line, say, “new line.”
- Enter emojis: You need to say the emoji name to add it to your text. For example, “Party popper emoji.”
- Edit text: Use commands like:
- “Select all” to highlight all text.
- “Select the previous three words” or “Select the next four characters” for specific words.
- “Unselect” to release the selected text.
- “Undo that” or “Redo that” to revise your action.
- “Delete the last word” to remove the previous words.
- To format selected text, you can say, “Bold that” or “Italicize that.”
- To move the cursor, you can say, “Move up one line,” “Move to end,” “Move down,” or “Move left four characters.”
Dictation works in Notes, Pages, Safari, and any app with a text field.
Using Voice Control with VoiceOver
If you have visual impairments, you can pair Voice Control with VoiceOver, Apple’s screen reader.
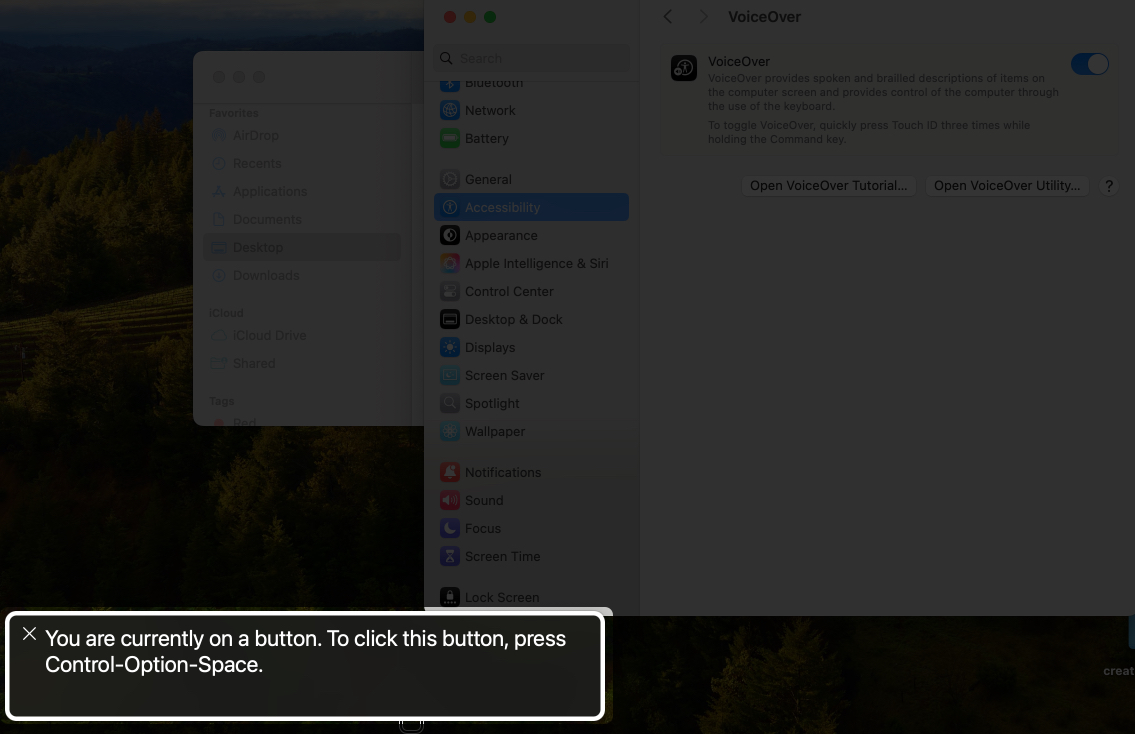
- Go to System Settings > Accessibility > VoiceOver.
- Enable VoiceOver.
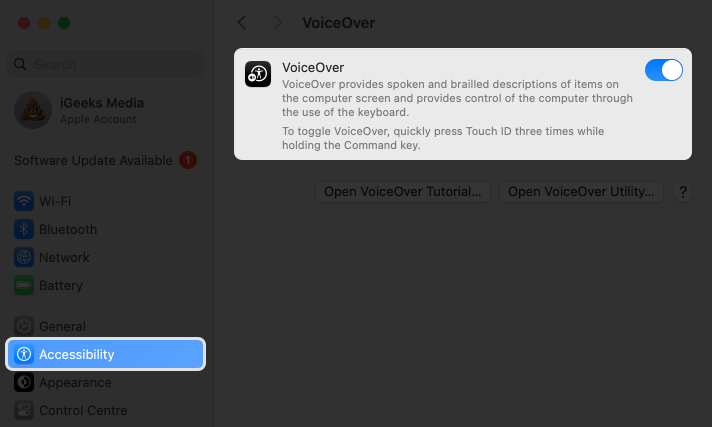
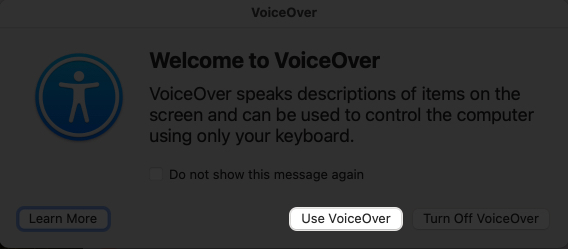
- A dialogue box will appear. Click Use VoiceOver.
Now, VoiceOver reads screen content (e.g., “Button, Save”), and you can respond with Voice Control commands like “Click Save.”
This combination makes macOS fully accessible for users with vision and mobility limitations.
How to Customize Voice Control on Mac
Voice Control isn’t one-size-fits-all. Here’s how to tweak it for your needs.
Enable or Disable Command Categories
You can turn on or off individual command categories (e.g., navigation, dictation) to simplify Voice Control:
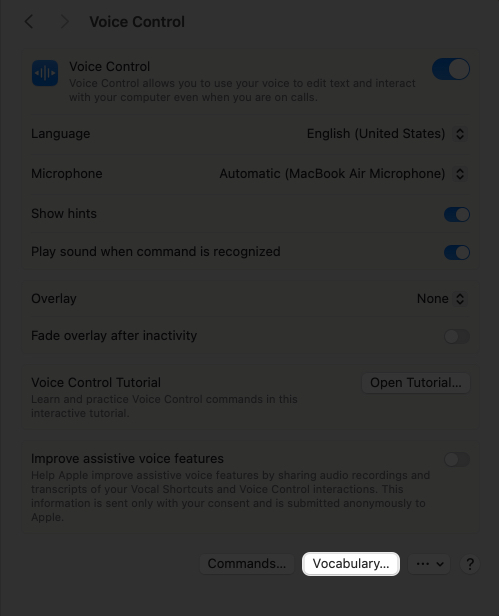
- Go to System Settings > Accessibility > Voice Control.
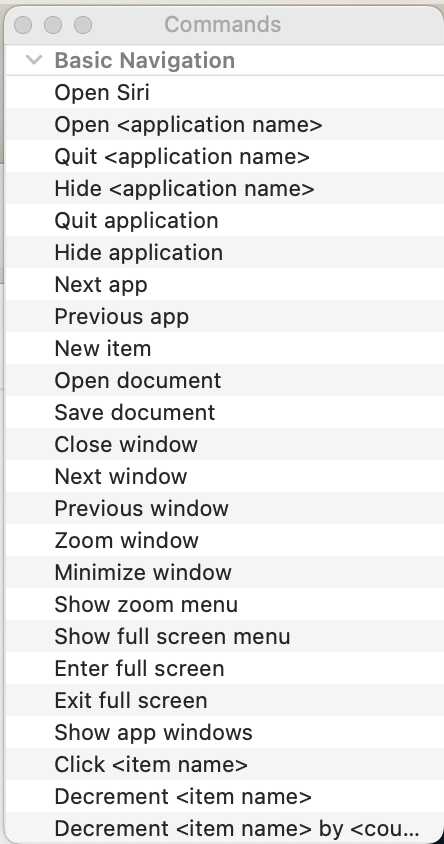
- Click Commands.

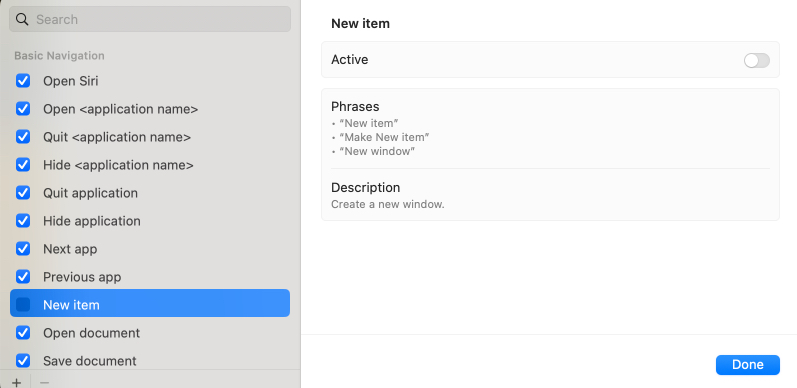
- Check or uncheck commands under categories such as Basic Navigation, Dictation, or Text Editing.
- You can also click on a command to view its description and examples of how to use it. It’s your Voice Control command cheat sheet for Mac.
This is helpful if you want only specific commands enabled to prevent accidental activation.
Create and use your own voice commands on Mac
You can create custom voice commands to perform specific actions, such as opening a website or running a shortcut:
- Open the Voice Control settings.
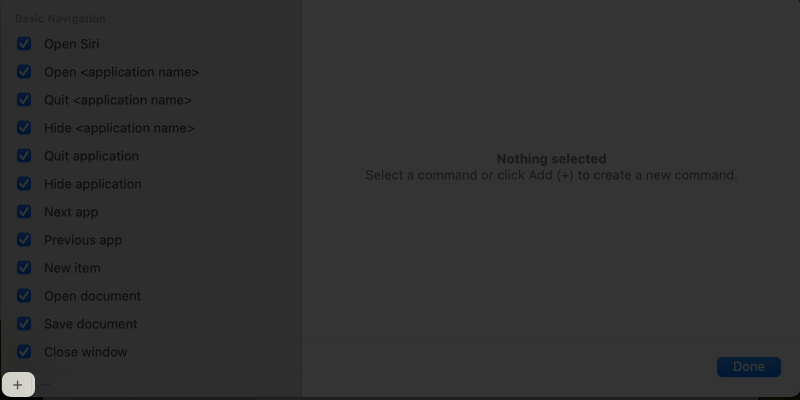
- Click Commands and then click the + button.
- Type the phrase you’ll say next to What I say textbox.
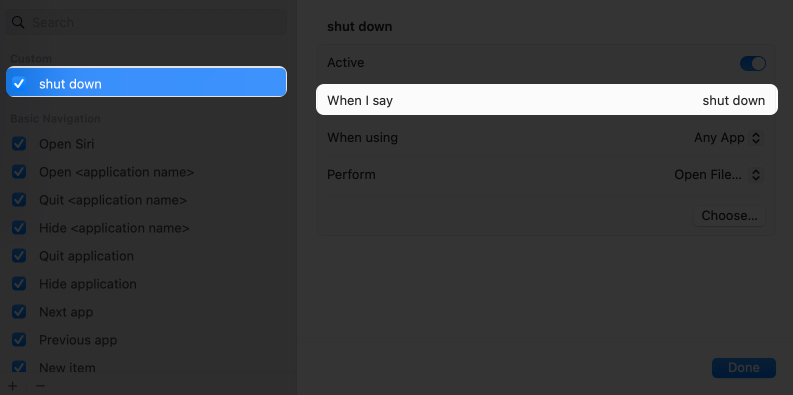
- Select what the command does from the Perform dropdown, such as:
- Open a file or link.
- Paste text.
- Run a keyboard shortcut or Shortcuts.
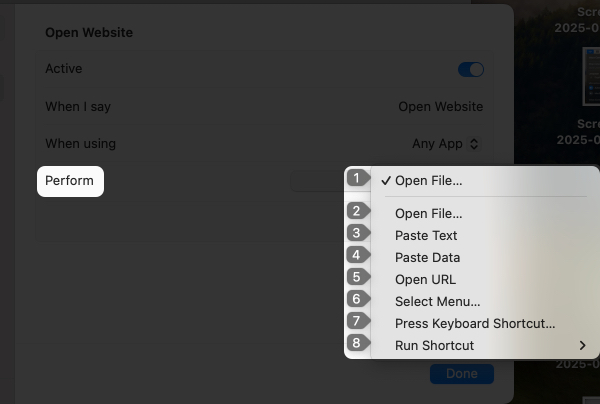
- Enter the URL or select the shortcut if required.
- Click Done to save.
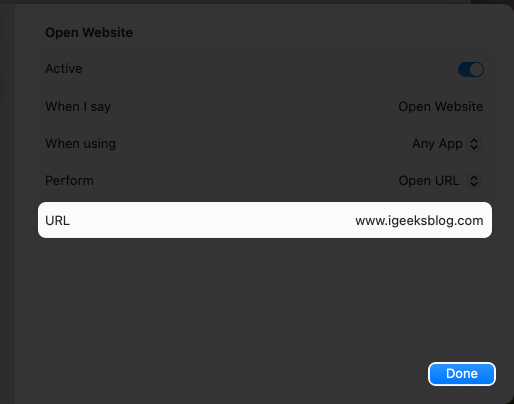
For example, you could create a command like “Open My Website” to launch your favorite site in Safari. Custom commands make repetitive tasks faster and more convenient.
Create your own dictation vocabulary
Voice Control’s dictation is great, but it may struggle with niche terms or proper names. You can add custom words to its vocabulary:
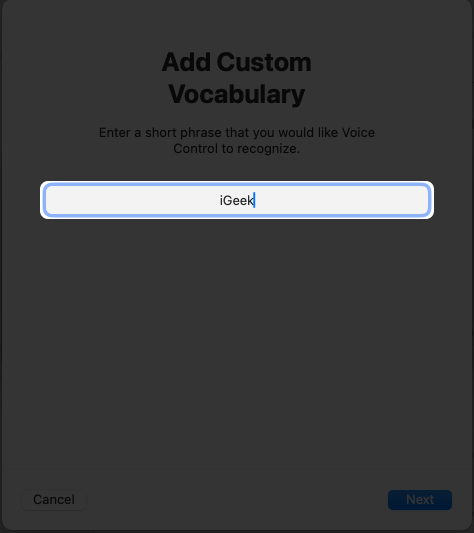
- From Voice Control settings, click Vocabulary at the bottom.
- Click the + button and type the word or phrase.
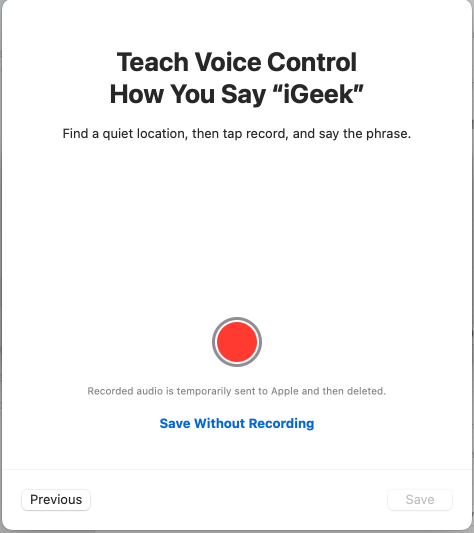
- Now, speak the word to teach your Mac how it sounds.
- Click Done to save it.
Now, Voice Control will recognize and transcribe these words accurately when you dictate. This is perfect for technical terms, names, or industry jargon.
How to temporarily Disable Voice Control on Mac
There are several ways to pause or stop Voice Control:
- Say “Stop Listening”: This will also stop Voice Control temporarily until you say “Start Listening.”

- Use the menu bar: Click the Voice Control icon and select Stop Listening.
- Turn it off manually: Open the System Settings, select Accessibility, then Voice Control, and toggle the switch to Off.
To resume, say “Start Listening” or toggle it back on manually.
If Voice Control isn’t working on Mac, try the following:
If Voice Control doesn’t respond or execute your commands, go through these steps to troubleshoot:
- Check microphone: Test using Voice Memos or select the right input in System Settings → Sound → Input.
- Match language settings: Voice Control works most effectively when your Mac’s language setting matches your voice. Open the Voice Control settings and select the correct language.
- Restart Voice Control: Turn it off and back on
- Update macOS: Since bugs can sometimes be fixed with an update, make sure you are running the latest version of macOS by navigating to your System Settings > General > Software Update.
If Voice Control continues to crash after you update your Mac, you can contact Apple support for further assistance.
Control Your Mac Hands-Free with Your Voice
Voice Control on Mac isn’t just for accessibility—it’s a powerful productivity booster. From basic navigation to advanced custom commands, you can control your Mac entirely hands-free.
Whether you’re a multitasker, coder, or someone who prefers voice interaction, Voice Control offers a fully customizable experience that adapts to your workflow.
Ready to take command of your Mac? Just say the word.
Read more: