How to use the Portrait mode on your iPhone to click stunning portraits
Master Portrait mode on your iPhone to capture stunning, pro-quality shots.
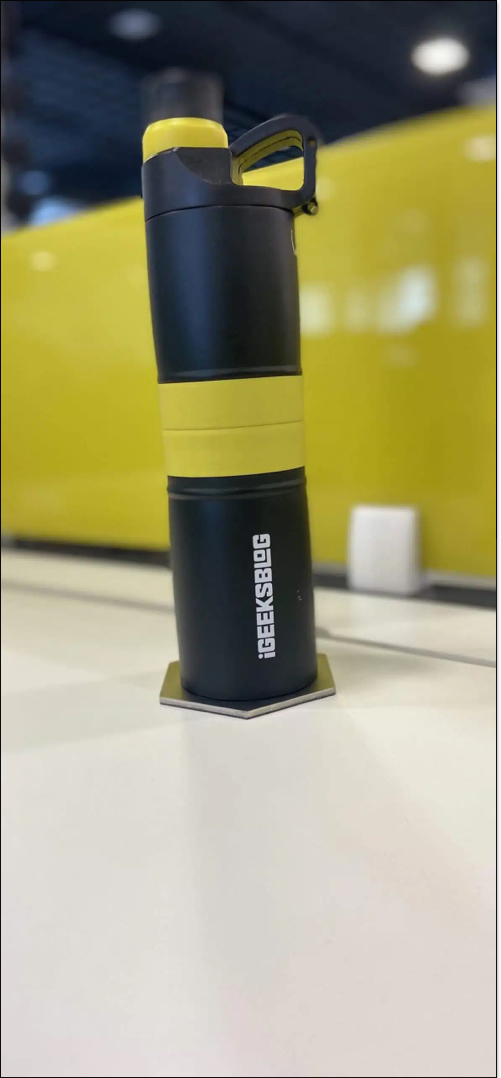
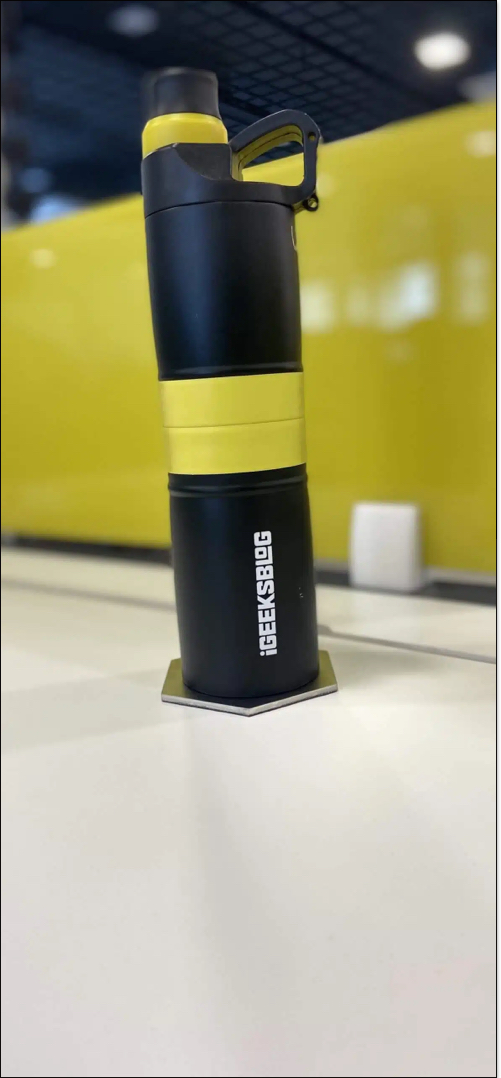
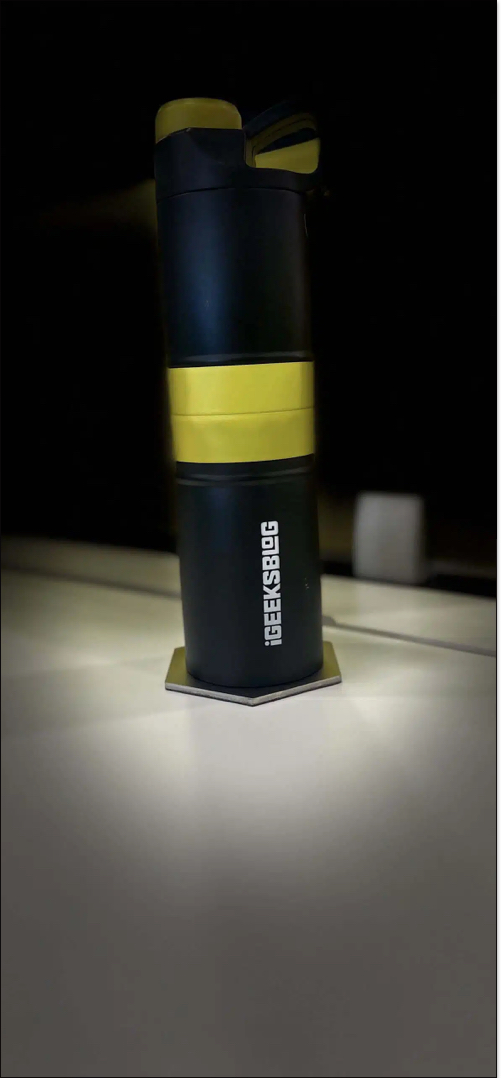
Ever looked at someone’s Instagram post and wondered how they got that beautifully blurred background with such a sharp, standout subject? It might look like a professional DSLR shot with the bokeh effect—but chances are, they just used their iPhone.
Your iPhone already has a powerful Portrait mode built right in, and it can turn everyday photos into stunning portraits. Whether you’re snapping a friend, a pet, or a selfie, this guide will show you how to use the Portrait mode on your iPhone to capture stunning portrait shots.
What exactly is the Portrait mode on an iPhone?
The Portrait mode is a special iOS Camera feature that creates a depth effect—keeping your subject sharp while softly blurring the background. This is similar to how DSLR cameras work.
Your iPhone does this using dual cameras or advanced sensors (like LiDAR on some models). It detects the subject (usually a face or an object) and separates it from the background to apply the blur. However, Apple later implemented it even on phones that have only one camera, like the latest iPhone 16e.
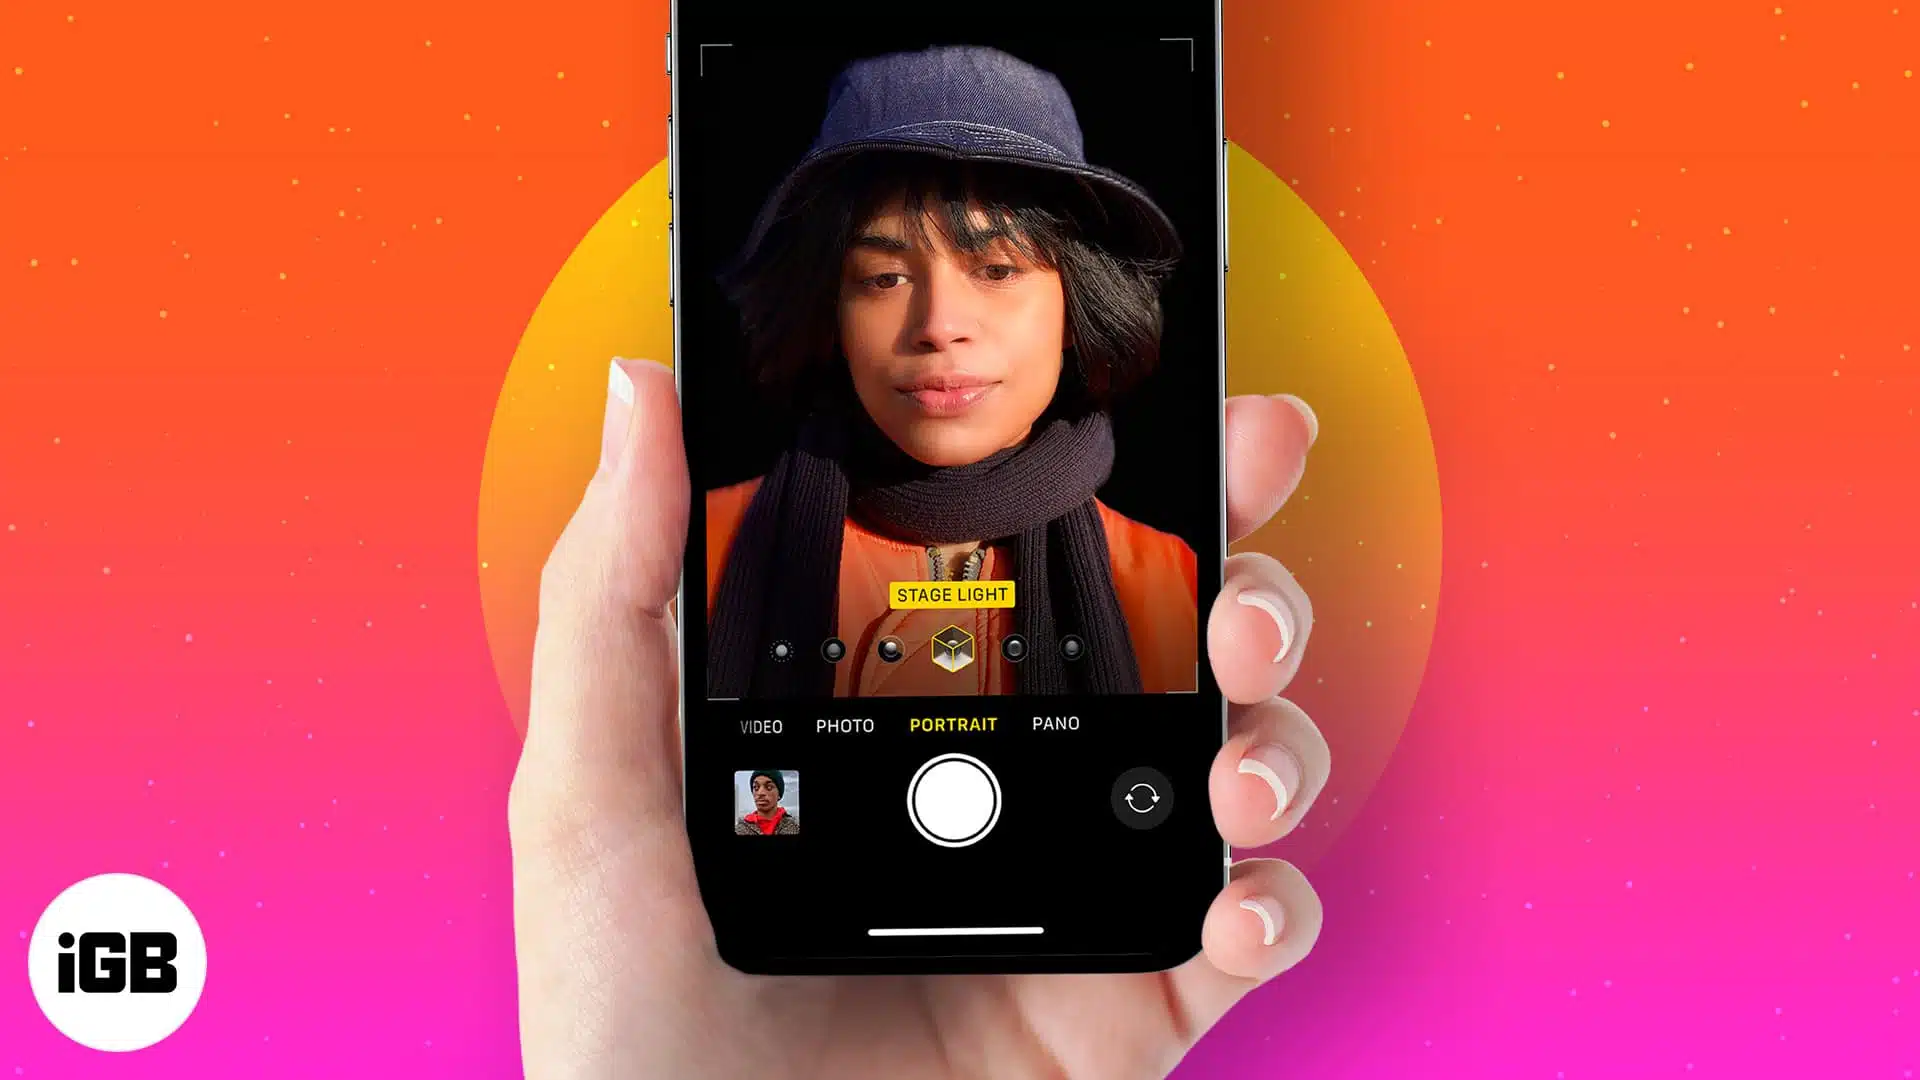
You also get the following Portrait lighting effects, which can completely change how your photo looks:
- Natural Light: Keeps things as they are with a nice bokeh.

- Studio Light: Brightens the subject’s face.
- Contour Light: Adds shadows for more dramatic lighting.
- Stage Light: Removes the background and adds a spotlight effect.
- Stage Light Mono: Same as Stage Light but in black and white.
- High-Key Light Mono: Bright white background with a black-and-white subject.
Which iPhones support the Portrait mode?
iPhones began supporting the Portrait mode with the introduction of dual cameras, starting from the iPhone 7 Plus. Later, Apple expanded this feature to models with a single camera and even the front-facing camera. Let’s look at all iPhone models that support the Portrait mode.
Rear camera only:
- iPhone 7 Plus
- iPhone 8 Plus
- iPhone XR
- iPhone SE (2nd generation)
Rear and front cameras:
- iPhone X, XS, XS Max
- iPhone 11, 11 Pro, 11 Pro Max
- iPhone SE (3rd generation)
- iPhone 12, 12 mini, 12 Pro, 12 Pro Max
- iPhone 13, 13 mini, 13 Pro, 13 Pro Max
- iPhone 14, 14 Plus, 14 Pro, 14 Pro Max
- iPhone 15, 15 Plus, 15 Pro, 15 Pro Max
- iPhone 16, 16 Plus, 16 Pro, 16 Pro Max, 16e
Note:
How to take portrait photos on your iPhone
If your iPhone supports Portrait mode, the process is the same on all the models. Here’s how you take a portrait photo on your iPhone:
- Open the Camera app.
- Swipe left or right to select the Portrait mode.
- Make sure your subject is within the yellow frame. Adjust the distance until the depth effect kicks in.
- You’ll see Natural Light or other lighting modes appear. Swipe to select the portrait lighting you prefer.
- Tap the subject to focus.
- Tap the Shutter button to take a picture.

That’s it! You can now find the portrait shot in your Photos app library.
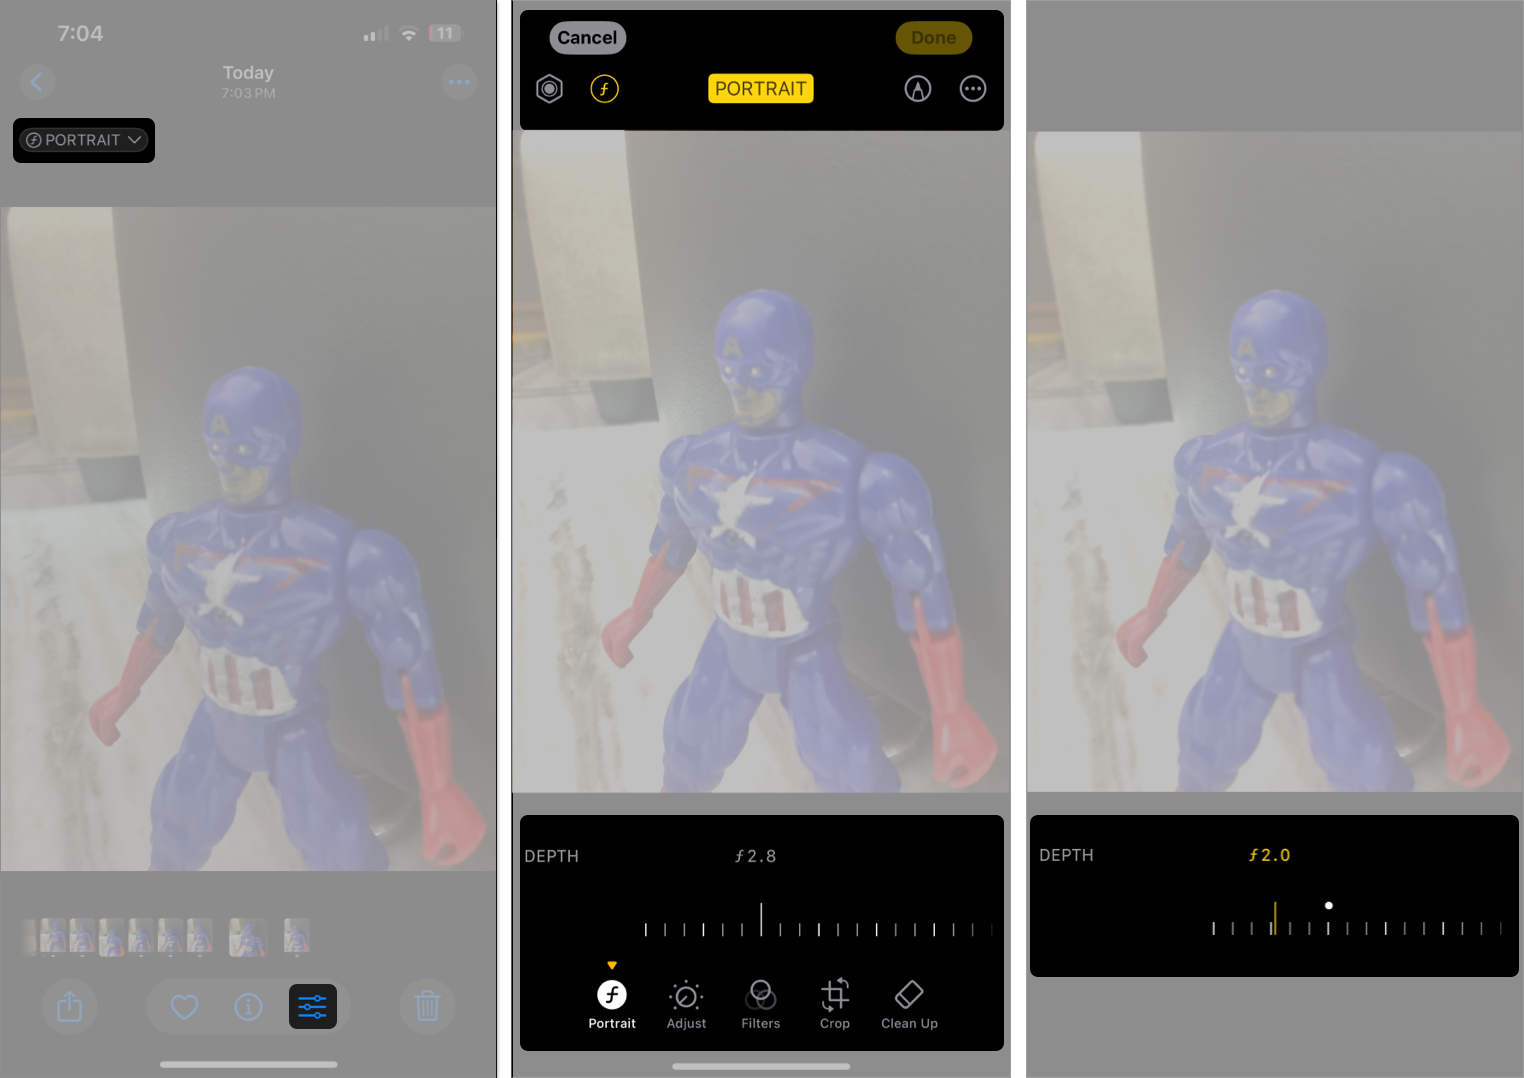
How to adjust or remove the portrait effect after taking a photo
Took a photo but want to tweak the blur or turn it off? Thankfully, your iPhone keep the depth data, so you can adjust the portrait effect while editing the photo too. Here’s what you need to do:
- Open the Photos app and open the portrait photo.
- Tap the Edit button (with slider icons) at the bottom.
- You’ll see the Portrait label at the top. Tap it to turn the effect off or on.
- You can also adjust the lighting or depth blur using the slider at the bottom.
How to turn regular photos into portrait mode photos on iPhone
If you have an iPhone 15 or later, you don’t always need to shoot in Portrait mode. Apple added a smart feature that captures depth info automatically—even in regular Photo mode (when it detects a person, pet, or object).
Here’s how to turn a normal photo into a portrait after taking it:
- Open the photo in the Photos app.
- Tap the Edit button.
- If depth data is available, you’ll see the Portrait toggle at the top. Tap it.
- You can now adjust the blur effect just like you would in a Portrait mode photo.
Note:
Tips for taking and enhancing your portrait photos
Once you’ve got the basics down, these quick tips can help you take your portrait photos to the next level:
- Use natural light: Soft light near a window works great.
- Avoid busy backgrounds: Simpler backgrounds enhance the bokeh effect.
- Keep your lens clean: A dirty lens ruins the sharpness.
- Adjust the depth: After shooting, edit and play with the depth effect to make it look better.
- Experiment with lighting effects: Don’t stick to just Natural Light. Studio and Contour can give dramatic results.
Capture portraits that pop
That’s pretty much everything you need to know to start taking amazing portrait photos on your iPhone. Whether you’re capturing a casual coffee date or your dog’s cutest stare, now with Portrait mode, you can give your photos a clean portrait lighting and depth effect like a professional DSLR.
Frequently Asked Questions

Written by
Ravi Teja KNTSI’ve been writing about tech for over 5 years, with 1000+ articles published so far. From iPhones and MacBooks to Android phones and AI tools, I’ve always enjoyed turning complicated features into simple, jargon-free guides. Recently, I switched sides and joined the Apple camp. Whether you want to try out new features, catch up on the latest news, or tweak your Apple devices, I’m here to help you get the most out of your tech.
View all posts →