
Sometimes the internet feels instant. You type a website name, hit Enter, and the page appears almost magically. Other times, the same site refuses to load, shows errors, or opens the wrong version of a page. When that happens on a Mac, the problem is often not your internet connection, but something much quieter working in the background: the DNS cache.
Understanding how to flush the DNS cache on macOS can save you from hours of frustration. It’s one of those small fixes that feels invisible, yet it often solves problems immediately. Let’s walk through what DNS cache is, why it matters, and how to clear it safely on any modern or older Mac.
Table of Contents
What Is DNS Cache?
Before jumping into commands and steps, it helps to understand what DNS cache actually is and why your Mac keeps it around.
The Domain Name System, or DNS, works like the Internet’s phonebook. Humans prefer website names like example.com, while computers communicate using IP addresses made up of numbers. DNS translates the name you type into the numeric address your computer needs to reach the website.
Your Mac stores these translations locally in something called a DNS cache. Every time you visit a website, your system saves its IP address so it doesn’t need to ask a DNS server again the next time you visit. This makes browsing faster and smoother.
The problem is that this cache doesn’t always age well.
Why Flushing DNS Cache Is Important
Most of the time, DNS cache quietly does its job. But when it goes wrong, it can break your browsing experience in confusing ways.
One common reason to flush DNS is troubleshooting. If a website won’t load, loads very slowly, or shows errors like “DNS server not responding,” your Mac may be using outdated or incorrect DNS information. Websites change servers and IP addresses, but your local cache may still point to the old location.
Security is another big reason. DNS cache can be targeted by attacks known as DNS cache poisoning. In simple terms, malicious software can alter cached records and redirect you to fake or harmful websites that look legitimate. Clearing the cache helps remove these corrupted entries.
Flushing DNS is also helpful after:
- Changing DNS servers
- Editing the hosts file
- Switching networks
- Setting up web development or testing environments
In short, flushing DNS forces your Mac to forget old information and ask fresh questions again.
How to Clear DNS Cache on macOS
Clearing DNS cache on a Mac may sound technical, but the process is straightforward. You don’t need special tools or advanced knowledge, just a built-in app and one command.
To do this, you’ll need:
- Access to the Terminal app
- Your Mac’s administrator password
- The correct command for your macOS version
Terminal is macOS’s command-line tool. It allows you to give the operating system direct instructions using text commands.
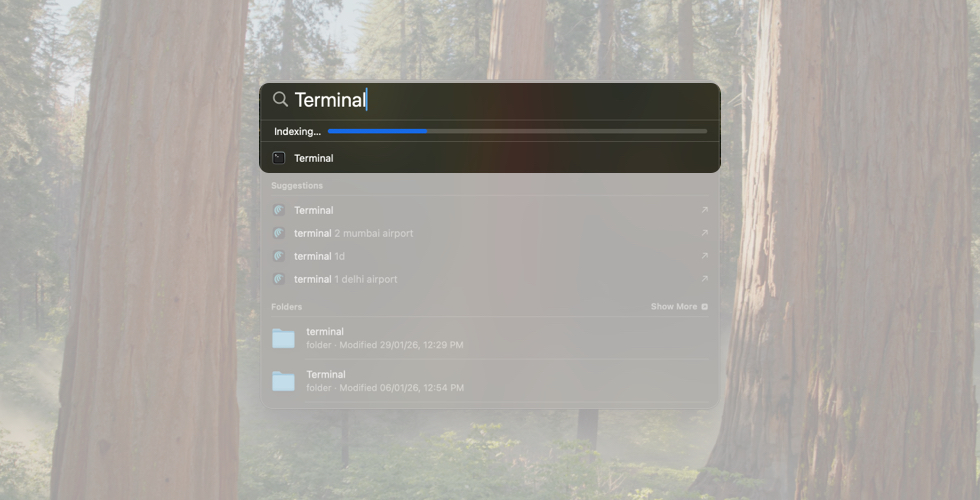
The fastest way to open Terminal is using Spotlight:
- Press Command + Space on your keyboard.
- Type Terminal.
- Press Return.
You can also open it manually by going to Applications > Utilities > Terminal.
Once open, you’ll see a simple window with a blinking cursor. This is where you’ll enter the DNS flush command.
Flush DNS Cache on macOS Sequoia, Sonoma, Ventura, Monterey, and Newer
Modern versions of macOS all use the same command, which makes things easy. This includes:
- macOS Sequoia (15.x)
- macOS Sonoma (14.x)
- macOS Ventura (13.x)
- macOS Monterey (12.x)
- macOS Big Sur (11.x)
- macOS Catalina (10.15)
After opening Terminal, copy and paste the following command and press Return:
sudo dscacheutil -flushcache; sudo killall -HUP mDNSResponder
You’ll then be asked to enter your Mac’s password. As you type, nothing will appear on the screen, not even dots or asterisks. This is normal and done for security reasons. Type the password and press Return.
There will be no confirmation message. If the command runs and you see a new prompt line, the DNS cache has been successfully cleared.
Flush DNS Cache on Older macOS Versions
If you’re using an older version of macOS or OS X, the command may be different. The steps are the same, only the command changes.
Here are the correct commands by version:
- macOS Mojave, High Sierra, Sierra, El Capitan, Lion, Mountain Lion, Mavericks
: sudo killall -HUP mDNSResponder - OS X Yosemite
: sudo discoveryutil udnsflushcaches - OS X Snow Leopard
: sudo dscacheutil -flushcache - OS X Leopard
: sudo lookupd -flushcache - OS X Tiger:
lookupd -flushcache
After running the command, enter your password if prompted and wait for the terminal prompt to return.
Related: How to Clear the DNS Cache on an iPhone or iPad
What Happens After You Flush DNS Cache?
Once the DNS cache is cleared, your Mac immediately starts rebuilding it. The next time you visit a website, your system asks a DNS server for fresh information instead of relying on old records.
You may notice:
- Websites are loading correctly again
- Fewer DNS-related errors
- Changes to DNS settings are taking effect
There’s no downside to flushing DNS occasionally. Your Mac will simply re-learn what it needs as you browse.
Should You Flush DNS Cache Regularly on Mac?
For most users, flushing DNS cache isn’t something you need to do often. However, it’s a great habit if you:
- Frequently troubleshoot network issues
- Work with websites or servers
- Change DNS settings often
- Care about privacy and security
Think of it like clearing a cluttered desk. You’re not deleting anything important, you’re just making room for accurate, up-to-date information.
Final Thoughts
Flushing DNS cache on a Mac is one of those quiet fixes that feels small but delivers big results. It doesn’t require special apps, restarts, or advanced skills. A single command can restore broken connections, resolve loading issues, and protect you from outdated or unsafe DNS records.
The next time a website refuses to cooperate and everything else seems fine, remember this trick. Sometimes, the internet just needs your Mac to forget and start fresh.


