- A DNS cache stores temporary website lookups, speeding up browsing but sometimes becoming corrupted, which can cause slow or failed connections.
- You can clear DNS cache on iPhone by toggling Airplane Mode, restarting the device, or resetting network settings to refresh connectivity.
- Clearing a browser cache in Safari or Chrome may fix browsing problems without flushing the DNS cache, especially when only certain sites misbehave.
- Flushing the DNS cache improves performance, helping with faster browsing, stronger connectivity, and reduced risks of security issues from outdated records.
- There’s no fixed schedule for DNS flushing, but doing it periodically helps avoid connection problems and keeps iPhone browsing speeds consistent.
If your iPhone takes longer than usual to load or open a website, it could be because you have a cluttered DNS cache. Flushing out your iPhone’s DNS can help in such situations and fix slow browsing or other connectivity issues you might be experiencing on the device.
Below, we’ve prepared a guide explaining what DNS cache does on your iPhone, how to clear it, and the benefits of clearing your iPhone’s DNS cache.
What is a DNS Cache?
A DNS cache is a temporary record copy maintained by your device or network router that contains information about previous DNS lookups, i.e., the websites you’ve visited and their corresponding IP addresses. This temporary database helps the browser resolve DNS faster, as it doesn’t need to initiate a new DNS inquiry every time you revisit the site, so you can have a faster browsing experience.
However, in the worst-case scenario, the DNS cache of your device may corrupt over time and slow down lookups, making flushing out of the DNS cache necessary after a certain interval.
How to clear the DNS cache on an iPhone
Clearing the DNS cache on an iPhone is pretty straightforward and requires little to no technical competence. Here are a few different ways to do this. You can also use these methods to clear the DNS cache on your iPad.
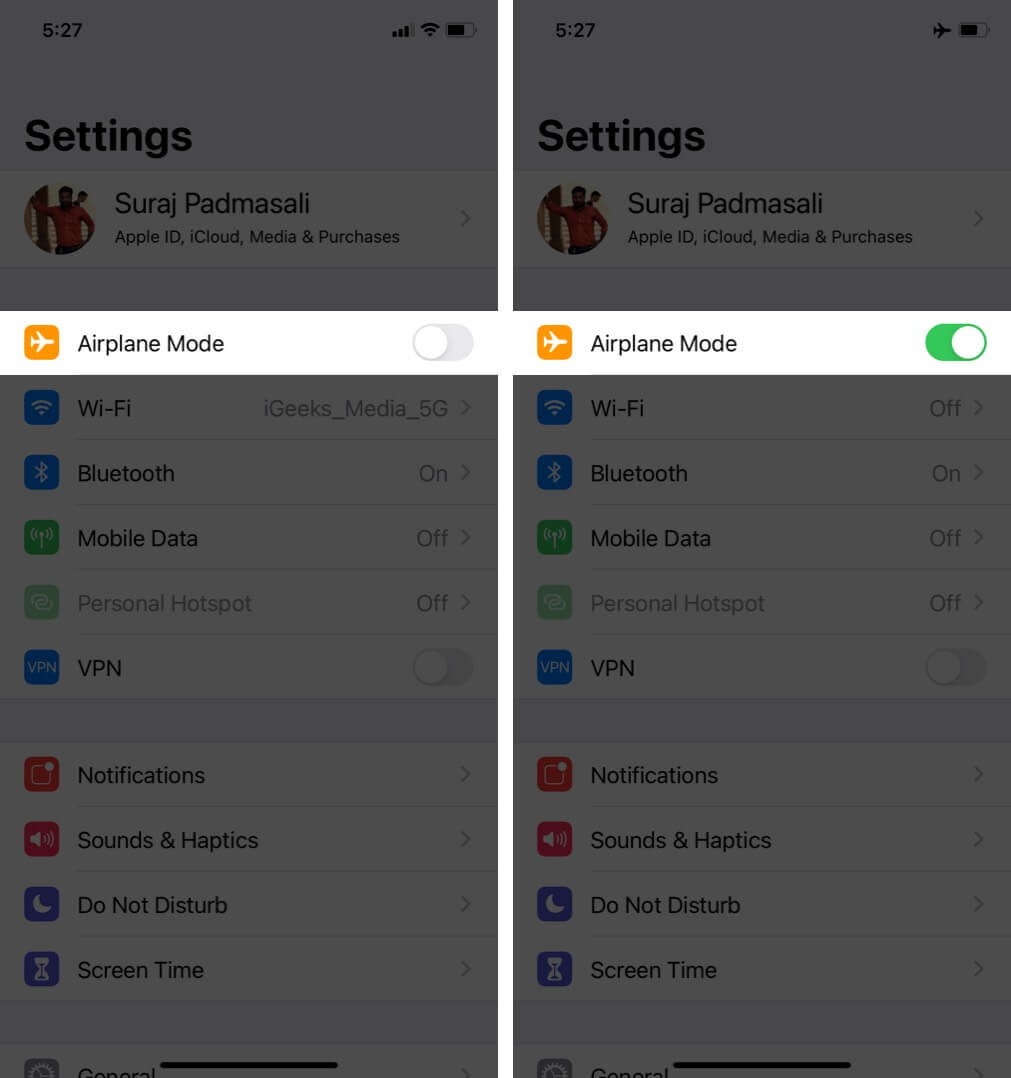
1. By toggling the Airplane Mode
The easiest way to flush the DNS cache on your iPhone is to toggle the Airplane Mode on and off. When you do this, it disables and re-enables all the wireless connections on your iPhone, which indirectly also flushes the DNS cache.
- Swipe down from the top-right of your iPhone screen to bring up the Control Center.
- Locate and tap the Airplane Mode tile to put your iPhone in the Airplane Mode.

- Alternatively, you can head to Settings toggle the switch next to Airplane Mode on.
- Wait a few seconds, then turn off Airplane Mode to re-enable the wireless connections.
2. By rebooting your iPhone
Restarting your iPhone can often fix most issues you may be experiencing on the device. The same is true for clearing the DNS cache on your iPhone as well.
When you restart your iPhone, it clears out all the temporary files and processes, including the DNS cache.
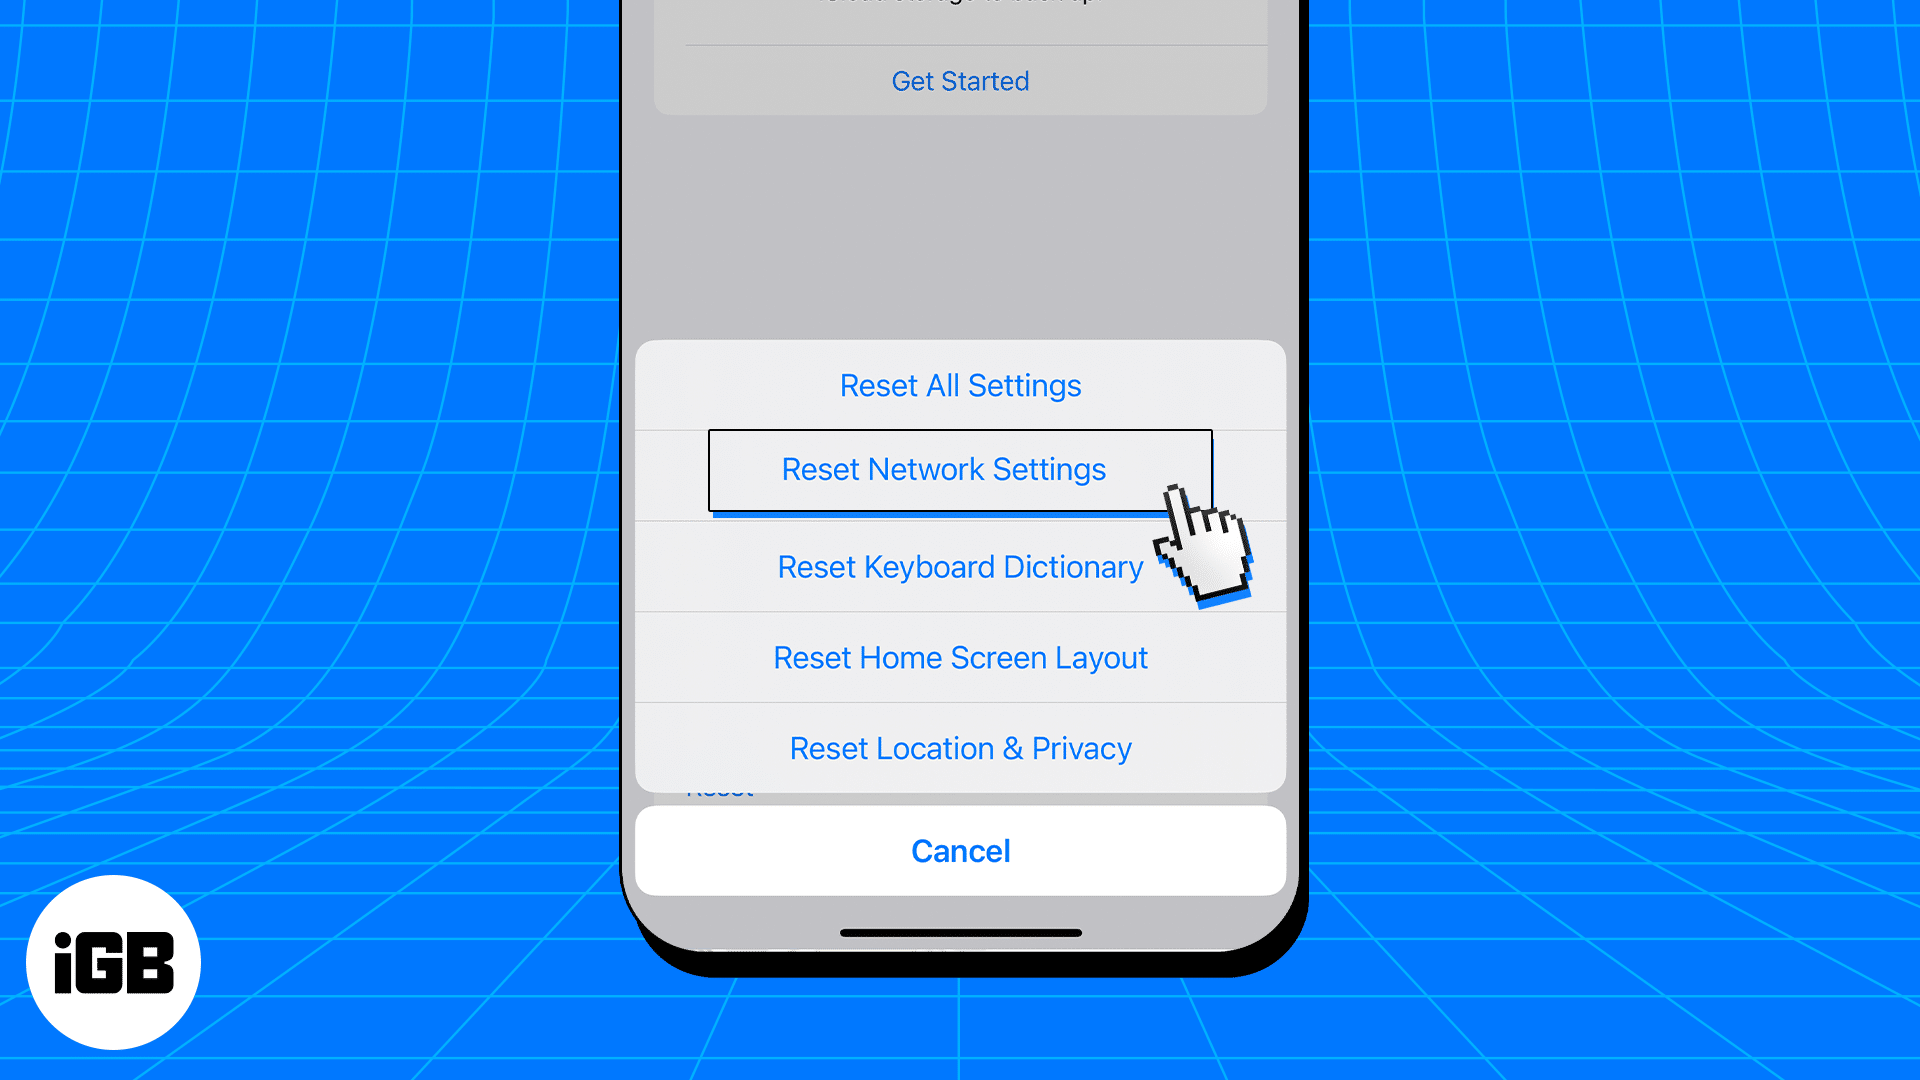
3. By resetting your iPhone’s Network Settings
While restarting your iPhone will flush the DNS cache anyway, you can reset your iPhone’s Network Settings if you’re still facing internet issues on your device. Bear in mind, though, that doing so will not only clear the DNS cache but also the passwords of all the Wi-Fi networks you once connected to.
Try clearing the browser cache instead
Although clearing the iPhone’s DNS cache doesn’t harm the device in any way, it might not be necessary for certain instances, and simply clearing the browser’s cache can do the job just fine. How you do this depends entirely on the browser you use on your iPhone since clearing the cache on Safari involves a completely different set of steps than clearing the cache on Chrome.
What are the benefits of flushing the DNS cache on an iPhone?
From faster browsing experience to enhanced security against malicious websites, clearing out DNS on an iPhone has various benefits.
- Faster browsing: Clearing the DNS cache will ensure that your iPhone fetches the latest IP address of the website you visit, which will result in faster loading speed and smooth browsing.
- Better connectivity: Most connectivity issues, such as “server not found,” are caused by corrupt DNS caches. Thus, flushing out the corrupted DNS cache will improve your iPhone’s internet connectivity.
- Enhanced security: An outdated or compromised DNS cache is likely to pose potential security threats, such as malicious websites or phishing attempts. Clearing the DNS cache reduces the likelihood of these security risks.
- Optimized performance: As you already know, the DNS cache becomes outdated over time, ultimately impacting your iPhone’s performance. This means periodically flushing out the DNS cache will ensure you always get the best possible performance.
How often should you clear your iPhone’s DNS cache?
As such, there is no set time frame for clearing the DNS cache on an iPhone. However, periodically clearing the DNS cache can help avoid connectivity issues and ensure a better browsing experience.
Enjoy blazing-fast browsing
That’s everything you need to know about clearing the DNS cache on an iPhone. While any of the above methods would work, whether to opt for a simple restart or an advanced troubleshooting method, such as resetting Network Settings, is a choice you need to make yourself.
Read more:


