A DNS cache or DNS resolver cache, is a temporary database of DNS lookups on the OS and browser. It consists of the records of recent as well as attempted visits of websites along with domains. To troubleshot cache poisoning or other internet connectivity issues, you may need to flush the DNS cache. The action will remove all the DNS entries. Besides, it also gets rid of invalid records. Let’s check out the way to clear the DNS cache on your Mac.
What is DNS cache?
Let’s first check what DNS is before moving forward to the DNS cache. To put it simply, DNS (Domain Name System) converts human-readable domain names like www.igeeksblog.com to computer-readable IP addresses like 104.26.11.8.
A DNS cache is temporary storage on a computer, smartphone, server, etc., that holds DNS records of previously visited domain names, such as a record for IPv4 addresses, AAAA records for IPv6, etc. It is often referred to as the DNS resolver cache.
Depending on the time-to-live (TTL), DNS keeps records of a website and its addresses, which are stored in this fictitious database of information. In essence, the DNS cache is how your device tries to save time and effort by responding to a DNS query with a DNS record already present in the temporary DNS cache, rather than having to perform a lengthy DNS lookup.
What does clearing the DNS cache do?
If you are having trouble accessing a website on your Mac, or if webpages do not load properly, clearing DNS cache will help. It also lets you correctly see the new version of a website, in case the site has recently moved its servers. It does so by clearing the outdated entries and fetching the new ones. Finally, regularly flushing DNS cache may also help in hiding search behavior and offer security against manipulation.
How to flush DNS cache on Mac
Here’s how you can flush the DNS cache on macOS Sonoma, Ventura, Monterey, and Big Sur.
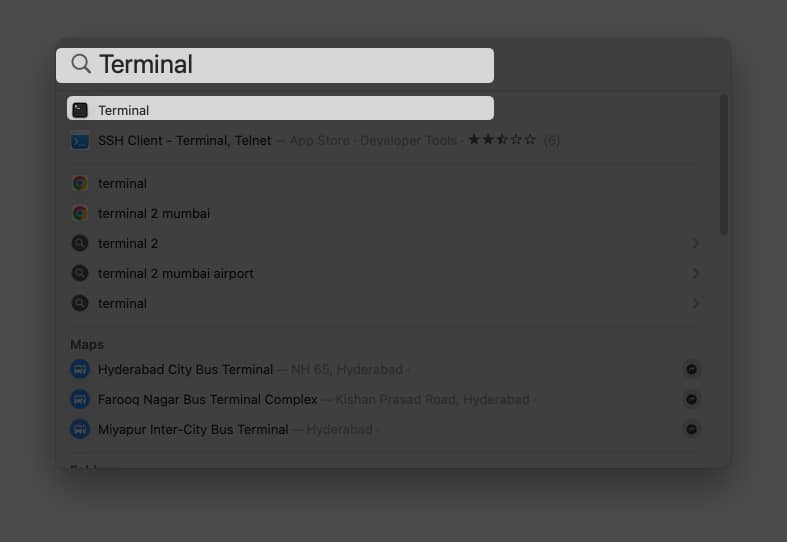
- Launch Spotlight (command + spacebar) → type and choose Terminal.
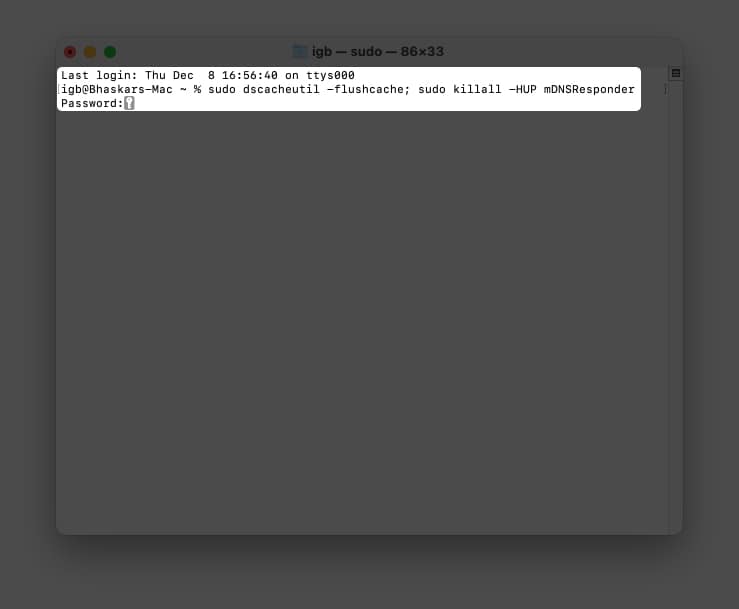
- Paste the command below in the terminal.
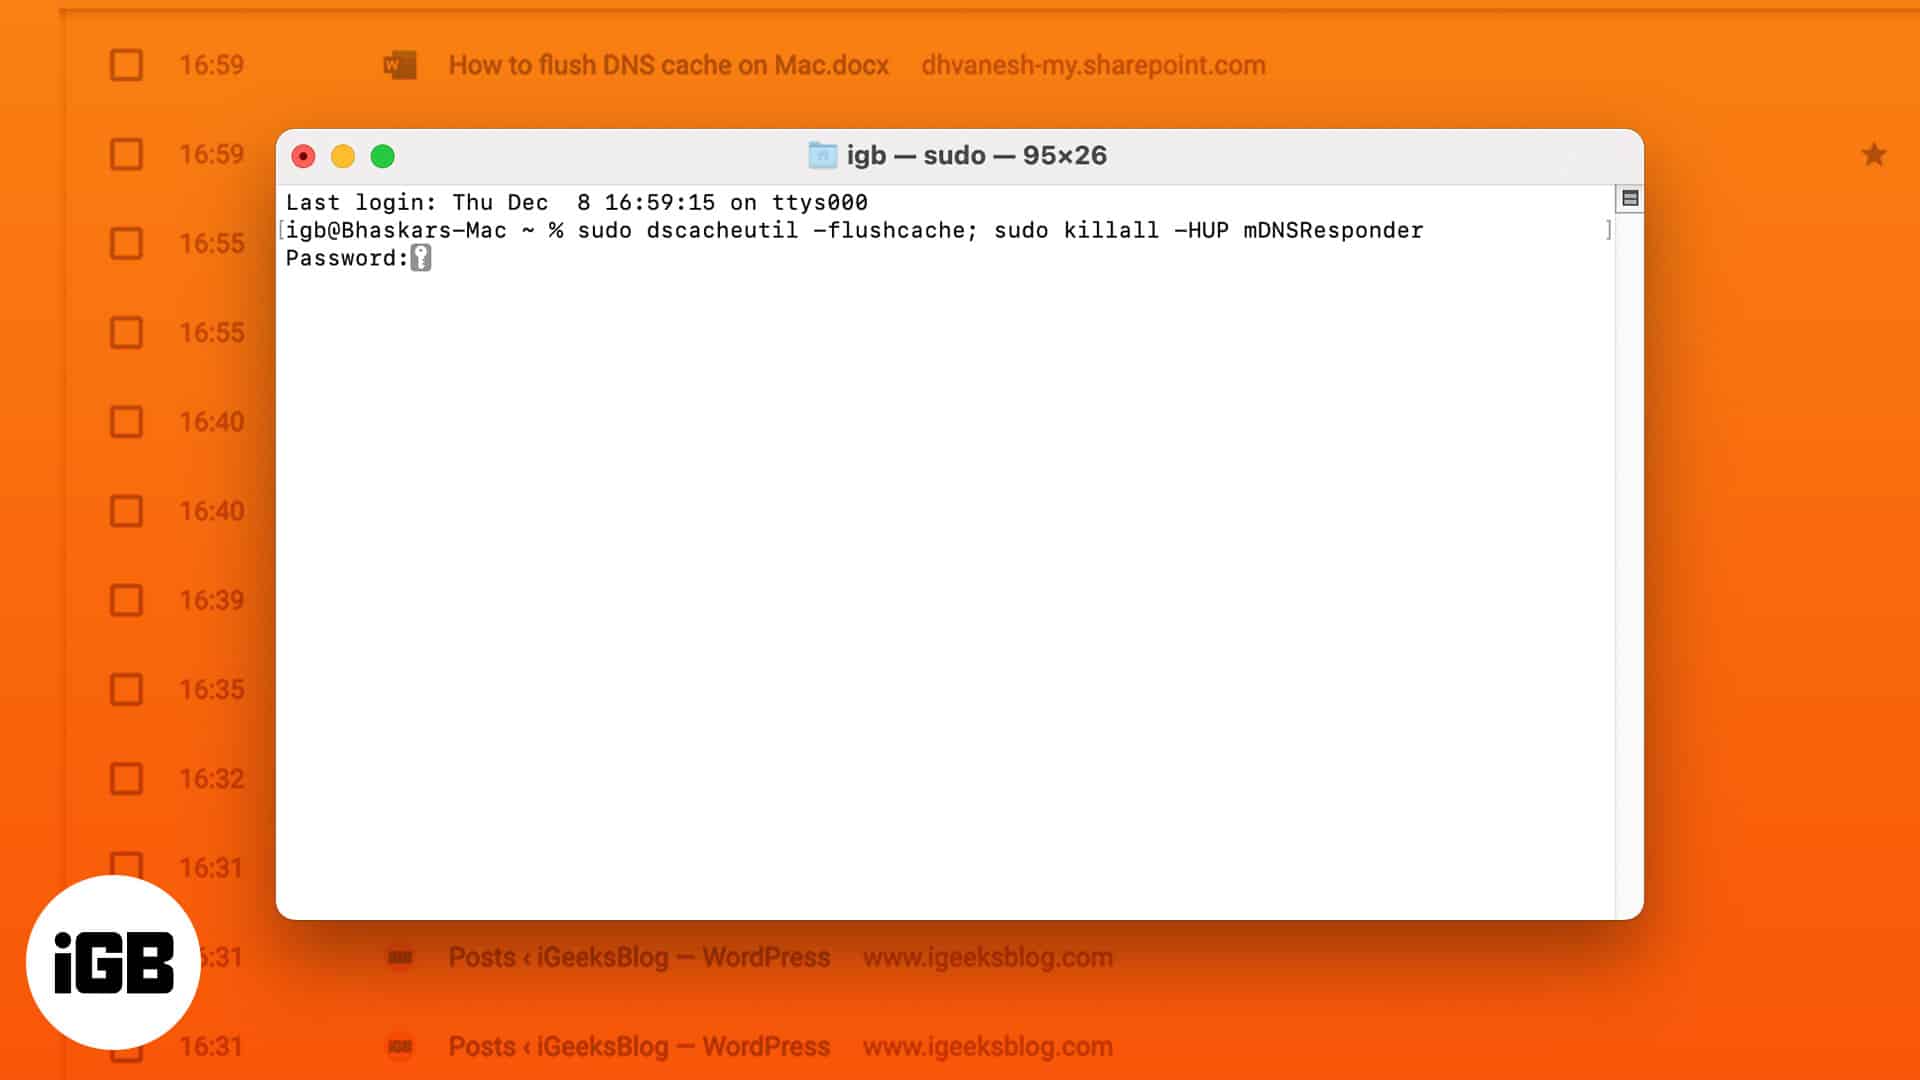
sudo dscacheutil -flushcache; sudo killall -HUP mDNSResponder - Press the return key.
- Enter your password.
- Hit return.
The password will not be seen in the terminal for security reasons.
Even though nothing will appear on the command prompt screen, your DNS cache will be flushed as soon as you press the return key.
Clear DNS cache in older macOS versions
If you are using an older version of macOS, then here are the commands for those.
To clear DNS cache on macOS Catalina, Mojave, High Sierra, Sierra, and macOS El Capitan, enter the syntax: sudo killall -HUP mDNSResponder
To clear DNS cache on macOS Yosemite, enter the syntax: sudo discoveryutil udnsflushcaches
To clear DNS cache on macOS Lion, Mountain Lion, and Mavericks, enter the syntax: sudo killall -HUP mDNSResponder
That’s all, folks.
Is it safe to clear DNS cache?
Hopefully, getting rid of the DNS cache will no longer be a big deal for you. Additionally, if you like, you can also choose to clear DNS Cache only for the Google Chrome browser. For this enter chrome://net-internals/#dns in Chrome’s address bar. Next, click on Clear host cache.
Read more:


Leave a Reply