FaceTime Like A Pro (eBook)

Get our exclusive Ultimate FaceTime Guide 📚 — absolutely FREE when you sign up for our newsletter below.

Local Capture on iPad: What It Is, How It Works, and How to Use It

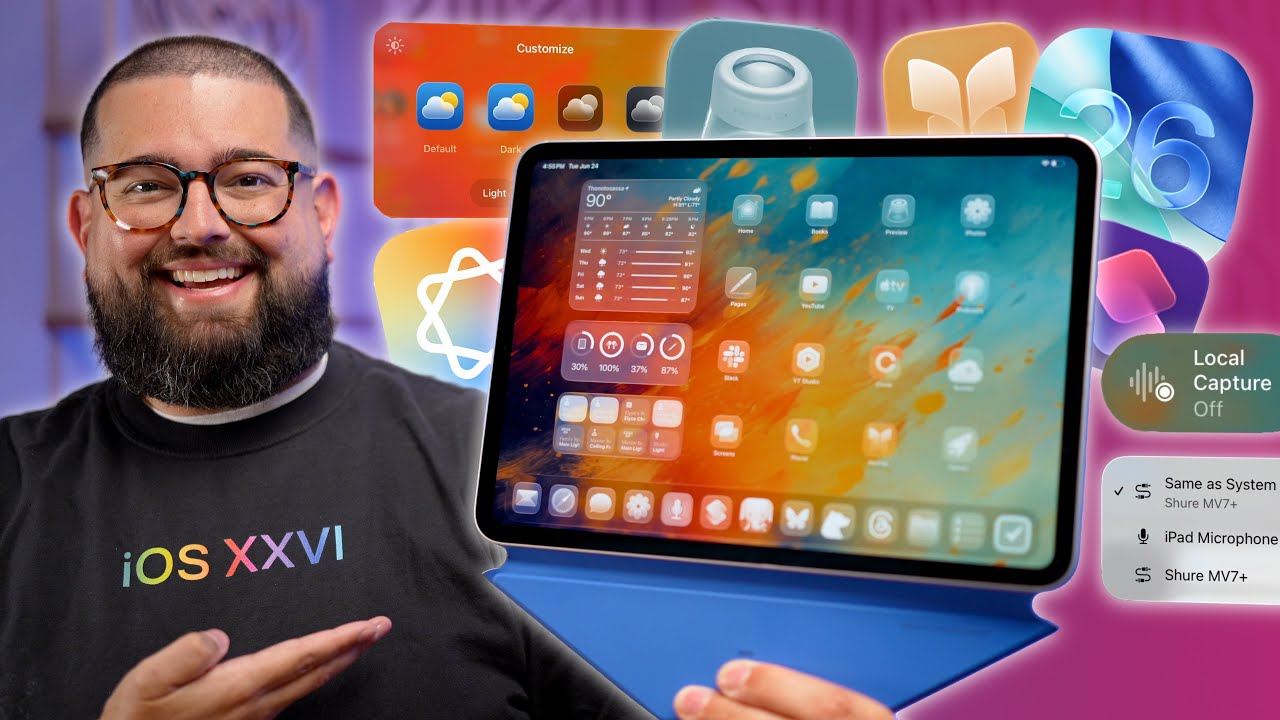
Learn how to use Local Capture on iPadOS 26 to record high-quality video and audio during video calls—right from your iPad.

With iPadOS 26, Apple has made the iPad smarter and more functional than ever. Among the standout features is Local Capture—a powerful tool that allows you to record high-quality audio and video directly on your iPad during video calls, no matter which app you’re using. Whether you’re interviewing someone, attending virtual meetings, or creating video content, Local Capture ensures your voice is recorded with clarity and securely saved.

In this guide, you’ll learn everything about Local Capture on iPad—what it does, how it works, and how to get the most out of it.

What is Local Capture?

Local Capture is a feature introduced with iPadOS 26 that enables users to record their own audio and video locally on the iPad during an active video call. It operates independently of the app’s built-in recording capabilities, giving you a high-resolution backup of your side of the conversation.

Once the video call ends, your recording is automatically stored in the Files app for safekeeping and easy sharing.

FaceTime Like a Pro:

Get our exclusive Ultimate FaceTime Guide 📚 — absolutely FREE when you sign up for our newsletter below.

Key Benefits of Local Capture:

  • Records directly from your iPad—no third-party apps required.
  • Compatible with any video conferencing platform.
  • Captures uncompressed, high-quality audio and video.
  • Echo cancellation ensures only your voice is prioritized.
  • Also available on iPhones running iOS 26.

How Local Capture Works

Local Capture is not enabled by default. You must turn it on manually whenever you want to record during a call.

When activated, Local Capture:

  • Records your microphone audio and camera video.
  • Applies Voice Isolation to reduce background noise.
  • Uses echo cancellation to remove other participants’ voices.
  • Automatically saves the file to the Files app under “Local Capture.”
Note It records only your audio and video, not the other participants’, to maintain privacy and clarity.

Requirements to Use Local Capture on iPad

Make sure you have the following:

  • An iPad running iPadOS 26 or later
  • Any video conferencing app (Zoom, FaceTime, Google Meet, etc.)
  • Sufficient storage on your iPad
  • AirPods Pro 2, AirPods 4, or AirPods 4 ANC (optional, for enhanced mic quality)

How to Set Up Local Capture on iPad

Before using Local Capture, you need to add its button to Control Center:

  1. Swipe down from the top right to open the Control Center.
  2. Tap the “+” button at the top left corner.
    Open control center and tap the plus sign
  3. Now, tap Add a Control.
    Tap on add a control option on ipad
  4. Next, use the search bar to find the Local Capture control button.
  5. Tap the Local Capture button to add it to the Control Center.
    Add local capture in control center on ipad

Now, Local Capture will be accessible during any video call from the Control Center.

How to Enable and Use Local Capture on iPad

Here’s how to start using Local Capture during a call:

  1. Join a video call using FaceTime, Zoom, Google Meet, or any other video calling app.
  2. Now, pull down the Control Center.
  3. Tap the Local Capture button to enable it.
  4. A small preview with a countdown clock will appear on your screen, and recording will begin immediately. You don’t have to do anything extra.
  5. You can stop the recording manually by tapping the Stop Recording button or wait until the call ends.
  6. In both cases, you’ll see a notification that the recording has been saved in the Files app.

Where to Find and Share Your Recordings

You can locate your recordings in two ways:

  • Access the Notification Center and tap the Local Capture notification.
  • Open the Files app → Local Capture folder → tap the recorded file you want to view and listen to.

To share the file:

  1. Tap the Share button in the top-right menu bar.
  2. In the Share Sheet, select AirDrop or any other app with which you want to share the file.

Here’s a video explaining how it works:

iPadOS 26 First Look - Top 10 HUGE Features

Tips and Tricks for Best Local Capture Results

Make your recordings shine with these pro tips:

  • Use Voice Isolation: Pull down Control Center → Tap active app banner → Tap Mic Mode → Select Voice Isolation.
  • Select the Best Mic: If using a USB microphone, go to Control Center → Tap active app → Tap Input → Choose your connected mic.
  • Free Up Space: High-resolution recordings take space. Clear unused files before a long session.
  • Use AirPods Pro 2 or AirPods 4: Enjoy better clarity and noise reduction.
  • Frame Your Shot: Place the iPad at eye level with proper lighting to improve video quality.

Troubleshooting Local Capture Issues on iPad

Although Local Capture in iPadOS 26 is effortless and quick to use, you may still encounter some issues. Here are some common issues users face, along with quick fixes.

Problem Solution
Local Capture Not Available Check whether your iPad supports iPadOS 26 and is updated to its latest version.
Local Capture Button Not Showing in Control CenterThe Local Capture button isn’t available in the Control Center by default; you must add it manually.
Recording Not Saved or MissingCheck whether your iPad has enough free storage. If not, delete files that are no longer required.
Poor Audio Quality in RecordingUse Voice Isolation mode. If the issue persists, use a USB microphone.

Why Local Capture Is a Game-Changer

Local Capture turns your iPad into a mobile content creation studio. No more dependency on external apps or devices—record interviews, presentations, podcasts, or video logs effortlessly and professionally. It’s a small yet powerful feature that will redefine how creators, professionals, and students approach video calls and content capture.

Transform Your iPad Workflow with Local Capture

Apple’s Local Capture in iPadOS 26 is a must-know feature for anyone serious about remote work, content creation, or virtual communication. It’s private, powerful, and incredibly easy to use. If you haven’t tried it yet, it’s time to give it a shot.

Have you used Local Capture on your iPad? Share your experience or favorite tips in the comments!

Related articles worth reading:

Vikhyat
Vikhyat

Vikhyat has a bachelor's degree in Electronic and Communication Engineering and over five years of writing experience. His passion for technology and Apple products led him to the tech writing space, where he specializes in writing App features, How-to guides, and troubleshooting guides for fellow Apple users. When not typing away on his MacBook Pro, he loves exploring the real world.

Articles: 341

FaceTime Like a Pro:

Get our exclusive Ultimate FaceTime Guide 📚 — absolutely FREE when you sign up for our newsletter below.

Leave a Reply

Your email address will not be published. Required fields are marked *