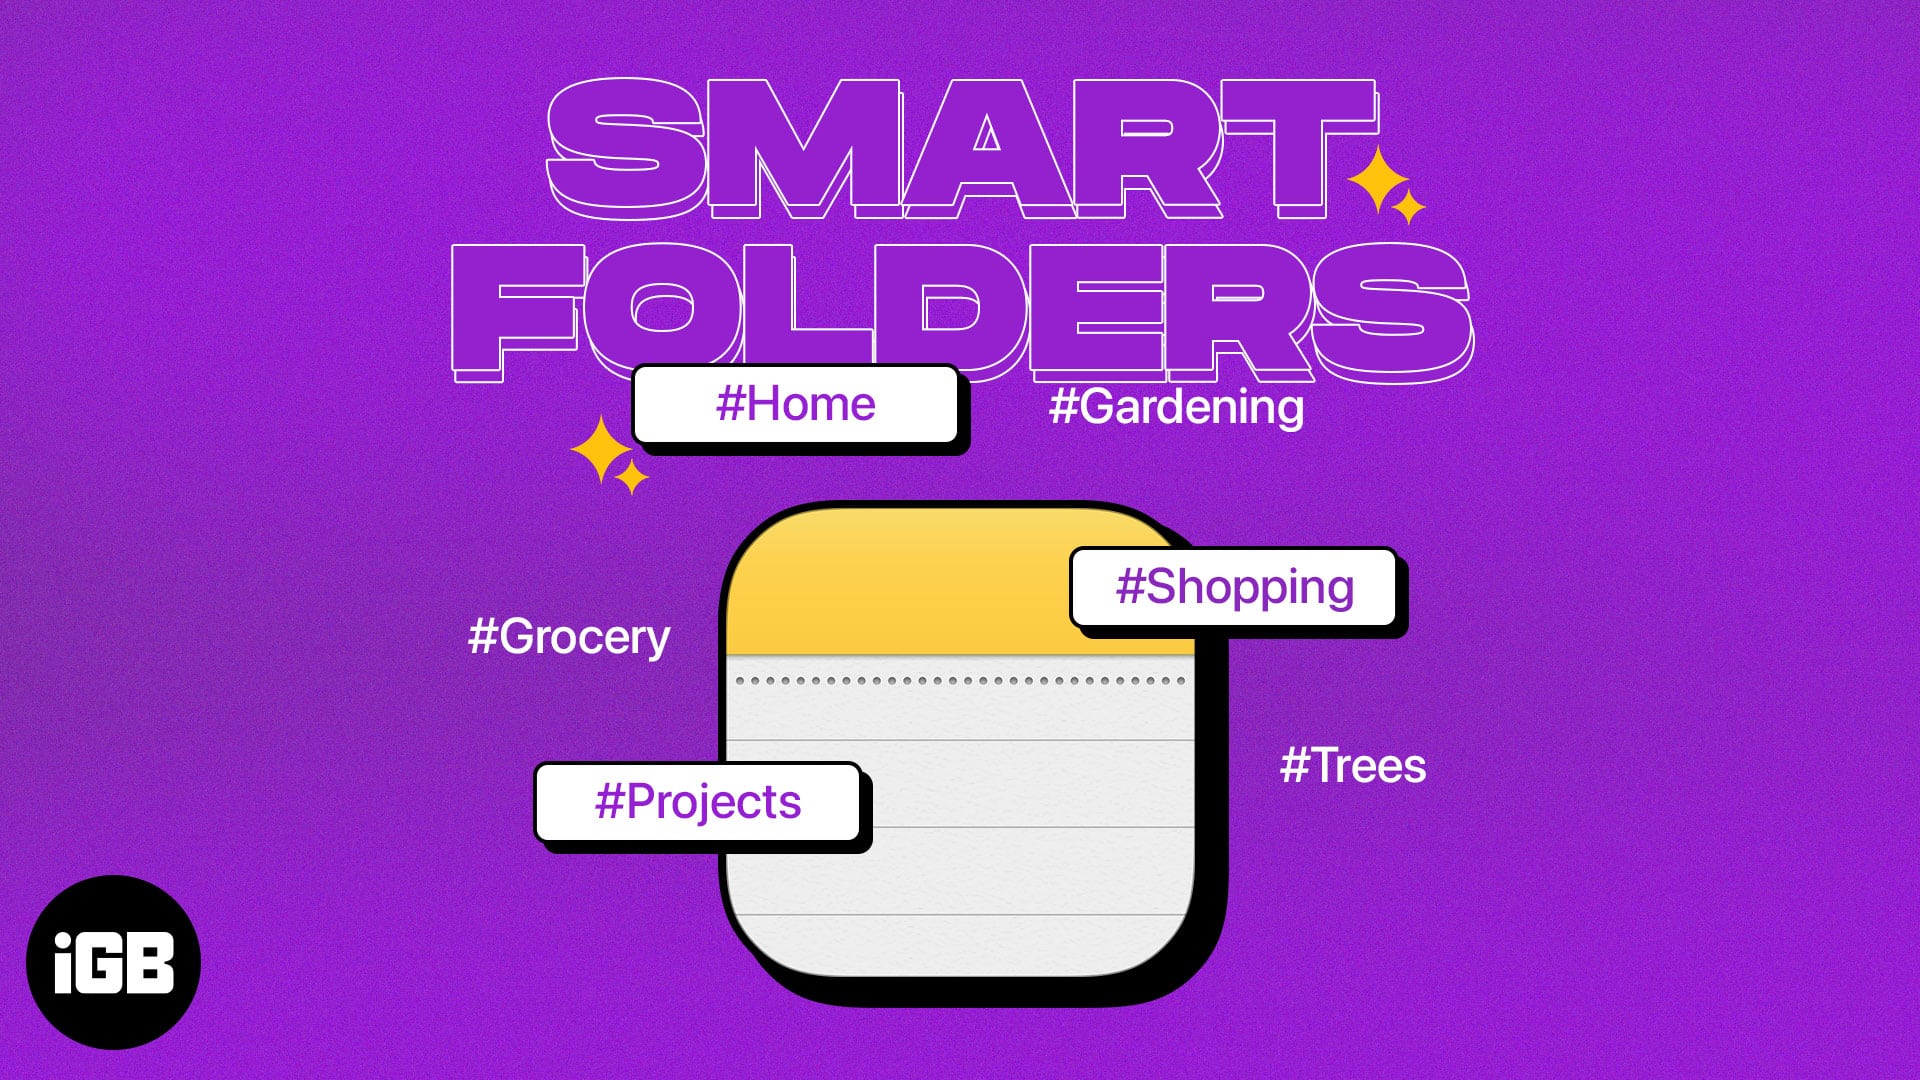
How to use Smart Folders in Notes on iPhone, iPad, and Mac
Having trouble organizing or finding the notes you need? With Smart Folders in Apple Notes, you can set up folders that automatically include specific notes. This gives you a great way to stay organized and on top of the notes you need most. So, let’s take a look at how you can create and use Smart Folders on iPhone, iPad, and Mac.
- What are Smart Folders in Notes?
- How to create a Smart Folder in Notes on iPhone and iPad
- How to create a Smart Folder in Notes on Mac
What are Smart Folders in Notes?
As mentioned, you can create a Smart Folder that contains certain notes automatically. To do so, you set up a filter (condition) like a tag, date, or locked note. When the condition is met for a particular note, it pops into the Smart Folder. This gives you a convenient spot to quickly access the notes you need.
Uses of Smart Folders in the Notes app
- View all notes for the current day, each day of the week.
- See pinned notes that contain specific tags.
- Gather notes that were created or edited in a certain date range.
- Access notes that you share with particular contacts.
- See notes with specific types of attachments like photos, videos, or documents.
- Collect notes that contain checklists, including checked or unchecked items.
If you’re ready to set up your own Smart Folder, let’s get to it!
How to create a Smart Folder in Notes on iPhone and iPad
- Launch the Notes app on your iPhone.
- Select an account and tap the New Folder icon on the bottom left.
- Give the folder a name and select Make Into Smart Folder.

- Next to Include notes matching, use the drop-down box to pick All or Any depending on if you want to match all of the filters or just a few of them.
- Under the Select Filters section, tap Off to the right of the filter type you want to use and pick the condition.
For instance, if you choose Attachments, you can pick the type. And if you choose Created, you can pick the timing.- As an example, we’ll select Shared and With Specific People. At the top, below Enabled Filters, you’ll see an option to Select People.
- You can enable as many filters as you like. Just be aware of your earlier choice at the top to match All or Any conditions.

- Tap Done on the top right when you finish and once more to save the Smart Folder.

You’ll then see the Smart Folder in your list for you to select and view the contents.
Convert a normal folder to a Smart Folder on iPhone and iPad
Maybe you have an ordinary folder in Notes that you’d like to turn into a Smart Folder. Once you convert the folder, you’ll see all notes inside contain a tag with the folder name.
Keep in mind you cannot convert a Smart Folder to an ordinary folder, so be sure you want to change the folder type before you follow these steps.
- Open a simple folder and then tap the three dots at the top.
- Pick Convert to Smart Folder.
- Confirm by choosing Convert at the bottom or Cancel if you change your mind.
- As mentioned, you’ll then see each note in the Smart Folder tagged with the folder’s name.

Edit a Smart Folder on iPhone and iPad
If you’d like to change your Smart Folder, you can edit it easily. This includes folders you convert to Smart Folders.
- Select the folder and tap the three dots at the top.
- You can then sort or group the notes within the folder or choose Edit Smart Folder for the other changes below.
- To rename the folder, simply enter the new name.
- To adjust the filter(s), pick Manage Smart Folder, make your changes, and tap Done to save them.
- Select Done on the top right again to save and exit the edit mode.

Delete a Smart Folder on iPhone and iPad
You can remove a Smart Folder you no longer use in Notes. The notes in the folder don’t get deleted but remain in their original location(s). It’s only the Smart Folder container that’s removed.
- On the main Folders screen, either slide the folder name from right to left and tap the Delete icon (trash can) or long-press the folder and pick Delete.
- Confirm by tapping Delete Smart Folder at the bottom.

How to create a Smart Folder in Notes on Mac
Like on an iPhone or iPad, you can create a Smart Folder in Notes on Mac easily, albeit with a few changes.
- Launch the Notes app on Mac.
- Choose an account and select File → New Smart Folder from the menu bar.

Alternatively, you can click the New Folder icon in the Notes sidebar and check the box for Make into Smart Folder.
- Give your Smart Folder a name at the top of the pop-up box. You should see the Make into a Smart Folder box checked for you.
- Next to Include notes matching, use the drop-down box to pick All or Any.

- In the filter section at the bottom, choose the type of filter using the first drop-down box. You’ll see the same options on Mac as iPhone and iPad.

- Once you pick the type of filter, you’ll see the boxes to the right adjust to accommodate that type.
For instance, if you choose Date Created, you can pick Today, Yesterday, a number of days, or a date range. Or, if you choose Folders and Include, you then select the folder names.
- To finish setting up the filter, click the plus sign button on the right.

- After you have everything set, click OK to save the Smart Folder.
You’ll then see it appear in the Notes sidebar, so you can select it and view the contents.
Convert a folder to a Smart Folder on Mac
If you have a regular folder you want to turn into a Smart Folder, it takes just a couple of clicks.
- Start with one of the following:
- Select the three dots to the right of the name and pick Convert to Smart Folder.
- Right-click the folder and pick Convert to Smart Folder.
- Choose File → Convert Folder to Smart Folder in the menu bar.

- When you see the pop-up message to confirm this action, select Convert to continue.

- You’ll then see each note in the folder contain the Smart Folder’s name as a tag.

Edit a Smart Folder on Mac
After you create a Smart Folder, you can make adjustments to it just like on iPhone and iPad.
Either right-click or select the three dots to the right of the folder name. You can then choose to rename the folder or sort or group its contents.
To change the filter(s) for the Smart Folder, pick Edit Smart Folder. Then, make your adjustments and select OK to save them.

Delete a Smart Folder on Mac
If you no longer want to use a Smart Folder you’ve created, you can delete it easily. Remember, this does not delete the folder’s notes.
- Do one of the following:
- Select the three dots to the right of the name and pick Delete Folder.
- Right-click the folder and pick Delete Folder.
- Choose Edit → Delete Folder in the menu bar.

- Confirm this action in the pop-up box by choosing Delete. Otherwise, pick Cancel.

Work smarter with Smart Folders in Apple Notes!
The nice thing about Smart Folders in Notes, aside from quick access to the notes you want, is that it all happens without any effort. By taking a few moments to create a Smart Folder upfront, you can keep your notes organized without lifting another finger.
Over to you! Now that you know how to use a Smart Folder in Notes on iPhone, iPad, and Mac, are you going to create one, or have you already?
Read more:
Topics

Written by
SandySandy relishes crafting how-tos, listicles, and explainers, empowering others to unlock the full potential of their Apple devices. She joined iGeeksBlog in 2023, and her decade-long experience in tech writing shines through, starting with Apple products in 2015 and further enriched by collaborations with prestigious publications like Lifewire, How-To Geek, Digital Trends, iDownloadBlog, MakeUseOf, groovyPost, and AppleToolbox.
View all posts →More from How-to

Snapchat Parental Controls: How to Set Up Family Center and Keep Your Teen Safe
Snapchat’s Family Center lets parents monitor their teen’s friend activity and screen time without reading private messages. Here’s how to set it up and what to expect.

How to Block and Unblock Someone on Instagram
Instagram lets you block or unblock someone in seconds. Follow these simple steps to take full control of your privacy and online peace.

Apple Watch Not Responding? 8 Fixes That Actually Work
Is your Apple Watch unresponsive or stuck on a black screen? Here are 8 proven fixes to help you unfreeze it and get it working again quickly.