The Apple Notes app is the go-to app for many users to store personal thoughts, sensitive documents, passwords, and other private information. It lets you lock notes with a password, Face ID, or Touch ID. However, the same protection can quickly become a headache if you forget the password. And the worst part is that Apple does not even let you recover forgotten or locked notes. You can only reset the Notes password for future notes.
This post details how the Notes password system works and walks you through resetting the password on iPhone, iPad, and Mac.
Table of Contents
- How Notes Password Protection Works
- Difference Between Changing and Resetting the Notes Password
- How to Reset Notes Password on iPhone and iPad
- How to Reset Notes Password on Mac
- Can You Recover Old Locked Notes After Resetting the Notes Password?
- How Face ID, Touch ID, and Device Passcode Work with Locked Notes
- Can’t Reset the Notes Password? Troubleshooting Tips
- Best Practices to Avoid Losing Access Again
- Privacy First, Always…
How Notes Password Protection Works
Before resetting anything, it’s important to understand how Apple Notes password protection works. When you lock a note, Apple encrypts it with the password in effect at the time. If you reset the Notes password later, your previously locked notes will not unlock with the new password. They remain protected with the older one.
In other words:
- Resetting the password applies only to notes you lock after the reset.
- Previously locked notes will still ask for the old password.
- If you forget the old password, Apple cannot unlock or recover those notes.
Difference Between Changing and Resetting the Notes Password
Apple offers two different options for managing the Notes password: Change Password and Reset Password.
While both of these may sound similar to you, they serve different purposes. This makes it essential to understand the distinction, especially if you already have locked notes you want to keep accessible.
1. Changing the Notes password
Changing the Notes password updates the password for both existing and future notes. This option only works if you remember the current Notes password. Once you change the password, all locked notes are re-encrypted with the new password.
2. Resetting the Notes password
Resetting the Notes password, as the name suggests, is meant for situations where you have forgotten the existing Notes password. It allows you to lock new notes with the new password, but the existing locked notes remain tied to the old password.
Here is a quick comparison to help you understand the difference between the two options:
| Feature | Change Notes password | Reset Notes password |
|---|---|---|
| Requires old password | Yes | No |
| Unlocks existing locked notes | Yes | No |
| Applies to future locked notes | Yes | Yes |
| Risk of losing access to old notes | No | Yes |
| Best used when | You remember the current password | You forgot the current password |
How to Reset Notes Password on iPhone and iPad
- Open Settings → Apps → Notes.
- Tap Password.
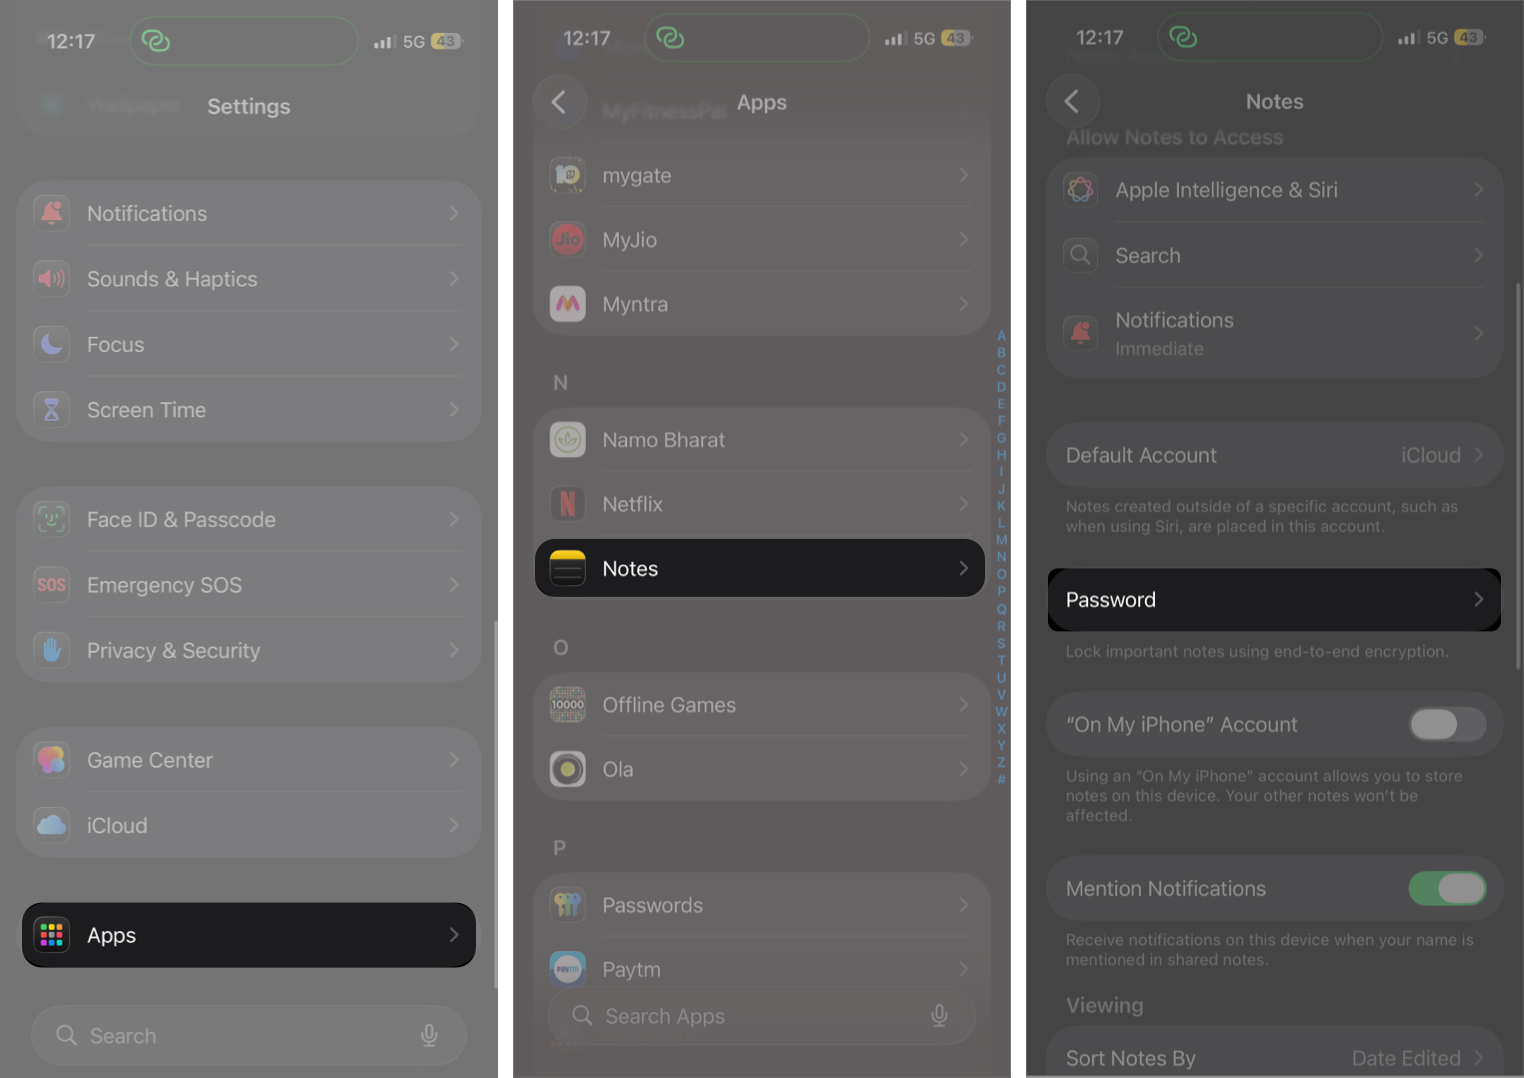
- Enter your Apple Account (formerly Apple ID) password and tap OK.
- Tap Rest Password on the confirmation prompt.
- Tap Reset Password.
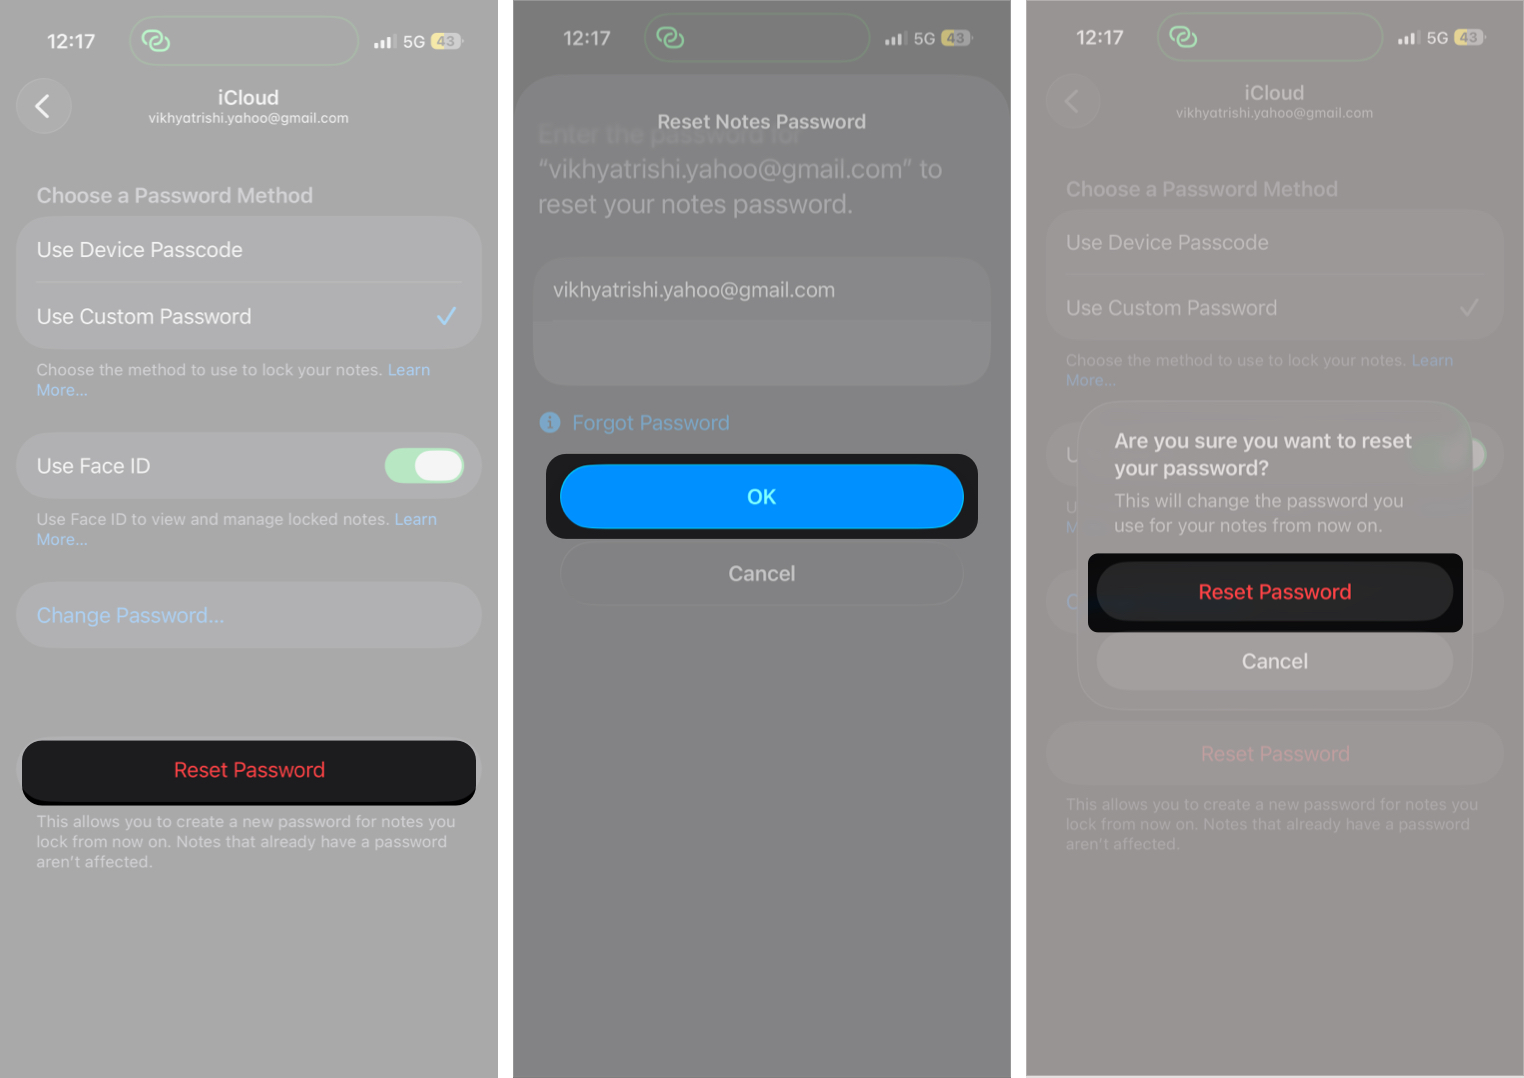
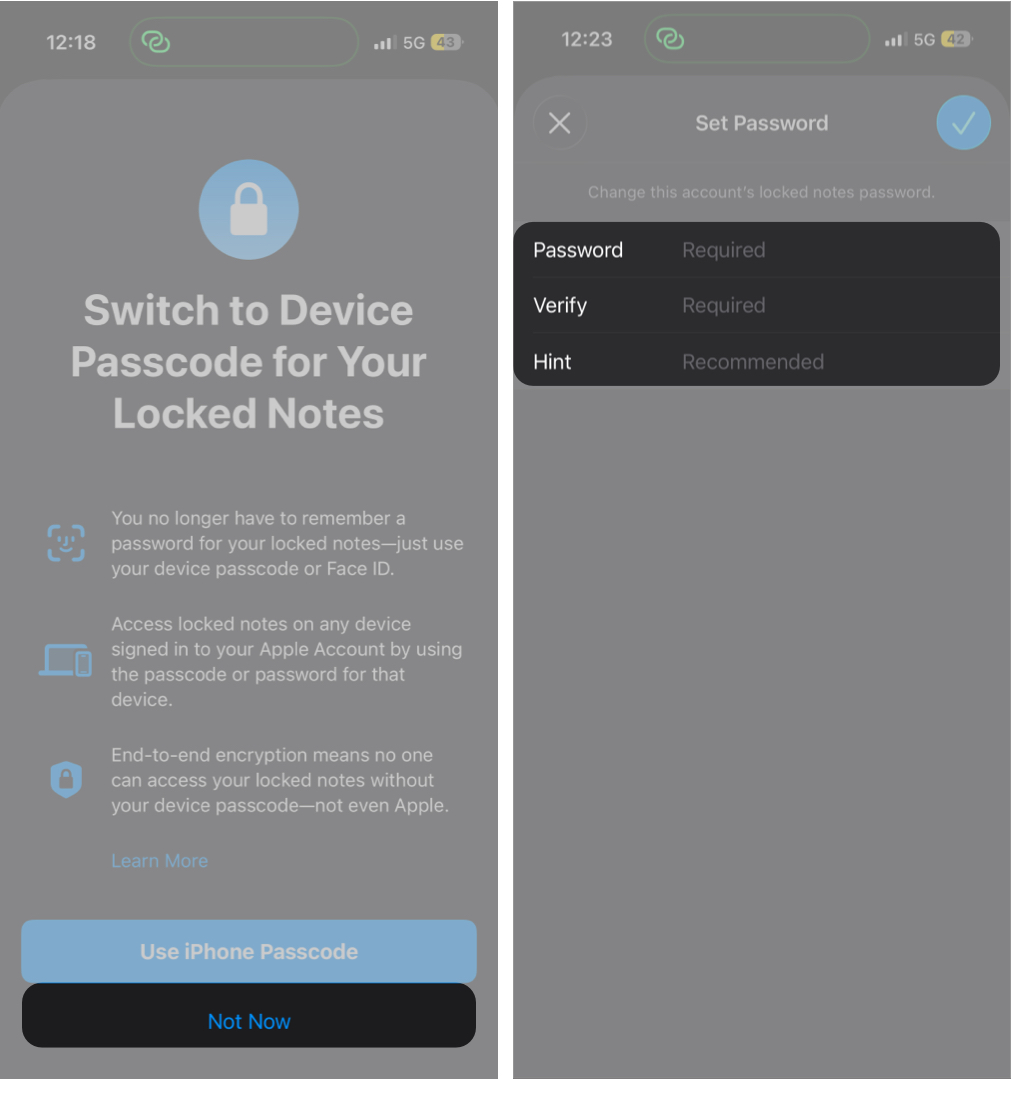
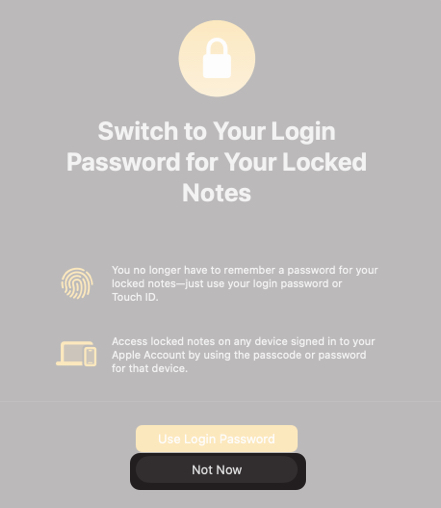
- Now, choose whether you want to use your login password as your Notes password going forward.
- If not, tap Not Now and create a new Notes password.
How to Reset Notes Password on Mac
- Open the Notes app and click Notes in the top menu bar.
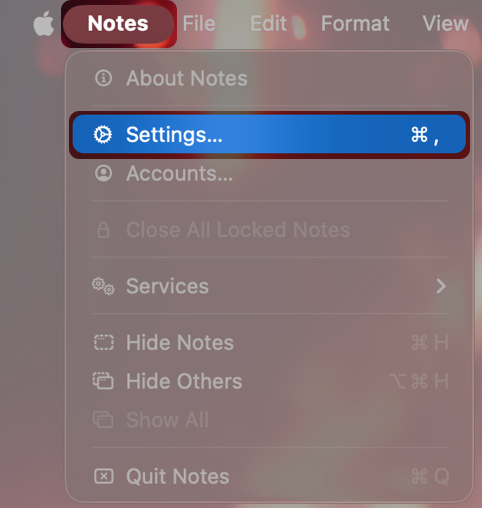
- Here, click Settings in the drop-down menu.
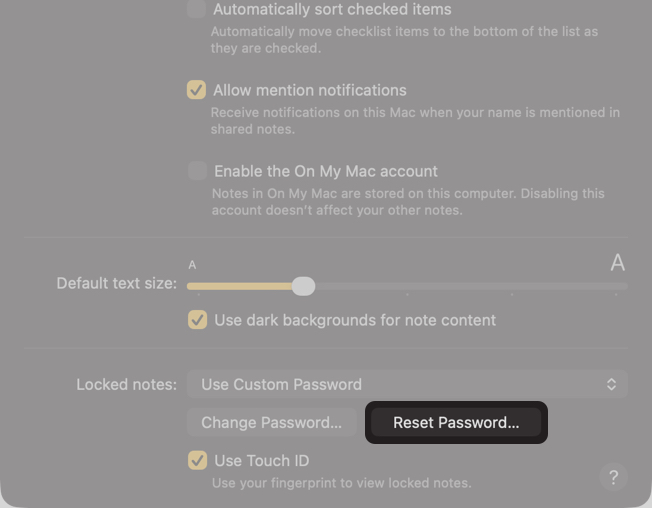
- Now, click the Reset Password button under Locked Notes.
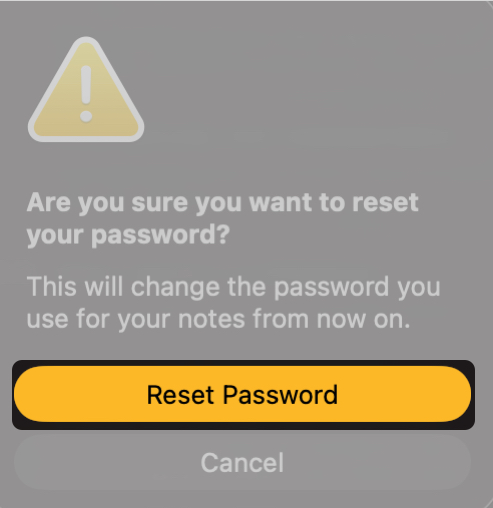
- Click the OK button.
- Enter your Apple Account (formerly Apple ID) password.
- Click the Reset Password button.
- Next, choose whether you want to use your login password as your Notes password going forward.
- If not, click Not Now and create a new Notes password.
Can You Recover Old Locked Notes After Resetting the Notes Password?
No. Resetting the Notes password does not recover or unlock previously locked notes.
If you still remember the old password, you can:
- Open each locked note.
- Remove the lock.
- Lock it again using the new password.
If you do not remember the old password, there is no workaround. Apple does not store encryption keys for locked notes.
To avoid getting locked out of important notes, it is a smart move to save your current Notes password in the Passwords app (or any trusted password manager) before making changes.
How Face ID, Touch ID, and Device Passcode Work with Locked Notes
To help you quickly access your locked notes, Apple lets you unlock them with Face ID or Touch ID. However, these authentication methods do not replace the Notes password itself. The real security layer is the password method you choose.
Here is how they interact with locked notes:
- Face ID or Touch ID can unlock notes only after a password is set (either a custom password or the device passcode).
- If biometric authentication fails, Notes will fall back to your chosen password method.
- Resetting Face ID or Touch ID disables biometric access until you re-enter the Notes password (custom password or the device passcode).
Can’t Reset the Notes Password? Troubleshooting Tips
If you’re unable to reset the Notes password, the issue is usually tied to account verification, device settings, or iCloud sync. Use the checks below to identify and fix the problem.
1. Reset Option Not Showing in the Notes Settings
Make sure your device is signed in with the same Apple ID you used when creating the Notes password. Also, if the reset option is present on one device but is missing on the other, ensure Notes is enabled for iCloud.
2. Apple ID Verification Fails While Resetting
Confirm that you’re entering the correct Apple ID password. If it still fails, sign out of iCloud, then sign back in, then try the reset again.
3. Notes still asking for the old password after the reset
This is expected behavior, not a bug. Resetting the password does not unlock existing notes. Old locked notes remain encrypted with the previous password.
Best Practices to Avoid Losing Access Again
While resetting the Notes password is pretty straightforward, you still won’t be able to access notes locked with the old password. Therefore, it’s best to take the following preventive steps going forward so you don’t lose access to important notes again:
- Use a strong and memorable password.
- Store the password in the Apple Passwords app.
- Enable Face ID or Touch ID for convenience.
- Choose “Use Device Passcode” as the password method.
Privacy First, Always…
That’s pretty much it. Now you know that Apple Notes prioritizes user privacy over convenience. Remember, while resetting the Notes password lets you proceed, it does not restore access to previously locked notes. The upside of this approach is stronger security. Even if someone gets their hands on your Apple Account password and resets the Notes password on your Apple device, your existing locked notes remain inaccessible to them.
Still stuck with a locked note or reset issue? Drop a comment below, and I will help you figure it out.
In case you missed