How to Photograph the Northern Lights with an iPhone: Step-by-Step Guide
Capture stunning northern lights photos on your iPhone with simple settings and easy Night Mode tips.
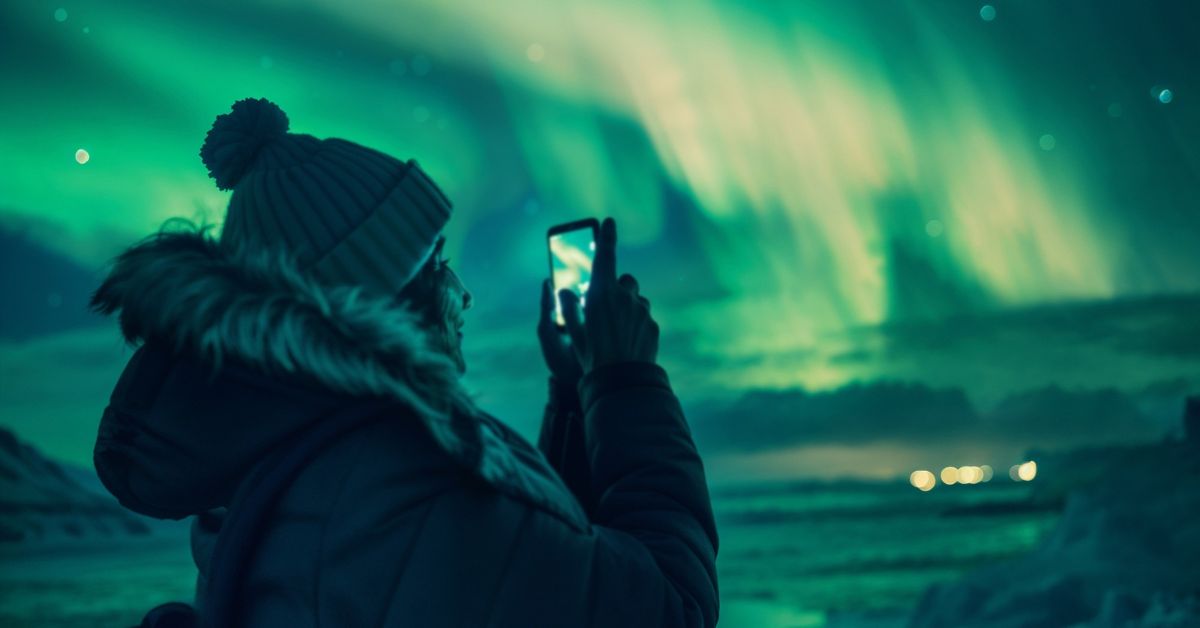
Watching the northern lights dance across the sky is unforgettable and often makes you stand still for a moment just to take in the surreal colors. Photographing them, however, can feel intimidating because the aurora moves quickly, appears in low light, and sometimes looks dimmer on a screen than it does in person. The good news is that your iPhone can absolutely capture beautiful northern lights photos when you use the right settings and prepare a little beforehand.
This guide walks you through everything you need to know so you can step outside and photograph the aurora with confidence.
What You Need Before You Start
Before you head outside to photograph the surreal northern lights, having the right setup makes a huge difference. While you don’t need a lot of gear, a few essentials help you get cleaner, sharper shots.
- First and foremost, make sure your iPhone supports Night Mode. Any model from the iPhone 11 series onward will work well.
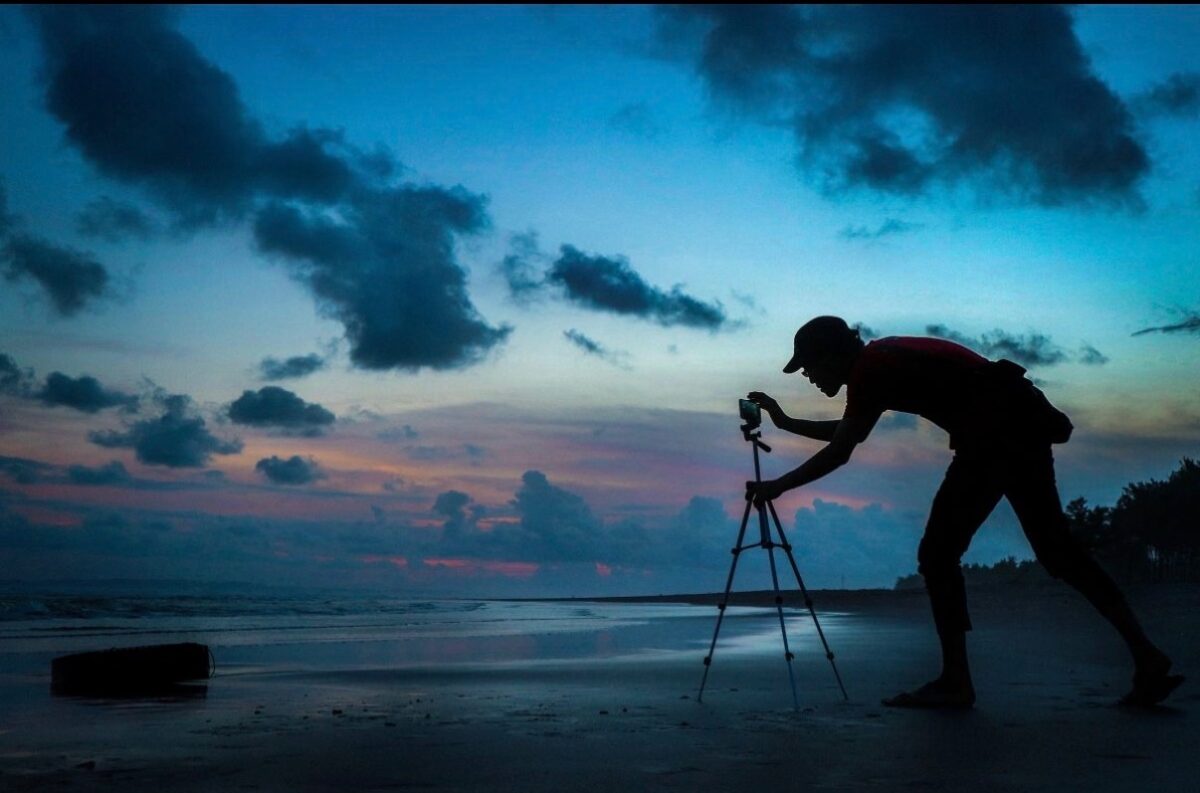
- Since aurora photos require long exposure and even small shakes can blur the image, a stable tripod becomes the most important accessory. However, if you don’t have one, you can rest your iPhone on a stable surface, such as a rock or a railing.
- Use either a remote shutter or the built-in timer in the Camera app to eliminate the need to tap the screen, which might shake the iPhone.
- Since you’ll likely be shooting in cold weather, bring a power bank, as your iPhone’s battery might drain quickly outdoors.
- Finally, try to find a dark location away from streetlights. The darker your surroundings, the brighter the aurora will appear in your photos.
Best Settings to Photograph the Northern Lights on iPhone
Use this simple checklist to set up your iPhone before taking the shot:
1. Use a Tripod
Mount your phone on a tripod or rest it against something solid. The more stable the setup, the sharper your photo will be.
2. Turn on Night Mode
Night Mode turns on automatically in low light. You’ll see a yellow icon at the top of the screen. Tap it to adjust the exposure time.
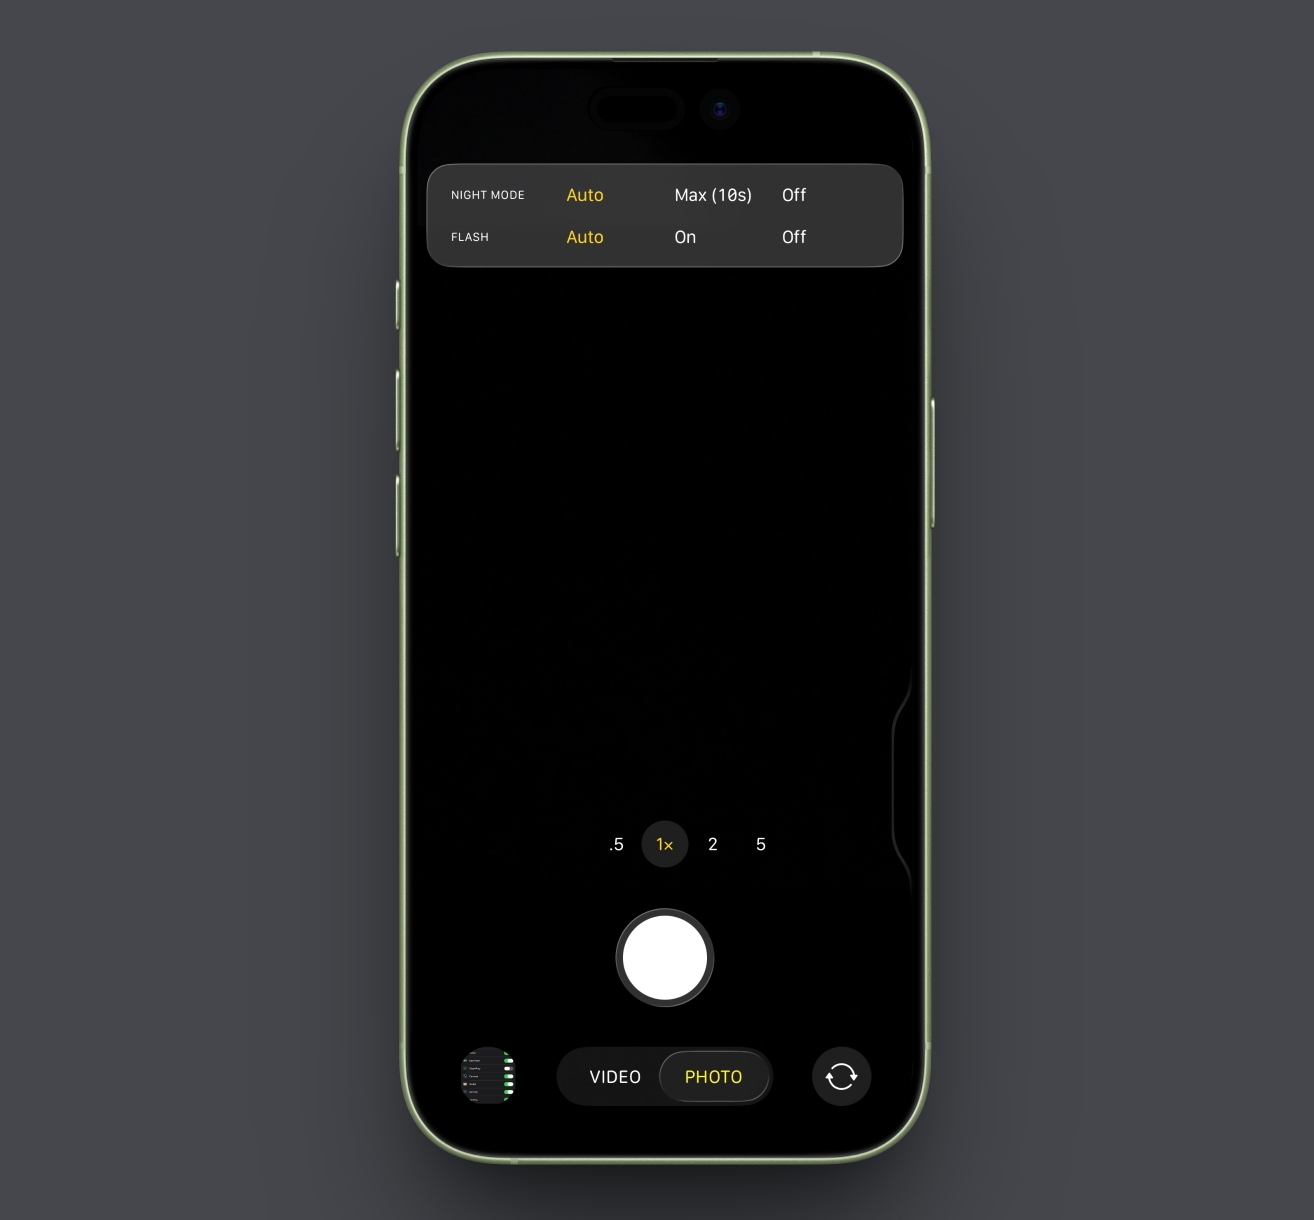
Use 10 seconds for normal auroras, 3–5 seconds for fast-moving lights to avoid motion blur, and 15–25 seconds for faint auroras so the camera gathers more light.
3. Set Focus and Exposure Manually
- Tap and hold the sky to lock focus. This stops the camera from refocusing mid-shot.
- Then, slide your finger up or down to control exposure if the image looks too dark or too bright.
4. Use a Remote Shutter or Timer
To avoid shaking the phone, use a 3 or 10-second timer. This gives your iPhone time to settle before it starts capturing light.
Shoot in ProRAW (if available). If your iPhone model supports ProRAW, turn it on in Settings → Camera → Formats. ProRAW keeps more detail, making the aurora colors easier to edit later.
Best Camera Apps for Northern Lights Photography
Although the iPhone’s built-in Camera app is sufficient for capturing the northern lights, you can use third-party apps for extra control, especially in very dark conditions. Here are some of the best third-party camera apps to capture the northern lights:
Again, these apps aren’t necessary, but they give you more flexibility if the aurora is weak or if you want extra creative control.
Tips to Improve Your Northern Lights Photos
You don’t need expert photography skills to photograph the breathtaking northern lights; just follow these simple tips, and your aurora photos will look dramatically better.
- Move Away from Artificial Lights: Streetlights and vehicle lights can wash out the sky, so choose the darkest spot you can find, such as rural areas, open fields, lakesides, or small hills.
- Add a Foreground Element: Including trees, mountains, a cabin, or even your silhouette can make the image more interesting and give the aurora a sense of scale.
- Avoid zooming: Zooming in reduces quality; stay at 1× and crop later if needed.
- Capture Multiple Photos: The northern lights constantly change shape and brightness. Therefore, shoot multiple frames and you’ll capture several good ones.
- Experiment with Angles: Sometimes, turning slightly or lowering the camera creates a more balanced composition.
- Avoid Over-editing: Once the photo is captured, edit it using the built-in editing tools or third-party photo editing apps. Adjust brightness, contrast, and saturation for clearer colors and sharper details. However, make sure not to over-edit, as auroras look best when they appear natural.
Your Northern Lights Shot Awaits
And that’s everything you need to know to capture the northern lights with your iPhone. With the right settings, a bit of patience, and the simple preparation outlined above, you’ll walk away with photos that feel as magical as the moment you saw the aurora in the sky.
If you’ve photographed the northern lights before, share what worked for you in the comments.
Don’t miss these related reads:

Written by
VikhyatVikhyat has a bachelor's degree in Electronic and Communication Engineering and over five years of writing experience. His passion for technology and Apple products led him to the tech writing space, where he specializes in writing App features, How-to guides, and troubleshooting guides for fellow Apple users. When not typing away on his MacBook Pro, he loves exploring the real world.
View all posts →More from How-to

Snapchat Parental Controls: How to Set Up Family Center and Keep Your Teen Safe
Snapchat’s Family Center lets parents monitor their teen’s friend activity and screen time without reading private messages. Here’s how to set it up and what to expect.

How to Block and Unblock Someone on Instagram
Instagram lets you block or unblock someone in seconds. Follow these simple steps to take full control of your privacy and online peace.

Apple Watch Not Responding? 8 Fixes That Actually Work
Is your Apple Watch unresponsive or stuck on a black screen? Here are 8 proven fixes to help you unfreeze it and get it working again quickly.