Most websites you visit on your iPhone, require you to register with a username and password. Only after this can you interact, comment, vote, or save an article. First of all, it is impossible to remember passwords for so many apps and websites. Secondly, it is dangerous to use the same password everywhere. This is where iCloud Keychain in iOS 13 comes to the rescue. It safely stores all your passcodes and also helps you to automatically generate a strong password on the iPhone or iPad. Let’s move on.
How to Generate and Save Strong Passwords on iPhone
Before we begin, make sure you have iCloud Keychain enabled. To do this, open the Settings app → Tap on your Profile name → iCloud → Keychain, and make sure the iCloud Keychain is turned ON.
Step #1. Launch the Safari app on your iPhone and go to the sign-up page for the website or app you want to create an account.
Step #2. Enter your name, email, phone number, or the details the site needs.
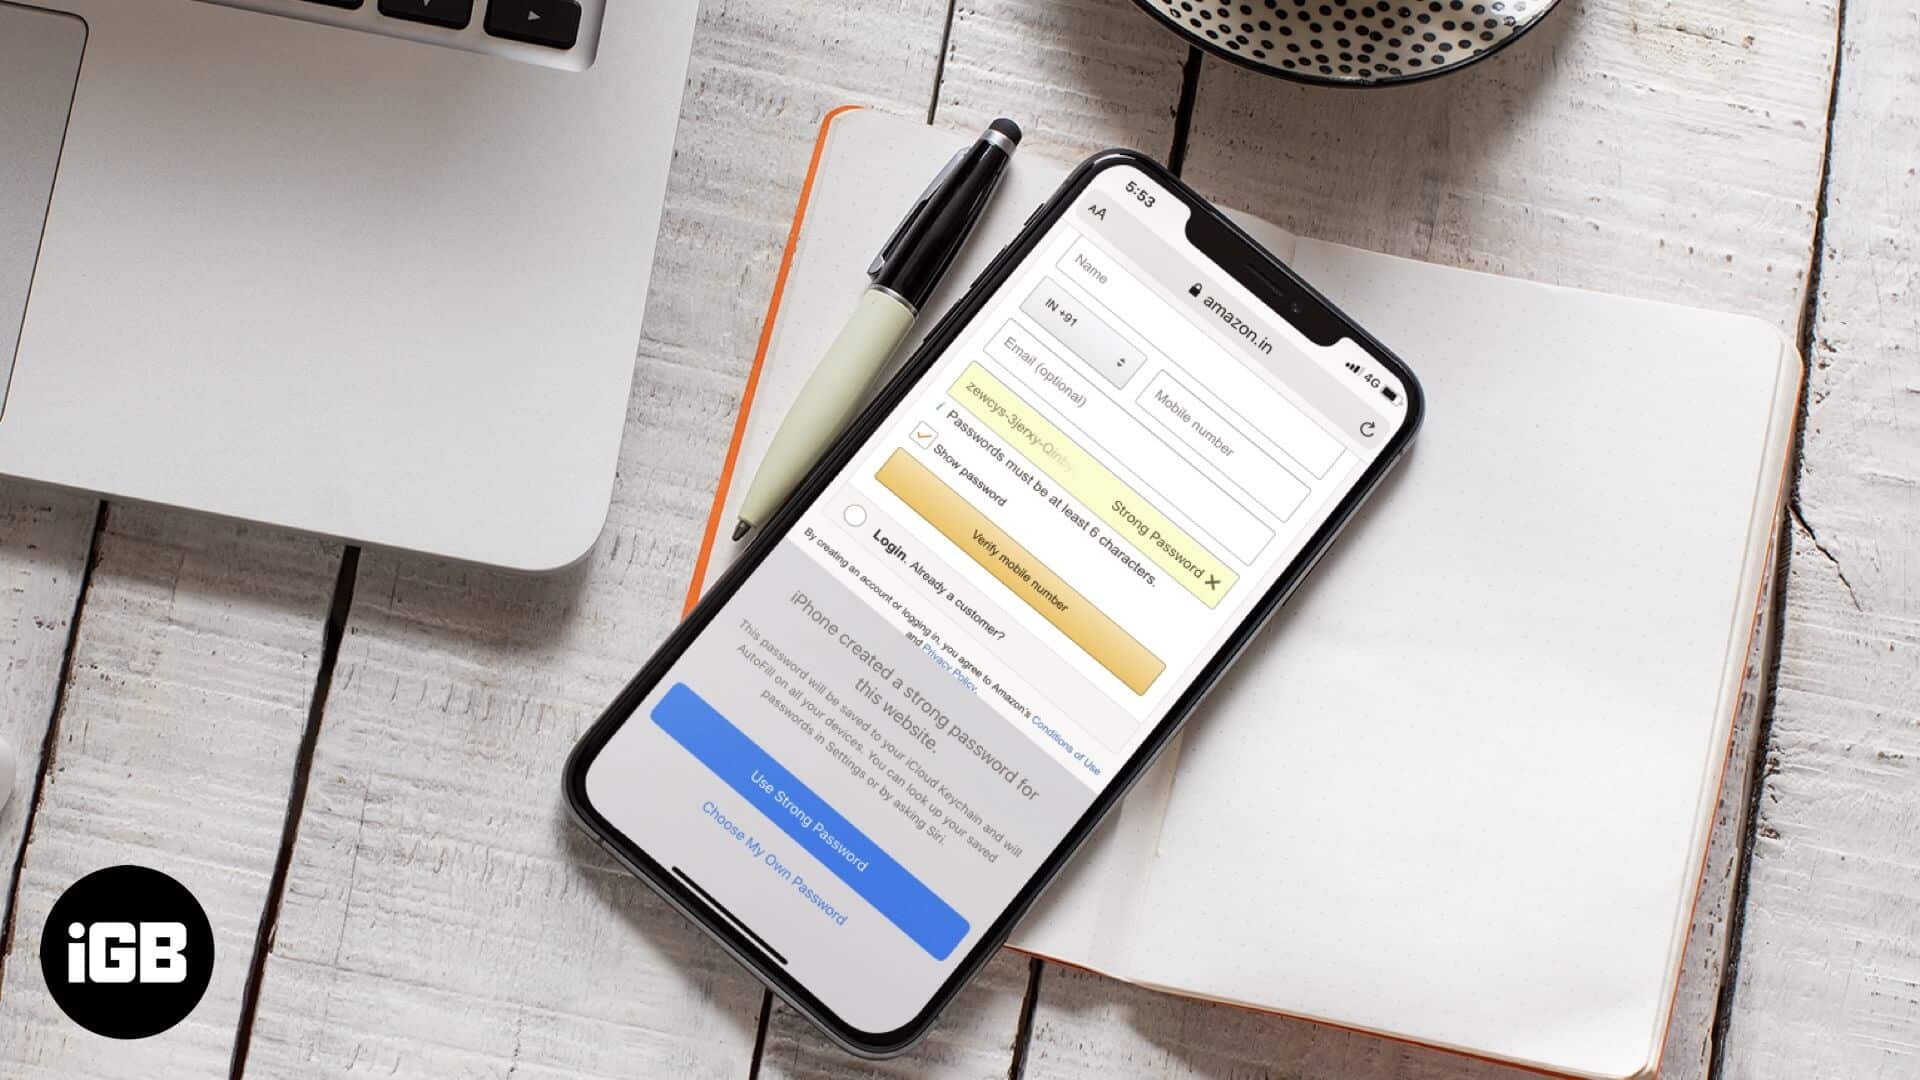
Step #3. Next, tap the Password or Set Password box on the website.
Step #4. You will immediately see the option to use Strong Password and choose My Own Password. Tap on Use Strong Password. Done!

Step #5. Now, go ahead with the sign-up. After it is finished, the email, username, or phone number and the secure password will be saved in iCloud Keychain.
Did you willingly or accidentally select ‘Choose My Own Password’ and now want to use the suggested password instead? No problem. Tap on the down arrow in the upper left of the keyboard. Next, tap on Suggested Password from the middle of the top keyboard row.
You may also tap the key icon from the top right of the keyboard and tap Other Passwords to view your already saved passcodes. Or tap Suggest New Password.
Automatically Fill in a Saved Password on an iPhone or iPad
To automatically fill in a saved password, visit the website and the login page. You will automatically see a pop-up saying Use “your email address”. This is the saved details of the particular website. Tap on it.
Or, tap on the down-facing arrow from the top left of the keyboard and then tap on the password for this website. You may also tap the key icon for similar options and more.
To prevent the iPhone from automatically filling in the passwords, open the Settings app → Passwords & Accounts → turn off AutoFill Passwords.
View Saved Passwords on iPhone
It is effortless to view saved passwords on iPhone and iPad.
Summon Siri and ask her, ‘Show my passwords,’ or ‘Show my Twitter password,’ etc.
You may also go to the Settings app → Passwords & Accounts → Website & App Passwords.

Now, tap on a website or app name to view a saved password.

How to Change Weak or Reused Passwords on iPhone
Step #1. Go to Settings app → Passwords & Accounts → Website & App Passwords → Touch ID or Face ID authentication.
Step #2. You will see a small triangle with an exclamation mark for websites that are using a weak password or the same password. Tap on it.
Step #3. Now, tap on Change Password on the Website. You will be taken to that site. From there, set a strong password.

That’s all, folks.
This is how you can have strong and secure passwords on all sites you visit. iCloud Keychain is the inbuilt Apple solution. It is available on all your Apple devices like iPhone, iPad, and Mac. But if you also concurrently use Android and Windows, you would be better off by using one of the best third-party password managers.
Also Read:
- How to Fix iPhone Keeps Asking for Apple ID Password Issue
- AutoFill Passwords not working on iPhone and iPads
- How to lock notes on iPhone and iPad
Have a query? Please make use of the comments section below.


