How to downgrade visionOS on Apple Vision Pro
The latest visionOS updates for Apple Vision Pro boast several new exciting features and stability improvements. However, some users have run into issues after installing visionOS updates, leaving them frustrated. Fortunately, Apple allows you to downgrade visionOS.
Although downgrading to a previous visionOS version might seem daunting, it’s achievable with the right tools and technical know-how. In this guide, I’ll list down all the things you’ll need to downgrade visionOS on Apple Vision Pro and take you through the entire process one step at a time.
Requirements to downgrade visionOS
Apart from patience and the headset itself, you’ll need several other things to downgrade visionOS on your Apple Vision Pro. So, before you proceed any further, ensure you have all these things ready:
- A Mac running macOS Sonoma or later: To download a visionOS IPSW file and run software tools.
- Apple Vision Pro Developer Strap: This is a $300 tool only accessible to users subscribed to the $99 Apple Developer Program. You’ll need the strap to add a USB-C port to the Apple Vision Pro.
- visionOS IPSW restore image: It’s a 7.7 GB file that you can download from the Apple developer Downloads website. This file contains installation data related to the visionOS operating system.
- Apple Configurator: This is a free app from Apple that anyone can download from the App Store. You’ll need this to install the visionOS IPSW restore image, and downgrade your Apple Vision Pro.
- USB-C to USB-C cable: A standard USB-C cable to connect your Apple Vision Pro with your Mac.
Once you have all these things available, you may follow the steps in the next section to downgrade visionOS. However, if you’re missing anything from the list, these steps won’t work for you.
How to downgrade visionOS on Vision Pro
- Put on the Apple Vision Pro and turn it on.
- Go to Settings → Apple ID → Turn off the iCloud Activation Lock.
This is optional, but I recommend doing this to make the post-downgrade setup quicker. - Now, take off the headset. Using the ejector tool that came with the Developer Strap, detach the right audio strap of your Vision Pro → In the same slot, attach the Developer Strap by pressing it down.
- Use a USB-C cable to connect your Mac to the Developer Strap attached to your Vision Pro. You need to attach the USB-C cable to the port at the tip of the Developer Strap.
- Attach the power cable of the battery pack to the left side of your Apple Vision Pro.
- Quickly press and hold the top button on the Apple Vision Pro to enter recovery mode.
Press and hold till you see a Connect to Mac icon appear on the front display of the Apple Vision Pro. - Then, on your Mac, launch Apple Configurator → Double-click the Apple Vision Pro image.
If it’s your first time connecting the headset to your Mac, you’ll need to click Allow. - Click Action from the Menu bar → Hold the Option Key → Then, select Restore.
- When Finder opens, locate the visionOS IPSW restore image you downloaded → Click Restore.
- On the front display of the Vision Pro, you’ll see an Apple logo followed by a progress bar. On your Mac, you’ll see a Restoring System on device progress bar.
When your Apple Vision Pro boots up after the downgrade, you can quit Apple Configurator on your Mac and disconnect the USB-C cable. And, if you wish, you can also reattach the regular Audio Strap.
Although a bit lengthy, the process might interest a lot of enthusiasts. If you do it once, you won’t find it daunting ever again.
Wrapping up…
With some patience and the steps outlined in this step-by-step guide, you should be able to downgrade visionOS on your Apple Vision Pro easily without worrying about messing something up.
However, if you have any other doubts or questions regarding the process, please let me know in the comments below. I’d be more than happy to assist you.
Frequently Asked Questions
Topics

Written by
Ayush PatelAyush is a writer with a keen interest in consumer technology and the Apple ecosystem. He has over three years of working experience at several big-name publications, including Guiding Tech, TechPP, and MobiGyaan. Here at iGeeksBlog, he specializes in crafting how-to guides, buying guides, and editorials related to all things Apple.
View all posts →More from How-to
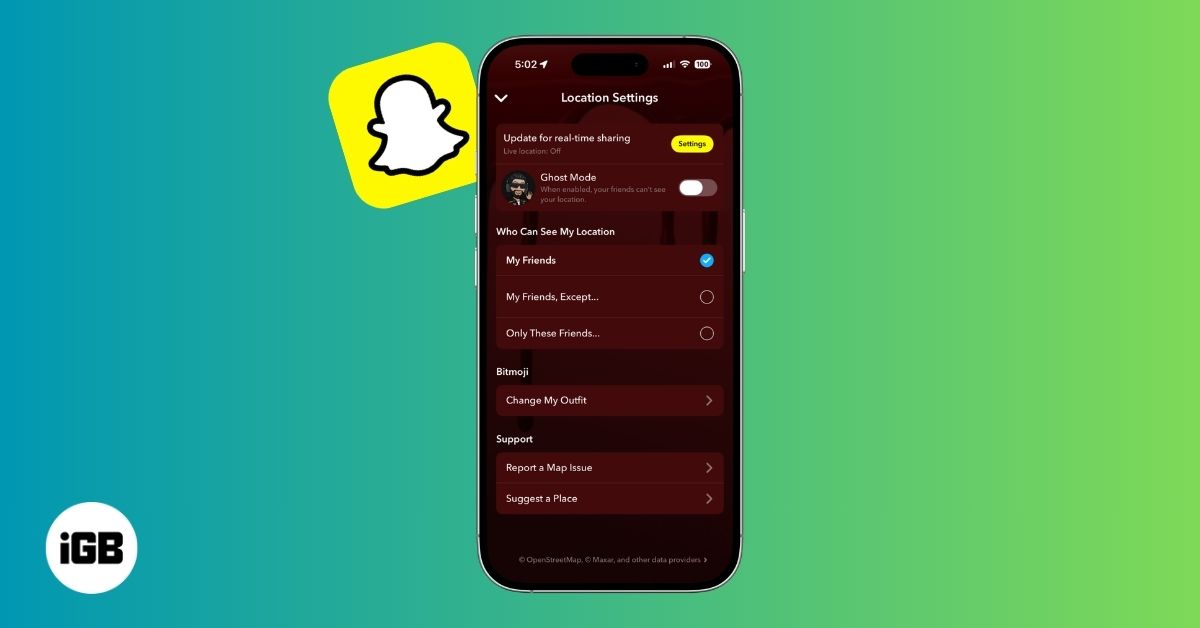
How to Turn Off Location on Snapchat (Step-by-Step Guide)
Want to stop sharing your location on Snapchat? This guide explains how Snapchat location sharing works and shows simple ways to turn off your location using Ghost Mode or phone settings. Stay in control of your privacy in just a few steps.

Snapchat Parental Controls: How to Set Up Family Center and Keep Your Teen Safe
Snapchat’s Family Center lets parents monitor their teen’s friend activity and screen time without reading private messages. Here’s how to set it up and what to expect.

How to Block and Unblock Someone on Instagram
Instagram lets you block or unblock someone in seconds. Follow these simple steps to take full control of your privacy and online peace.