Apple has completely overhauled the Control Center in iOS 18 and later, giving it a fresh look and powerful customization options. From multiple Control Center screens to new controls from third-party apps to restricting access within apps, there’s a lot to unpack. To save you time, this guide walks you through how to use and customize the new Control Center on your iPhone.
How to Use the New Control Center on iPhone
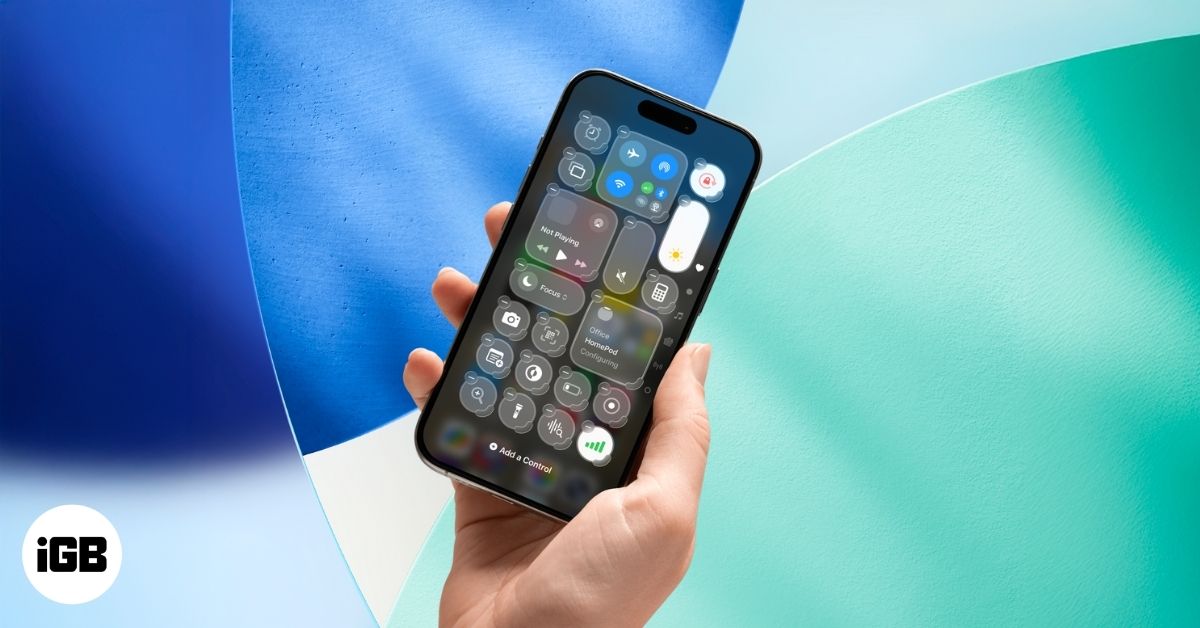
Apple first introduced Control Center in iOS 7 and redesigned it in iOS 11. For years, it remained mostly unchanged, until iOS 18, which introduced the biggest revamp yet.
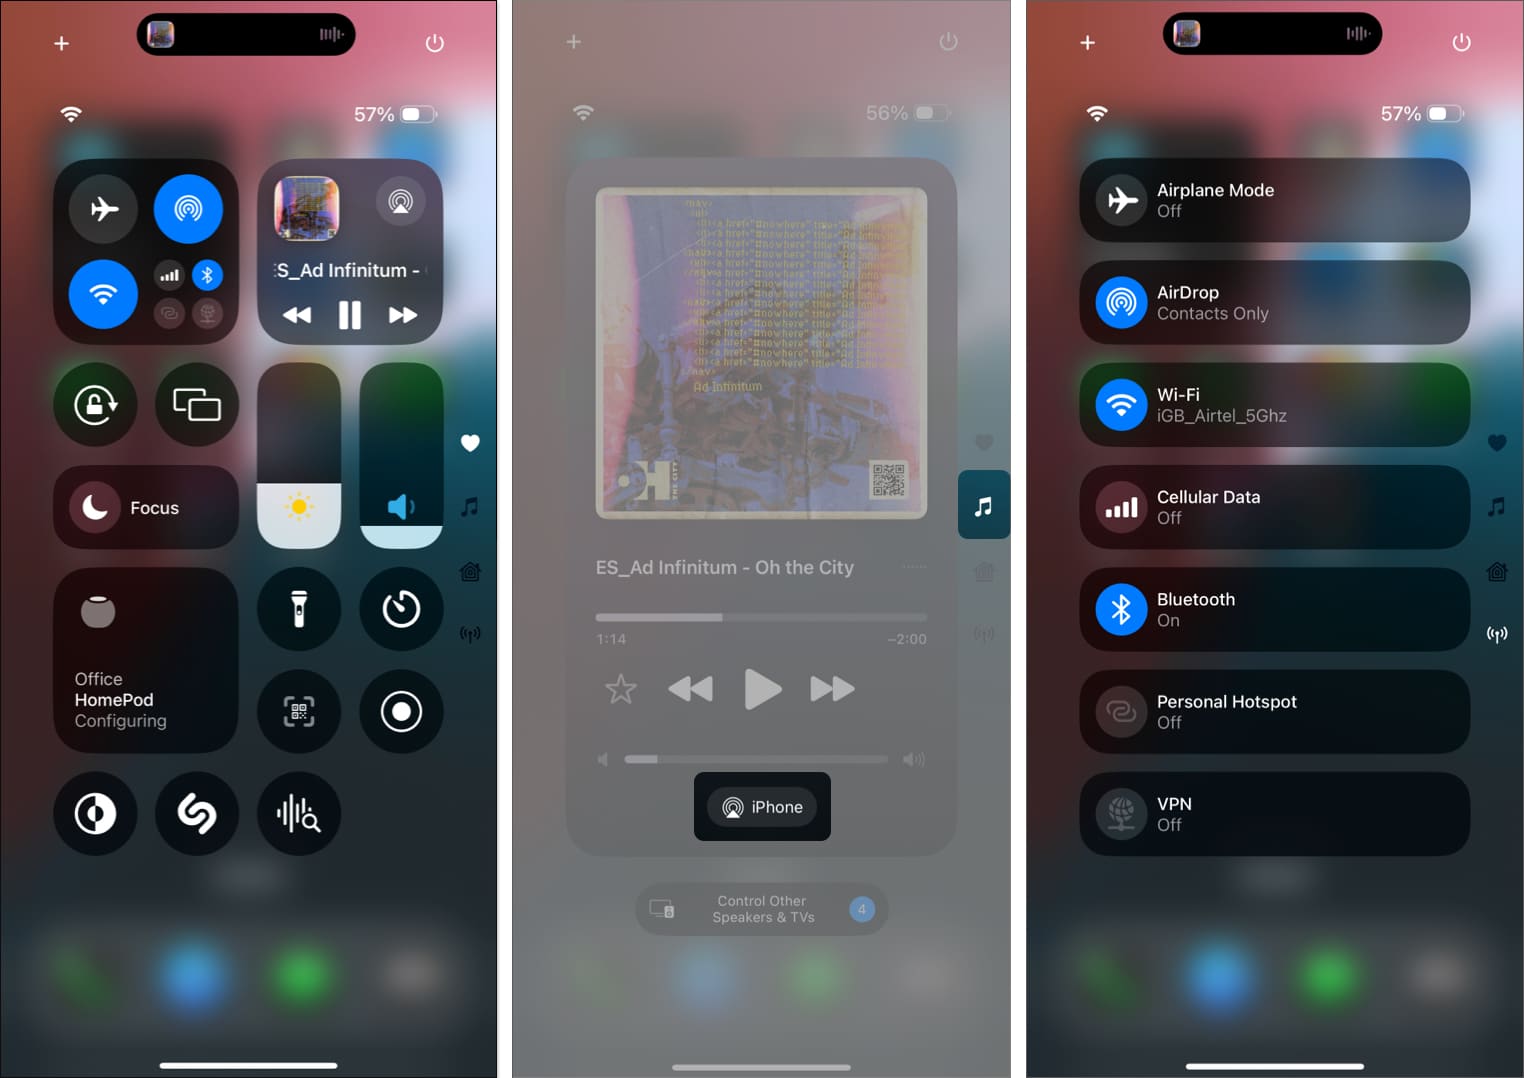
Now, you get multiple Control Center screens:
- The default Control Center as the first screen
- A Music screen
- A Connectivity screen
You can remove the Music and Connectivity screens, rearrange controls, and even add entirely new screens.
Another change is a new Power button in the top-right corner of the Control Center, letting you shut down your iPhone without pressing any physical buttons. Apple has also opened Control Center to developers, so third-party apps can create their own buttons.
Here’s how to use it:
- Swipe down from the top right of the screen to access the Control Center on your iPhone.
- You’ll see the typical Control Center you’re accustomed to as the first Control Center screen. You can easily add new controls or remove existing ones on this screen. And, to perform an action, simply tap the appropriate control button.
- Swipe up again on the default Control Center screen to access the Music control screen. Here, you can tap the AirPlay icon to choose the device on which you want to play the music.
- Swipe up again to access the Connectivity controls for toggling Airplane mode, AirDrop, Wi-Fi, and more.
How to Edit Control Center on iPhone
In iOS 18 and later, customization goes far beyond just adding or removing controls, you can also resize them or create brand-new screens.
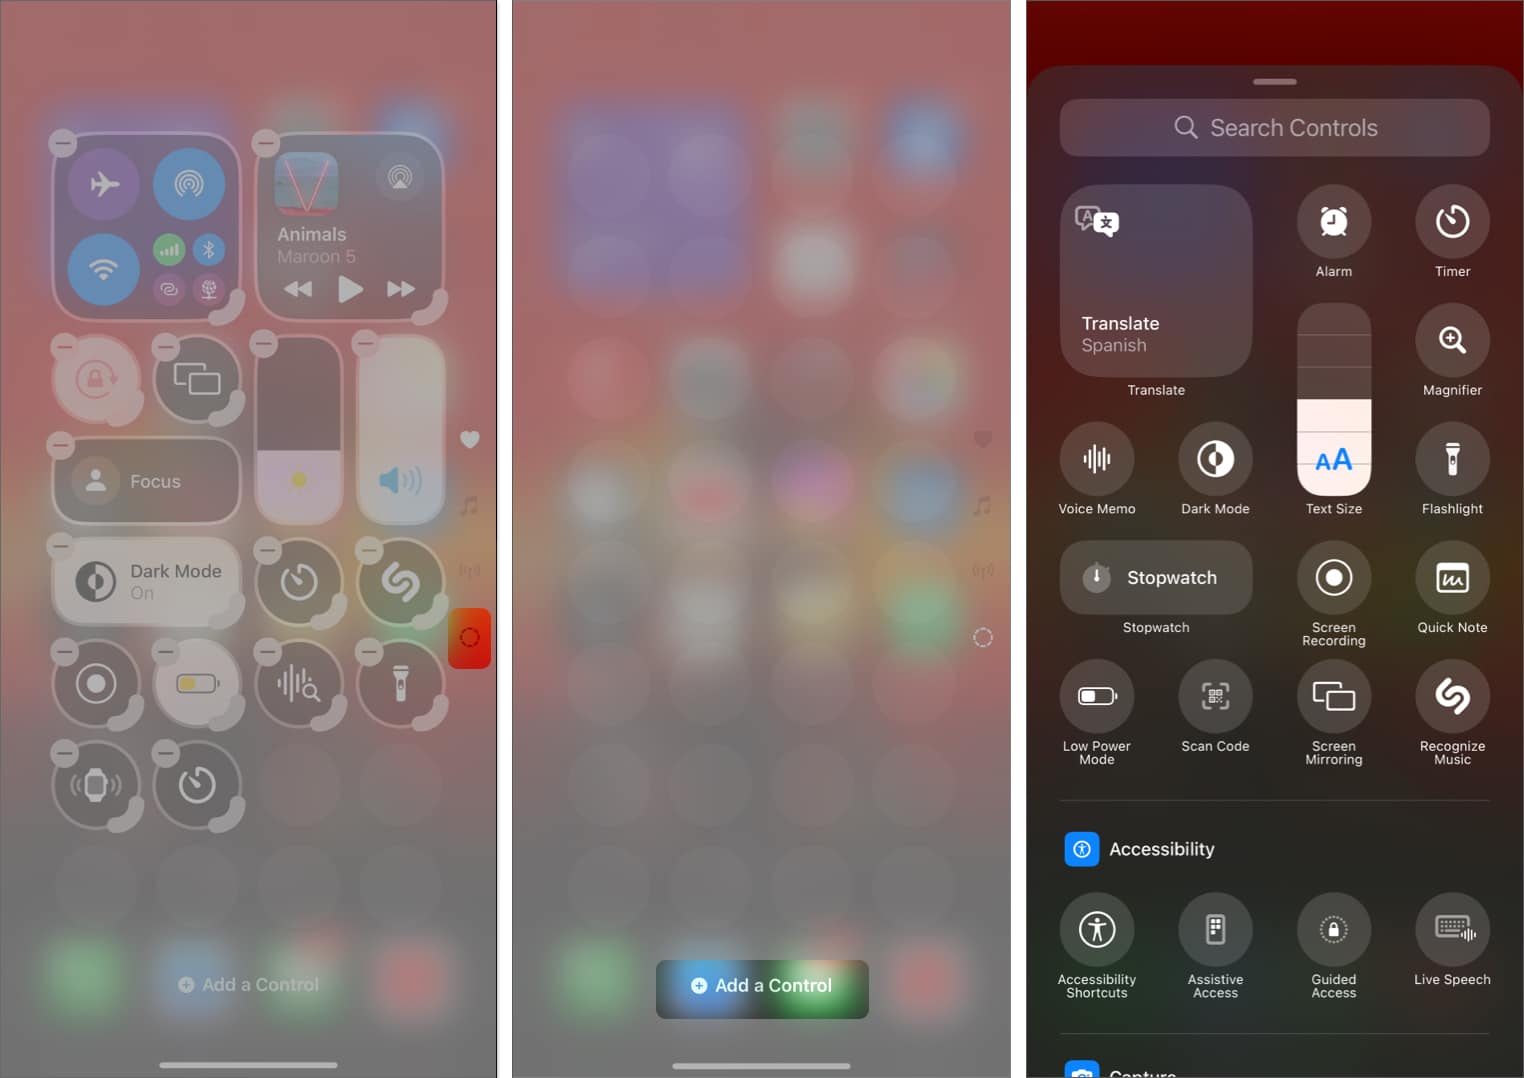
Add or Remove a Control
- Swipe down from the top right to bring up the Control Center.
- Tap the + button in the top-left corner or touch and any empty area to enter the Control Center editing mode.
- Next, tap on Add a Control at the bottom and then choose a new control from the available options.
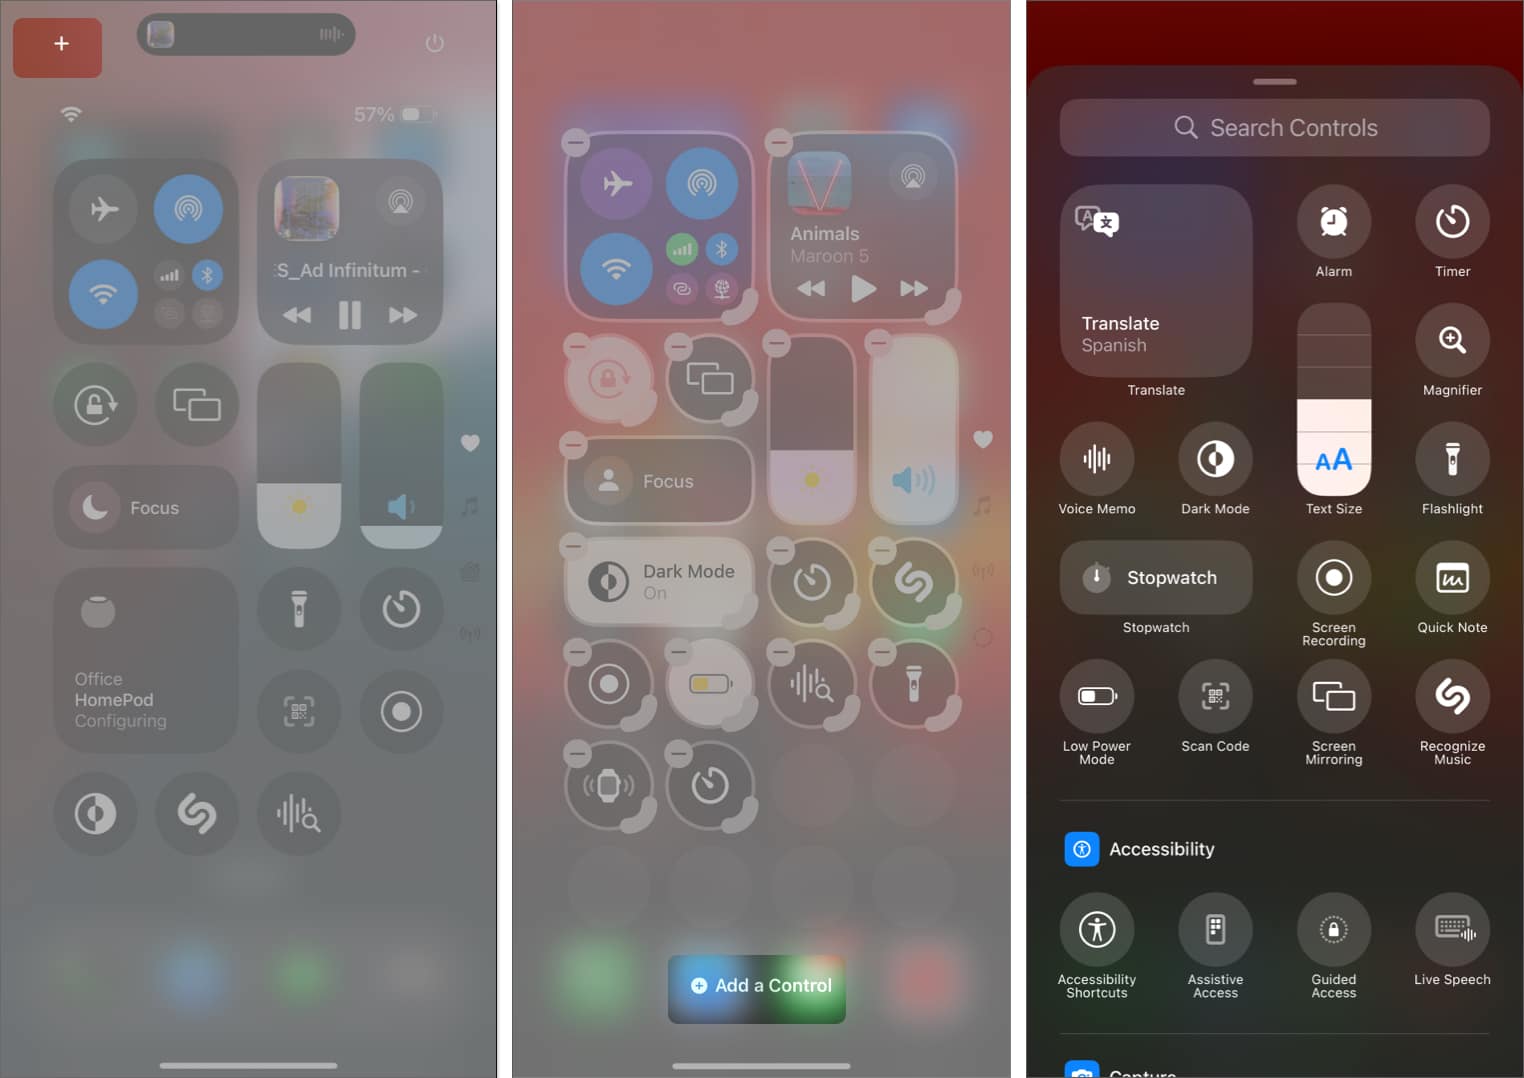
- To remove a control from the Control Center, simply tap the“-“button in the top-left corner of any Control Center button.
- Finally, tap on the empty area to save the changes and exit the editing mode.
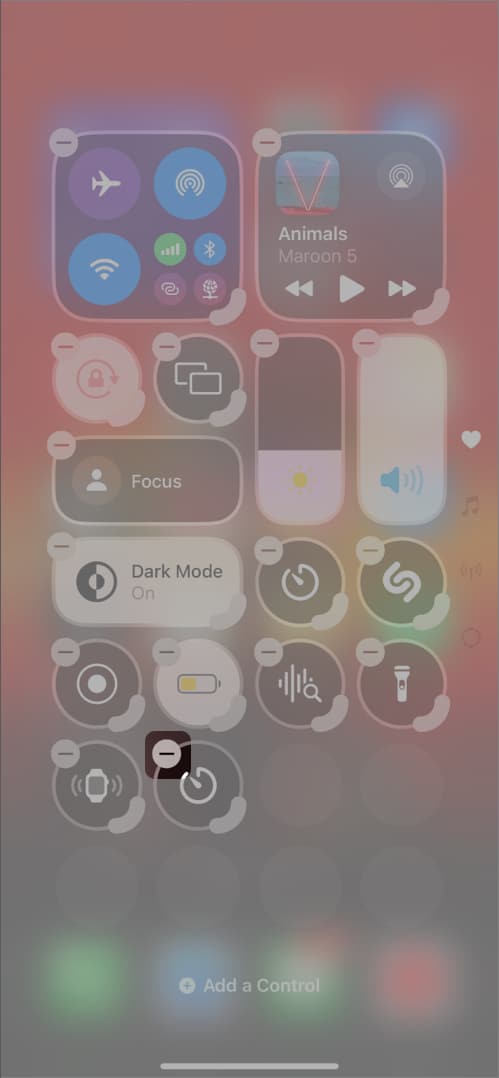
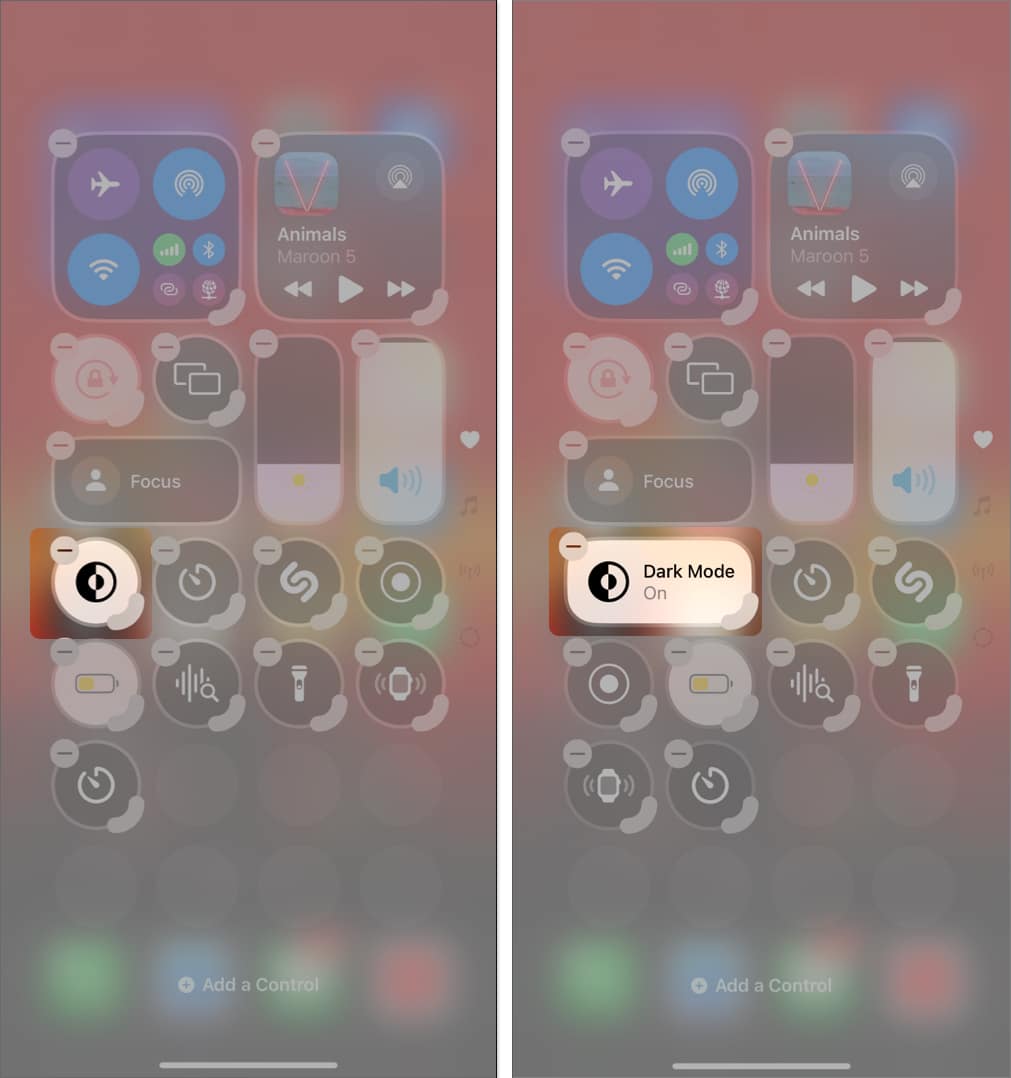
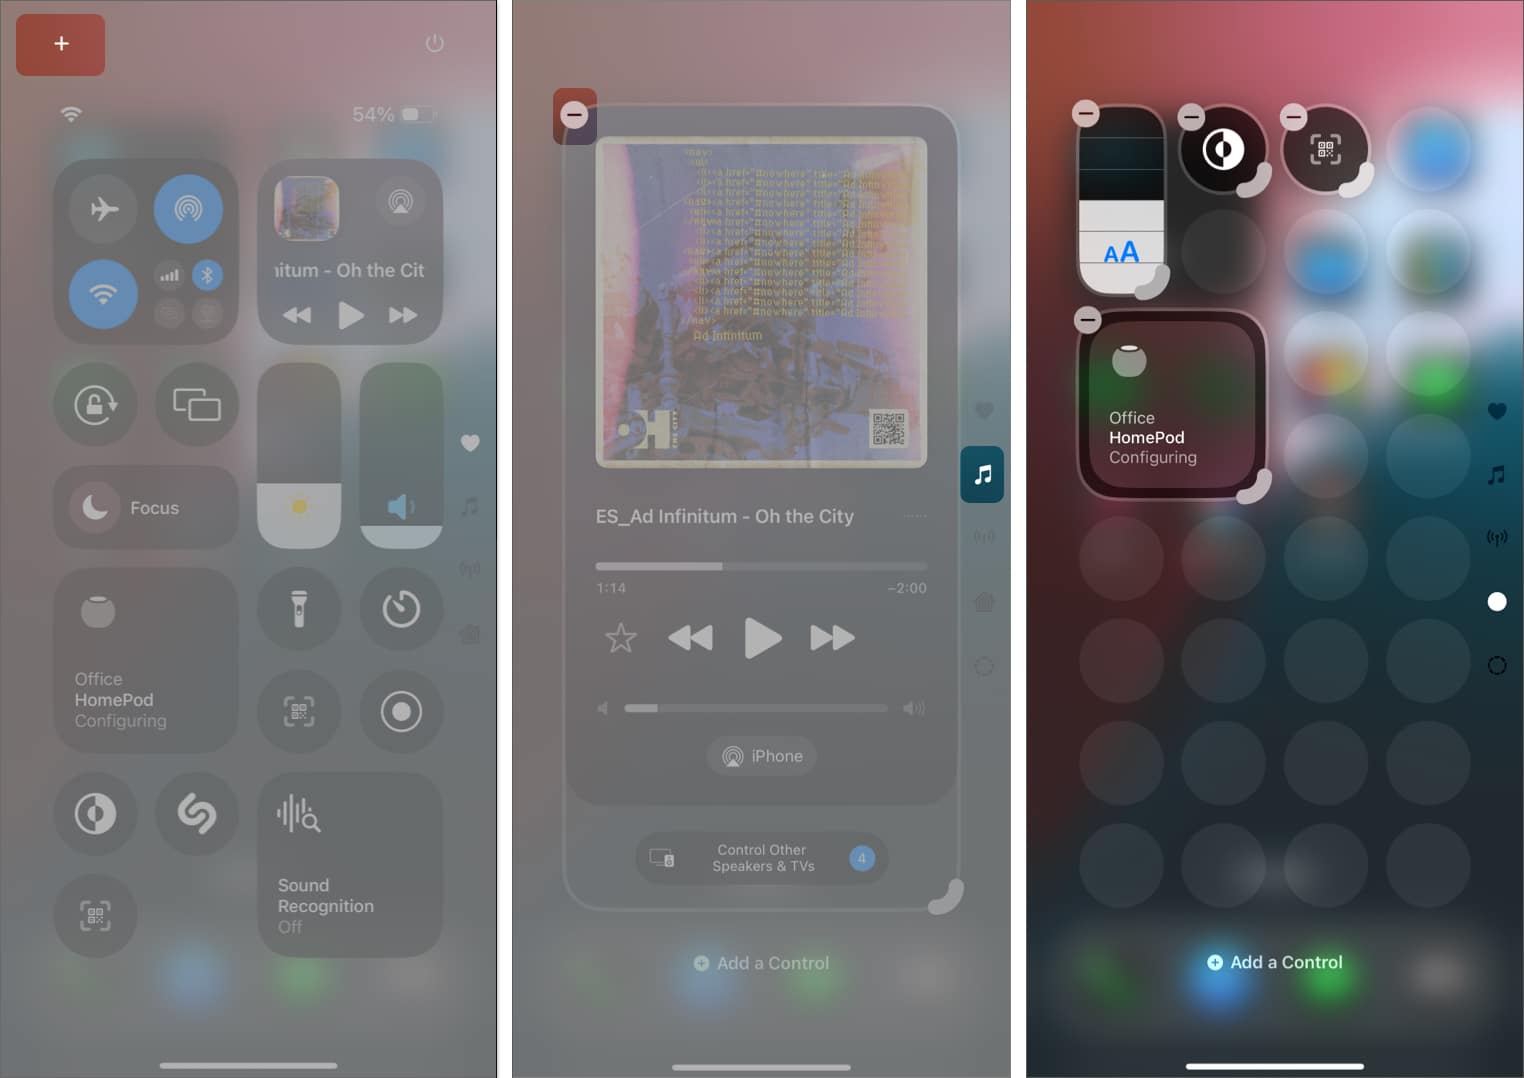
Change the Size of a Control
- Touch and hold on any empty area in the Control Center to enter the Control Center editing mode.
- Next, touch and drag the bold rounded corner of any control button to make it bigger or smaller.
- Once done, exit the editing mode.
Add or Remove Control Center Screens
By default, you’ll see three pages: Main, Music, and Connectivity. But you can add new pages or strip down the defaults to create your own.
Add a New Screen
- Enter the Control Center editing mode.
- Next, tap the dotted circle button below the Connectivity screen to add a new Control Center screen.
- Once done, tap the Add a Control button on the new empty Control Center Screen and add the desired controls from the available options.

Remove a Screen
- Access the Control Center screen you want to remove.
- Here, tap the + button in the top-left corner or touch and hold any empty area to enter editing mode.
- Next, tap the – button in the top-left corner of the full-screen control to remove it.
- To remove a custom Control Center screen, you must remove each added control individually.

How to Reset Control Center to Default
If you’ve rearranged controls and want to start fresh, Apple offers a reset option:
- Open the Settings app and select Control Center.
- Tap on Reset Control Center.
- Finally, select Reset Control Center to confirm your choice.
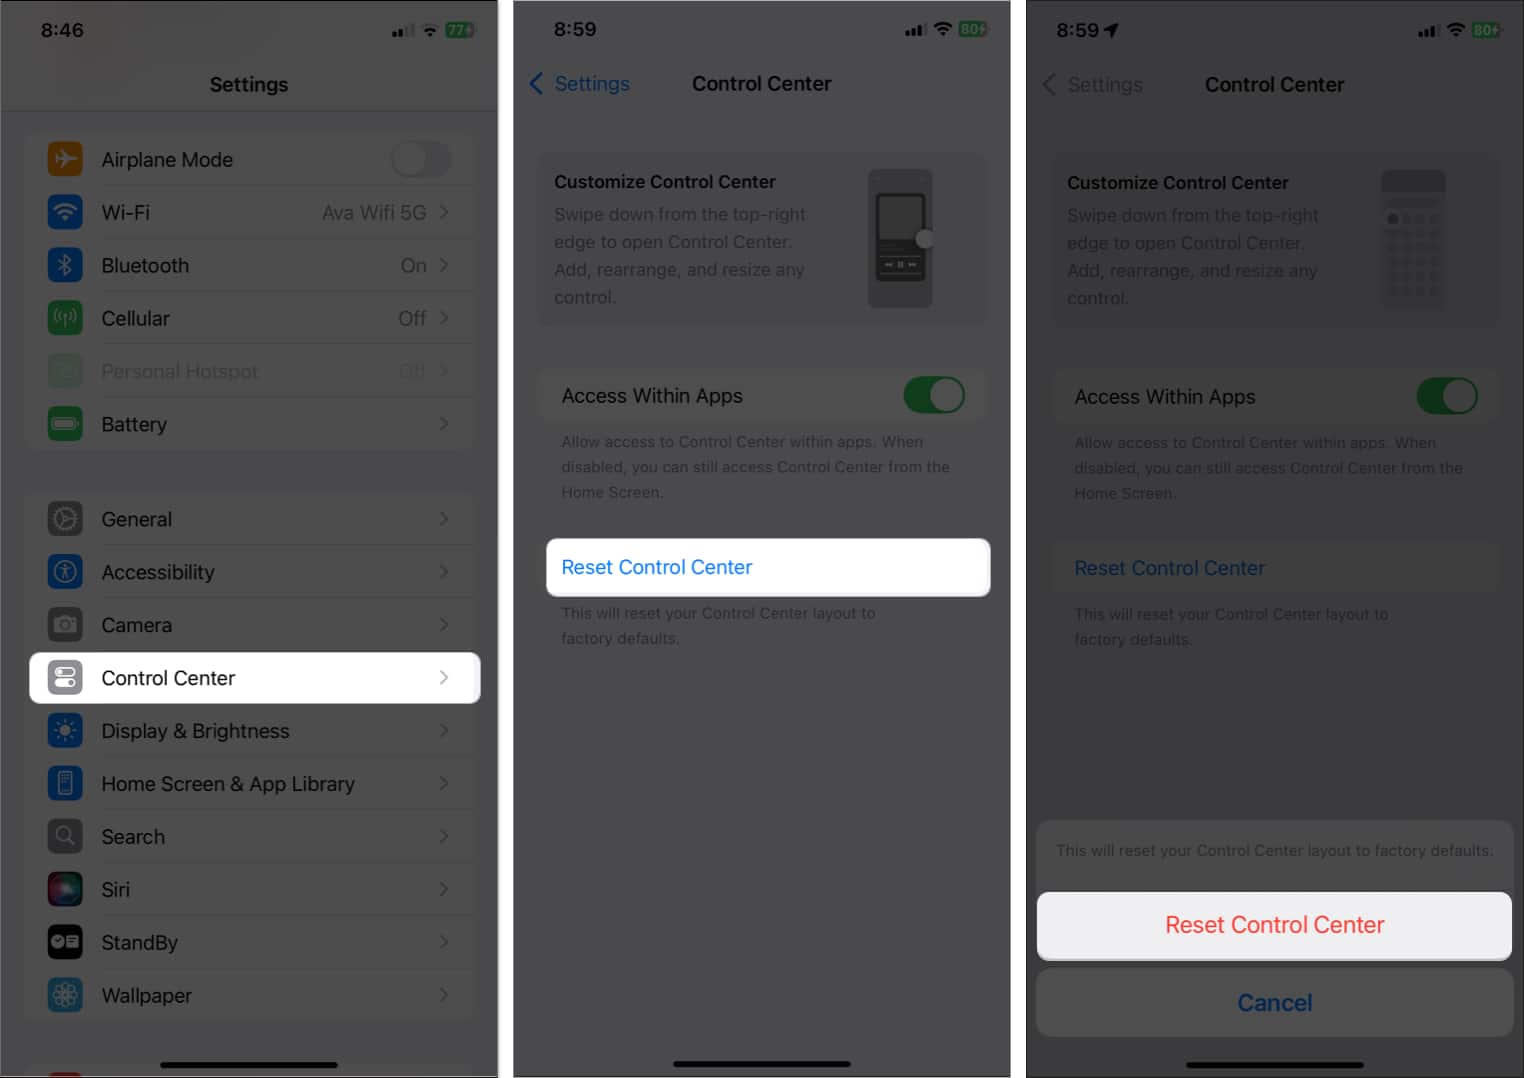

This will reset your Control Center layout to factory defaults.
Final Thoughts
That’s everything you need to know about the redesigned Control Center in iOS 18 and beyond. It may feel a bit overwhelming at first, but with a little tweaking, you can tailor it to your daily needs.
Personally, I still find it odd that Apple replaced the Mobile Data tile with AirDrop on the main page. What’s your take on the new Control Center? Let us know in the comments below.
Related articles worth reading: