SIM not supported on iPhone? 9 Ways to fix it!
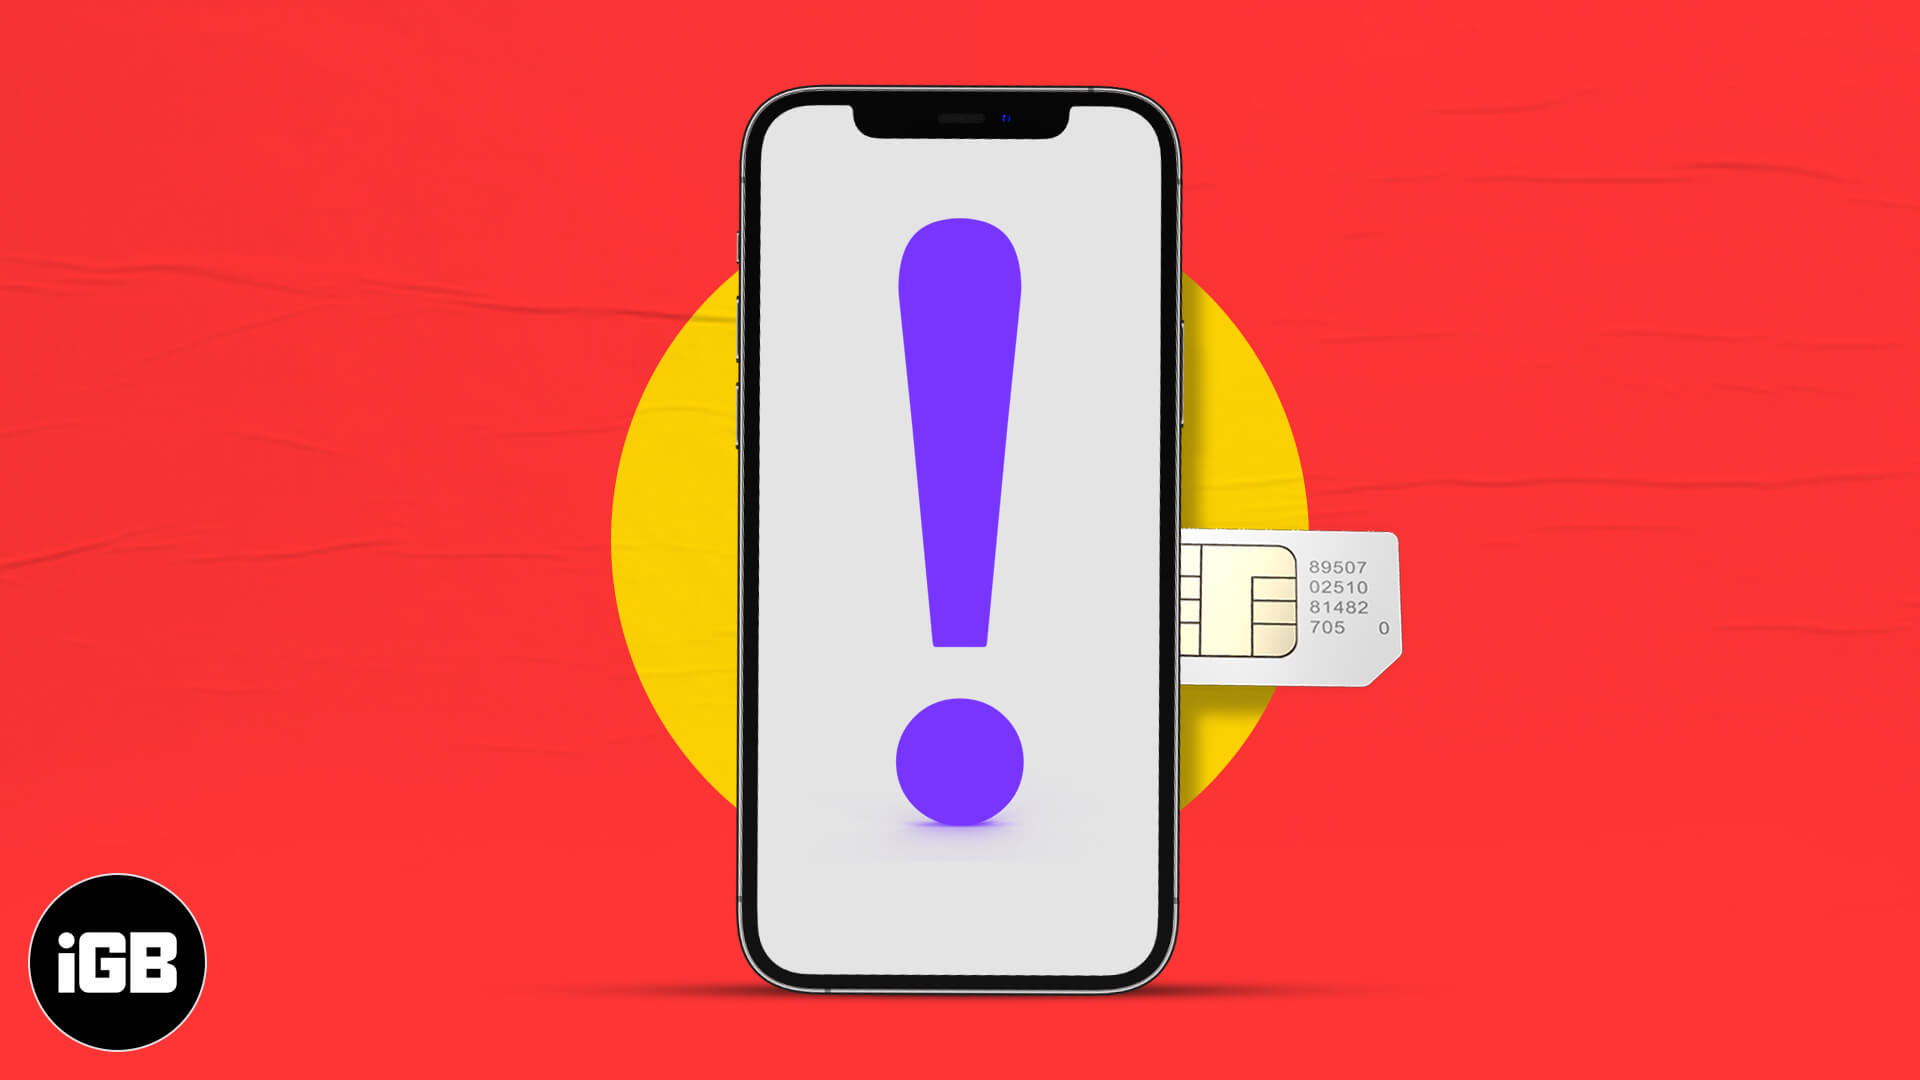
Talk about a nightmare, and nothing can be worst than getting the ‘SIM not supported’ error on your newly purchased iPhone. Though it’s not as common a concern as getting the ‘iPhone SIM locked’ or ‘invalid SIM error’, it could be due to various issues.
As the situation is frustrating, I have got the fixes you need. So let’s jump right in and see how to get rid of the SIM not supported issue on iPhone.
1. Check if the SIM is carrier locked
One of the most common reasons behind the ‘SIM not supported’ error on your iPhone is that it is locked by the carrier. Before we go ahead and look for other troubleshooting tips, I would suggest you verify whether or not this is the case.
To do so,
- Go to Settings → General.
- Tap About.
- Scroll down and locate Network Provider Lock.
For some, it might also appear as Carrier Lock.
If the message next to it is ‘No SIM Restrictions’, then you can move forward with the other fixes mentioned in this guide.
However, if it’s locked, none of the below-mentioned steps will help you. You will be required to contact your SIM service provider and go through the procedure for carrier unlock.
2. Make an emergency call
I understand it can be tricky to bypass SIM not supported on iPhone, but if you can make emergency calls from your iPhone, chances are that that might fix the issue. If this has not worked for you, let’s move on to the next way to fix the issue.
3. Eject and reinsert the SIM card on iPhone
If you are using a physical SIM card, then try to eject and reinsert it. You can also restart your iPhone and see if the issue is fixed. Usually, this will be able to fix the issue, but if not, let’s look at the next fix.

4. Ensure the eSIM is properly activated
If you have already stepped up to the future and have decided to go with an eSIM, then you should ensure that you have followed the same steps as the ones we have mentioned in our detailed guide on how to activate and use eSIM on iPhone.
5. Restart your iPhone
Sometimes, a quick restart can fix all of the problems on an iPhone. This is one of the most common and necessary ways of troubleshooting any error related to the iPhone.
If you are unable to restart your iPhone, try to do a force restart. See if the problem is resolved. If not, let’s try another way.

6. Update iPhone to the latest iOS version
Since its inception, iOS has not always had a smooth ride. Users have been reporting multiple bugs, including the iPhone SIM card not supported issue too. Thankfully, Apple has been pushing updates to fix these issues, so updating your iPhone might be fixing the issue.
7. Reset Network Settings
Some changes in the Network Settings can also cause SIM issues on iPhones. You can fix it by following these steps:
- Go to Settings → General.

- Tap Transfer or Reset iPhone.
- Now, tap Reset.
- Here, select Reset Network Settings.
- Enter your passcode if prompted.

8. Bypass iPhone SIM not supported with iTunes
You can also use iTunes to help you solve the SIM card not supported issue. Unfortunately, this process will delete all the data on your iPhone, although you can use any of the iPhone data recovery software to recover them. With that being said, let’s look at the steps:
- Connect your iPhone to a Windows PC.
- Run the latest version of iTunes.
- Choose Set up as new iPhone and let iTunes carry out the process.

9. Factory reset iPhone
If none of these issues are working, it’s time to factory reset your iPhone. As one can guess, this will completely delete all the files on your iPhone, but along with that, it might also be able to clear the iOS bugs that might be causing the issue.
Contact carrier or Apple Support
If none of the above-mentioned steps were helpful for you, then you should better contact your network operator or check in with Apple Support. There is a high chance that you will finally be able to get rid of the no sim on iPhone bug.
Start using your iPhone with a fully functional SIM
These were some common troubleshooting tips for the issue. I hope you found the solutions and your new device is ready to make calls and surf the internet. Which of these helped you? Do share with me in the comment section.
Frequently Asked Questions

Written by
MayankMayank is a published author and a tech-blogger with over ten years of writing experience for various domains and industries. At iGeeks, he mostly writes about blogs that solve user-problems and guide them on unleashing the full potential of their Apple Device. He can often be found with his headphones on, typing to the rhythm of some country song.
View all posts →More from How-to
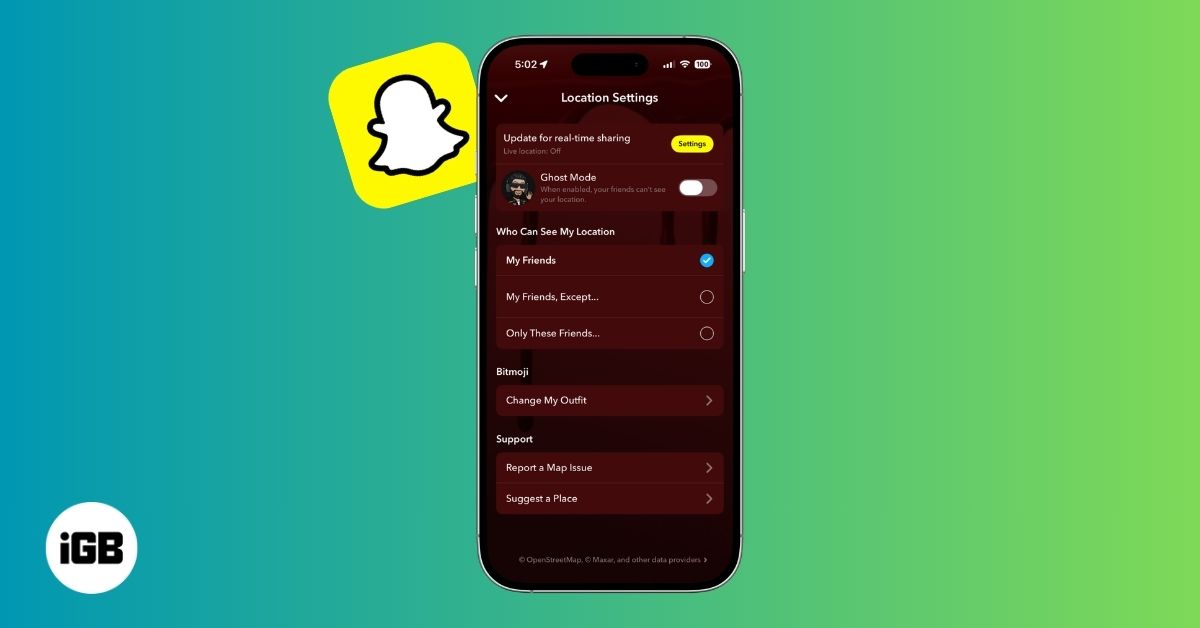
How to Turn Off Location on Snapchat (Step-by-Step Guide)
Want to stop sharing your location on Snapchat? This guide explains how Snapchat location sharing works and shows simple ways to turn off your location using Ghost Mode or phone settings. Stay in control of your privacy in just a few steps.

Snapchat Parental Controls: How to Set Up Family Center and Keep Your Teen Safe
Snapchat’s Family Center lets parents monitor their teen’s friend activity and screen time without reading private messages. Here’s how to set it up and what to expect.

How to Block and Unblock Someone on Instagram
Instagram lets you block or unblock someone in seconds. Follow these simple steps to take full control of your privacy and online peace.