Not Enough Space to Install macOS Tahoe 26 ? Here’s What to Do
Quick solutions to resolve macOS Tahoe 26 installation issues.

It’s important to keep your Mac updated with the latest macOS to benefit from new features and security fixes. But it’s pretty common to encounter the issue of not having enough space to update macOS.
Fortunately, there’s a lot you can do to fix this, such as removing unused apps and optimizing your storage. In this article, I’ll explain exactly how to free space for macOS Tahoe 26 on your Mac. Keep reading below for all the details.
How Much Space is Needed for macOS Tahoe 26
While macOS Tahoe is a free update available to all compatible Mac devices, Apple’s official upgrade page doesn’t clearly state a single “free space” number. However, user reports have suggested that the installer itself is around 14 to 15 GB. Besides the space for the installer, macOS Tahoe may require an additional 20 to 25 GB of free space to accommodate temporary files and for unpacking.
Additionally, it’s wise to leave around 10 GB of space as a buffer for system performance, swap files, and future updates.
Putting it all together, we suggest you have at least 40 to 50 GB of free storage before upgrading to macOS Tahoe. This provides sufficient space for the installer, temporary files during installation, and post-installation overhead. If you only have, say, 25 to 30 GB of free space, there’s a good chance the installation could fail or things might get messy.
How to Check Disk Space on Your Mac
Here’s how to check disk space on a Mac to determine if you can update your macOS to Tahoe 26.
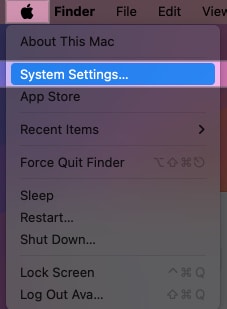
- Click on the Apple menu and select System Settings.
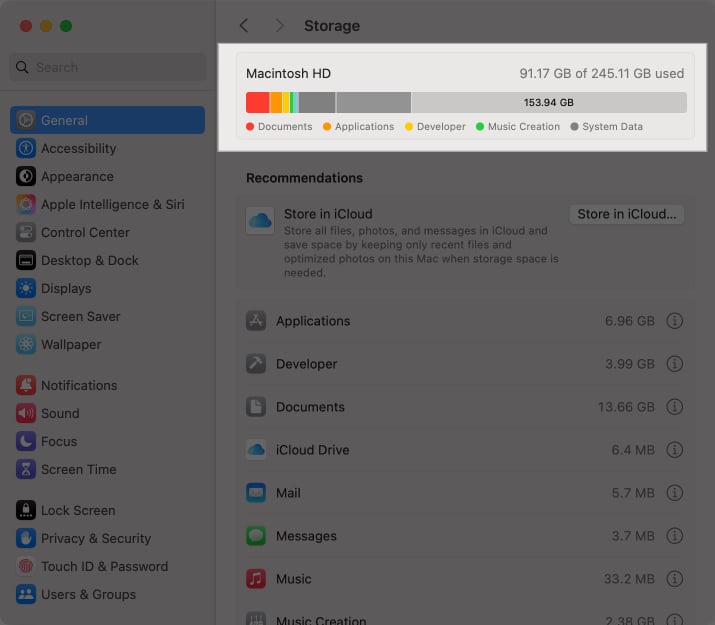
- Click on General → Storage.

- Here, you’ll see an overview of how your disk space is being used. You can hover your cursor on the right end of the bar to see how much space is available.
If you don’t have enough space for macOS Tahoe, follow the steps below to free up space.
How to Free Up Space for macOS Tahoe 26 on Mac
Running low on storage? Here are simple ways to free up space before installing macOS Tahoe 26.
1. Optimize Storage Using the Built-in Tool
macOS Tahoe 26 features include useful additions like Liquid Glass UI and an expanded Apple Intelligence suite. So it’s worth clearing space to upgrade. Just follow the steps below to free up space:
Your Mac has a built-in tool to help optimize storage. It’s worth trying this as a first step towards freeing disk space for macOS Tahoe.
- Go to the Apple menu and select System Settings.
- Click on General and then on Storage.
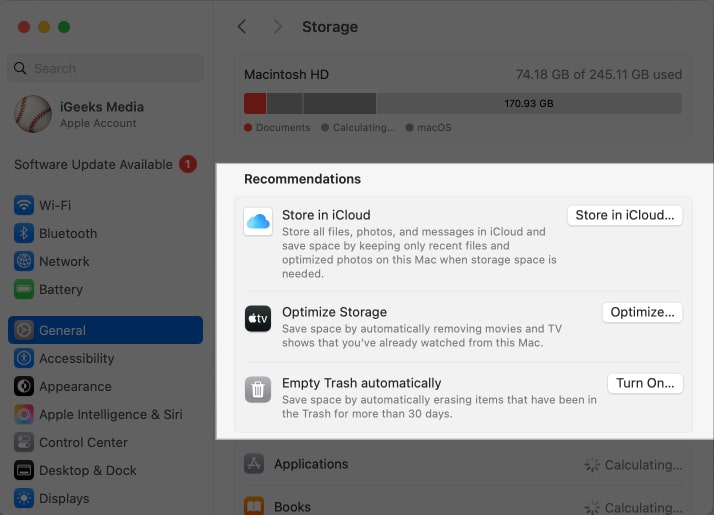
- Click on the Recommendations tab. You’ll now see four options to free up disk space.
- Store in iCloud: Select this to move all your files and folders to iCloud so you can free up disk space.
- Optimize: You can select this option to get rid of Apple TV movies and TV shows you’ve already watched and only keep recent email files.
- Erase Trash Automatically: This option will set your system to empty the trash automatically after every 30 days to free up space.
- Reduce Clutter: Choose this for help with deleting unnecessary files from your system.
2. Delete Old iPhone or iPad Backups
If you are already using your Mac to back up your iPhone or iPad, this can consume a significant amount of disk space. Therefore, it’s best to delete it to free up some space for Tahoe. Here’s how to do it.
- Connect your iPhone or iPad to your Mac.
- Launch Finder and look for the device under Locations.
- Click on Manage Backups button.
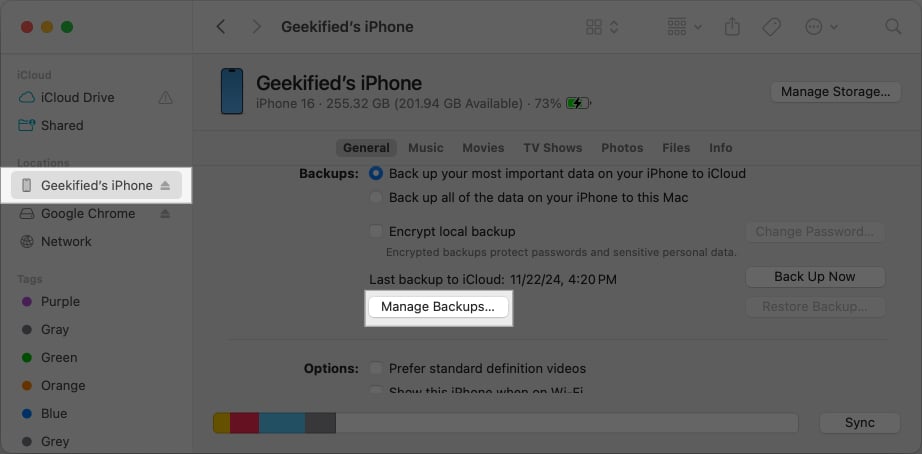
- In the small window, select a backup you want to delete and click Delete Backup.
3. Uninstall Unused Apps
Sometimes, you might install apps on your Mac but not end up using them much. These take up space on your Mac, so you can get rid of them to free up space.
- Open Finder and click on Applications in the left pane.
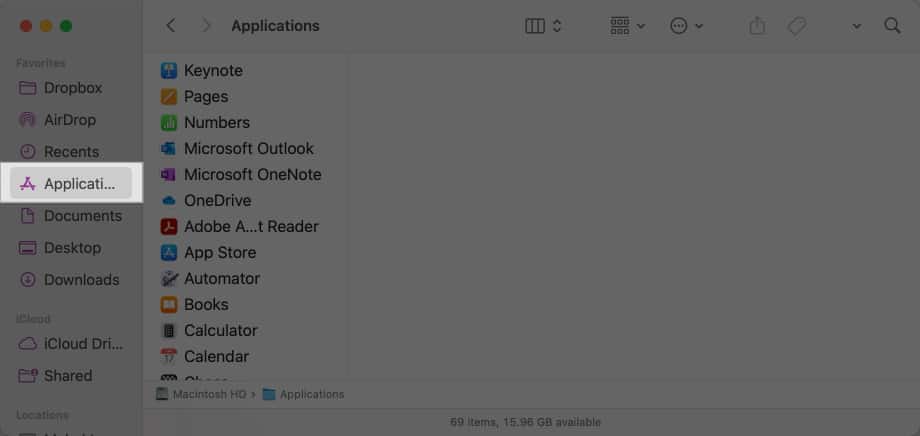
- Go through the list to find any apps you don’t need anymore. Control-click and select Move to Trash to delete an app.
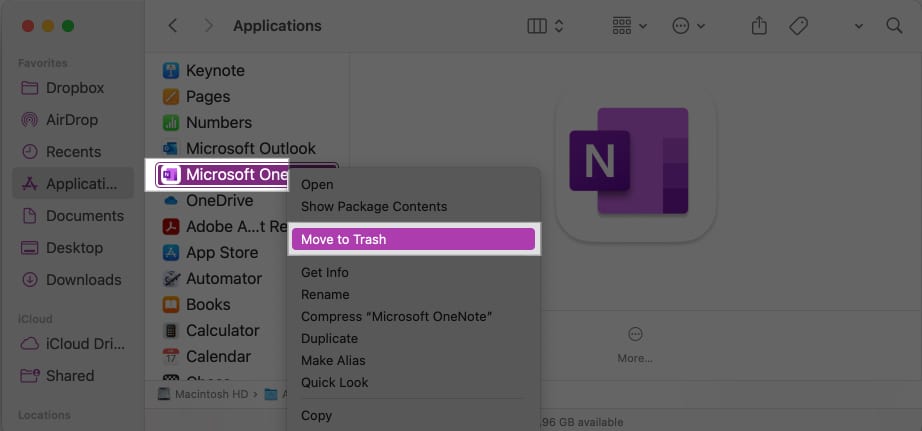
- Remember to go to the Trash folder and permanently delete the app from there to reclaim disk space on your system. This is explained in the next solution.
4. Empty the Trash
When you delete files and applications from your system, they stay in the trash, where they still take up disk space. To permanently delete things and free up disk space for Tahoe, empty the trash as follows:
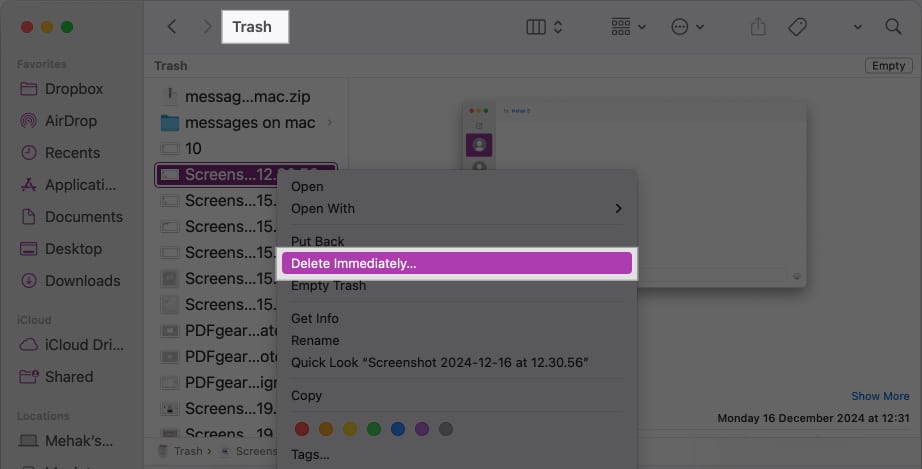
- Click the trash icon in the Dock.
- To delete individual items, control-click on each and select Delete Immediately.
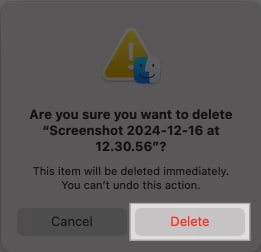
- Click Delete in the confirmation box.
- To permanently delete all the files in the trash, click on the Finder from the menu bar and select Empty Trash.
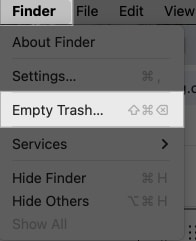
- Click Empty Trash in the confirmation box.

Note:
that you will not be able to recover files once you delete them permanently. So make sure there’s nothing important in the trash.
5. Clean Up Your Downloads Folder
The Downloads folder tends to accumulate a lot of files that you might download but do not necessarily need. These take up precious disk space. So it’s a good idea to look through your Downloads and delete anything you don’t need anymore.
- Open Finder and go to Downloads.
- Control-click any file you don’t need and select Move to Trash.
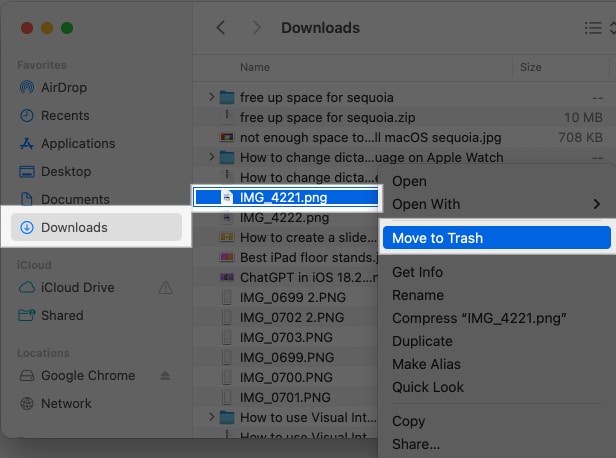
- Remember to go to the Trash and delete it from there, too, to free up disk space.
6. Clear Out Mail Attachments
If you use the Mail app, attachments from years of conversations can occupy valuable storage space. Go to Mail > Settings > Accounts and adjust the download options only to keep recent attachments. You can also manually delete large attachments from old emails.
7. Move Large Files Elsewhere
Sometimes, the easiest way to free up space is to remove items from your Mac. If you have large movie libraries, work projects, or Time Machine backups, transfer them to an external hard drive or SSD.
Alternatively, you can upload them to cloud services like iCloud Drive, Google Drive, or Dropbox for safekeeping.
8. Clean Out Junk Files
Over time, your system accumulates a lot of junk and unwanted files that may not even be visible within your folders. These take up storage space and clog your system, so it’s a good idea to delete them. The easiest way is to use a tool like CleanMyMac.
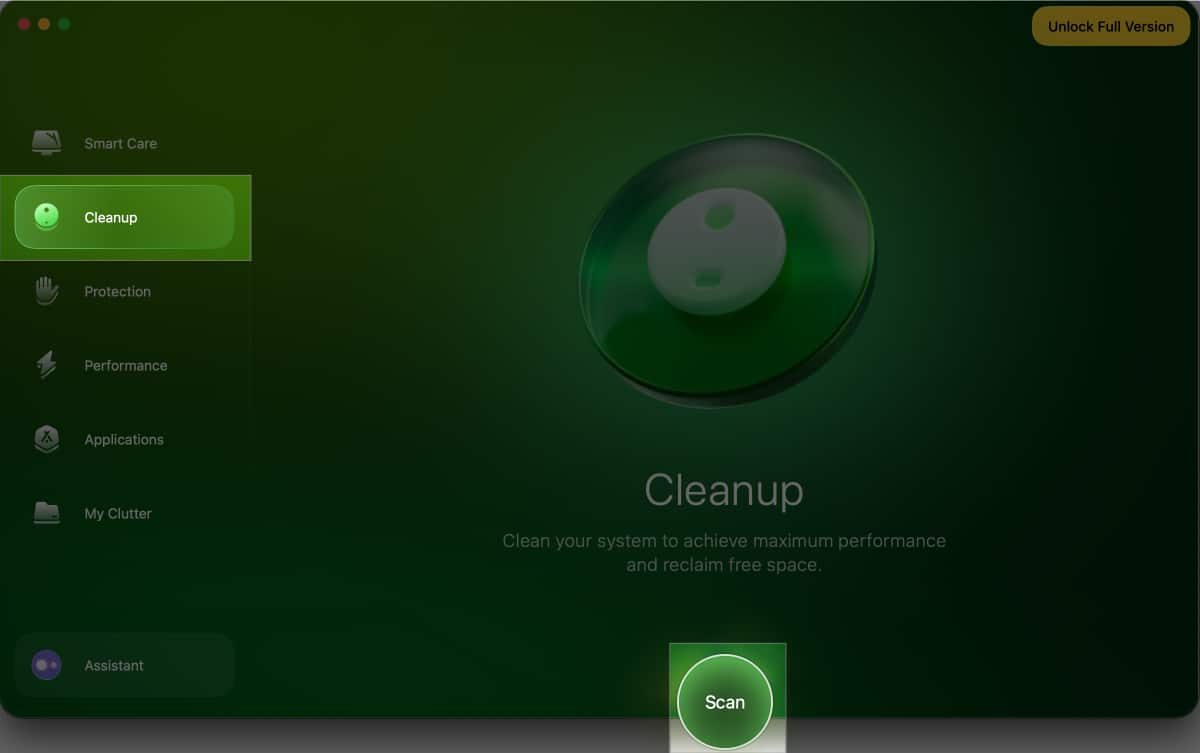
- If you don’t already have CleanMyMac installed, go to the App Store on your Mac and download it.
- Then, open CleanMyMac and select Cleanup. Click the Scan button.
- Once the scan is complete, you will see a report of different kinds of files that can be cleaned.
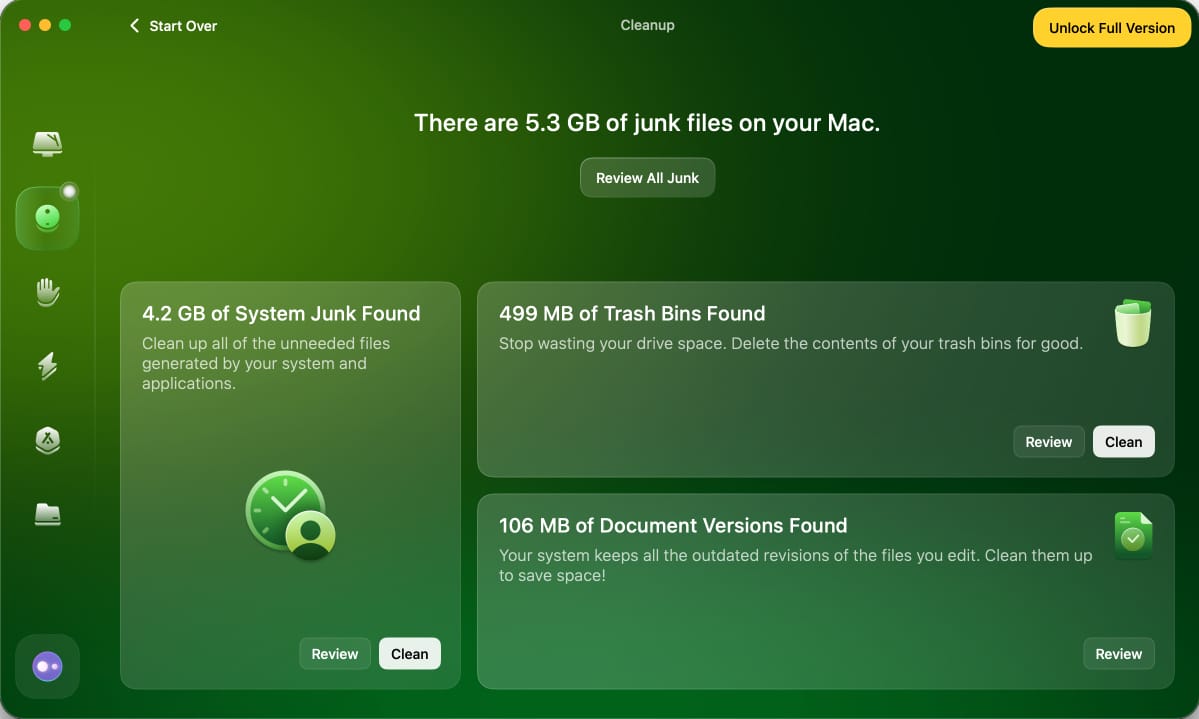
- Click the Clean button to delete the junk files and free up disk space.
Ready to Install macOS Tahoe…
Upgrading to macOS Tahoe is much easier when your Mac has breathing room. Cleaning up unused apps, deleting temporary files, and moving large items to external or cloud storage will create the necessary space for the update, while also making your Mac faster and more efficient in daily use.
Hopefully, following these tips has helped you free space for Tahoe on Mac. Let me know if you run into any problems, and I’ll be happy to help further.
Read more:
Topics

Written by
Arshmeet KaurA self-professed Geek who loves to explore all things Apple. I thoroughly enjoy discovering new hacks, troubleshooting issues, and finding and reviewing the best products and apps currently available. My expertise also includes curating opinionated and honest editorials. If not this, you might find me surfing the web or listening to audiobooks.
View all posts →More from How-to

How to Turn Off Location on Snapchat (Step-by-Step Guide)
Want to stop sharing your location on Snapchat? This guide explains how Snapchat location sharing works and shows simple ways to turn off your location using Ghost Mode or phone settings. Stay in control of your privacy in just a few steps.

Snapchat Parental Controls: How to Set Up Family Center and Keep Your Teen Safe
Snapchat’s Family Center lets parents monitor their teen’s friend activity and screen time without reading private messages. Here’s how to set it up and what to expect.

How to Block and Unblock Someone on Instagram
Instagram lets you block or unblock someone in seconds. Follow these simple steps to take full control of your privacy and online peace.