How to undo and redo on Mac
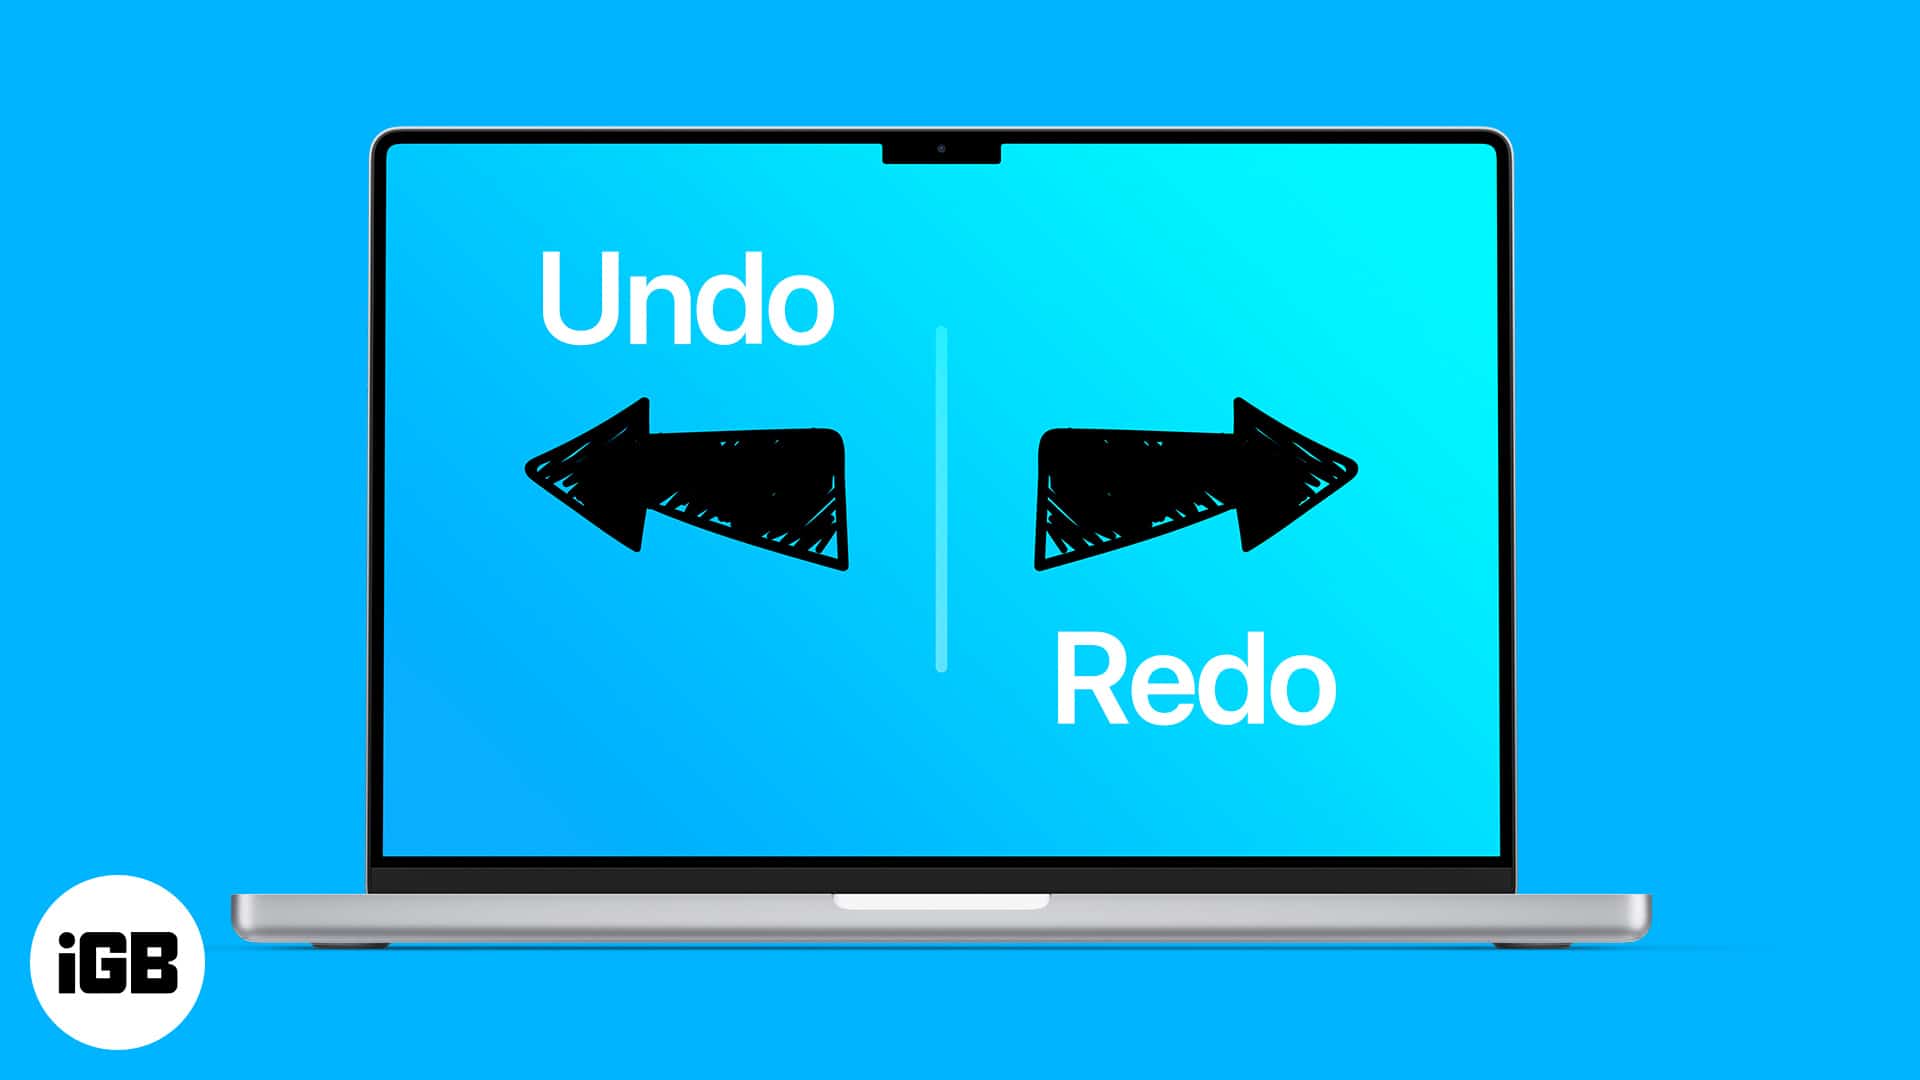
I believe undo and redo are some of the most underrated features. Both of these have saved many helping to mend their mistakes instantaneously! The undo button helps reverse recent changes made to a document, file, or folder. And if you are not sure, use redo to reverse the change.
Thankfully, it is pretty simple to use undo and redo on Mac. I prefer using keyboard shortcuts. However, you can also use menubar for undo and redo options. This article explains how to use them!
How to undo on Mac
Undo helps fix mistakes instantly while editing documents, using Photoshop, or recovering accidentally deleted files and folders. There are two ways of using undo on Mac. Let’s have a look at them:
1. Using keyboard shortcut
I am a keyboard shortcuts person. And Mac offers a ton of time-saving keyboard shortcuts. You can undo the action by pressing Command + Z on your Mac keyboard.

The undo option is a system-wide feature available for all the apps. All the modern Macs support multi-level undo commands. In other words, you can revert a series of changes and not just the recent one.
2. Using menubar edit command
We know keyboard shortcuts are not for everyone! Hence, macOS lets you undo changes via the menubar option. You can use the undo option without exiting the app.
Undo is available in the menu bar. Click Edit → select Undo. The type of action changes depending on what you are doing. The contextual menu shows “Undo copying filename” after copying it to the clipboard.

How do you redo on Mac
With redo, you can revert to the last action before undo. In other words, it can help reverse changes done using the undo option. You can reverse it by using keyboard shortcuts or menubar. Here’s how:
1. Using keyboard shortcut
You can redo the last action by pressing Shift + Command + Z. The redo function is available on all apps. While some apps support multiple levels of redo, others support only one.

It is useful while writing, using Photoshop, or reverting changes to files. Love keyboard shortcuts? Check out our super-detailed ebook on Mac keyboard shortcuts.

2. Using menubar edit command
macOS lets you redo the latest change via the menubar option. All you need to do is click Edit → select Redo. Like before, the menu will display the type of action.
For instance, you will see Redo Typing while working on page editors. The contextual menu is very useful at times to verify actions. On a related note, here’s how you can undo and redo typing on iPhone and iPad.
Importance of undo and redo
Undo and redo actions are extremely useful in many scenarios. I can’t fathom the number of man-hours that would have been wasted without these features. It is only human to make small errors when working in a flow state.
Undo and redo options help us rectify errors without any hassles. Most importantly, the actions give us the confidence to experiment. It is comforting to know that all actions can be reversed if necessary.
History of undo
The history of undo can be traced back to 1968. It was part of the File Retrieval, and Editing System developed at Brown University. The undo option rose to popularity with the Xerox PARC Bravo text editor that came into existence in 1971.
Apple mandated all standard applications should include the “Undo” command in the “Edit” menu. Later on, multi-level undo commands were introduced in the 1980s. It allowed users to reverse more than one change in succession.
That’s it!
I hope this article helped you use undo and redo on Mac efficiently. Let us know that one time when the undo option saved your day in the comments below! If you have more queries, feel free to share them as well.
Read more:

Written by
Mahit HuilgolMahit is an engineer by Education with a corporate stint to his name. He ditched the corporate boardroom wars in favor of the technology battleground. For the better part of a decade, he has worked for popular publishing outlets, including Dennis Publishing, BGR India, AppStorm, MakeUseOf, and iPhonehacks.
View all posts →More from How-to
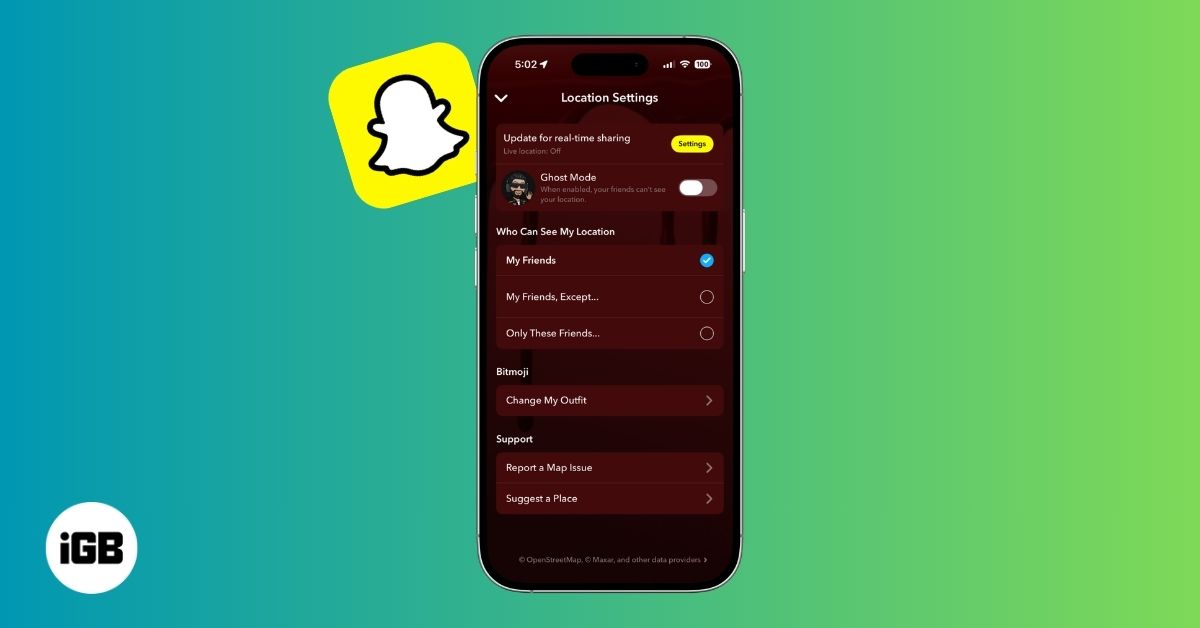
How to Turn Off Location on Snapchat (Step-by-Step Guide)
Want to stop sharing your location on Snapchat? This guide explains how Snapchat location sharing works and shows simple ways to turn off your location using Ghost Mode or phone settings. Stay in control of your privacy in just a few steps.

Snapchat Parental Controls: How to Set Up Family Center and Keep Your Teen Safe
Snapchat’s Family Center lets parents monitor their teen’s friend activity and screen time without reading private messages. Here’s how to set it up and what to expect.

How to Block and Unblock Someone on Instagram
Instagram lets you block or unblock someone in seconds. Follow these simple steps to take full control of your privacy and online peace.