- What It Is: A digital signature is a secure, encrypted, and legally valid way to sign important business documents.
- On iPhone/iPad: On an iPhone or iPad, use the built-in Markup tool to quickly sign PDFs and other documents.
- On Mac: On a Mac, the Preview app lets you sign documents using your trackpad, camera, or a nearby iPhone.
- Syncing Signatures: Signatures you create are automatically synced across all your Apple devices via iCloud for easy access.
- Security Practices: For security, use trusted apps, verify document origins, and avoid signing on insecure public Wi-Fi networks.
Gone are the days of printing, signing, and scanning! With Apple’s built-in tools and trusted apps, you can sign documents on your iPhone, iPad, or Mac in seconds. Whether it’s a quick PDF, legal contract, or school form, this guide shows you how to sign easily—no printer required.
What is a Digital Signature?
A digital signature is your handwritten signature stored securely in digital format. Unlike basic electronic signatures (like typed names), digital signatures are encrypted, traceable, and legally valid in countries like the U.S. and the EU under laws such as the ESIGN Act and eIDAS.
That means the contract or form you sign on your Apple device can be used in legal, business, and financial matters if it is done properly using trusted tools like Apple’s Markup or apps like DocuSign.
How to Sign a Document on iPhone or iPad
Apple makes signing PDFs incredibly easy with native features in iOS 18 and iPadOS 18. Here are your best options:
1. Use Apple’s Built-In Markup Tool
- Open a PDF or image from Files, Notes, Mail, or Photos.
- Look for the Markup (pencil) icon at the bottom and tap it. In Photos, tap the Edit button first, then the Markup icon at the top right corner.
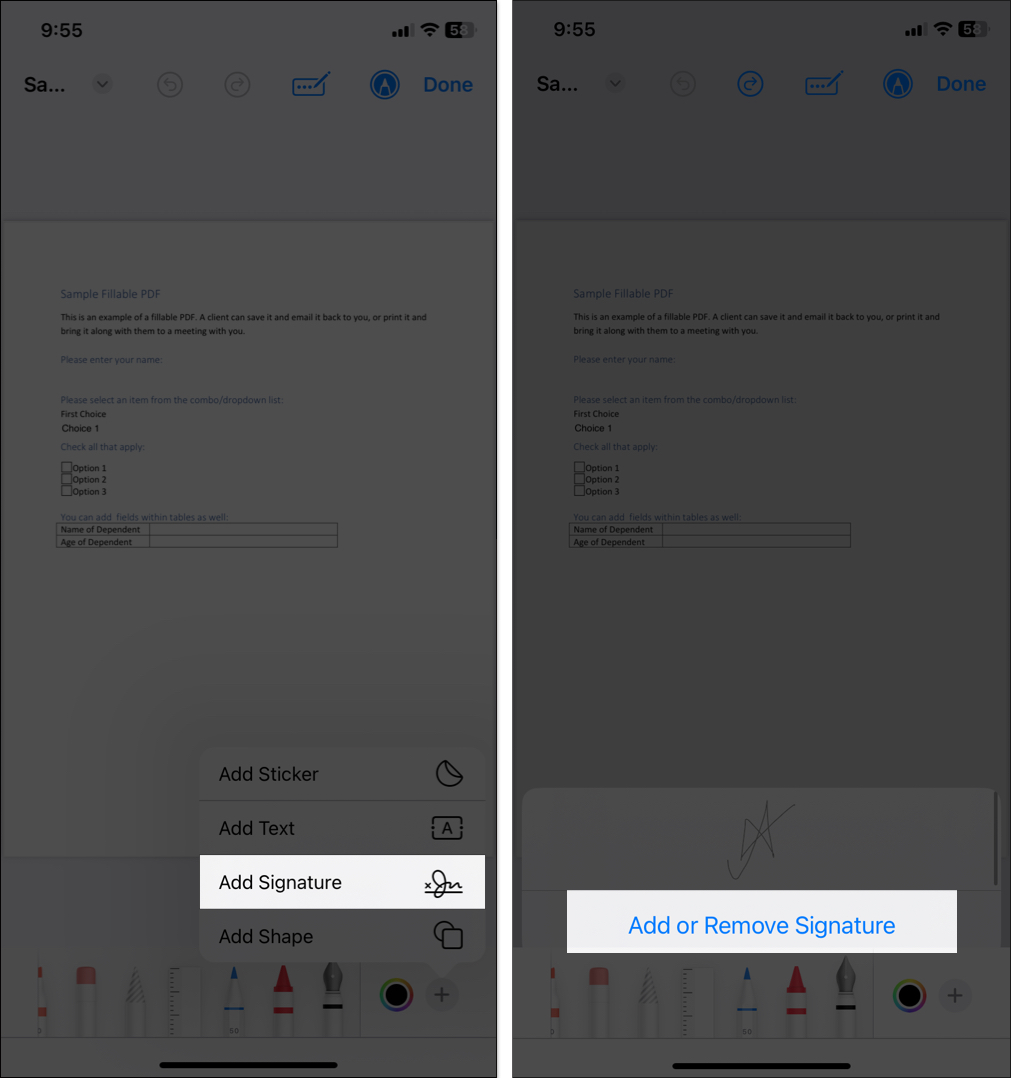
- Tap the plus (➕) sign on the toolbar and select Add Signature.
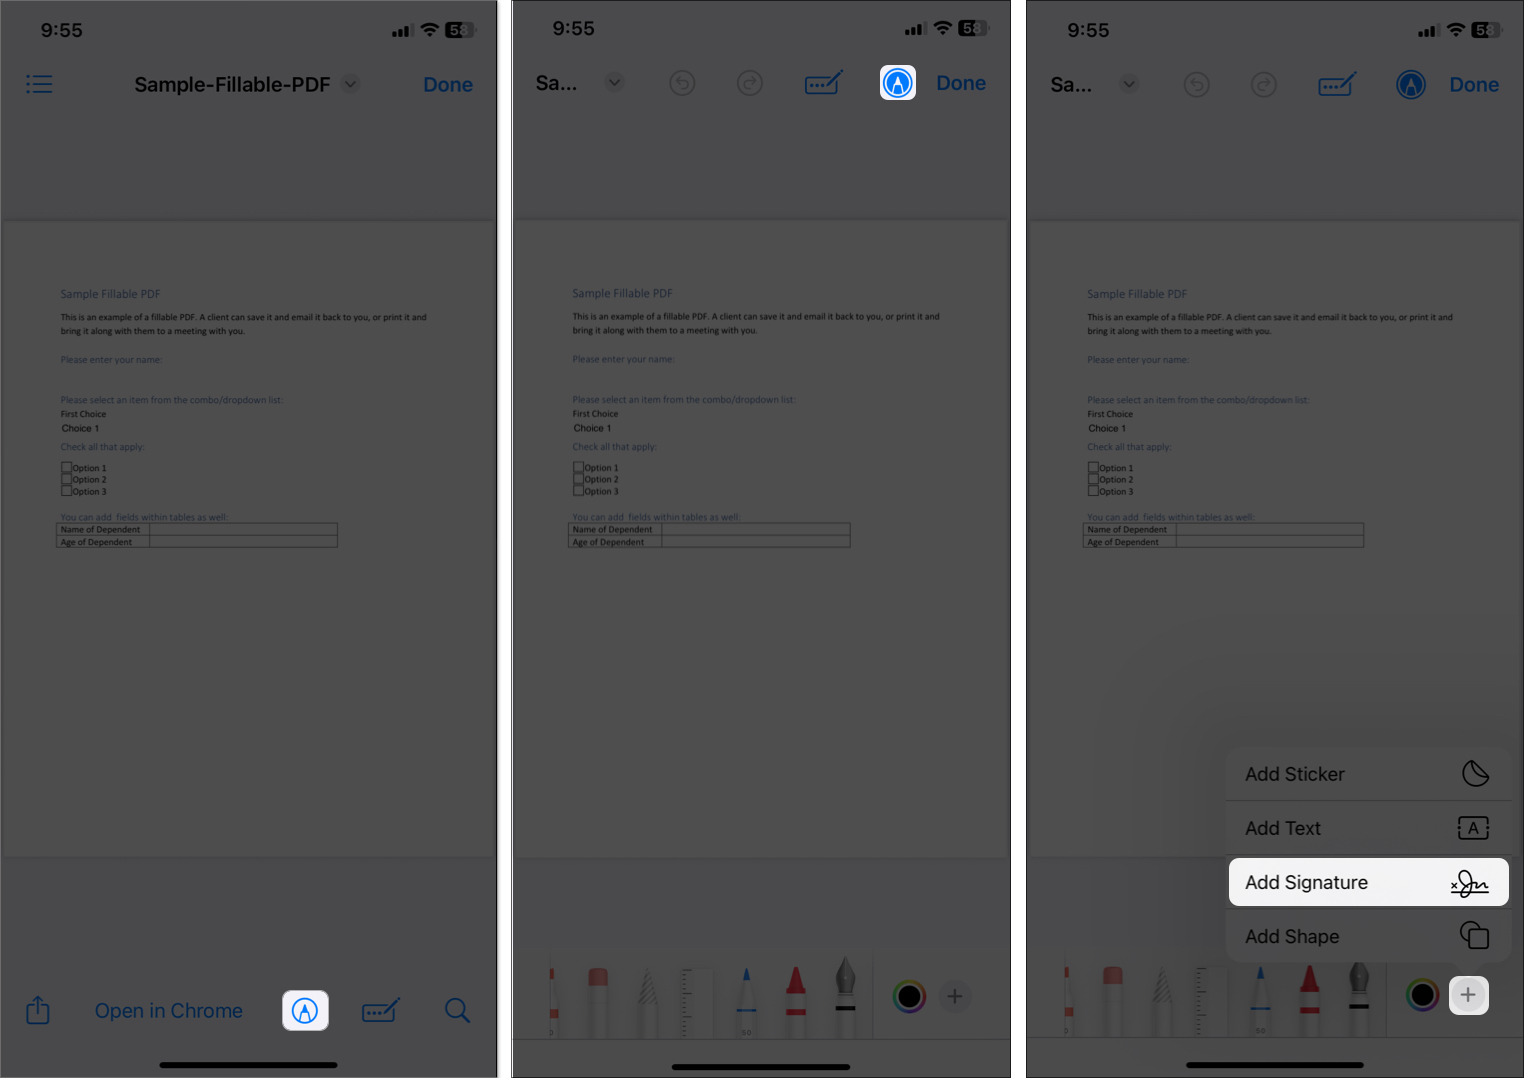
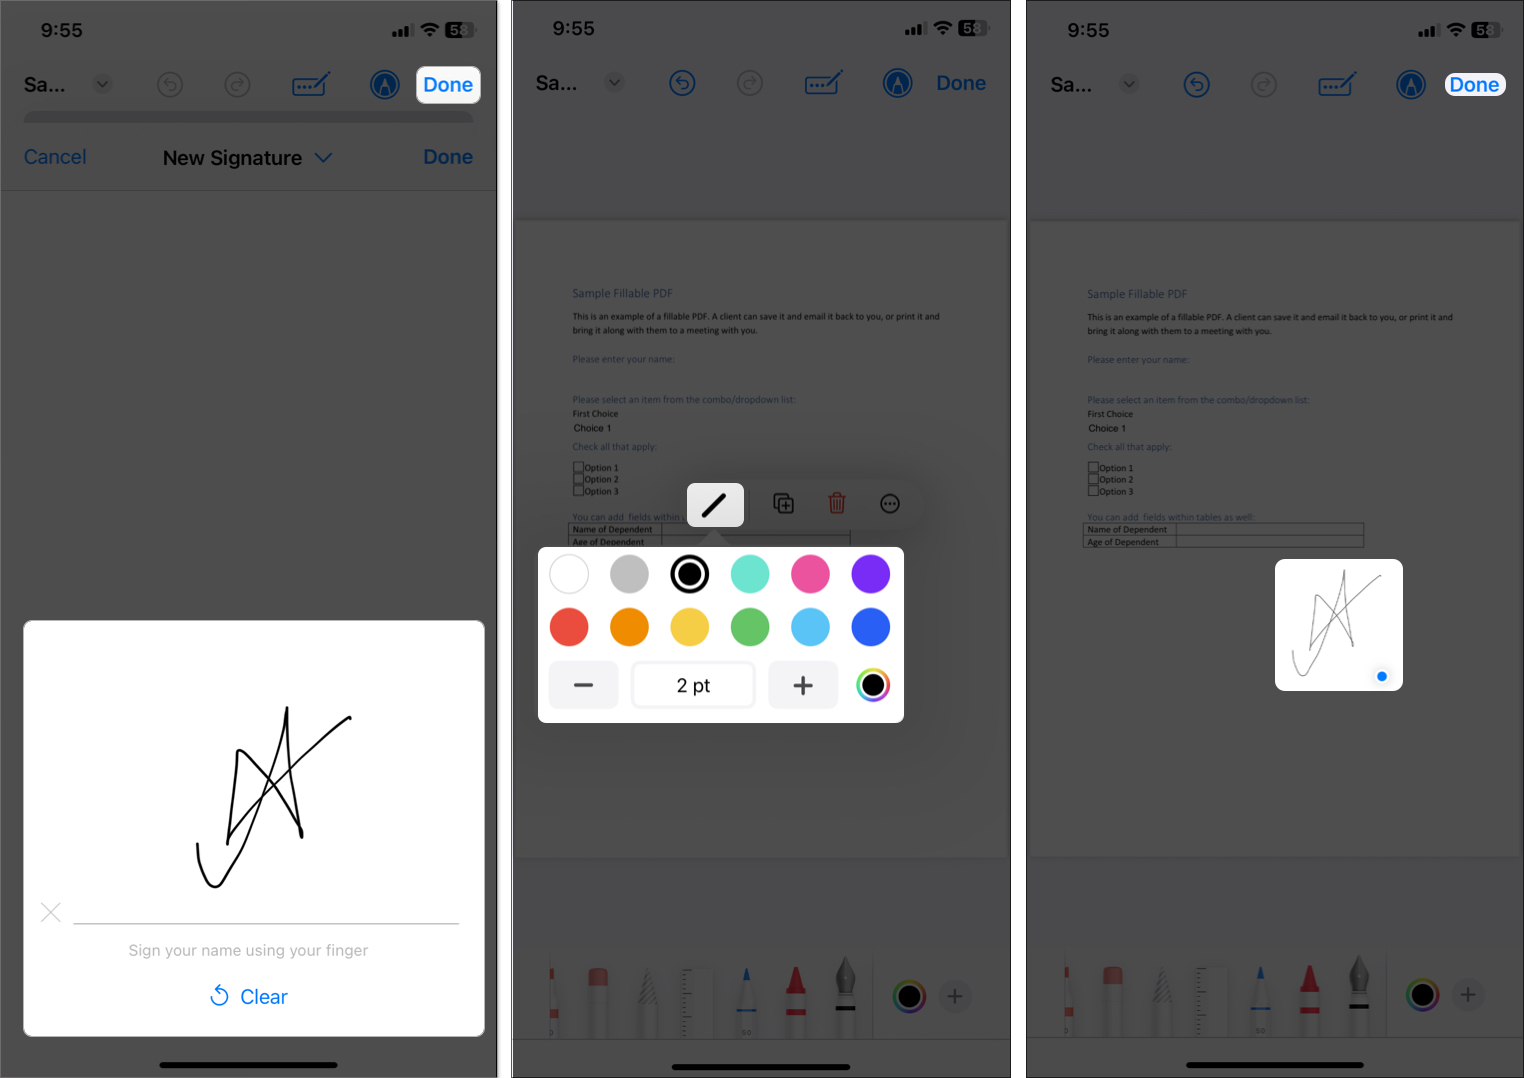
- If you’ve never created a signature, you’ll be prompted to draw one using your finger (on iPhone) or Apple Pencil (on iPad). Draw your signature, then tap Done.
- Your signature will appear on the document. Drag it to the right spot and resize it using the blue dots.
- You may also tap the line icon to change the signature color or stroke width to make your signature look bolder.
- Tap Done to save the changes. You can then share the signed document via email or messages or save it to iCloud.
The best part about Markup is that it saves your signature for reuse across apps like Files, Notes, Mail, and Photos. I prefer using the Photos app as it lets you undo and remove the signature thanks to the Revert feature.
You can also create multiple signatures (e.g., one with initials, one with your full name) and switch between them. To do so, start by adding a signature using the steps above, then select Add or Remove Signature → ‘+’ icon → sign and tap Done.
2. Fill Forms Using AutoFill
For fillable PDF forms, iOS 18 and iPadOS 18 offer AutoFill, which allows you to add your information and signature directly. This works best for forms with designated signature fields.
- Open a fillable PDF in the Files app.
- You may get a popup at the top showing AutoFill Form or tap the AutoFill icon (pen and box icon).
- If the form has a signature field, tap it. Your iPhone or iPad may automatically suggest adding a signature. Select Add Signature from the pop-up.
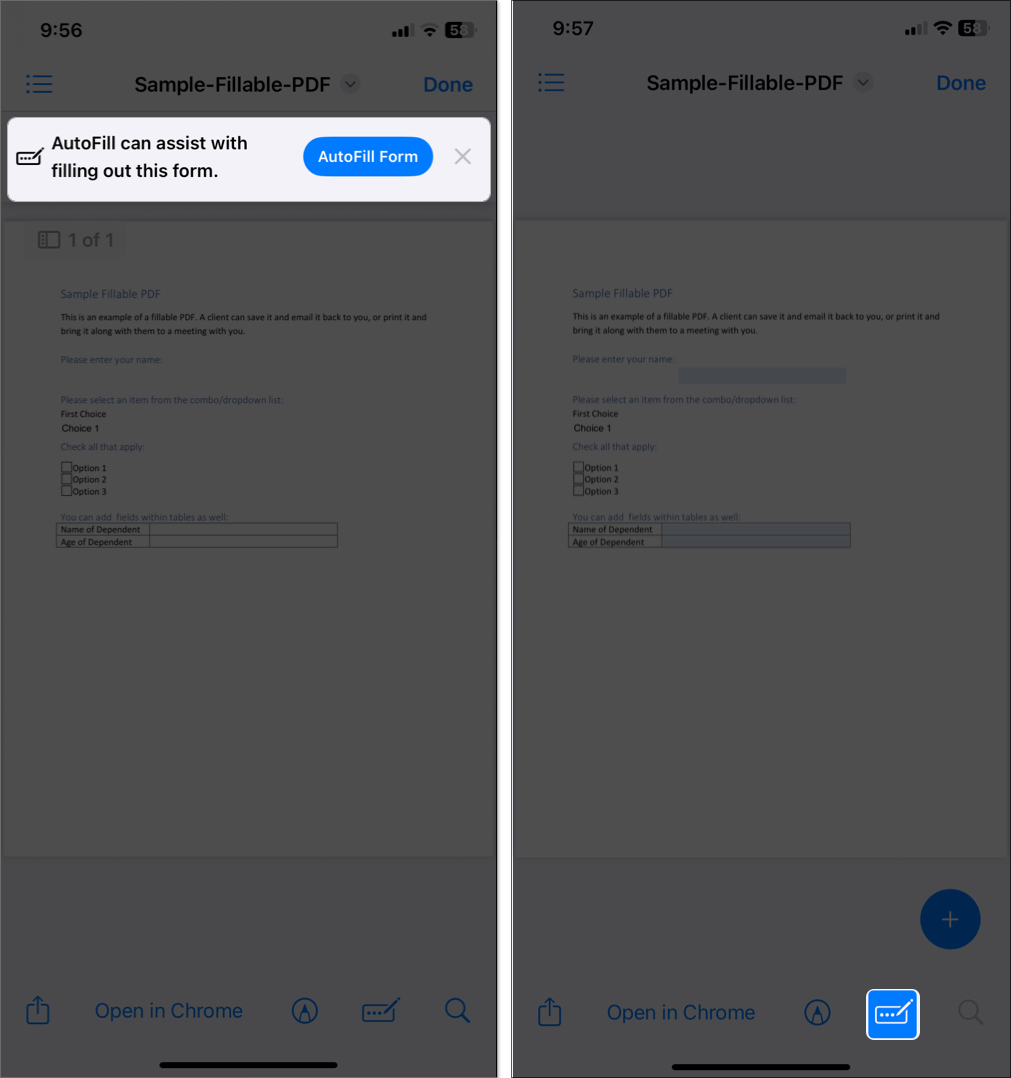
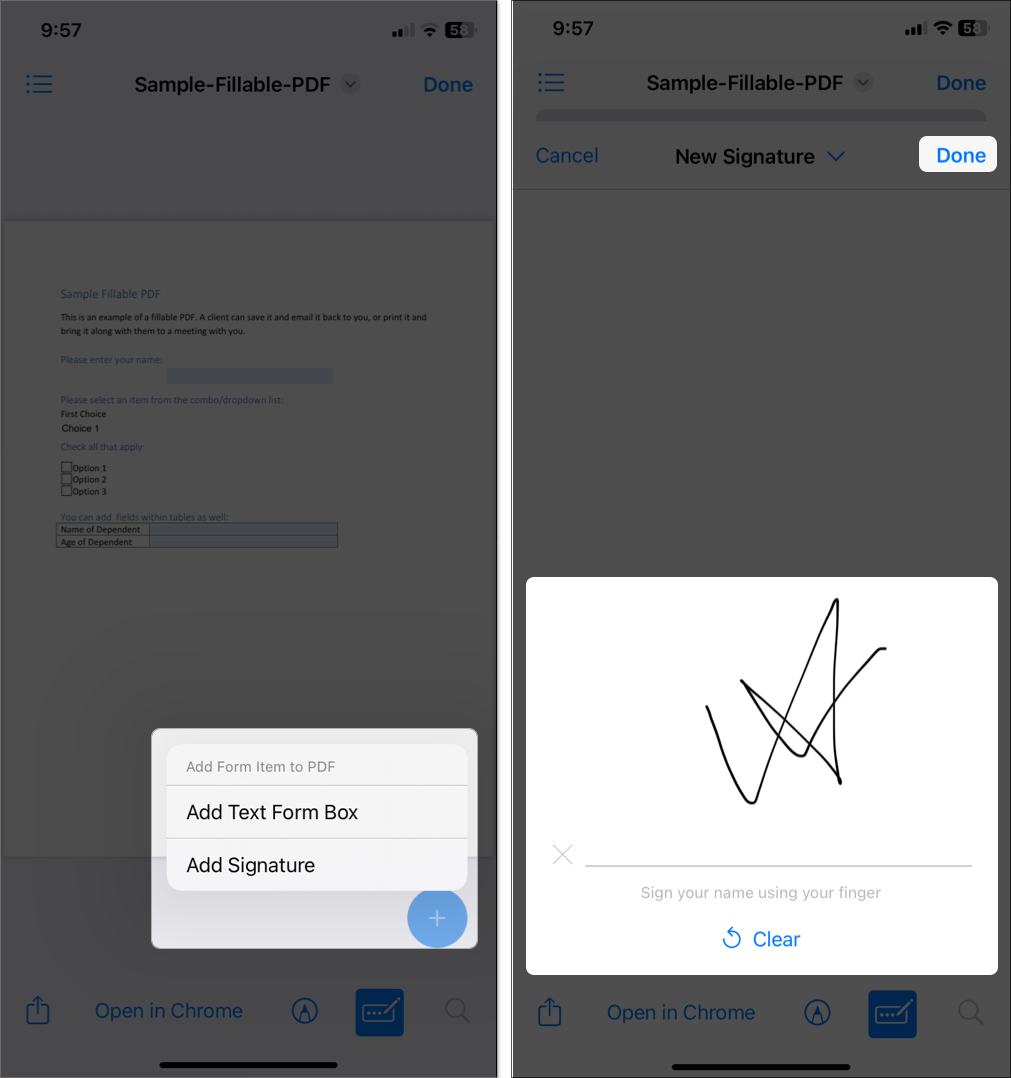
- Alternatively, tap the plus (➕) sign at the bottom and select Add signature.
- Now, draw a new signature or choose a saved one from Markup.
- Tap Done to lock in your signature. The form saves automatically, and you can share it.

3. Sign with DocuSign (or Similar Apps)
Third-party sign document apps are a great choice for more advanced needs, like signing contracts with multiple parties or adding audit trails. Popular apps include DocuSign, Adobe Acrobat Reader, and SignEasy.
Here I’ll demonstrate the steps to sign PDF documents using the DocuSign iOS app:
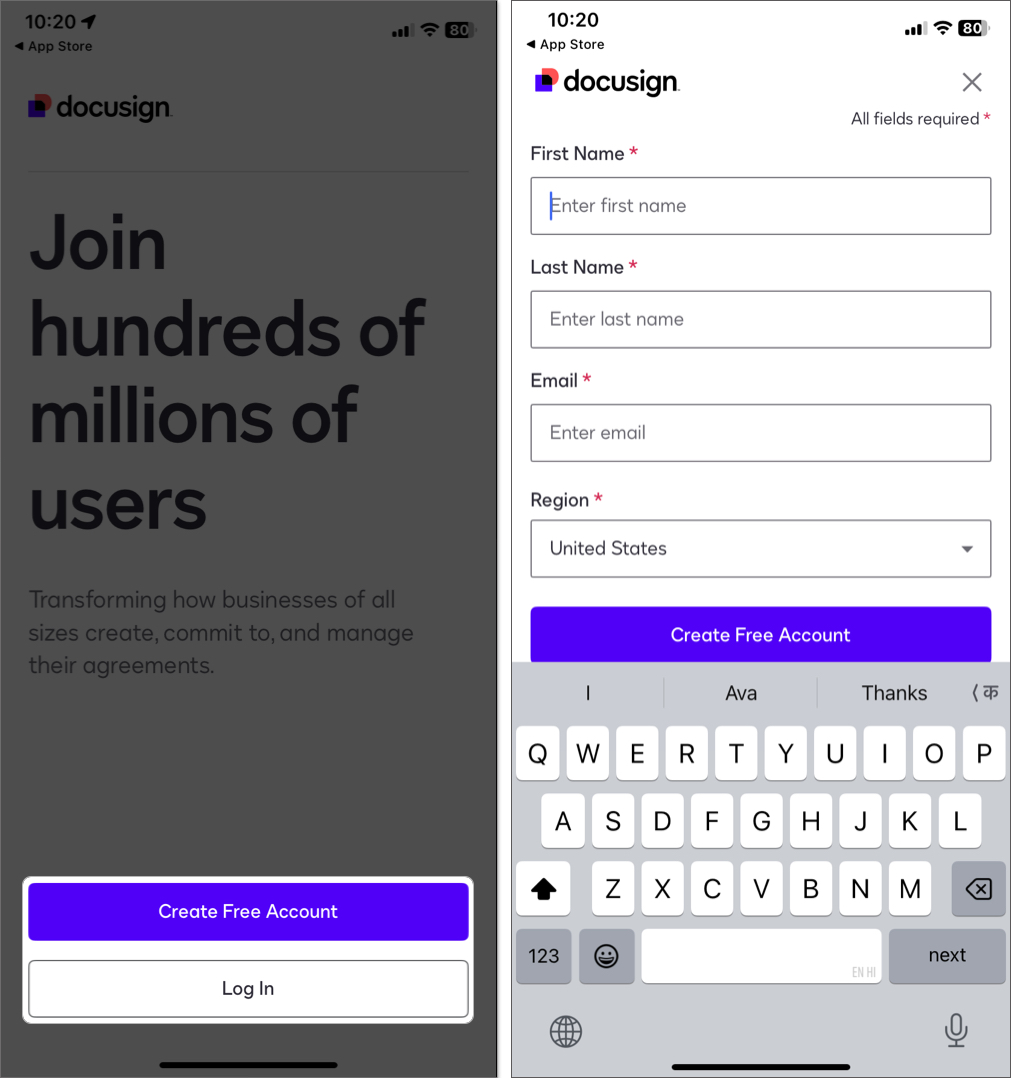
- Get DocuSign from the App Store (free, with paid premium features).
- Open the app and tap Create Free Account. Enter your details, verify your email address and phone number, and proceed to finish your setup.
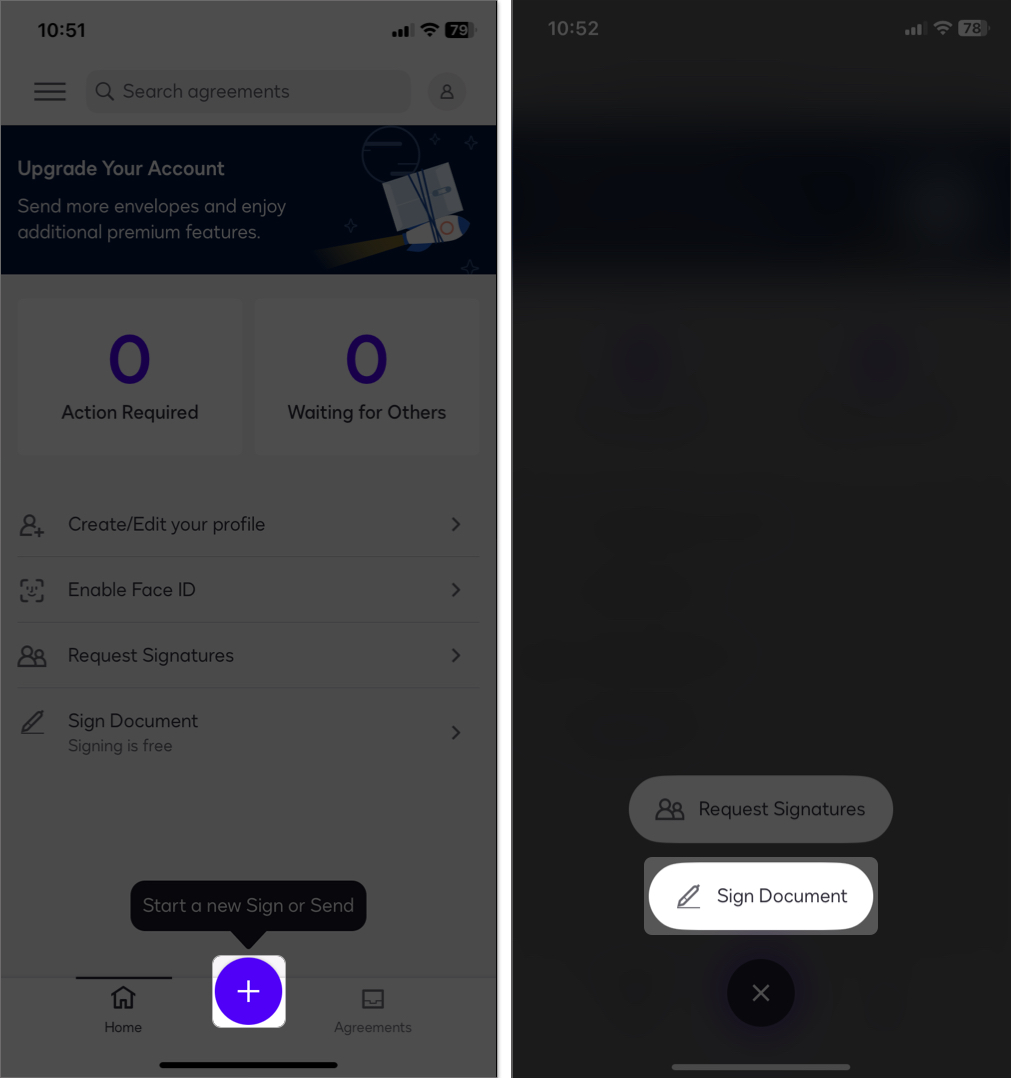
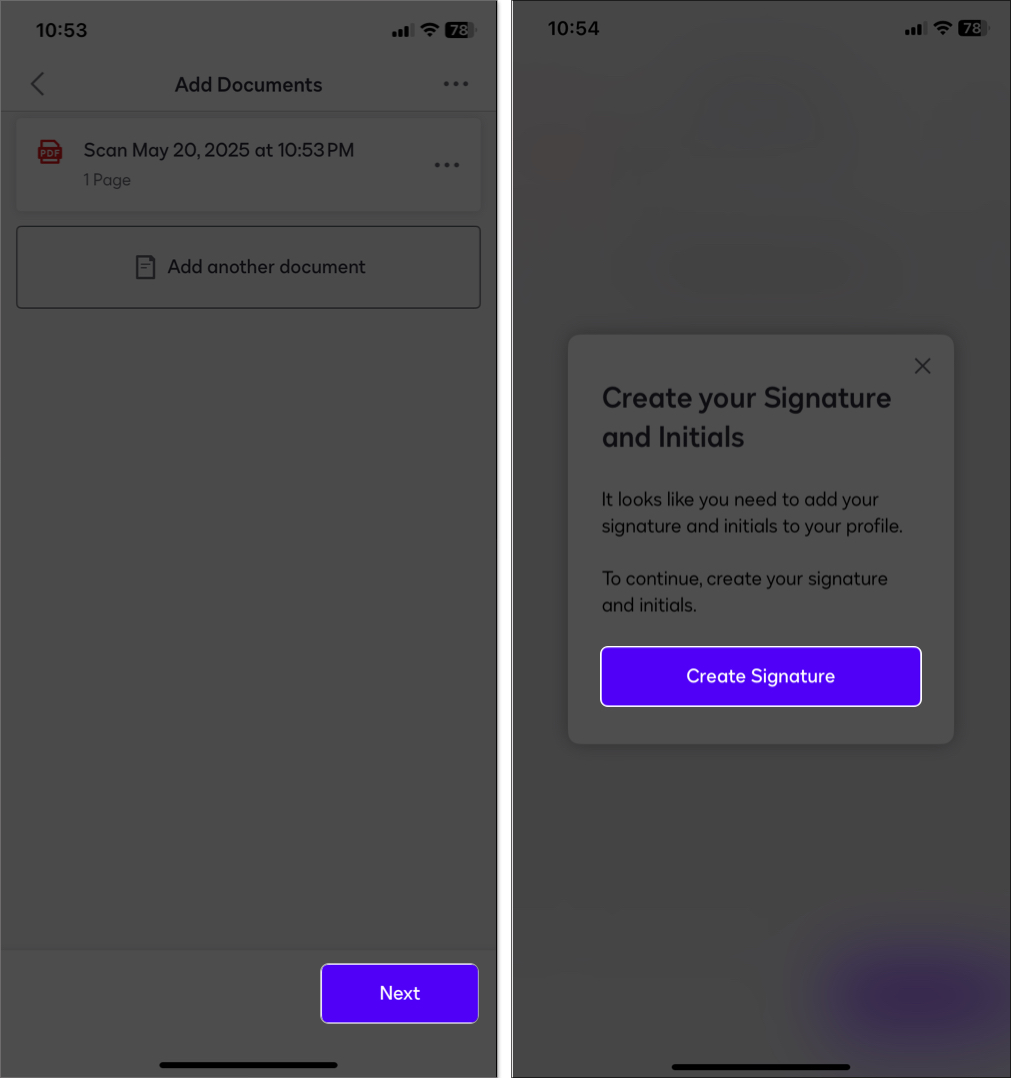
- Once the homepage opens, tap the plus (➕) icon at the bottom and select Sign Document.
- Now, upload your PDF or image from Files, iCloud, or email. You may also scan your document within the app.
- Tap Next > Create Signature.
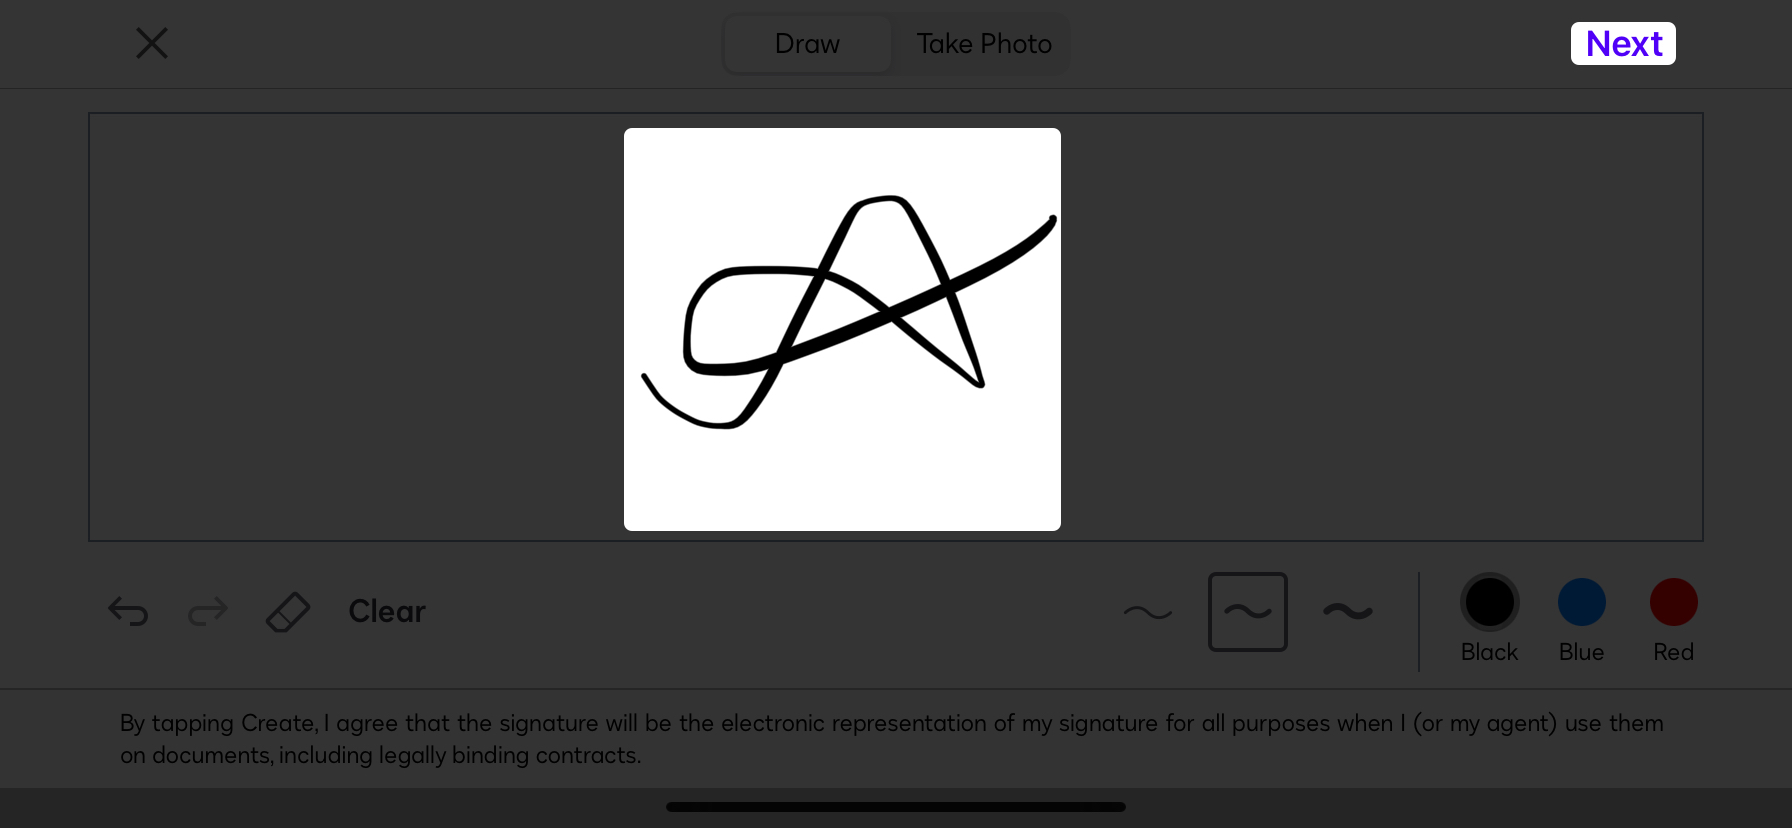
- The screen will rotate to landscape mode so you can easily draw your signature. If you have your signature handy, tap Take Photo and capture it.
- Tap Next at the top right corner and draw your initials. Finally, hit Create.
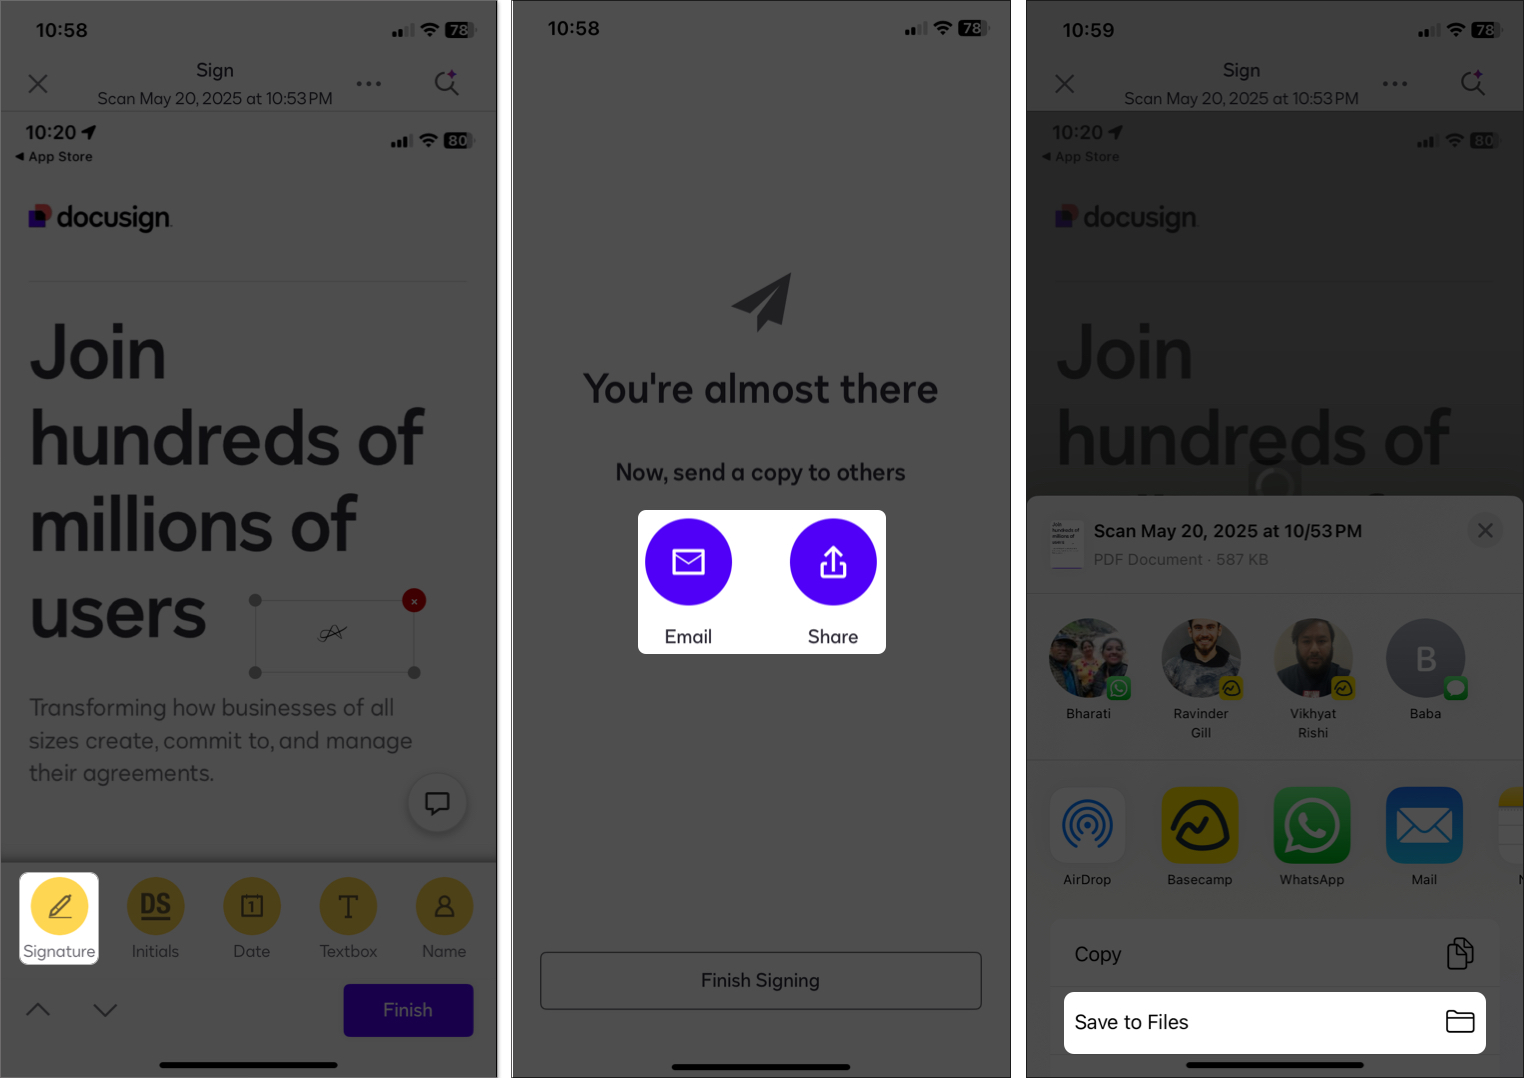
- It will now open your document in editing mode. You can add fields like your name, date, or initials.
- Tap Signature at the bottom and place it in the right place.
- Once signed, tap Finish and share the document via email or other apps or save it to Files.


Third-party apps offer features like requesting signatures, multi-party signing, and legal audit trails. However, some features require subscriptions, so these apps are ideal for professionals.
How to Sign a Document on Mac
macOS Sequoia brings seamless integration with your iPhone or iPad, plus Preview and Quick Look make signing effortless.
1. Sign Using Preview
The Preview app is Apple’s go-to tool for signing PDFs and images on Mac. Here’s how to use it:
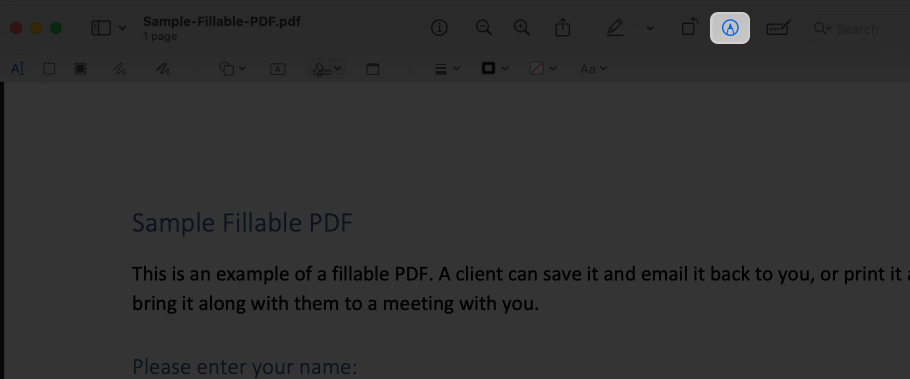
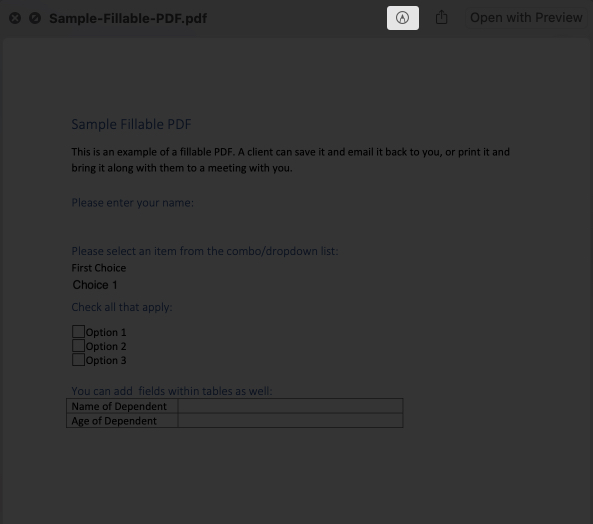
- Go to Finder and double-click a PDF or image to open it in Preview.
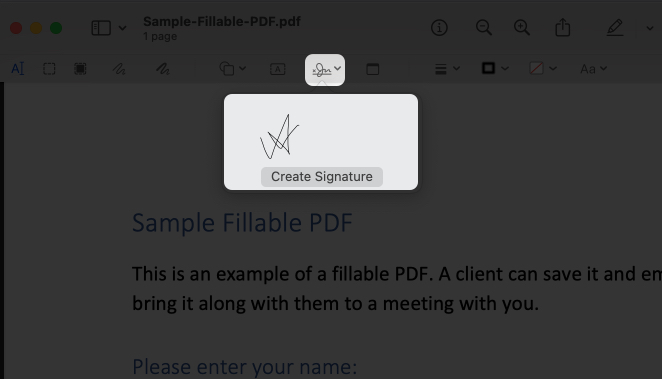
- Click the pencil icon in the top-right corner to open the Markup Toolbar.
- Click the Signature button (it looks like a signature).
- If you’ve signatures from your iPhone, select one or click Create Signature.
- Now, you can:
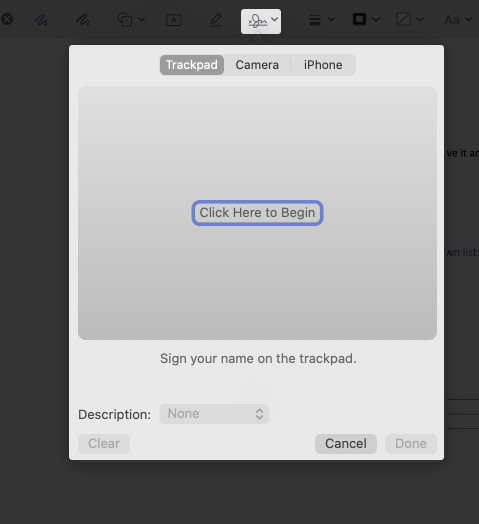
- Use Trackpad to create a signature: Ensure you’re in the Trackpad tab and select Click Here to Begin. Slide your fingers over the Trackpad to create the signature, and press any key to stop.

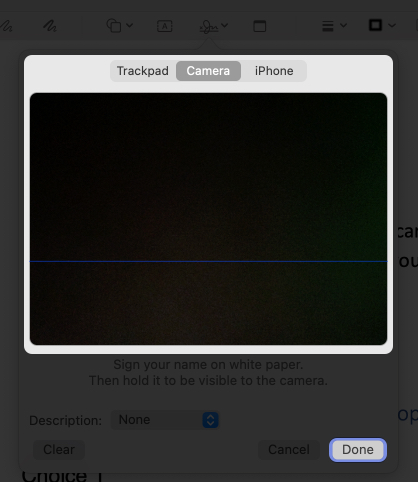
- Use your Mac’s camera: Move to the Camera tab, sign on white paper, and show it to the camera. The Mac will scan the signature and show a mirror image.
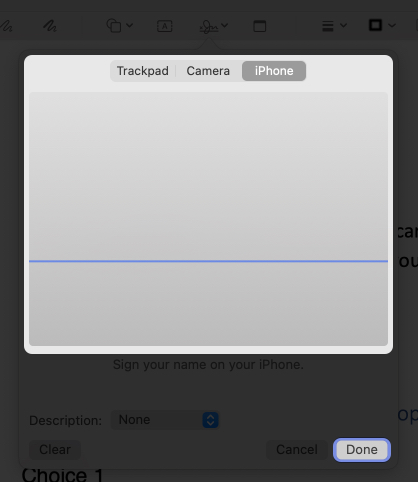
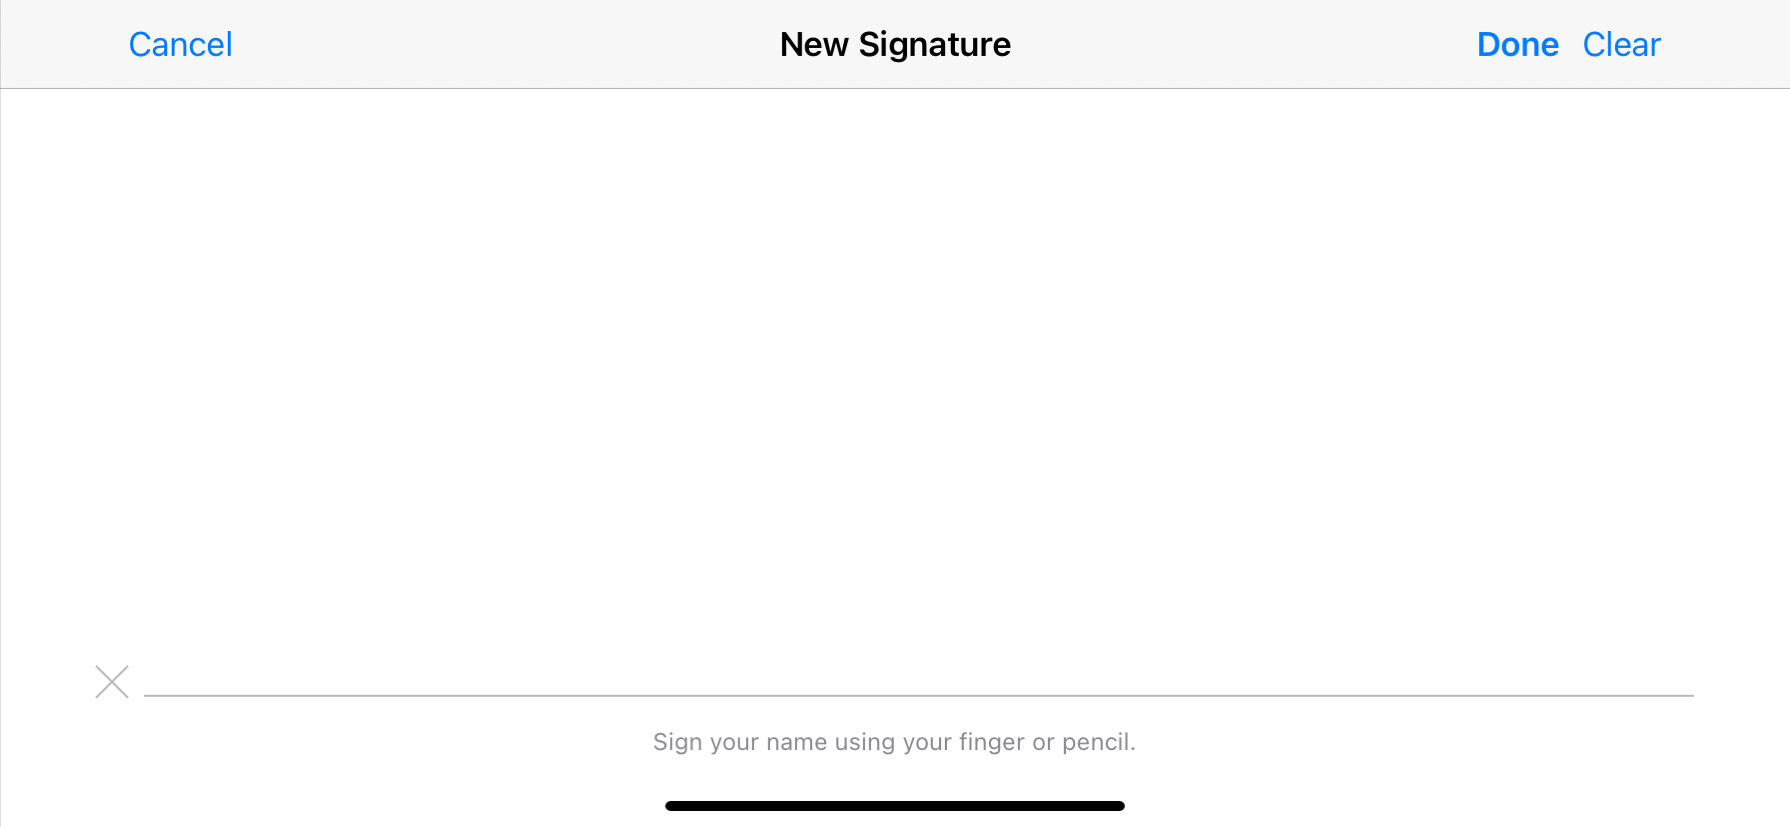
- Use your iPhone or iPad as a signature pad: Go to the iPhone Tab. The paired iPhone will instantly have a signature screen. Use your finger or stylus to sign; it will instantly reflect on the Mac’s screen.
- Use Trackpad to create a signature: Ensure you’re in the Trackpad tab and select Click Here to Begin. Slide your fingers over the Trackpad to create the signature, and press any key to stop.
- Set a title for your signature from the Description dropdown and click Done to save your signature.
- Now, click your saved signature to add it to the document. Drag it to the right spot and resize it.
- Click the Command + S keys to keep your changes.


2. Sign with Quick Look
Quick Look lets you sign documents without fully opening them. Here’s how:
- In Finder, click a PDF or image, then press the Spacebar to open Quick Look.
- Click the Markup button (pencil icon) in Quick Look.
- Follow the same steps as in Preview to add your signature.
- Click Done at the top right corner to save the signed document.


This method is great for quick signatures without opening Preview.
3. Sign Attachments from Mail
You can directly sign PDFs and photos attached in a mail. The good thing is that you are not restricted to the native Mail app. Almost all third-party mail apps support the feature.
- Open the email with the PDF or image attachment.
- Double-click the attachment to open it in Preview, then click the Markup button.
- Use the Signature tool to add your signature.
- Save the changes and reply to the email with the signed document.
This method is perfect for signing and returning documents without leaving the Mail.
Sync Signatures Across All Devices
Creating a signature in Markup or Preview automatically syncs to all your Apple devices using iCloud. Just ensure you’re signed into the same Apple ID and iCloud Drive is enabled.
- On iPhone/iPad, go to Settings > [Your Name] > iCloud and ensure iPhone sync is on. Check the same on your Mac.
- Next, verify that all your devices use the same Apple ID.
- Finally, ensure you have enough iCloud storage for syncing.
If signatures aren’t syncing, restart your devices or check your internet connection.
How to Delete Saved Signatures from iPhone, iPad, and Mac
If you want to remove a saved signature (e.g., for privacy or to update it), here’s how:
On iPhone/iPad:
- Open a document in Files or another supported app with Markup.
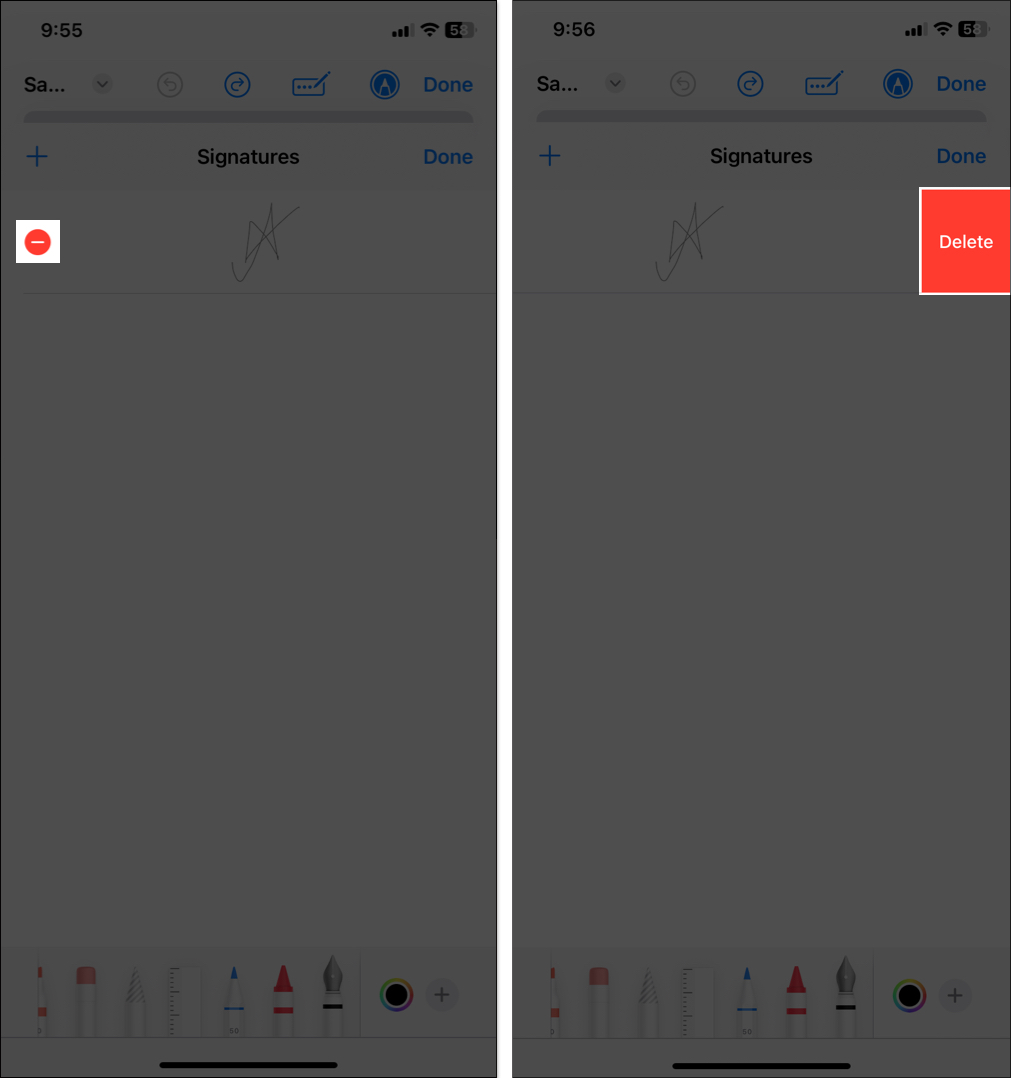
- Tap the Add Signature button to view saved signatures.
- Select Add or Remove Signature.
- Now, tap the red minus icon next to the signature you want to delete and tap Delete.
- The change syncs to all devices via iCloud.


On Mac:
- Open Preview and click the Signature button in the Markup Toolbar.
- Click the ‘x‘ icon next to the signature you want to remove.

- Save any document to confirm the deletion, and it syncs via iCloud.

It’s removed across all synced devices.
Best Practices for Secure Signing
Your digital signature verifies your identity; therefore, you must keep it protected. Here are some tips you can follow:
- Use Apple’s Markup or trusted apps like DocuSign for sensitive docs.
- Store signed documents in encrypted locations like iCloud Drive or Files with Face ID/Touch ID.
- Always verify the document’s origin before signing.
- Avoid signing on to public Wi-Fi unless you’re using secure apps.
Having Trouble Signing Documents on iPhone or Mac? Here’s How to Fix It
If you’re having trouble signing documents, try these fixes:
- Signature not appearing? Ensure iCloud sync is enabled (see Syncing section). Restart the app or device.
- Does the document not open in Markup? If the file isn’t a PDF or image, convert it to PDF using Files or a third-party app.
- Continuity is not working? On Mac, ensure your iPhone/iPad is nearby, unlocked, and connected via Bluetooth/Wi-Fi. Also, check that both devices use the same Apple ID.
- Third-party app issues? Update the app to the latest version or check your subscription status. If errors persist, reinstall the app.
- Is AutoFill not working? Ensure the PDF has interactive fields. If not, use Markup instead.
Go Paperless with Confidence
Signing documents on your Apple devices is fast and legally secure. Whether you’re approving work contracts, filling school forms, or signing NDAs, your iPhone, iPad, and Mac can handle it all.
Try it today—ditch the printer and take modern control of your documents.
Related articles worth reading: