Summary
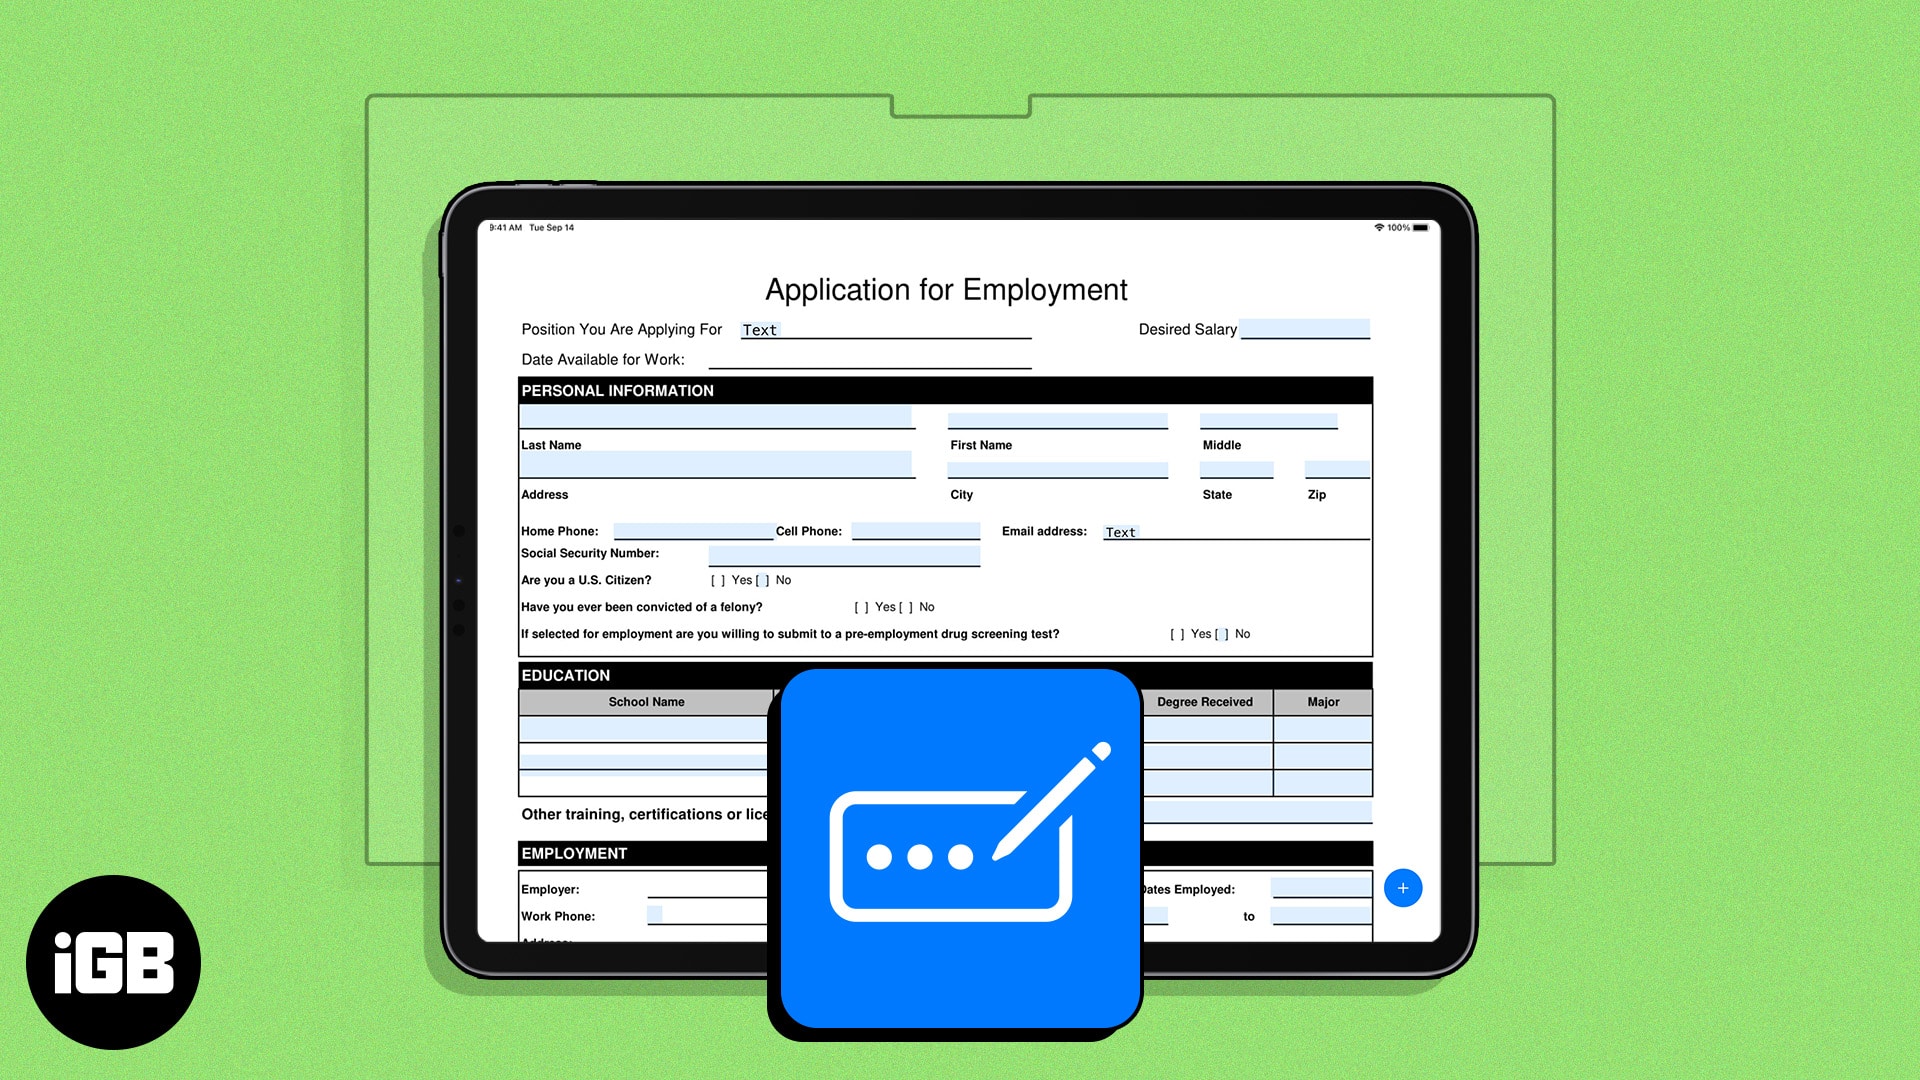
- Enhanced AutoFill automatically recognizes fields in PDFs and suggests relevant information from My Card in Contacts app. This feature was announced with iOS 17, iPadOS 17, and macOS Sonoma.
- To Autofill PDFs on iPhone, iPad, and Mac, open a PDF > Tap the AutoFill Form/AutoFill icon > Tap the desired section to get relevant suggestions.
Earlier limited to the Safari app, Apple’s enhanced AutoFill feature has now branched out to PDF files across the system. Unlike Safari, there isn’t a specific setting you need to enable. All you need to do is ensure you have upgraded to iOS 17.2, iPadOS 17.2, or macOS Sonoma 14.2.
In this guide, I’ll show how you can use Apple’s enhanced AutoFill to automatically enter basic details in PDF files. But before delving into the process, let’s take a quick look at how this feature works.
How does AutoFill work on Apple devices?
Enhanced AutoFill in PDFs was first announced at WWDC 23, and after a long wait, this feature is now available for everyone. Using this feature, users can fill in basic contact information in PDF files with just a few taps.
The in-built machine learning algorithms of enhanced AutoFill recognize patterns and sections in a PDF. Based on the analysis, it suggests relevant saved information on iPhone, iPad, and Mac.
Users can simply tap on a form field or input area, and the device will display suggested content that is likely apt for the field.
Apple’s enhanced AutoFill can save time and reduce the chance of mistakes by eliminating the need to manually type repetitive information such as names, addresses, or phone numbers each time they are required.
Further, you can trust Apple’s privacy policy. None of your information is locally stored on the device. So, there’s no need to be wary of data breaches or unauthorized access.
One must also note that there is no way of enabling or disabling enhanced AutoFill in PDFs. It is a default, native feature.
If you’re also tired of manually filling out PDF documents and forms like me, then here’s how you can use enhanced AutoFill to do this job on Apple devices.
While this idea sounds intriguing, there are a set of steps you must take to get the most out of AutoFill on iPhone, iPad, and Mac.
How to set up My Card in Contacts app
To being using Apple’s enhanced AutoFull, you must fill in your details on My Card.
These details will be fetched by AutoFill whenever you edit a PDF. Here’s what you must do.
Note:
Skip this section if you’ve already set up My Card on your device.
- Launch the Phone app → Go to Contacts.
- Tap My Card → Choose Edit.
- Now, fill in your details as asked for in the dedicated section.
The more information you can provide, the better. - Once ready, tap Done from the top-right corner.

Mac users: If your devices are running with the same Apple ID, you’re covered. If not, head to the Contacts app → Your profile → Edit.
How to AutoFill PDF files on iPhone and iPad
Now that your My Card is all set, it’s time to begin with enhanced AutoFill.
AutoFill Contact info
- Simply open the PDF file on your iPhone or iPad.
- If you’re prompted to save the document in the Files app, choose a folder and tap Save.
- In case you’re opening a PDF for the first time, you’ll get an alert highlighting the AutoFill Form feature.
- Tap the same to proceed.
- If you don’t get this alert, hit the Autofill icon (pen and dotted line) at the bottom-right corner. Once done, your PDF document is now in AutoFill mode.
- Tap any section you’d like to fill in, such as name, address, or email.
I have selected the name section to demonstrate the process. - You can use AutoFill to quickly fill out the entire form by tapping your name.
- Alternatively, you can tap Choose other to select another contact.

- If preferred, you can autofill an individual field by tapping on it. Once selected, you can further add or remove the information to your liking.
- If you wish to add anything extra, simply tap the (+) icon → Select Add Text Form Box.
- You can place the box anywhere in the PDF and resize it by holding the ends.
- Now, you can enter your desired text in the new box.

Bonus:
Tip: If you are using an Apple Keyboard, after tapping a particular section in the PDF, you’ll see the corresponding data appear on top of the keyboard. You can enter details from there as well.
Add Signature on PDFs
If you have an existing signature, you can select it and place it on the PDF. Or else you must create a signature on your device. To do so:
- Tap the (+) icon.
- Select the Add Signature option.
- Now, you can choose an existing signature or create a new one.
- Finally, place it at the required spot.

- Once the form or document is ready, tap Done to save the changes.
In the Mail app
If you were editing the document via Mail app, you can choose any one of the following actions:
- Reply to
- New Message
- Save to Files
- Discard Changes
Tap the option that suits your preference, and you’re good to go!
Note:
There is no toggle feature to enable Enhanced AutoFill. However, if this doesn’t work, make sure AutoFill is enabled for Safari on your device.
How to AutoFill PDF files on Mac
Unlike the iPhone and iPad, the enhanced AutoFill is limited to just the Preview and Safari apps on Mac.
PDF files saved on a Mac open in the Preview app by default. After that, just follow the steps below to fill in the basic information automatically.
AutoFill Contact info
- Open the PDF on your Mac.
- If you’re opening the respective PDF for the first time, click AutoFill Form. In case this option does not appear, simply click the AutoFill icon.
Now, all sections that require information will be highlighted.
- Click any section as required and select the suggested prompt. The suggestions will appear based on your pre-assigned information.
- If you wish to select any other contact, click Choose Other and select their profile.

- Here, you can fill out the non-saved information the traditional way. Repeat the same to fill out the entire PDF.
- You can further click the Add Section option and create a new box wherever required.

Create Signature
If you are required to sign the PDF as well, here’s what you must do.
- Tap the signature icon from the menu bar of the PDF. You’ll find it right under the title bar of the PDF.
- Choose an existing signature or create one.
- A box indicating your selected signature will appear on the screen.
- Hold the endpoints to resize it to your liking.

- Finally, place the signature in the required place.

- To save your preferences tap the AutoFill icon again.
It’s that simple.
In Mail app
When you click the Close button in the Mail app, you are presented with the following options.
- Reply
- Compose a new email
- Save
- Delete the PDF
Faster, simpler, better!
To sum up, enhanced AutoFill is a fantastic feature that allows you to fill out PDF forms on Apple devices and makes it quicker and much easier. With a few clicks, filling out forms becomes an easy task.
Moreover, the feature allows you to save commonly used information and even assign individual labels for your various kinds of information. Did you find this feature helpful? Do let me know in the comments.
Read more: