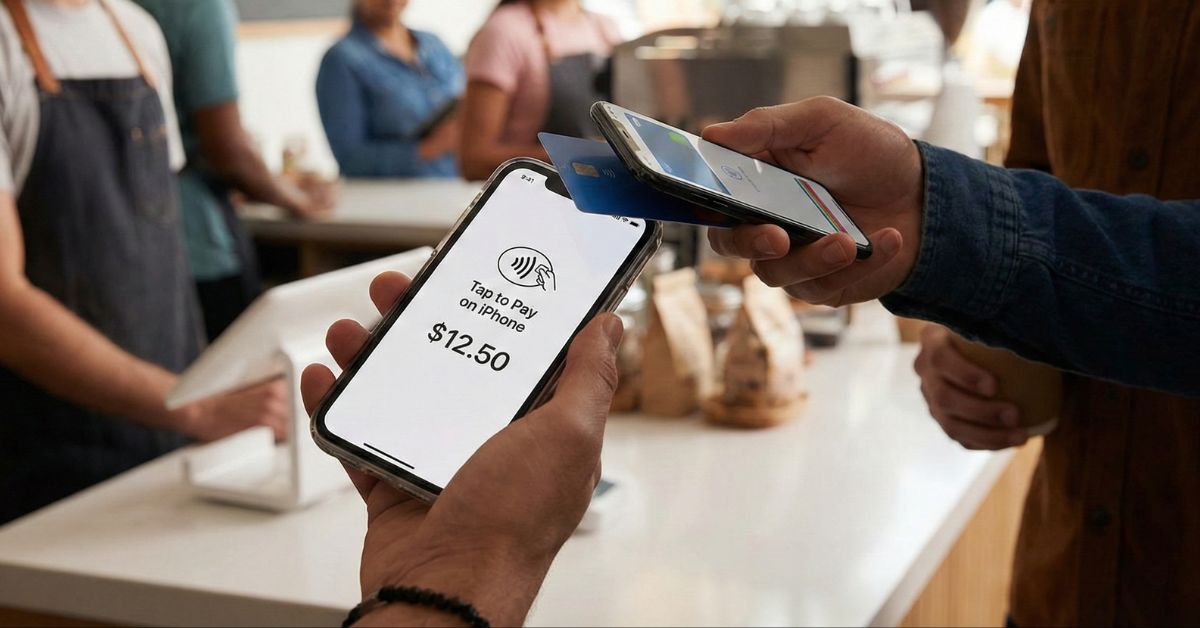
Let’s be honest. Reaching for your card while paying bills or checking out at the grocery store feels unnecessary now. Apple’s Tap to Pay solves that by letting you make secure, contactless payments using just your iPhone. No wallet, no extra hardware, no friction.
In this guide, you will learn how Tap to Pay works, which payment methods it supports, how to set it up, and how to use it confidently for everyday payments or business transactions.
Table of Contents
- How Tap to Pay Works on iPhone
- Which Cards and Wallets Work with Tap to Pay on iPhone?
- How to Set Up Tap to Pay on iPhone
- How to Use Tap to Pay for Payments
- Security Features of Tap to Pay
- Benefits of Using Tap to Pay
- Tap to Pay Not Working on iPhone? Fixes That Actually Help
- Tap to Pay vs Other Payment Methods
- The Future of Tap to Pay
- Final Thoughts
How Tap to Pay Works on iPhone
Tap to Pay uses Near Field Communication (NFC) technology to securely exchange payment data when two devices are held close together.
Here is what happens behind the scenes:
- You hold your iPhone near a payment terminal or another iPhone
- The NFC chip establishes a secure connection
- Your card details are replaced with a one-time encrypted token
- Face ID, Touch ID, or passcode confirms the payment
- The transaction completes in seconds
Your actual card number is never shared. This makes Tap to Pay extremely secure. For small businesses, it also means you can accept payments directly on an iPhone without buying POS hardware.
Which Cards and Wallets Work with Tap to Pay on iPhone?
Tap to Pay on iPhone supports a wide range of cards, wallets, and payment platforms.
Supported Cards
- Visa
- MasterCard
- American Express
- Discover (region dependent)
- Regional debit networks such as Interac in Canada and eftpos in Australia
Most debit and credit cards with NFC support will work.
Supported Digital Wallets
- Apple Pay
- Debit and credit cards stored in Apple Wallet
If you are a merchant, Tap to Pay also accepts NFC-based wallets such as Google Pay, Samsung Pay, and other contactless wallets.
Supported Payment Platforms for Businesses
- Stripe
- Square
- PayPal Point of Sale
- Adyen
- Other Apple-approved payment providers
Availability depends on country, bank, and payment provider. Always confirm support on Apple’s official documentation.
Tip:
Look for the Apple Pay or contactless symbol on the terminal to confirm compatibility.
How to Set Up Tap to Pay on iPhone
Setting up Tap to Pay takes only a few minutes.
Device Requirements
- iPhone XS or newer
- iOS 16 or later
- Signed in with an Apple ID
- Face ID, Touch ID, or passcode enabled
- Active internet connection
- Date and Time set to Automatic
Step by Step Setup
- Open the Wallet app and tap the plus sign.
- Tap Debit or Credit Card > Continue.
- Now, hold the iPhone near the chip on the card or enter the card details manually.
- Follow the on-screen steps to verify your card with your bank.
- Once approved, tap and hold the card and drag it to the front of the card deck to set as default.
You can also add Apple Card or cards from supported apps using the same steps.
For businesses, install a supported payment app like Stripe or Square and enable Tap to Pay inside the app.
Note:
How to Use Tap to Pay for Payments
Once your card is added, paying is quick and consistent.
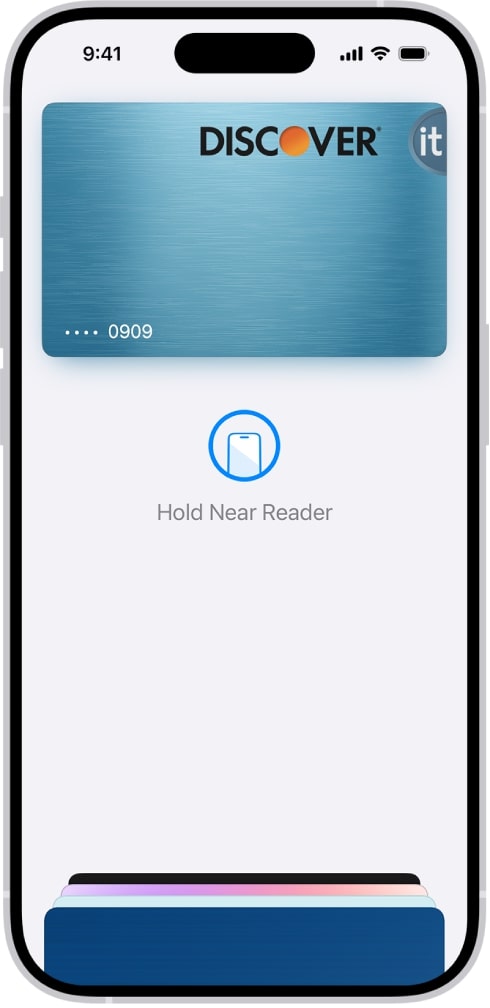
Paying in Stores
- Double-click the side button.
- Authenticate using Face ID or Touch ID.
- Hold the top of your iPhone near the payment reader where the Hold Here to Pay icon appears.
- Wait for the Done checkmark and confirmation sound.
To use a different card, tap the card stack after double pressing the side button and select another card.
Accepting Payments on iPhone (For Businesses)
- Open your payment app and start a new sale entry.
- Enter the amount to charge. You may need to select Tap to Pay as a payment method.
- Ask the customer to hold their contactless card or phone on your iPhone.
- Payment completes instantly.
Payment completes instantly. In iOS 26, Tap to Pay also works in supported apps and websites through Apple Pay checkout.