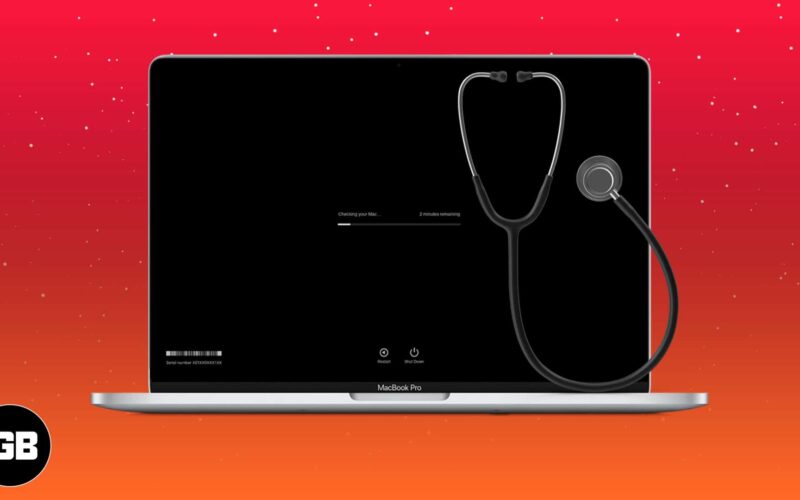
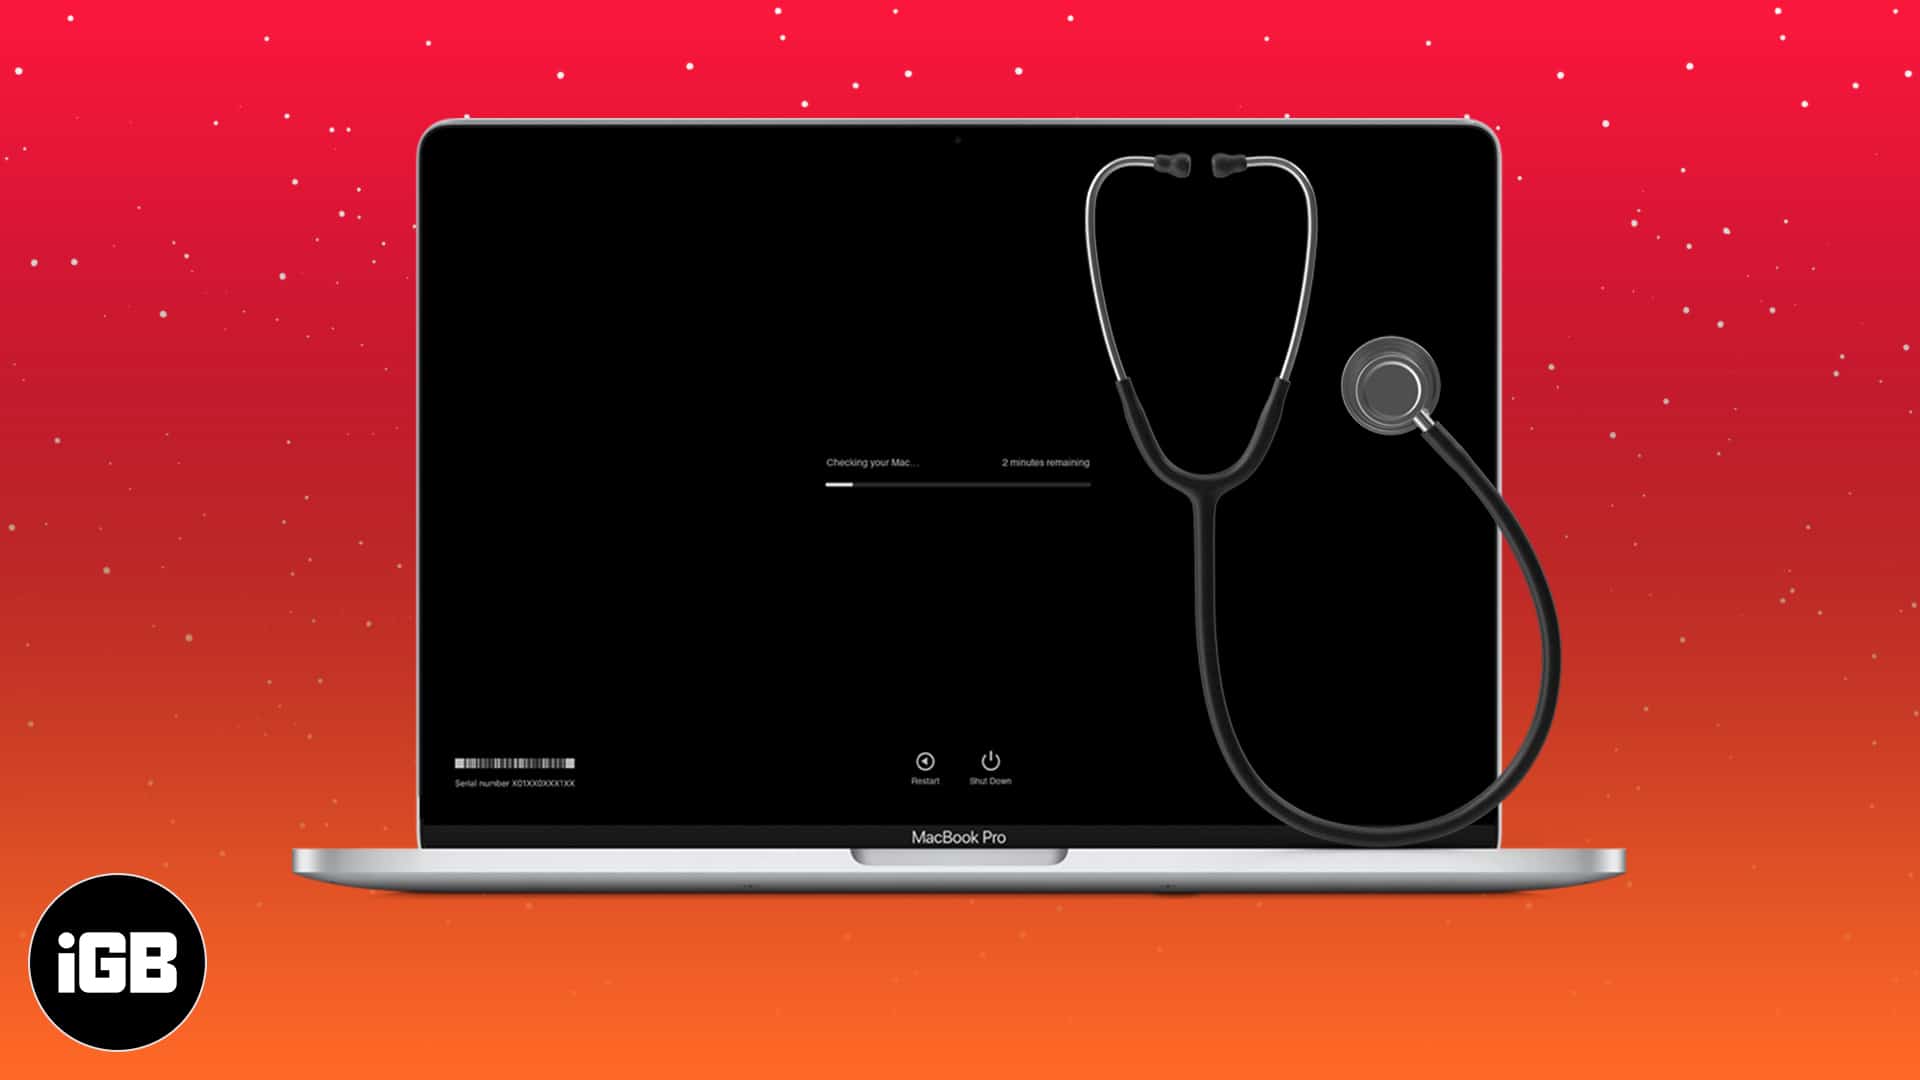
Macs are pretty reliable laptops. However, like any electronic gadgets, they are prone to occasional hiccups. If your Mac is acting funny, use Apple Diagnostics first to verify if it’s a hardware or software problem. This will help you find the root cause of the issue in less time. In this article, I have detailed how to use Apple Diagnostics on your Mac. Let’s start with the basics.
- What is Apple Diagnostics?
- How to run Apple Diagnostics to check for Mac hardware issues
- What if you are using older Macs (manufactured before 2013)?
- Some common Apple Diagnostics codes
- What to do if Apple Diagnostics is not working?
What is Apple Diagnostics?
Apple Diagnostics is a built-in tool in Mac that tests its internal hardware for any anomalies. For example, it checks for an issue with the logic board, RAM, power controller, and wireless components of Mac.
Requirements for launching Apple Diagnostics
- Turn off your Mac.
- Disconnect all peripherals except keyboard, mouse, ethernet, and monitor.
- Position your Mac on a flat and hard surface.
How to run Apple Diagnostics to check for Mac hardware issues
Last year, Apple started the transition from Intel processors to M1 chips in Macs. So, you will have to follow the steps based on your model to verify if your Mac’s hardware is working correctly.
1. Use Apple Diagnostics for Intel processor
- Press the power button.
- Press and hold the D key as your Mac boots up.
- Release the key when asked to choose the language.
- Now, select the language using arrow keys.
2. Use Apple Diagnostics for Apple Silicon
- Press and hold the power button as your Mac boots up.
- Release it as soon as you see the startup options window.
- Now, press and hold Command (⌘) + D on your keyboard.
- Select I agree when prompted.
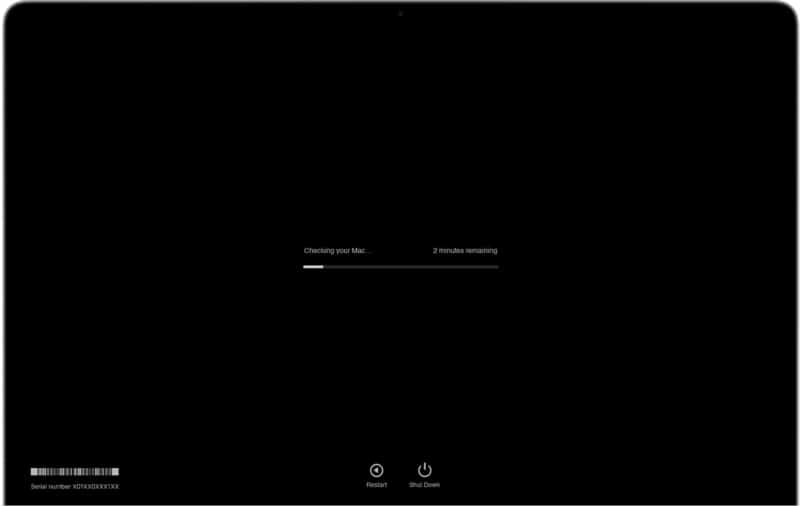
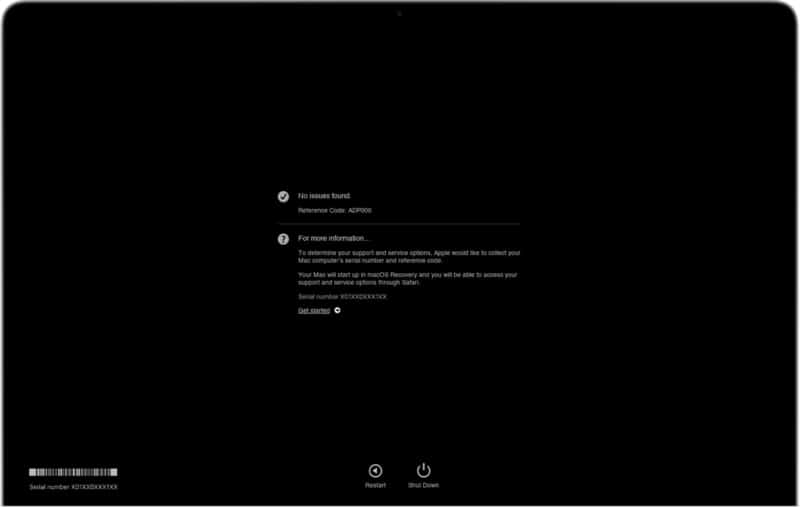
Wait for 2-5 minutes after the successful initialization of the hardware test. Upon completion, you’ll be getting a report on your Mac screen with one or more diagnostics codes. You can note them down as you will need to provide this code to Apple Support.
Now, follow the instructions mentioned below to either rerun the test or exit Apple Diagnostics.
- Click Run the test again to repeat the test or press and hold Command and R keys.
- Click Get Started to know more about the issue identified by Apple Diagnostics.
- Select Restart or press and hold the R key to restart your Mac.
- Click Shut Down or press and hold the S key to shut down your Mac.
What if you are using older Macs (manufactured before 2013)?
Not all Macs can run internet-based hardware tests. Macs manufactured before 2013 use a local version called Apple Hardware Tests. Here’s how you can identify hardware issues on your older Mac.
First, make sure that you’re fulfilling the prerequisites specified earlier before proceeding with the steps mentioned below.
- Press the power button to turn on your Mac.
- Press and hold the D key until the Apple Hardware Test icon appears.
- Now, select the language and click the right arrow or press return.
- Click Test or press T or return key to initialize the hardware test.
- After the test is completed, you can view the test results at the bottom-right.
- Now, click Restart or Shut Down to exit the Apple Hardware Test.
Note: You can also Perform extended testing if you want to test your Mac thoroughly. However, this is more time-consuming than the usual hardware inspection.
Some common Apple Diagnostics codes
After conducting a Mac hardware test, you will be getting the results with a list of found issues and their respective codes. The codes point specifically to a particular error, which might help you quickly figure out the next steps.
Below you can find diagnostic reference codes related to some of the most common issues with your Mac.
- ADP000: Your Mac is healthy
- CNW001-CNW006: Problems related to Wi-Fi
- CNW007-CNW008: Wi-Fi hardware has been detected
- NDD001: Hardware issues related to USB devices
- NDL001: Indicates problems related to Bluetooth hardware
- PFR001: Mac firmware issue
- PPF001-PPF004: Fan issue
- PPR001: Processor issues
- PFM001-PFM007: System Management Controller (SMC) issue
- VFD001-VFD005: This is the one that most Mac users experience; it means “Display issues” have been detected
- VFD006: Issue of Graphics processor
- VFD007: Display problem
For more reference codes, you can visit the Apple Diagnostics reference codes support page.
If you run into any of the aforementioned issues, it might be a good time to visit your nearest Authorized Service Provider.
What to do if Apple Diagnostics is not working?
If your Mac cannot run Apple Diagnostics, here are easy fixes for some of the common issues you run into while running Apple Diagnostics.
- You may have some external devices plugged into your Mac. Ensure that you have disconnected all peripherals connected to your Mac with the exceptions mentioned earlier.
- Your disk or startup partition may be damaged, which may prevent the diagnostic test. In that case, you can run Apple Diagnostics over the internet by pressing and holding Option + D.
- Make sure you turn off the firmware password before accessing Apple Diagnostics.
Note: The solutions mentioned above are only applicable for Intel-based Mac.
I hope now you’re able to use Apple Diagnostics to identify Mac hardware issues. But, if you are still having a hard time running diagnostics, it would be better to contact Apple Support before things get more complicated.
Have more questions? Share in the comments below.
Read more:

