- The Manual Method: You can manually find duplicates by creating Smart Folders in Finder, setting specific search criteria, and then sorting the results by name.
- The Advanced Method: For advanced users, the Terminal command-line tool `fdupes` can powerfully scan for and remove duplicate files within specified directories on your Mac.
- Automated Apps: For the easiest solution, use dedicated third-party apps that automatically scan your entire system and help you safely review and delete duplicate files.
- Powerful App Features: Apps like Gemini 2 are powerful because they can find not only exact duplicate files but also “similar” photos, helping you further declutter your library.
- Preventing Duplicates: To prevent duplicates, regularly clean your downloads folder, use a consistent file naming system, and be mindful of your cloud synchronization and backup settings.
Your Mac naturally collects clutter over time, and duplicate files—unwanted copies of documents, images, or media—are a big part of that. These duplicates can build up due to repeated downloads, syncing issues, or importing content from various sources.
They waste precious storage space and slow down your Mac. In this guide, I’ll show you how to find and delete duplicate files on your Mac using both manual and automatic methods. Let’s get started!
How to find duplicate files on Mac manually
If you prefer not to use third-party apps, you can manually locate and delete duplicate files to free up storage space on your Mac. While this method takes more time, it gives you complete control over what gets removed.
Use Finder and Smart Folders
You can use Finder’s Smart Folders feature to identify duplicate files:
- Open Finder on your Mac.
- Click File > New Smart Folder from the top menu.
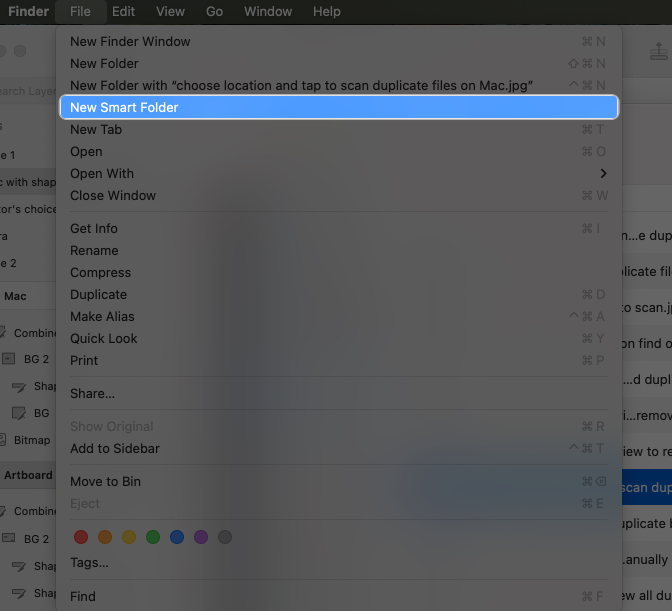
- Click on the ‘+’ button in the upper-right corner.
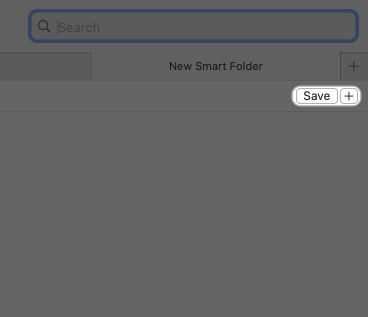
- Set the parameters that you want to search by to locate the duplicate files, e.g. Kind = Image or Date Created = 2-12-2023
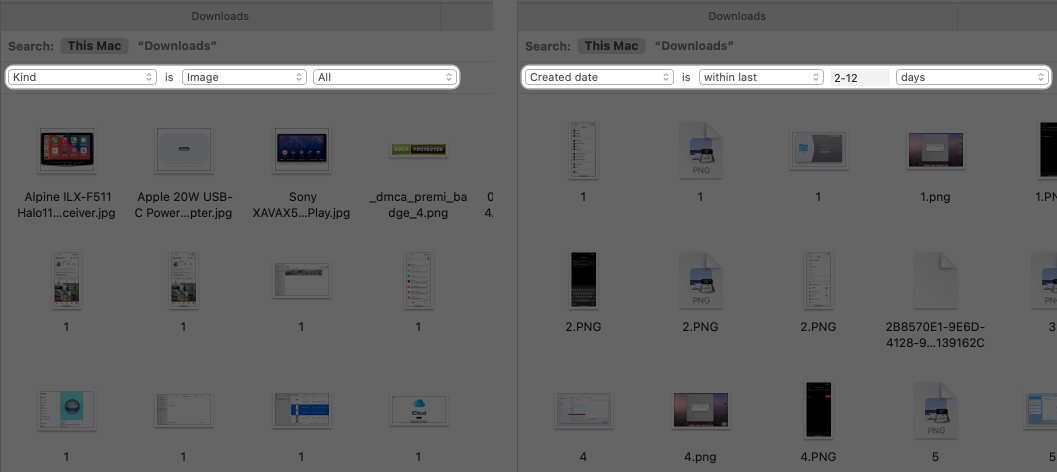
Sort the results by name or size to spot duplicates easily. For instance, sorting the files by name should bring up any copies of the same file. You can then select and delete whichever files are not needed.
Of course, the downside of this method is that it’s time-consuming. You might also accidentally end up deleting files that are not duplicates. To avoid this, you can try one of the other methods described below.
Use Terminal to find duplicates (Advanced users only)
If you’re comfortable with the command line, you can use Terminal to locate and delete duplicate files.
You can use the fdupes command line tool to scan duplicate files in a specified folder and delete them as follows.
- Open Terminal and install fdupes through Homebrew:
brew install fdupes - After installation, use the following command to scan duplicate files in a folder:
fdupes -r /path/to/directory - The -r parameter means recursive scanning of folders and their subfolders.
- If you are sure you want to delete duplicate files, use the following command:
fdupes -dN /path/to/directory
-d means deleting duplicate files, -N automatically selects the first file to keep and deletes the rest.
This method is free and powerful, but it requires technical knowledge and is not suitable for most people. As explained below, you’re better off using an app to delete duplicate files on your Mac.
How to remove duplicate files on Mac using apps
There are several third-party apps that scan and delete duplicate files more efficiently. Here are some of the best options:
1. Gemini 2 – Smart Duplicate File Finder
Gemini 2 is a popular and user-friendly tool that scans your Mac for duplicate files and manages similar-looking images.
Features:
- Smart detection of duplicate files and similar-looking photos
- Supports all file types, including documents, music, videos, and images
- Auto-selection of duplicates for quick removal
- Real-time duplicate tracking (premium only)
- Easy to use
- Fast and accurate scans for duplicate files
- Offers a preview before deleting files
- Customizable settings and filters
- Limited features in the free version
- Occasional false positives (e.g., similar but not exact files)
Here’s how to use Gemini 2:
- Download and install Gemini 2.
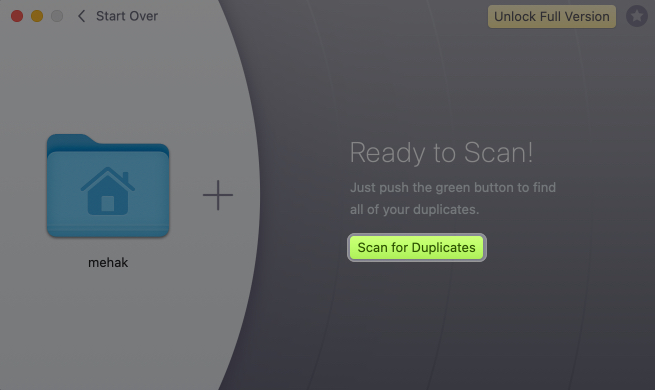
- Open Gemini 2 and click the Scan for Duplicates button. You will be asked for permission for the app to access your files. Allow all permissions.
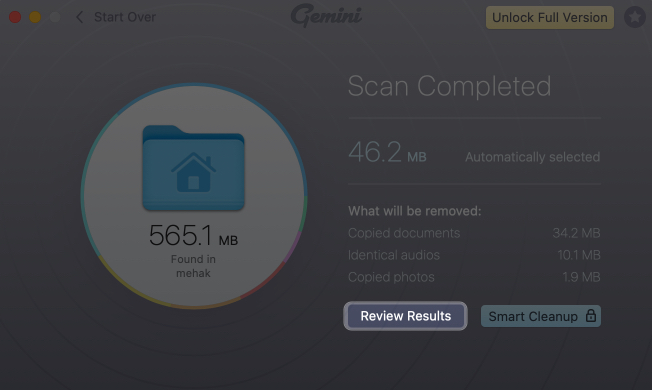
- Wait for the scan to complete.
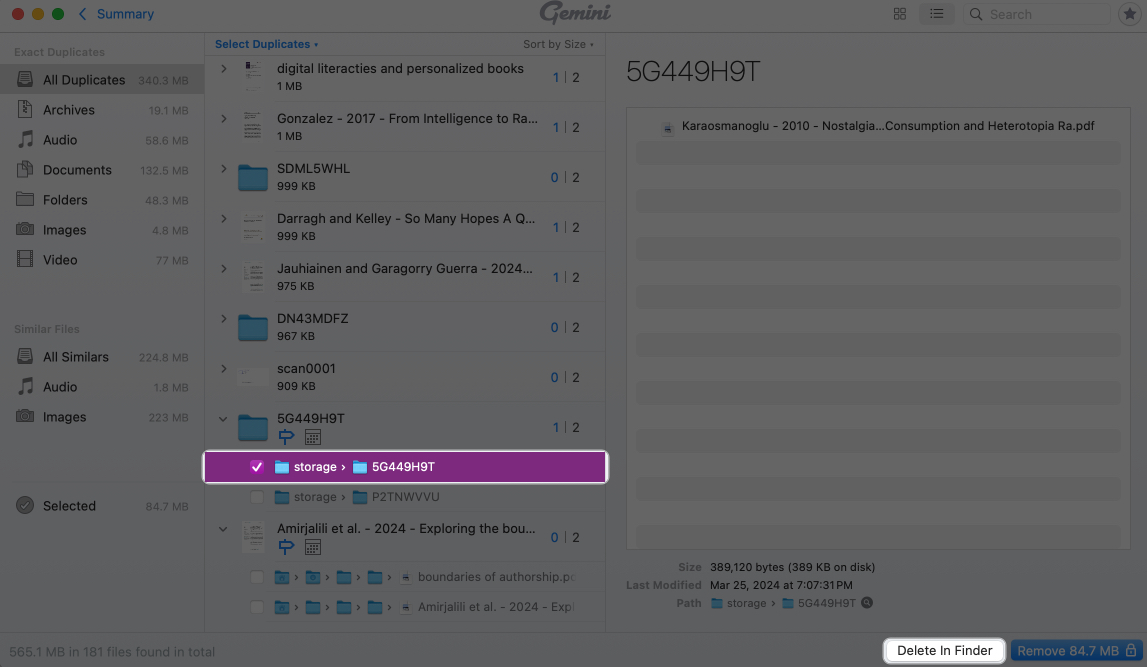
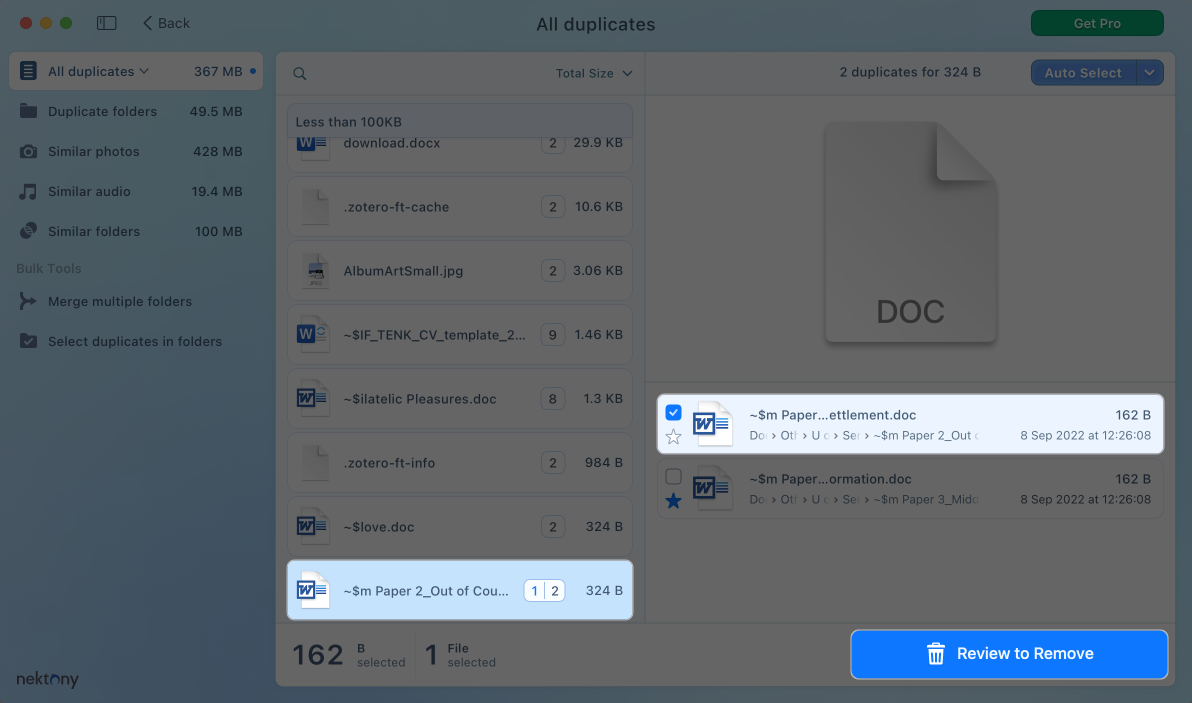
- Once done, you can click on Review Duplicates to see all the duplicate files found on your Mac.
- Select a file to view more details. Click on Delete in Finder to open the file in Finder and delete it manually.


To perform a smart cleanup automatically, you will need to upgrade to the paid version of the app.
Pricing: Starts at $19.95/year or $44.95 for a lifetime license.
2. Duplicate File Remover app by Nektony
This App Store favorite is free, fast, and effective for identifying and removing duplicate files and folders.
Features:
- Finds duplicate folders as well as individual files
- Built-in file preview before deletion
- Supports external and network drives
- Feature-rich free version
- Clear interface with easy navigation
- Allows safe review and comparison before deleting
- Customizable scan filters and selection rules
- Advanced features (like merging folders) require a Pro version
- May take longer to scan large drives
How to use:
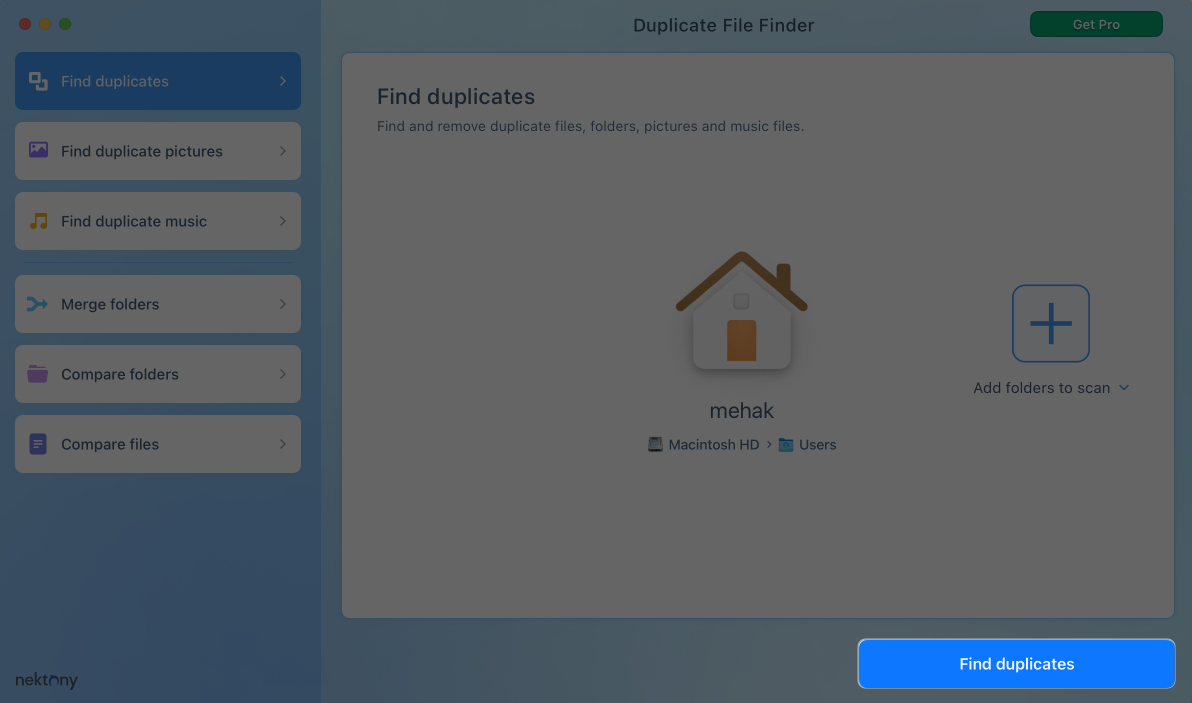
- Download it from the Mac App Store.
- Open the app and click on Find Duplicates.

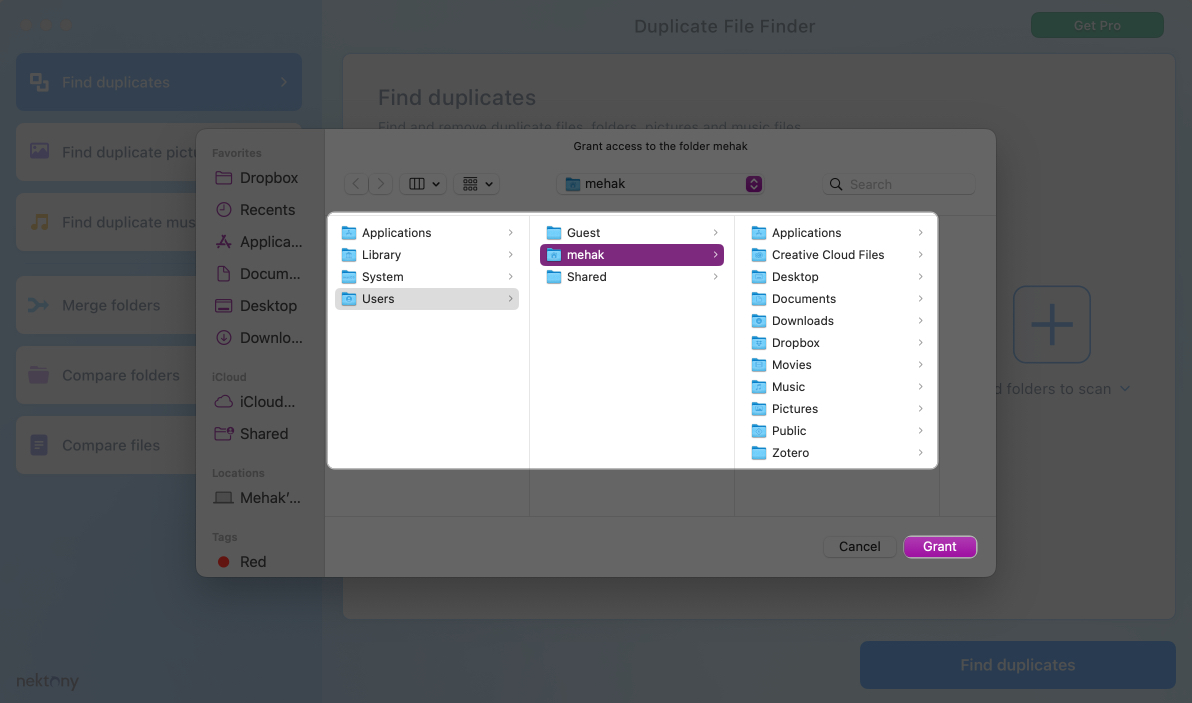
- Select the folders to scan. You will be asked for permission for the app to access your files. Allow all permissions.
- Wait for the scanning process to complete.
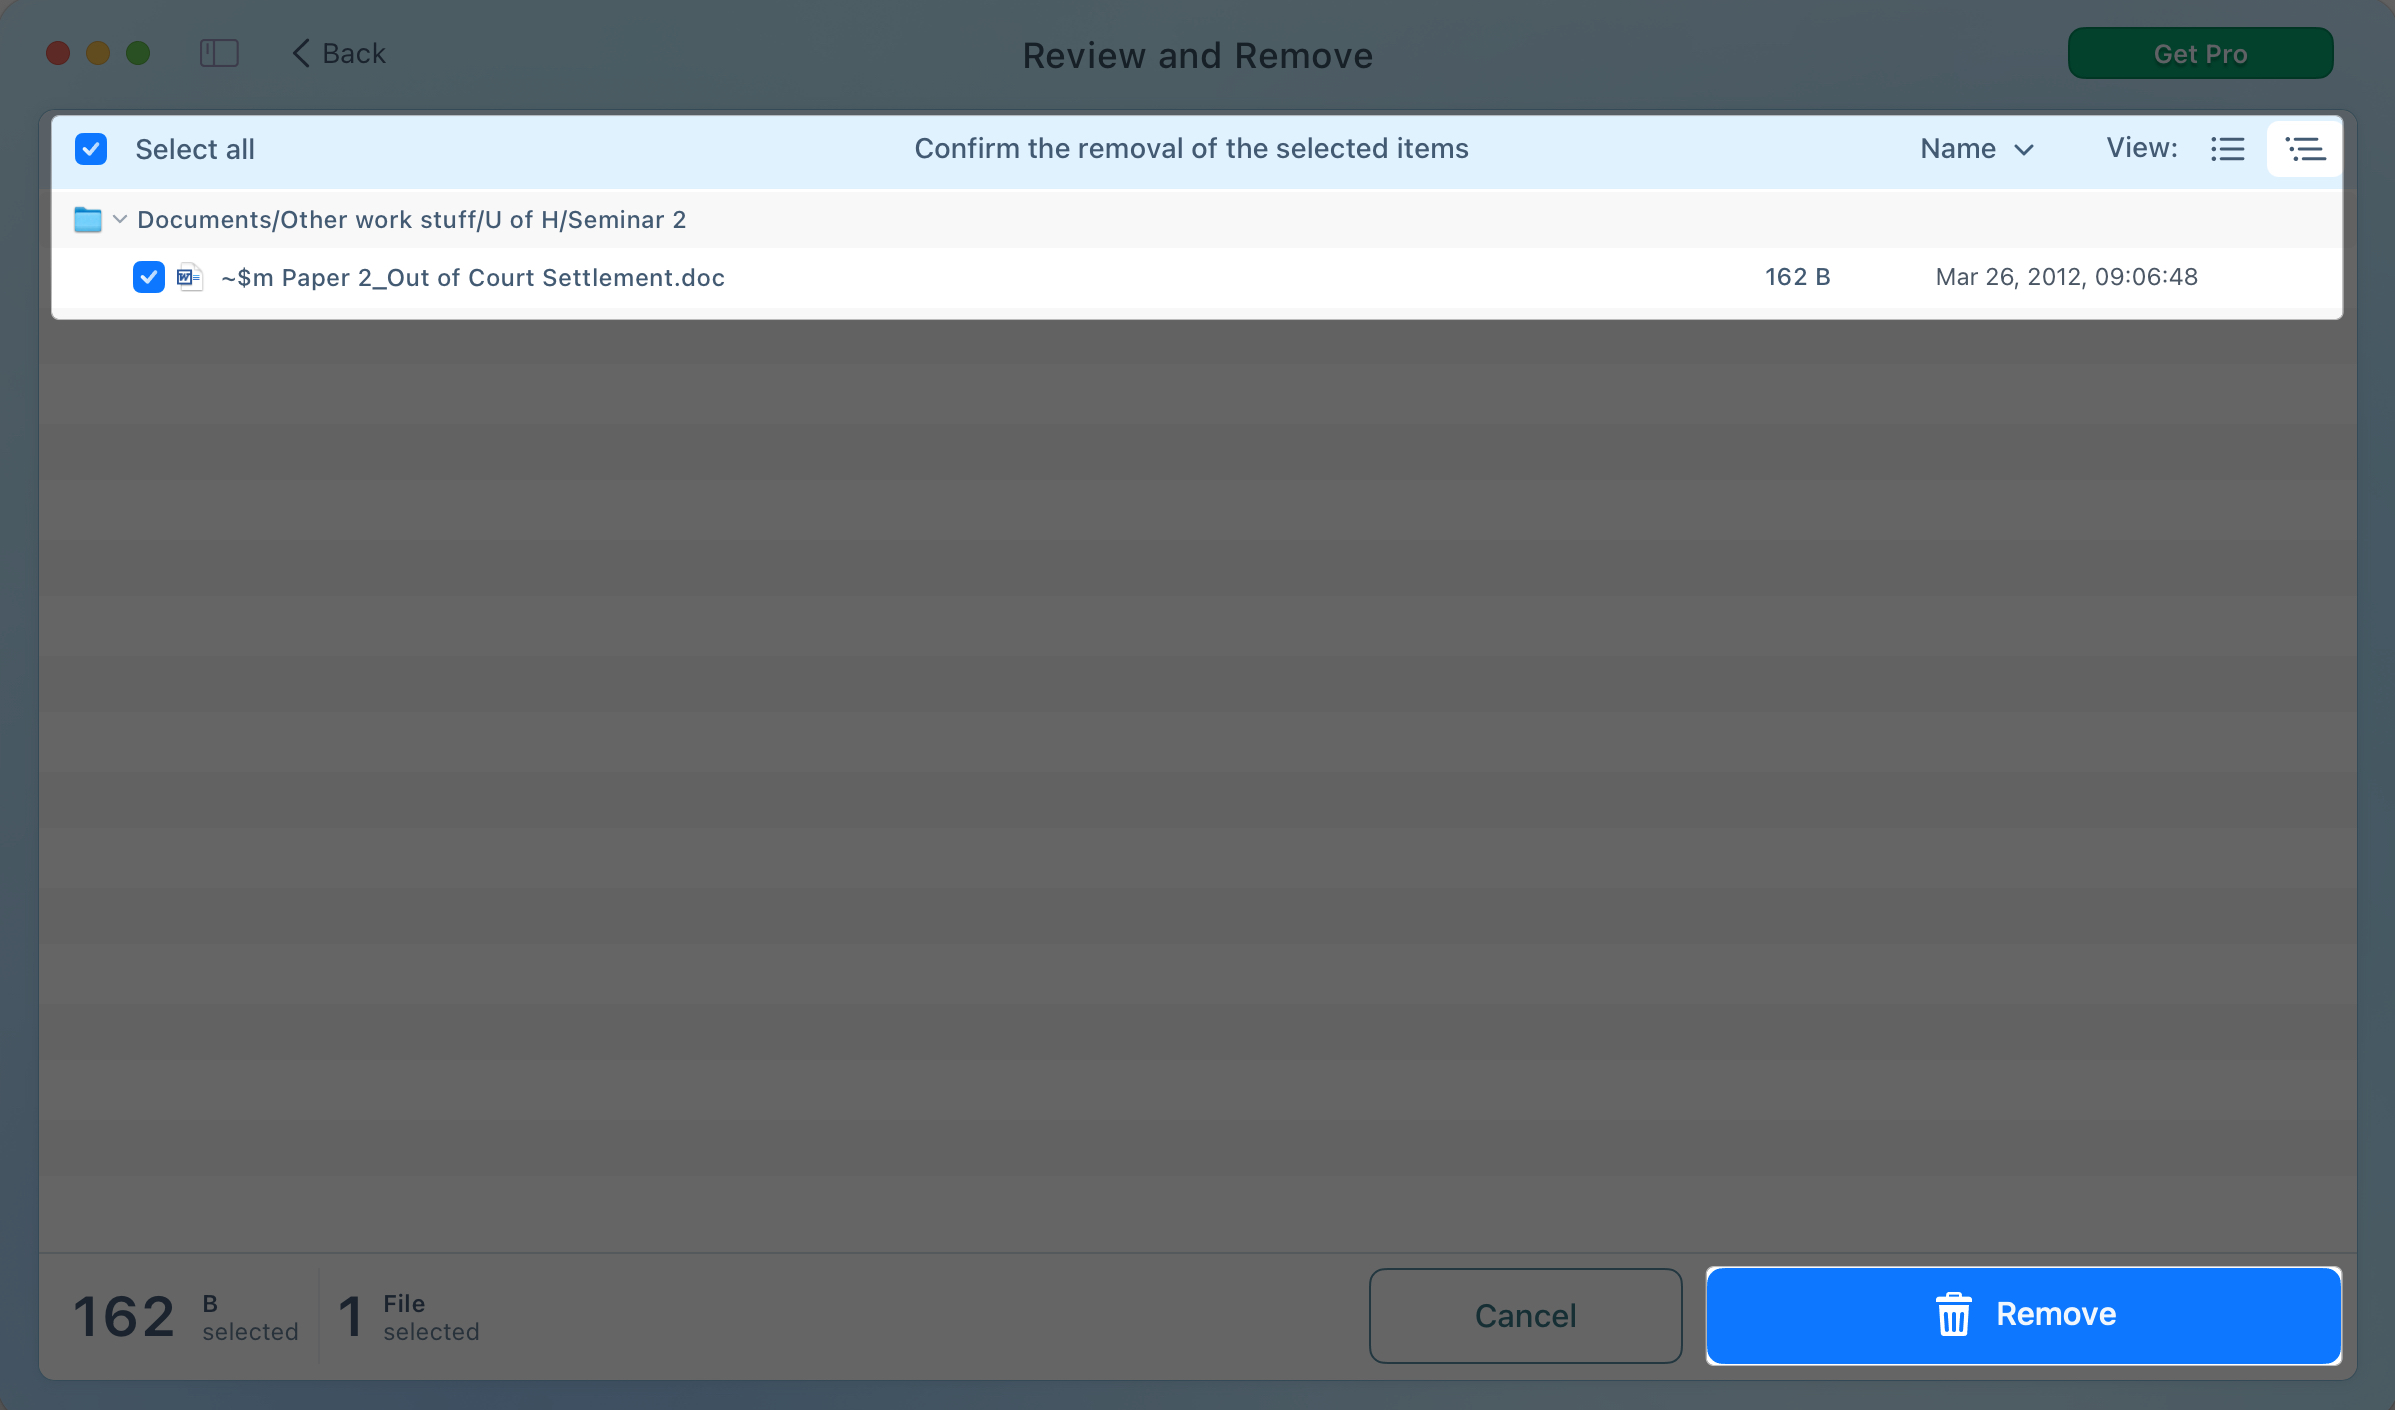
- Once done, you will see a list of duplicate files found. You can scroll through to see more details of each one. Select a file and click on Review to Remove to delete it.
- On the next screen, confirm the deletion by clicking Remove. You will then see a confirmation message that the file has been deleted.


Pricing: You need a Pro subscription for advanced features like removing duplicate folders or restoring deleted files. The price is $7.99 per month, $14.99 per year, or $34.99 for a one-time purchase.
3. CCleaner for Mac
CCleaner is a handy system optimizer app for Mac that includes a built-in duplicate file finder tool. It’s great for cleaning up files on macOS and improving system performance.
Features:
- Free duplicate file finder and remover
- Cleans system junk, browser cache, and app leftovers
- Customizable search filters (file types, size, folders)
- Combines multiple cleaning tools in one app
- Lightweight and quick to install
- Great for regular system maintenance
- Trusted app with years of experience
- It lacks advanced features (e.g., image similarity detection)
- Not as focused on duplicate management as dedicated apps like Gemini 2
How to use:
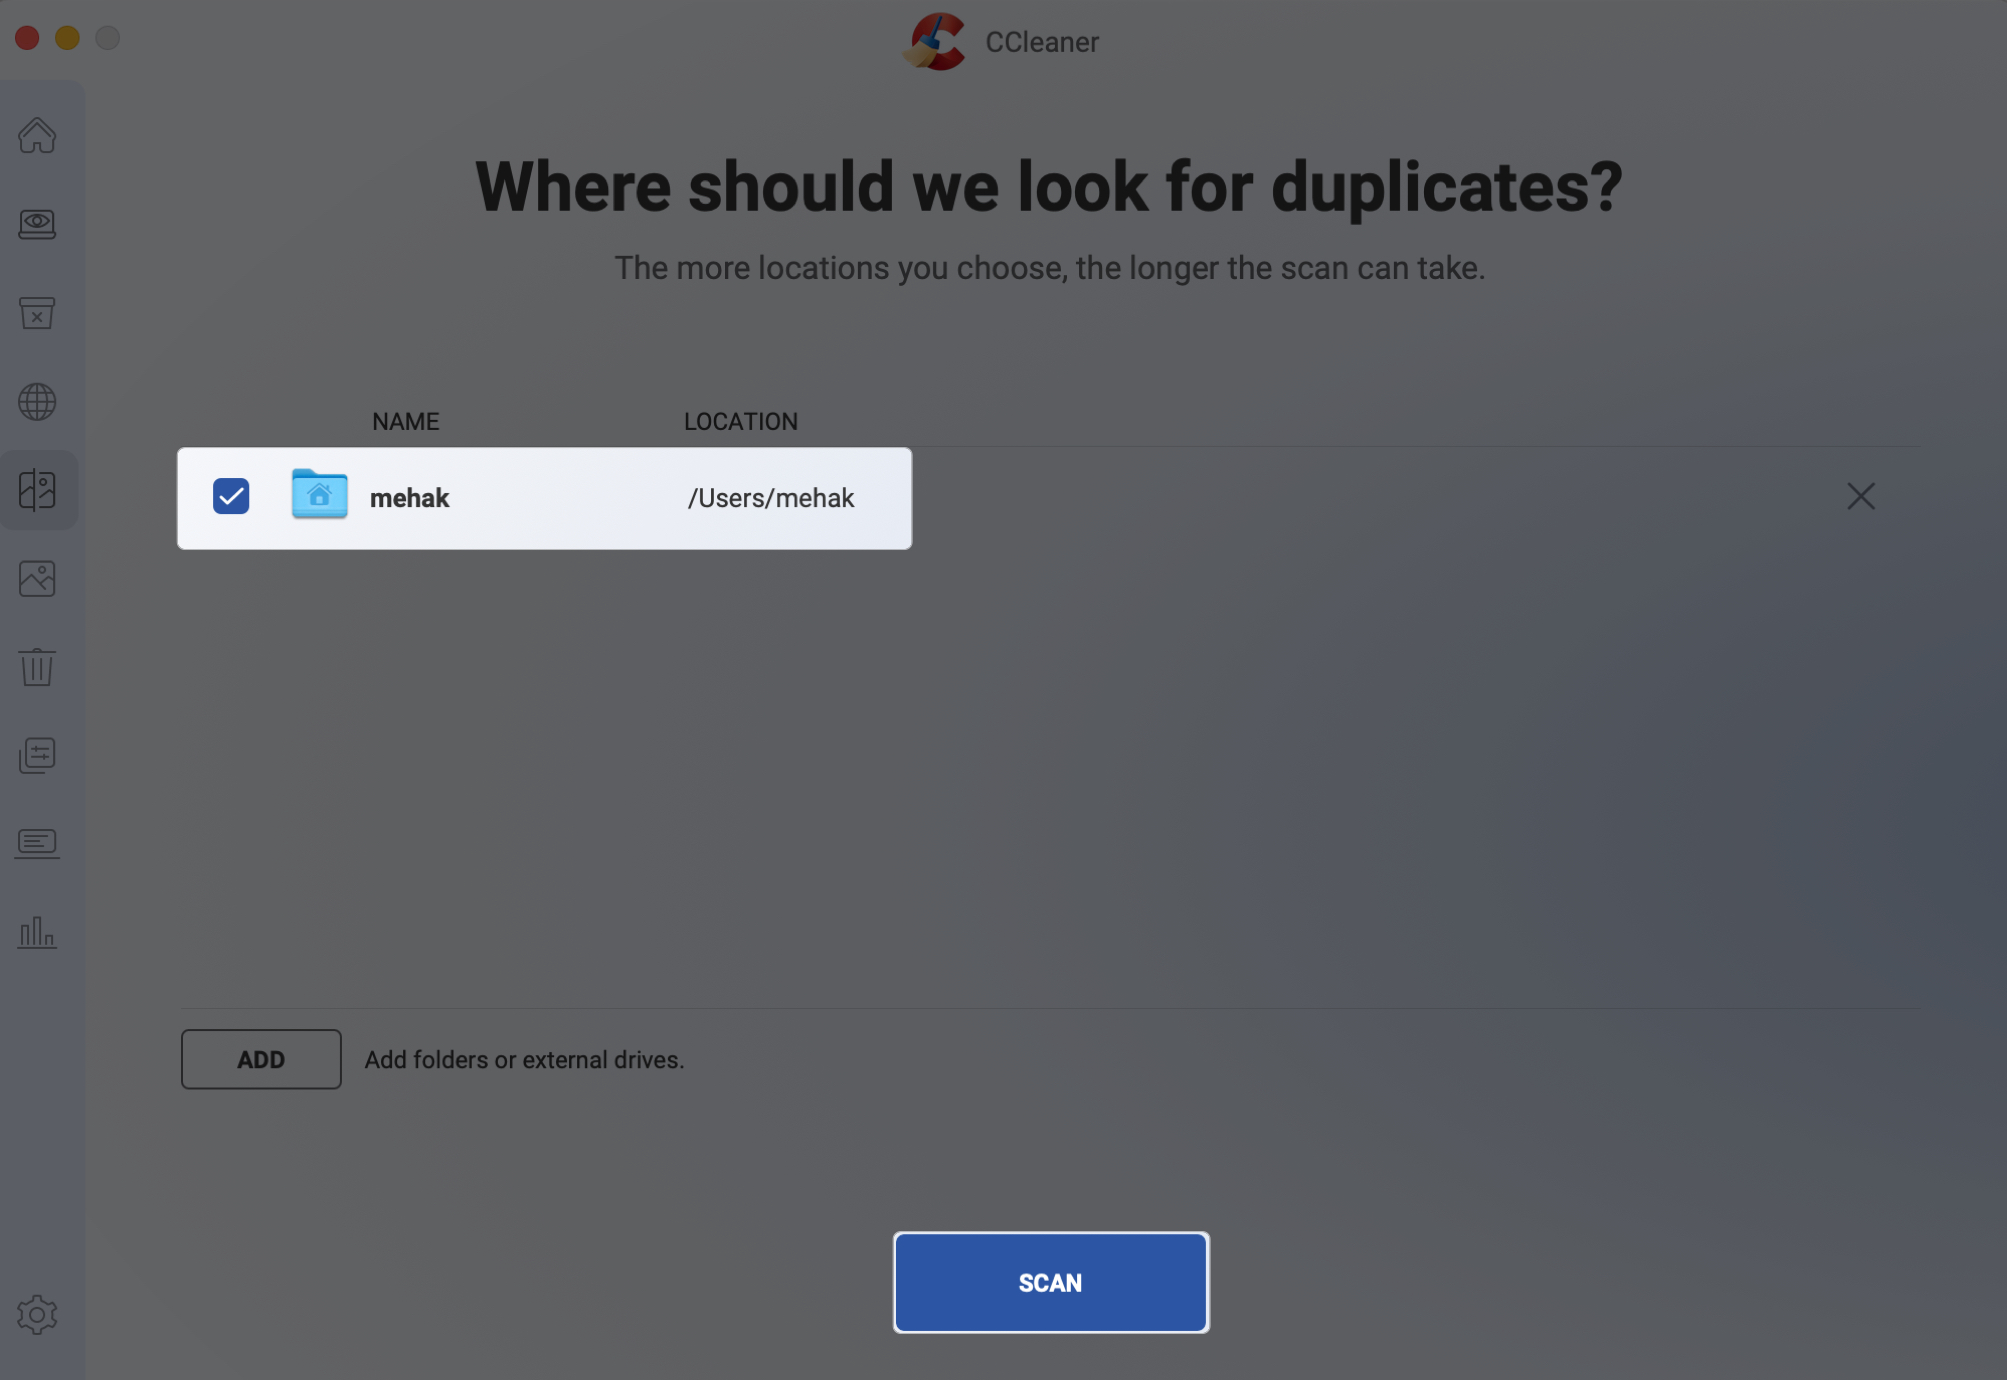
- Install CCleaner for Mac.
- Open it and click the Find button next to Find Duplicates.
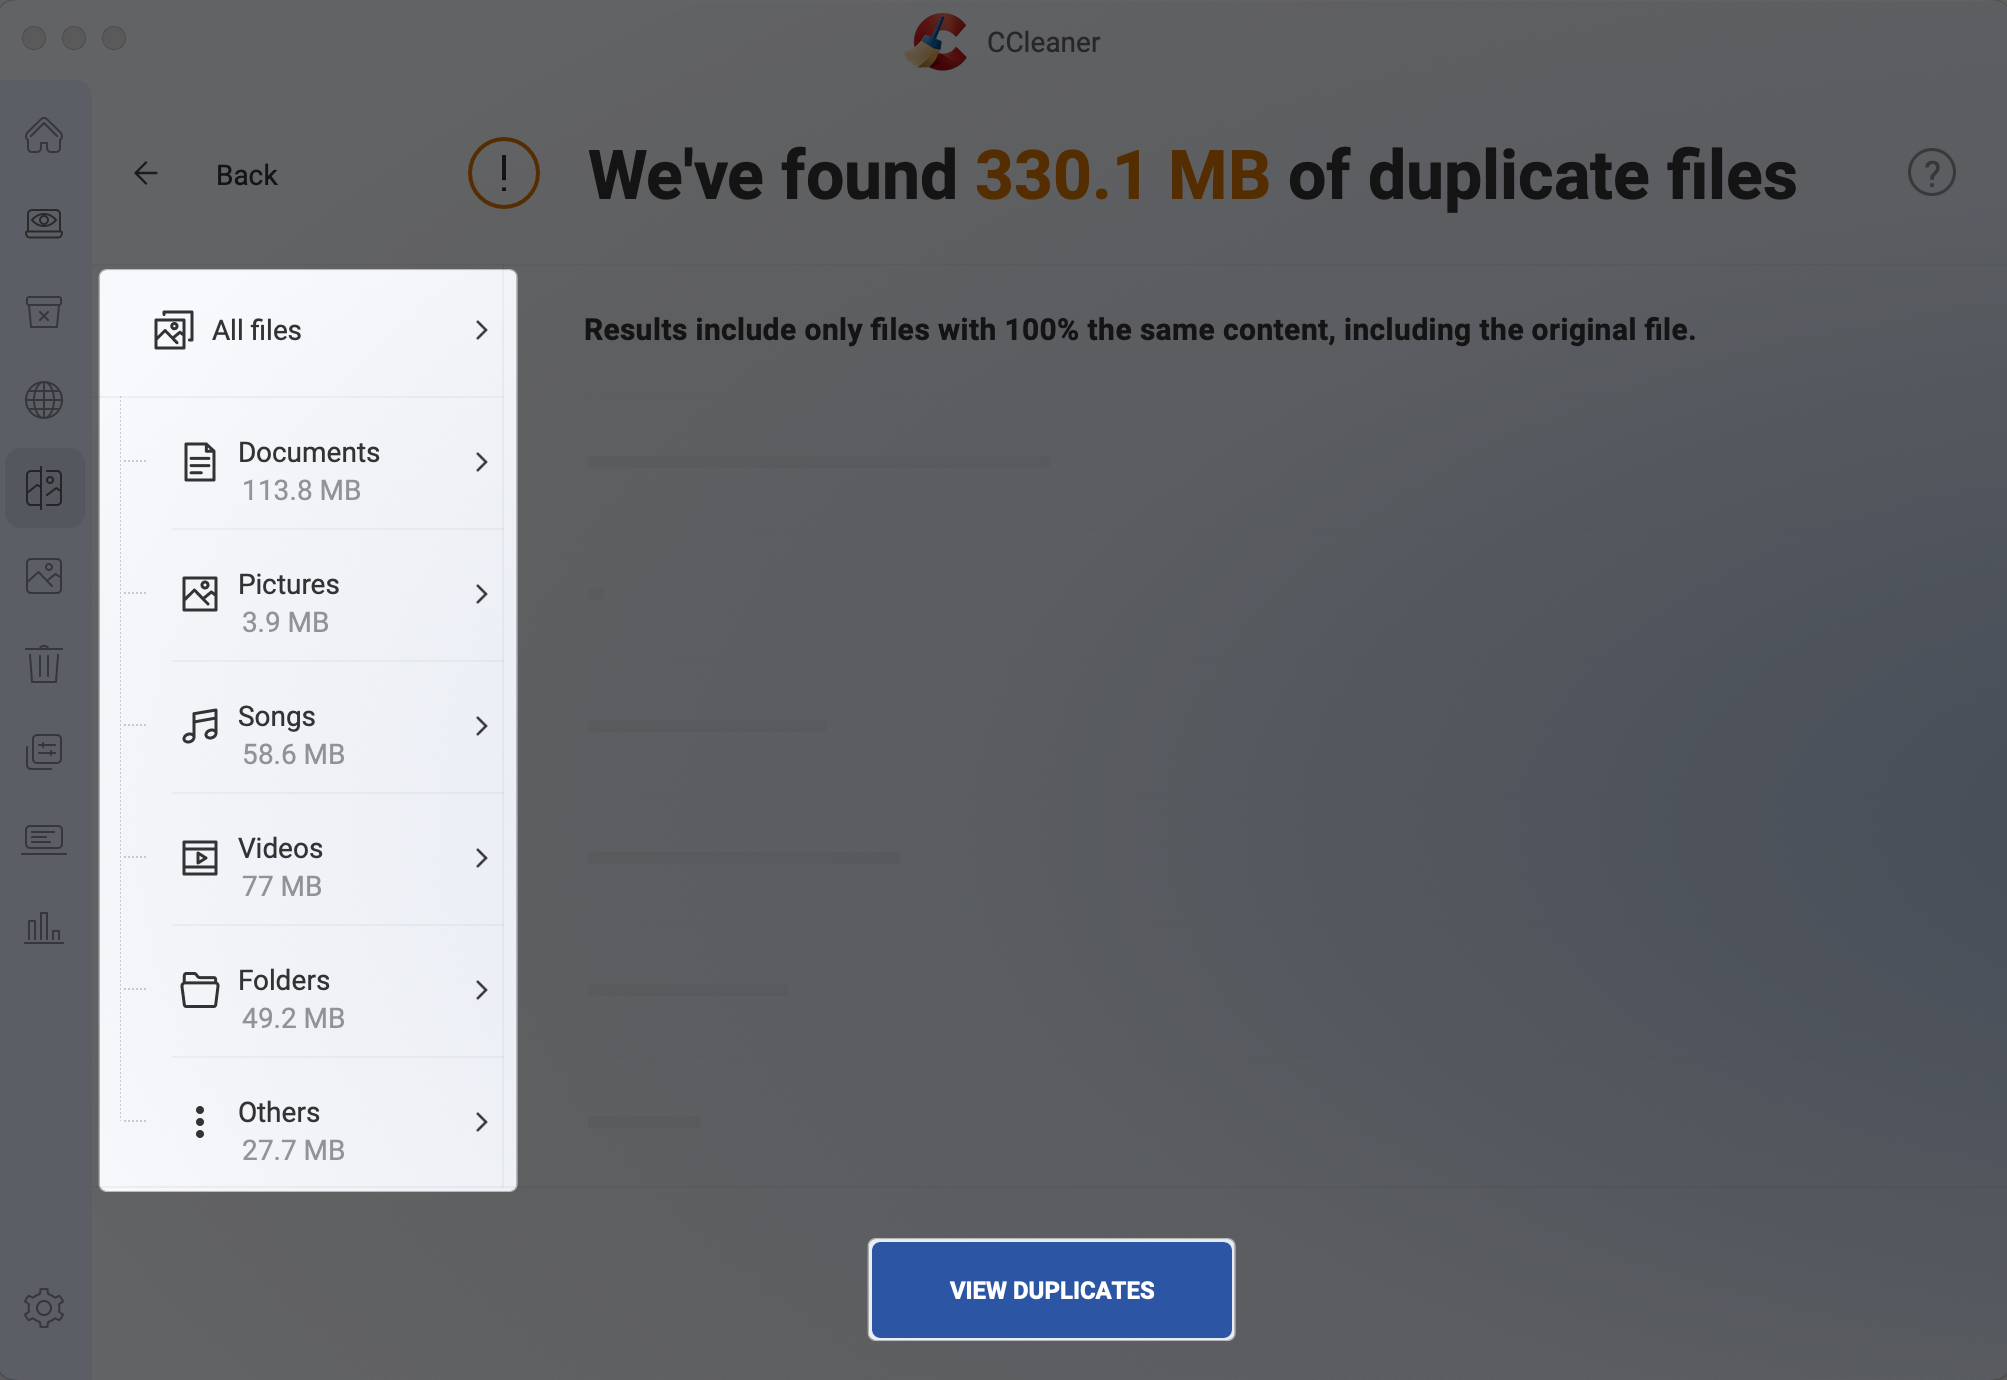
- Select the location and click scan.

- Once the scan is complete, the CCleaner will display the duplicate files found in categories like Documents, Pictures, Songs, etc. Click on a category to view the duplicate files found.
- Click on a file to view more details, and click Clean to immediately delete it.


Pricing: Free basic version; Pro version available for $39.95.
Tips to prevent duplicate files on Mac
Keeping your Mac organized from the start can save you the time and effort it takes to remove unwanted files. Here are some simple habits to help prevent duplicate files from piling up:
- Regularly clean your Downloads folder because this is often where duplicates hide unnoticed.
- Organize files into folders right away. Don’t let “Untitled” files stack up on your desktop.
- Name files meaningfully when saving or downloading. A unique file name can help you recognize the file and prevent accidental duplicates.
- Be cautious with backups and external drives because copying folders manually can unintentionally duplicate content.
- Check your cloud storage sync settings, as using multiple services could cause duplicates to build up on your system.
- Clear duplicates periodically. A quick monthly scan with one of the duplicate file remover apps can keep your Mac clutter-free and running smoothly.
Signing off
Managing duplicate files on your Mac helps you reclaim storage and keeps your system running smoothly. Whether you prefer manual methods or a powerful app, now you know exactly how to find and delete duplicate files on your Mac.
Have questions or other cleanup tips to share? Drop them in the comments below!
You may find these helpful: