Erasing your Mac and resetting it to factory settings can be an effective solution if you are experiencing performance issues, selling your Mac, or simply want to start all over again. To reset your Mac to factory settings, you can use either the Erase Assistant or Disk Utility. Newer Macs have the Erase Assistant, while the older Intel-based models rely on Disk Utility.
In this guide, I will demonstrate the steps for both. But first, it is crucial to review the precautions you should take before resetting.
Things to do before resetting your Mac
Before you make the final call to erase your Mac, I strongly advise you to take the following steps:
- Backup Mac data: Backing up your MacBook and ensuring that all important files, documents, and media are safely backed up is a critical first step, as it prevents data loss throughout your MacBook Pro or Air.
- Disable FileVault: If you have decided to reset your Mac, you must disable FileVault as one of the necessary steps.
- To do so on macOS Sonoma or later, go to System Settings → then head to Privacy & Security → Scroll down to Fire Vault → Select Turn Off → enter your Mac’s password → Click Unlock → finally, select Turn Off Encryption to finish the process.
- Cancel or transfer AppleCare: If your Mac is currently covered by AppleCare, you must consider the process of transferring the AppleCare plan. This is an important step that must be taken to ensure that your new device remains covered by AppleCare.
- Finally, plug your Mac in for a charge and ensure you have a stable internet connection to complete the factory resetting process.
How to reset your Mac to factory settings using Erase Assistant
You can use Erase Assistant on T2, M1, and M2/M3-based Macs.
The procedure for resetting your Mac is simple, but it may vary slightly depending on the version of macOS you have installed. Here’s how you can reset your Mac running macOS Sonoma/Ventura and Monterey.
Factory reset your MacBook
You can follow these steps on a MacBook running macOS Sequoia, macOS Sonoma, or macOS Ventura.
- Click the Apple logo on your Mac.
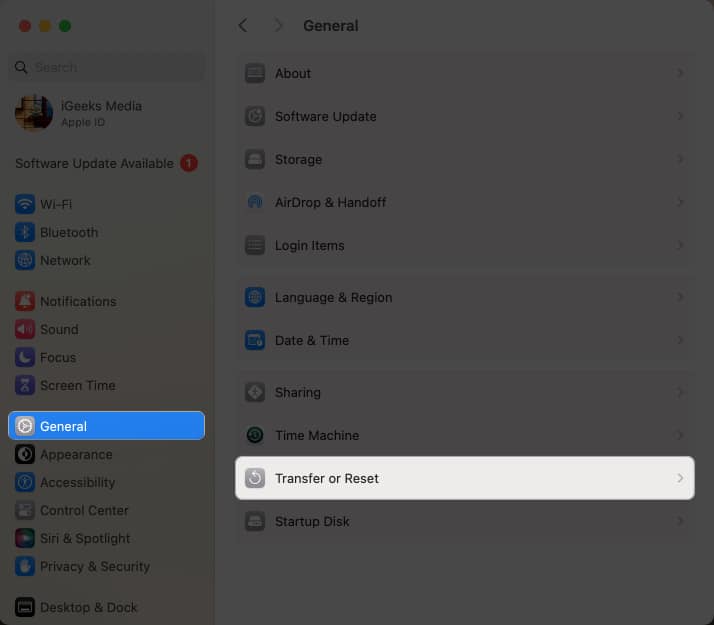
- Go to System Settings → General from the menu.
- Select the Transfer of Reset option.
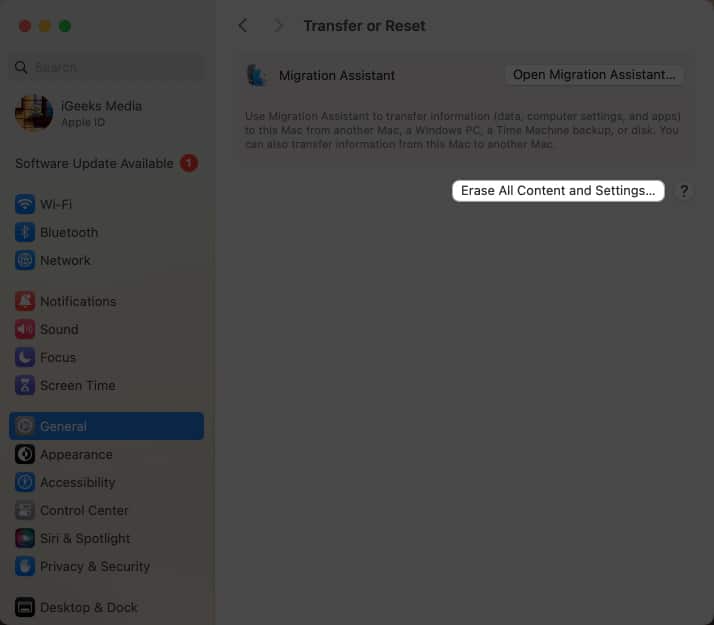
- Click Erase All Content and Settings.
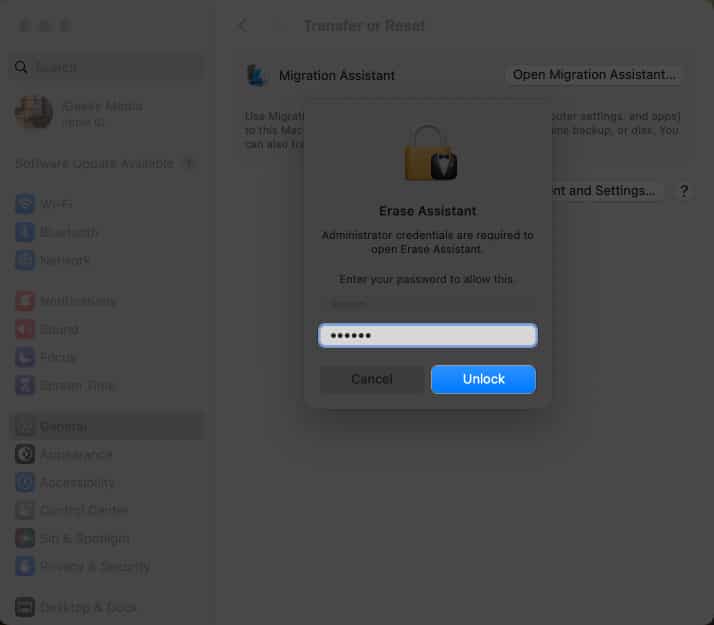
- Enter your device password to Unlock your Mac.
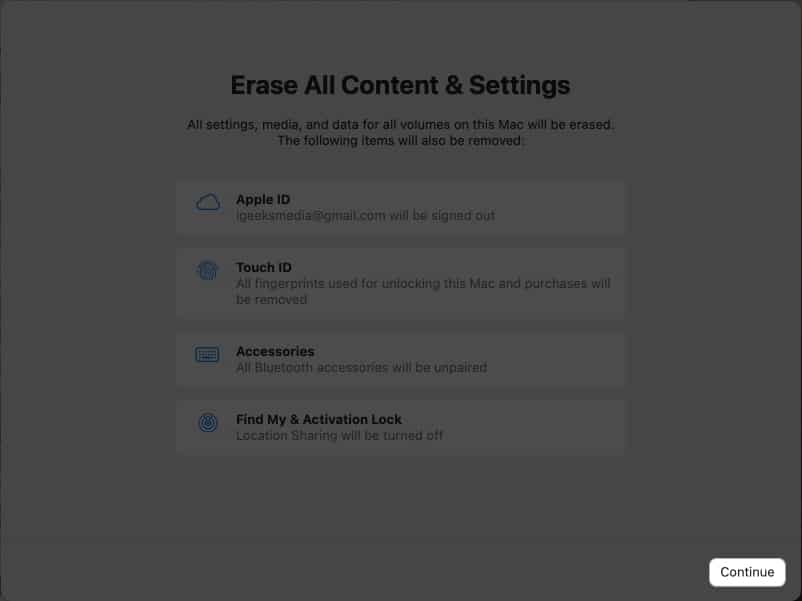
- Take a good look at the data that’ll be erased from your Mac.
- If everything seems alright, click Continue.
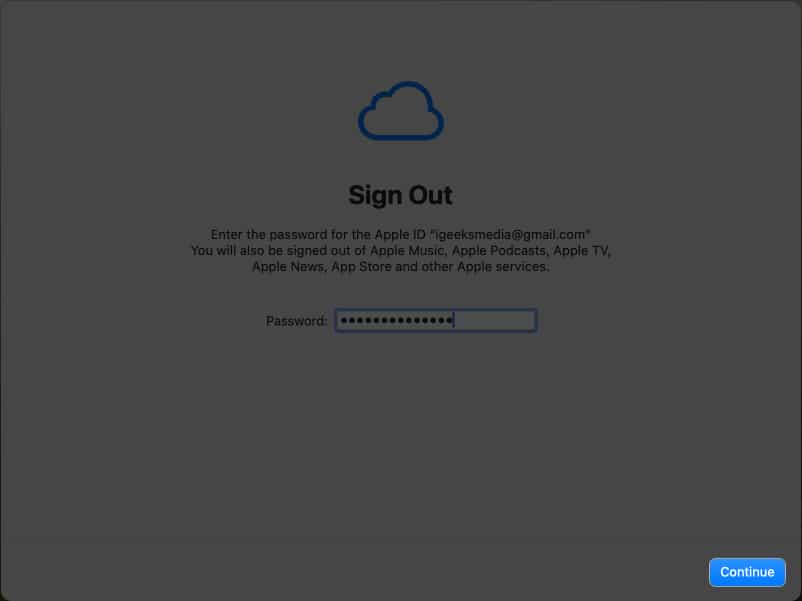
- Now, you must authorize the process by entering the password of your Apple ID.
- Click Continue to proceed.
- Enter the verification code, and finally hit Erase All Content & Settings.
- Now, let the process run its course.


Factory reset your MacBook running macOS Monterey or earlier
- Click the Apple logo → Select System Preferences.
- Now, click the System Preferences again at the top left.
- Select Erase all Content and Settings… when prompted.

- Enter your password and click OK.
- If prompted for backup,
- Open Time Machine and create a backup on an external storage device.
- Click Continue to skip the step.
A new app called Erase Assistant would pop up to show which data will be erased once you reset your Mac through Erase Assistant.
- Click Continue to proceed.

- Enter your Apple ID and password.
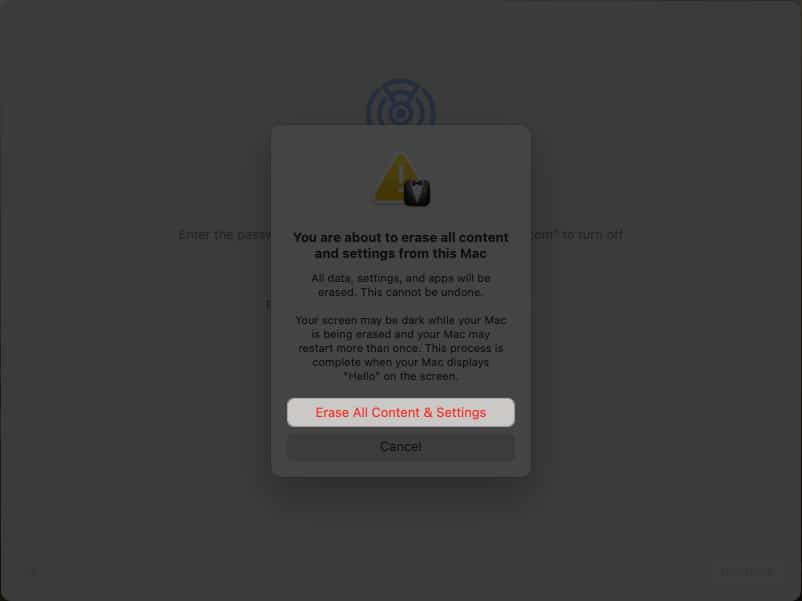
- A pop-up asking you to confirm erasing the Mac would come up.
- Select Erase All Content and Settings.
- Your Mac will now boot to the Apple logo screen that shows up when you turn on the Mac.
- Once done, your Mac will reboot with the setup screen on it.


Note: During the procedures outlined above, you might need to:
- Reconnect a Bluetooth accessory like a mouse or keyboard. Restart the accessory if it doesn’t auto-connect.
- Select a Wi-Fi network or attach a network cable. Use the Wi-Fi menu in the upper-right corner of the screen.
The time required to completely wipe your entire system may vary, so just wait patiently. If you encounter the “Erase Assistant is not supported on this Mac” error during the process, here’s how to fix it.
How to factory reset your Mac using Disk Utility
To reset the older Intel-based Macs, you need to make use of Disk Utility. Here’s how you can go about it.
- Make sure your Mac is completely Shut Down before you carry forward with the below-mentioned steps.
- Put your Mac to Recovery mode.
- On the Apple Silicon chip: Press and hold the Power button till the Options window appears.
- On Intel chip: Press and hold Power button + Command (⌘) + R keys on keyboard until the Option window is displayed.
- Select Options → click Continue.
- Choose Disk Utility → click Continue.
- Pick Macintosh HD from the left sidebar.
- Select the Erase button → enter the disk’s name and format.
Name: Macintosh HD
Format: APFS - Depending on what you see, select the Erase or Erase Volume Group button.
- You need to provide your Apple ID if asked.
- Click Erase Mac and Restart.
Now, wait for the Mac to restart and then follow the onscreen instructions. After that, connect to a Wi-Fi network → select Exit to Recovery Utilities. Now, if you want to reinstall the macOS, you can follow the steps illustrated below.
How to restore your Mac from backup
By following the steps outlined above, you can quickly start your Mac from scratch. But that might make you wonder – how do I get my data back?
Well, don’t worry, as our detailed guide on restoring your Mac from backup is at your disposal.
So, go ahead and give your Mac a fresh start.
Wrapping up!
I hope you now know how to factory reset your Mac. I’m grateful that Apple finally has a single Erase Assistant tool with macOS Sonoma, which simplifies the process a bit.
If you have some queries regarding resetting your Mac, share them in the comments section below. I’d love to help you out.
Read more:


