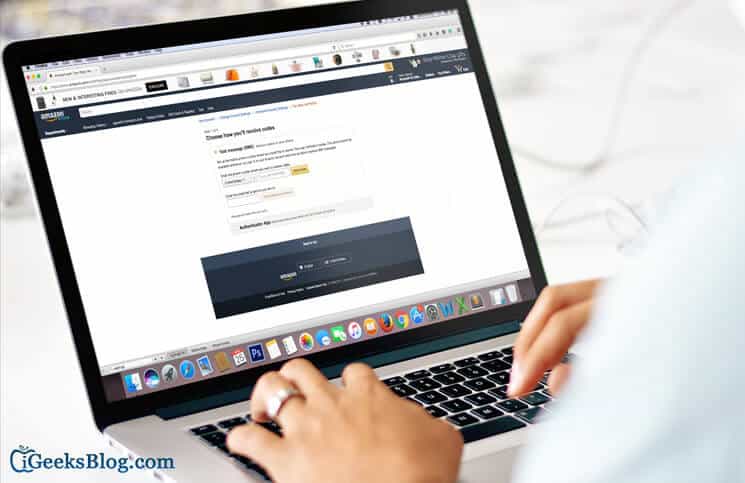
One of the best ways you can safeguard your account is by adding an extra layer of protection to it to ward off hacking or privacy breach. Do you know that you can enable two-step verification for your Amazon account as well?
Though it’s quite straightforward to set up two-factor authentication for Amazon, not many folks would know its process. There is no option to get it done via its mobile app (at least for now). Hence, you have to head over to the Amazon website and then enable the 2-step verification from there. Let’s check out how it works!
How to Set Up Two-Step Verification for Amazon on iPhone and Computer
Step #1. Head over to www.amazon.com from your iPhone or Computer and log into your account. Then, click on Account & Lists—which is right below your name.

Step #2. Now, click on Your Account.

Step #3. Next, under Account Settings, click on Login & Security Settings.

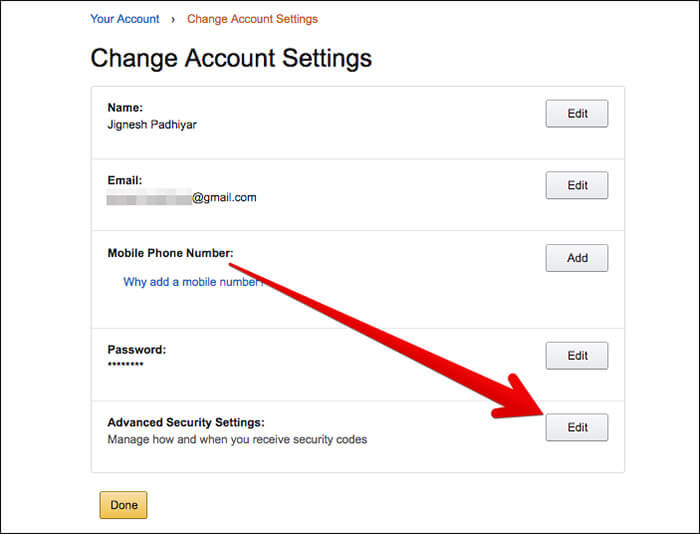
Step #4. Click on Edit which is next to the Advanced Security Settings section.
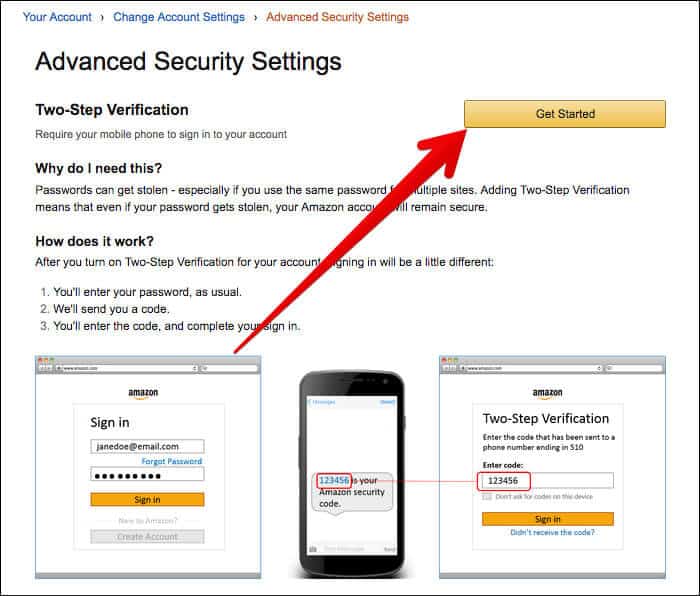
Step #5. Click on Get Started.
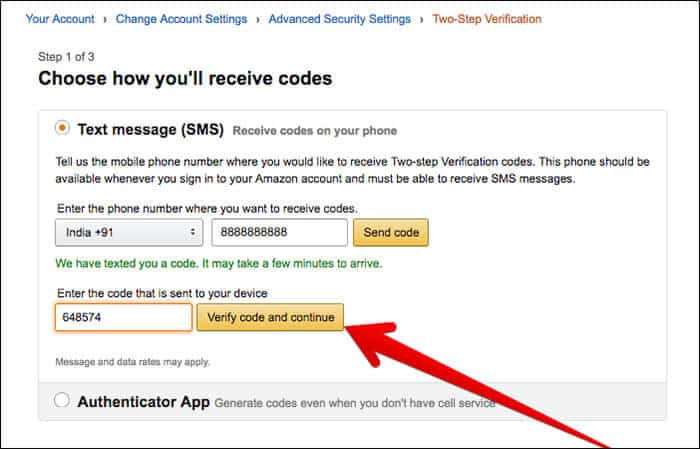
Next, you have to enter your phone number (You may be asked to enter your account password for security purpose) and click Send Code.
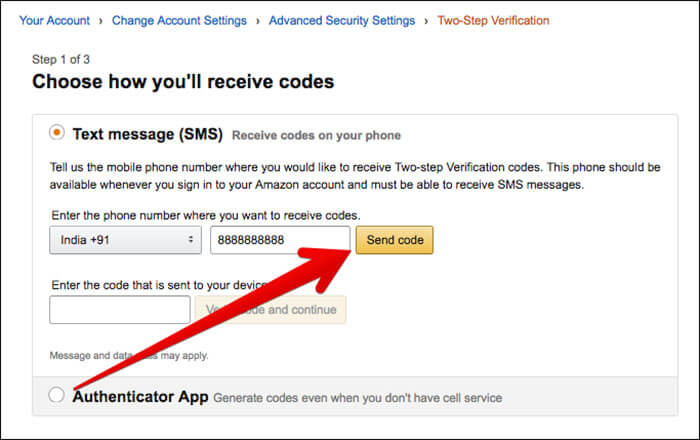
Step #6. Now, a verification code will be sent to your device. Enter it and then click on Verify code and continue.
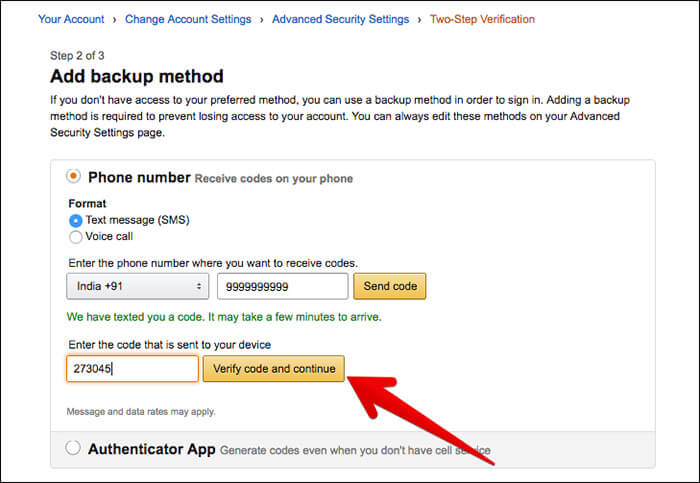
Next, you have the option to select a backup method. There are two ways you can choose a backup method—either entering another phone number or using an Authenticator app.
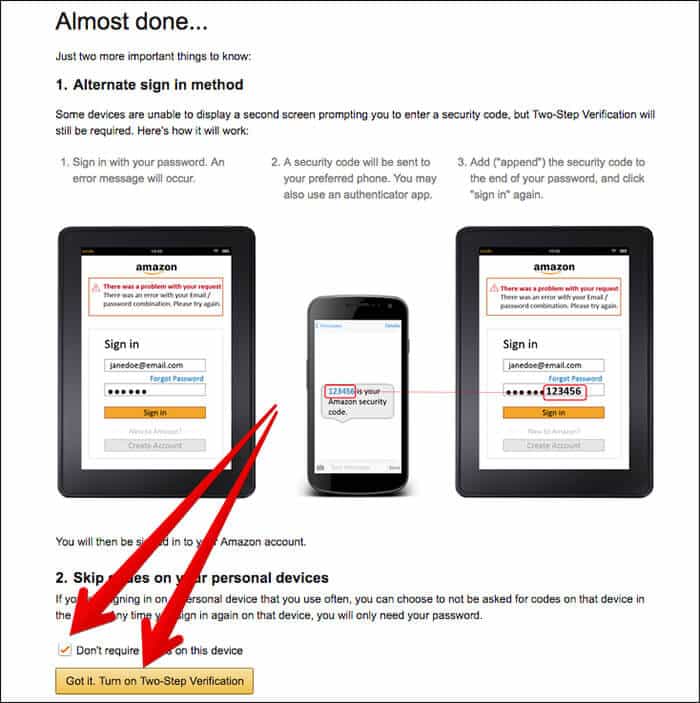
Step #7. Finally, if you sign in to your account on this device more often, you have the option to skip entering verification code on this device → To do so, simply check the box next to Don’t require codes on this device → Finally, click on Got it. Turn on Two-Step Verification. (you may be asked to enter your account password.)
How to Enable Two-Step Verification with Authenticator App for Amazon
You have the option to generate verification code via an authenticator app if you don’t want to receive the verification code on your phone number. It would be very helpful in a situation when you don’t have access to your phone number.
Step #1. Go to amazon.com → Account & Lists → Your Account → Login & Security Settings.
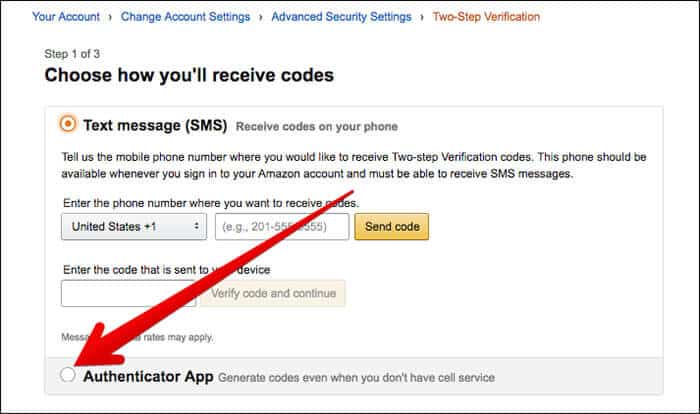
Step #2. Click on Edit next to Advance Security Settings → Get Started. Then, click on the circle button next to Authenticator App. (In some cases, you may have to click on Add New Authenticator app)
Step #3. Next, you need to scan the QR code with your Authenticator App. In this test, I’m going to use Google Authenticator for iOS. Just launch this app, allow it the access to your device camera and scan the code as usual. Then, enter the code generated by the app and click on verify and continue.
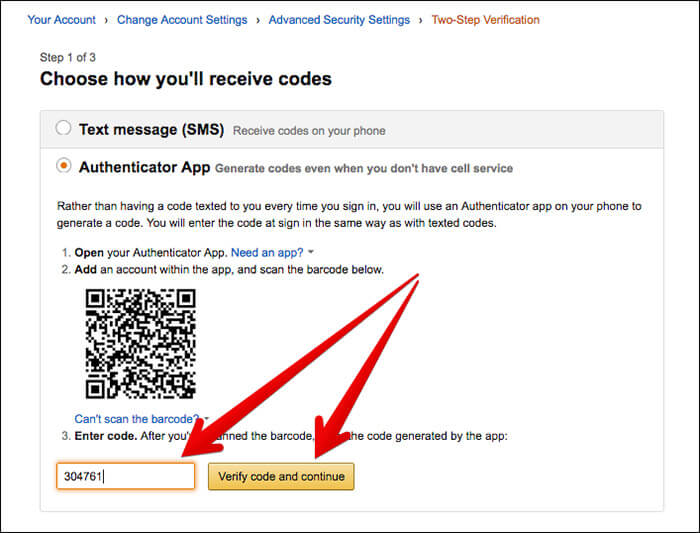
Next, follow Steps from #6 from the above-mentioned method steps (select a backup method.)
How to Disable Two-Step Verification for Amazon
Step #1. Go to amazon.com → Account & Lists → Your Account → Login & Security Settings.
Step #2. Click on Edit next to Advance Security Settings.
Step #3. Now, click on Disable.
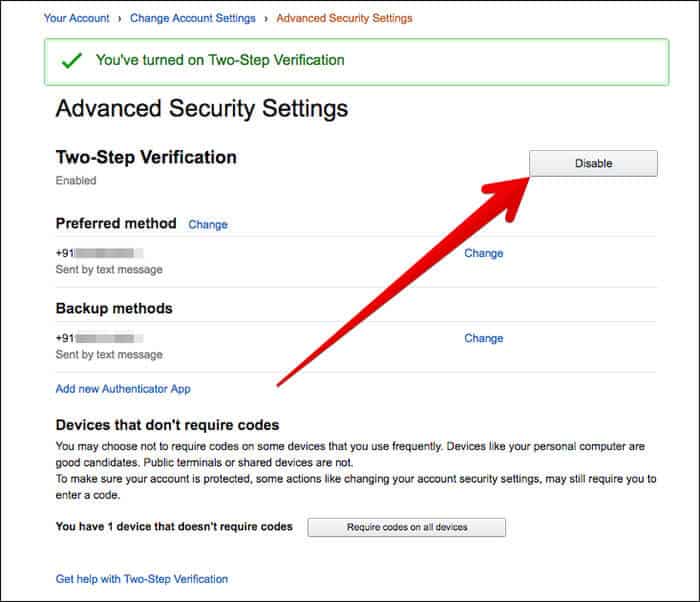
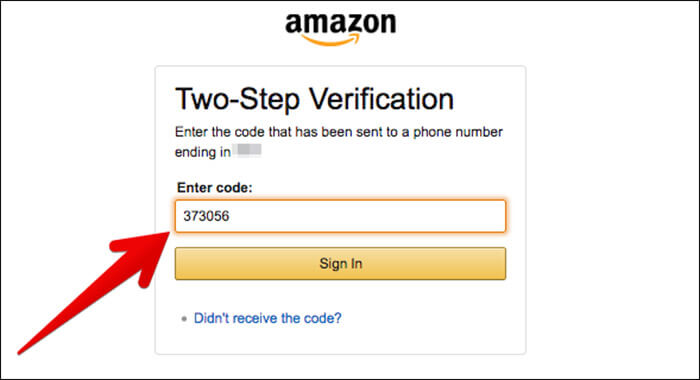
Step #4. Enter the code you received on your phone.
Step #5. Click on Disable again.
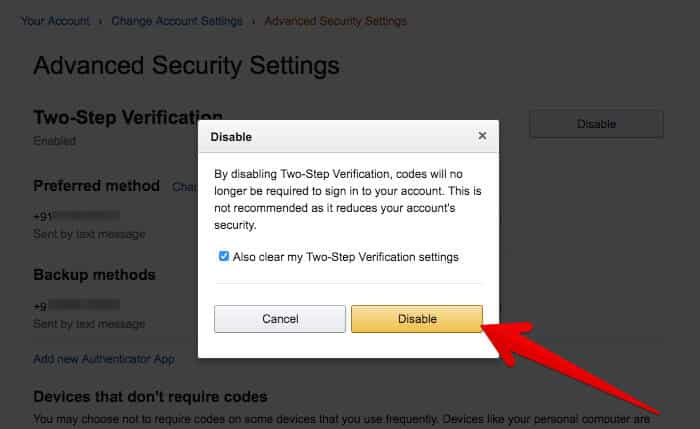
That’s it!
The Bottom Line
As a user, I always want to be on the safer side of the stream. That’s why I prefer to add an additional layer of protection to my account. What about you?
You may want to catch up with these related posts as well:
- How to Enable Two-step Verification for Google Accounts
- How to Enable Two-factor Authentication for Apple ID
🗣️ Our site is supported by our readers like you. When you purchase through our links, we earn a small commission. Read Disclaimer.

