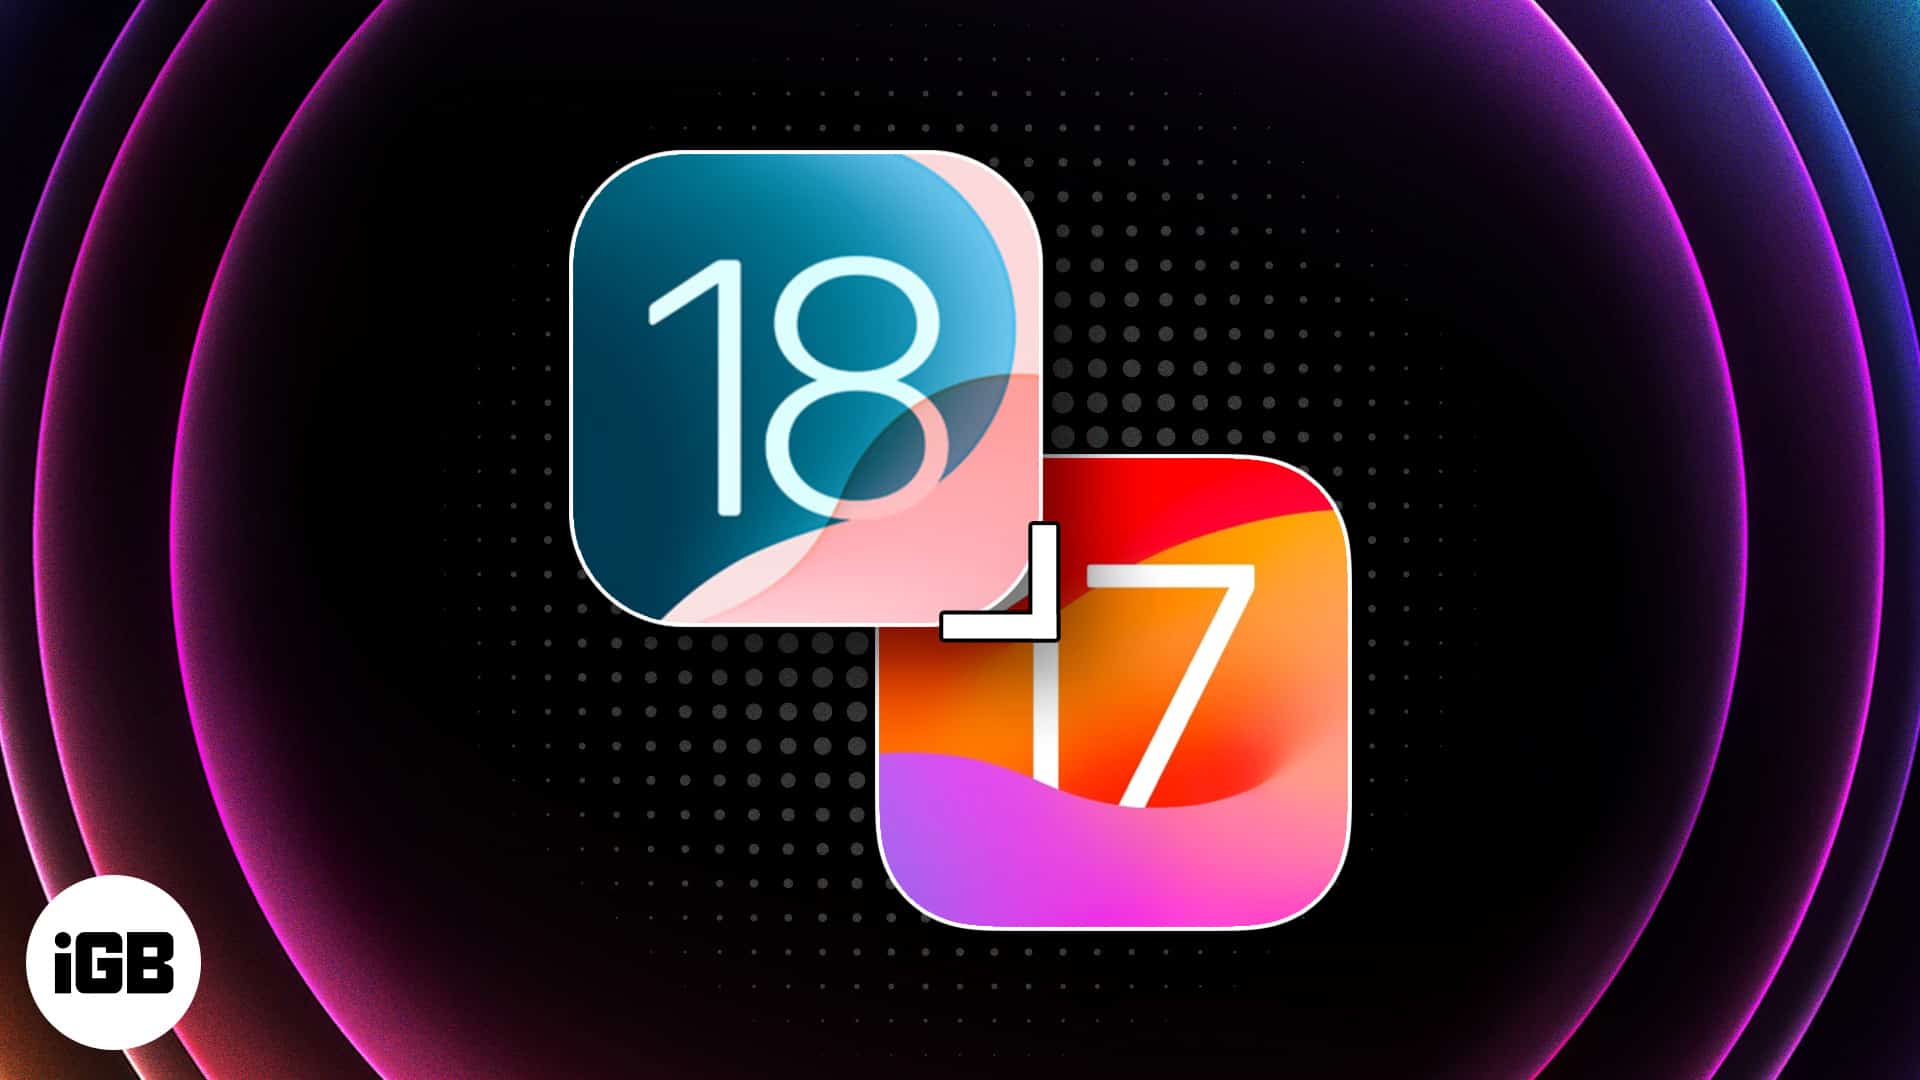
Apple’s latest iOS 18 update brings exciting new features and improvements. However, it also brings plenty of issues, such as battery drain and location services not working, to name a few. If you’re finding iOS 18 to be less stable or more problematic than you’d like, you can revert to iOS 17, a more stable version, for a smoother experience.
In this guide, we’ll explain how to downgrade from iOS 18 to iOS 17 using easy-to-follow steps. Once done, you’ll be back on the more stable iOS 17 version and can choose to update to iOS 18 later when things are more stable.
Things to note before downgrading iOS
Before you begin downgrading your iPhone from iOS to iOS 17, there are a few things you must know.
- Backup your data: Downgrading means wiping your device, so back up everything using iCloud or iTunes. It’s always better to have your important data safe and ready to restore.
- Only signed iOS versions work: Apple stops signing older iOS versions after some time. If iOS 17 is no longer signed, you won’t be able to downgrade to it. Check online to make sure iOS 17 is still signed.
- Compatibility with apps: If you’ve installed new apps or updates that only work with iOS 18, they may not be available on iOS 17.
How to downgrade from iOS 18 to iOS 17
There are two main methods for downgrading: restoring from an iTunes backup and using a signed IPSW file. Let’s go over each method in detail.
1. Restoring from an iTunes backup
If you made a backup of your iPhone on your PC or Mac, you can restore it and, in turn, downgrade your iPhone to iOS 17. Here’s how:
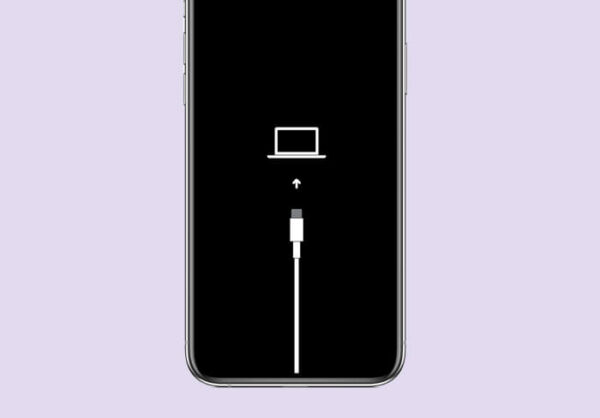
- First off, put your iPhone in recovery mode. The method varies for each device, so make sure to follow the correct steps.
- Now, plug your iPhone into your computer and open iTunes (or Finder on macOS Catalina and newer).
- You should now be greeted with a message asking if you want to restore or update. Select Restore.
- You will now be prompted to choose a backup file. Select the most relevant backup for your iPhone from your computer.
- Once done, iTunes (or Finder) will begin restoring your device to the selected backup.
Once the process is complete, your iPhone will restart with iOS 17 installed.
2. Using a Signed IPSW
If you prefer a more direct approach, or if you don’t have a timely backup of your iPhone, you can manually install an iOS 17 IPSW file if Apple is still signing it.
- Head over to IPSW.ME and download the latest signed iOS 17 IPSW file for your specific iPhone model.
- Put your iPhone in recovery mode and plug it into your computer; open iTunes or Finder.
- In iTunes/Finder, hold the Option key (Mac) or the Shift key (Windows) and click on Restore iPhone.
- A file browser window will open. Locate and select the iOS 17 IPSW file you downloaded.
- iTunes/Finder will verify the IPSW file and start the installation process.
Once it’s done, your device will restart and run iOS 17.
How to downgrade from the iOS 18 beta
Things are a bit easier if you’re using the iOS 18 beta and want to revert to a more stable release.
- On your iPhone, navigate to Settings → General → Software Updates.
- Now, tap on Beta Updates.
- Finally, select Off.

Your device will now no longer receive more beta updates. Once a new public stable version of iOS comes out, your device will automatically receive an update. However, if you don’t feel like waiting, you can always install a signed IPSW file as shown above.
Signing off…
Downgrading from iOS 18 to iOS 17 could provide a more stable, consistent experience, especially if you’ve been facing issues with the latest version. Whether you choose to restore from an iTunes backup or manually install a signed IPSW file, the process is relatively simple.
Since I don’t keep timely backups of my device, the IPSW route is the only choice for me. Just be sure to back up your data beforehand and follow each step carefully.