How to use SSH for secure connections on Mac
Things to know
- Turn on Remote Login to access your Mac from another computer via SSH.
- You can access a server on a public IP address via SSH.
- Use SSH if you work on unsecured networks.
- To configure SSH on Mac:
- The IP address of the remote server is required.
- You should have the username and password of a user on the server.
SSH is typically used for logging into a remote machine and executing commands. Additionally, it also supports tunneling, TCP port forwarding, and X11 connections. SSH works on a client-server model; it is present on your Mac but is, by default, deactivated.
In this article, I’ll help you understand how you can use SSH for secure connections on Mac running macOS Ventura or earlier.
What is SSH for Mac?
SSH is an acronym for “Secure Shell” or “Secure Socket Shell”. It is essentially a cryptographic network protocol used for network, operating systems, and configuration management. Its most prominent feature is that it employs secure remote communication across unprotected open networks, which is enabled through SSH keys. SSH keys are produced using a security algorithm.
When creating a set of SSH keys for your Mac, you will create a “public” and “private” key. It’s all pretty technical, but the public and private keys are created using prime numbers and huge random numbers. Now, let’s figure out how we can set up SSH on Mac
How to configure SSH server in macOS
Let’s check the process of activating SSH based on your Mac.
macOS Ventura or later
- Click the Apple logo () from the menu bar.
- Open System Settings

- Head to General
 → Sharing.
- Toggle on Remote Login.

- Now, click the info (i) icon.
- You must check the Allow full disk access for remote users in Remote Login and specify which users can log in.
- All users: Anyone with access to your computer or network can log in.
- Only these users: Only the users you authorise will be able to log in remotely.

Congratulations! The SSH server is now enabled on your macOS Ventura, and you should be able to receive inbound SSH connections through your Mac.
Note: Under Remote Login, you can find the IP address of your Mac.
macOS Monterey or earlier
- Head to the Apple logo () from the menu bar.
- Launch System Preferences → General → go to Sharing.
- Check the box next to Remote Login.
- Now, check the box next to Allow full disk access for remote users and specify which users can log in.

Your SSH server is live now!
How to connect SSH to Mac via another Mac
To access your Mac from another remote Mac or an SSH client, follow the steps outlined below.
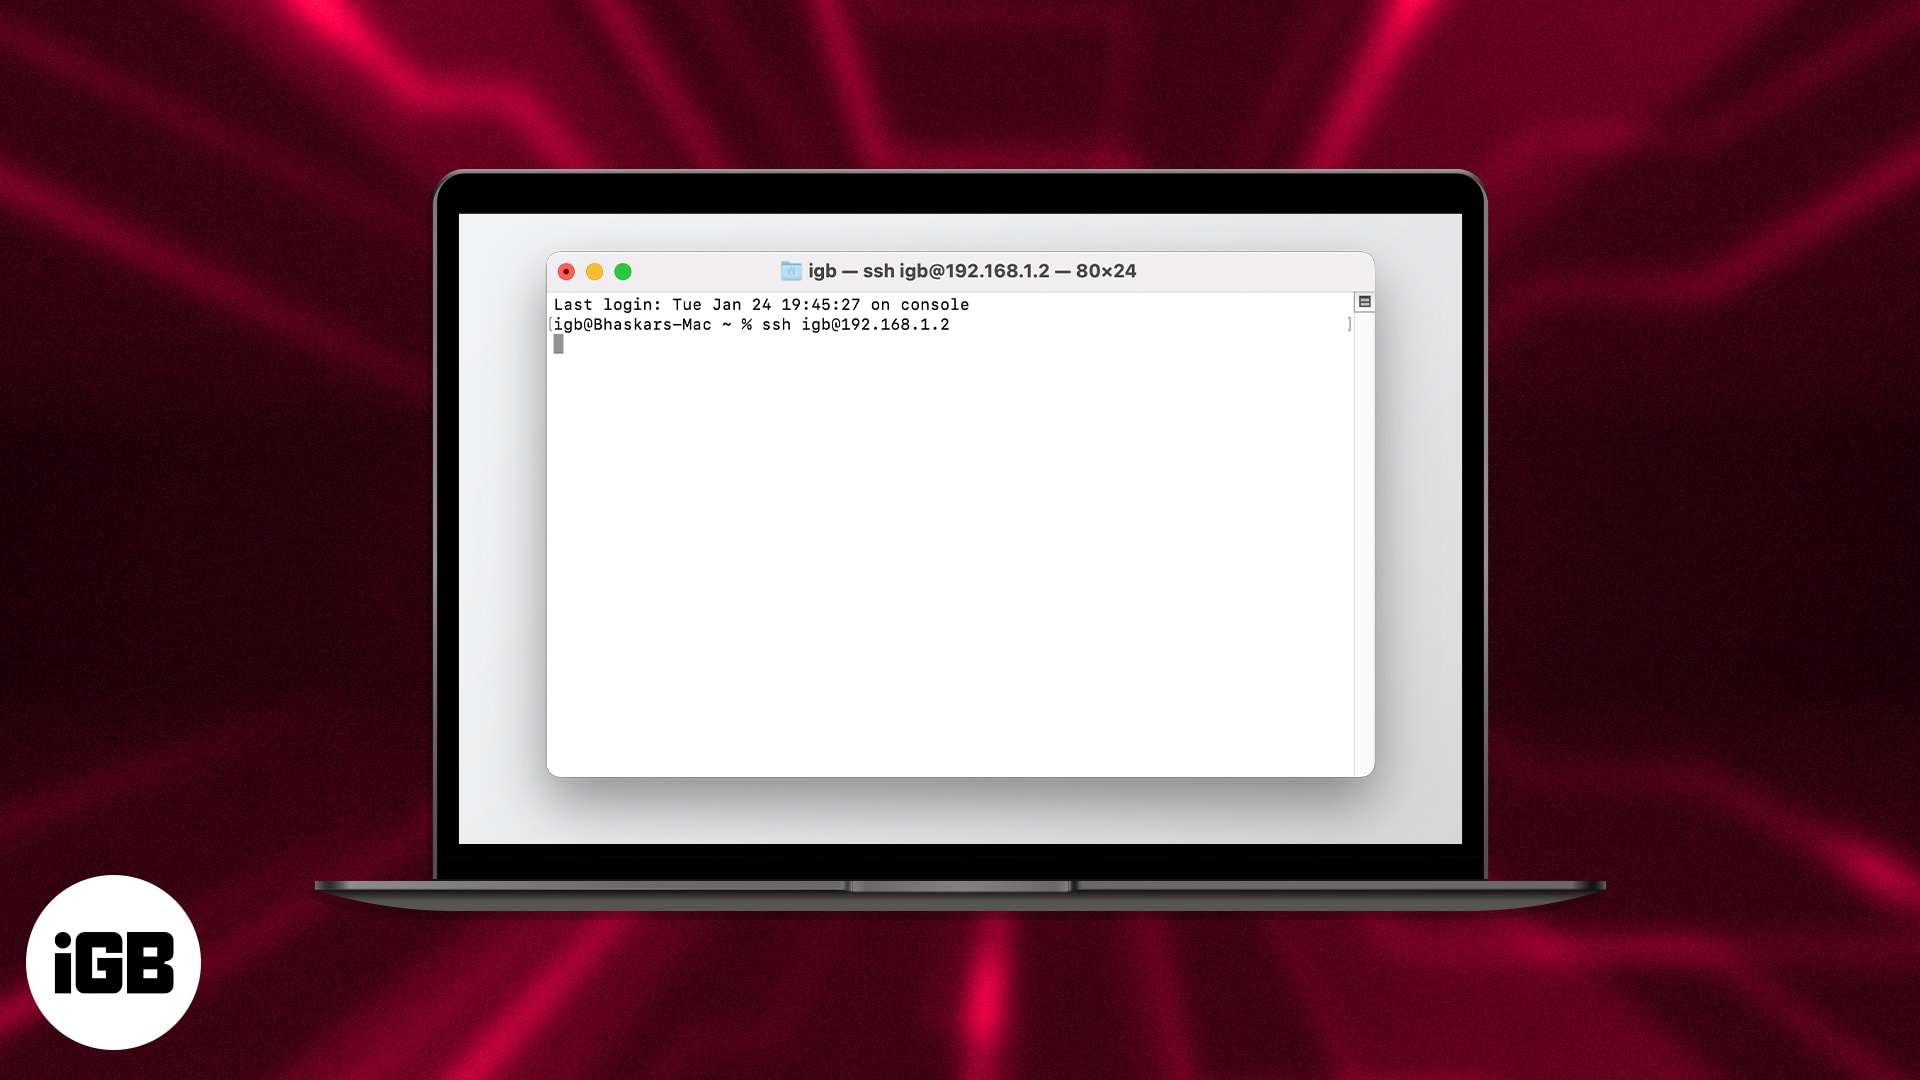
- Launch Terminal or another SSH client on Mac.
- Enter your Mac’s IP address → press return.
For example, ssh igb@192.168.1.2. - Provide your Password → hit return.
How to turn off SSH Server on Mac
If you no longer wish to remotely access your Mac through an SSH client, you may disable the SSH servers on your Mac by following the steps below.
macOS Ventura
- Open System Settings.
- Head to General → Sharing.
- Toggle off Remote Login.
macOS Monterey
- Navigate to System Preferences → click Sharing.
- Uncheck the box next to Remote Login.
Wrapping up…
I hope this article has helped you to understand what SSH is and how to use it on your Mac. It’s relatively common to get stuck while using SSH on Mac, so if you do, please leave a comment. I’d be delighted to assist you.
Frequently Asked Questions
Topics

Written by
Bhaskar SharmaBhaskar is a tech guru who turned wordsmith. Hiding his B.Tech degree in a closet, he ditched the corporate path to simplify tech for everyone. For the past 5 years, he's been dishing out how-tos, reviews, and sharp insights. But there's more! He's a witty interview champ and has been sharing his wisdom for 3 years. Furthermore, he has honed his editing skills for 1.5 years and is now delving into marketing to assist newcomers. When not jamming his fingers on those mechanical keyboards, you may find him on strings or engaging in sports. And by evening, his quotes will be appearing on your Instagram feeds.
View all posts →