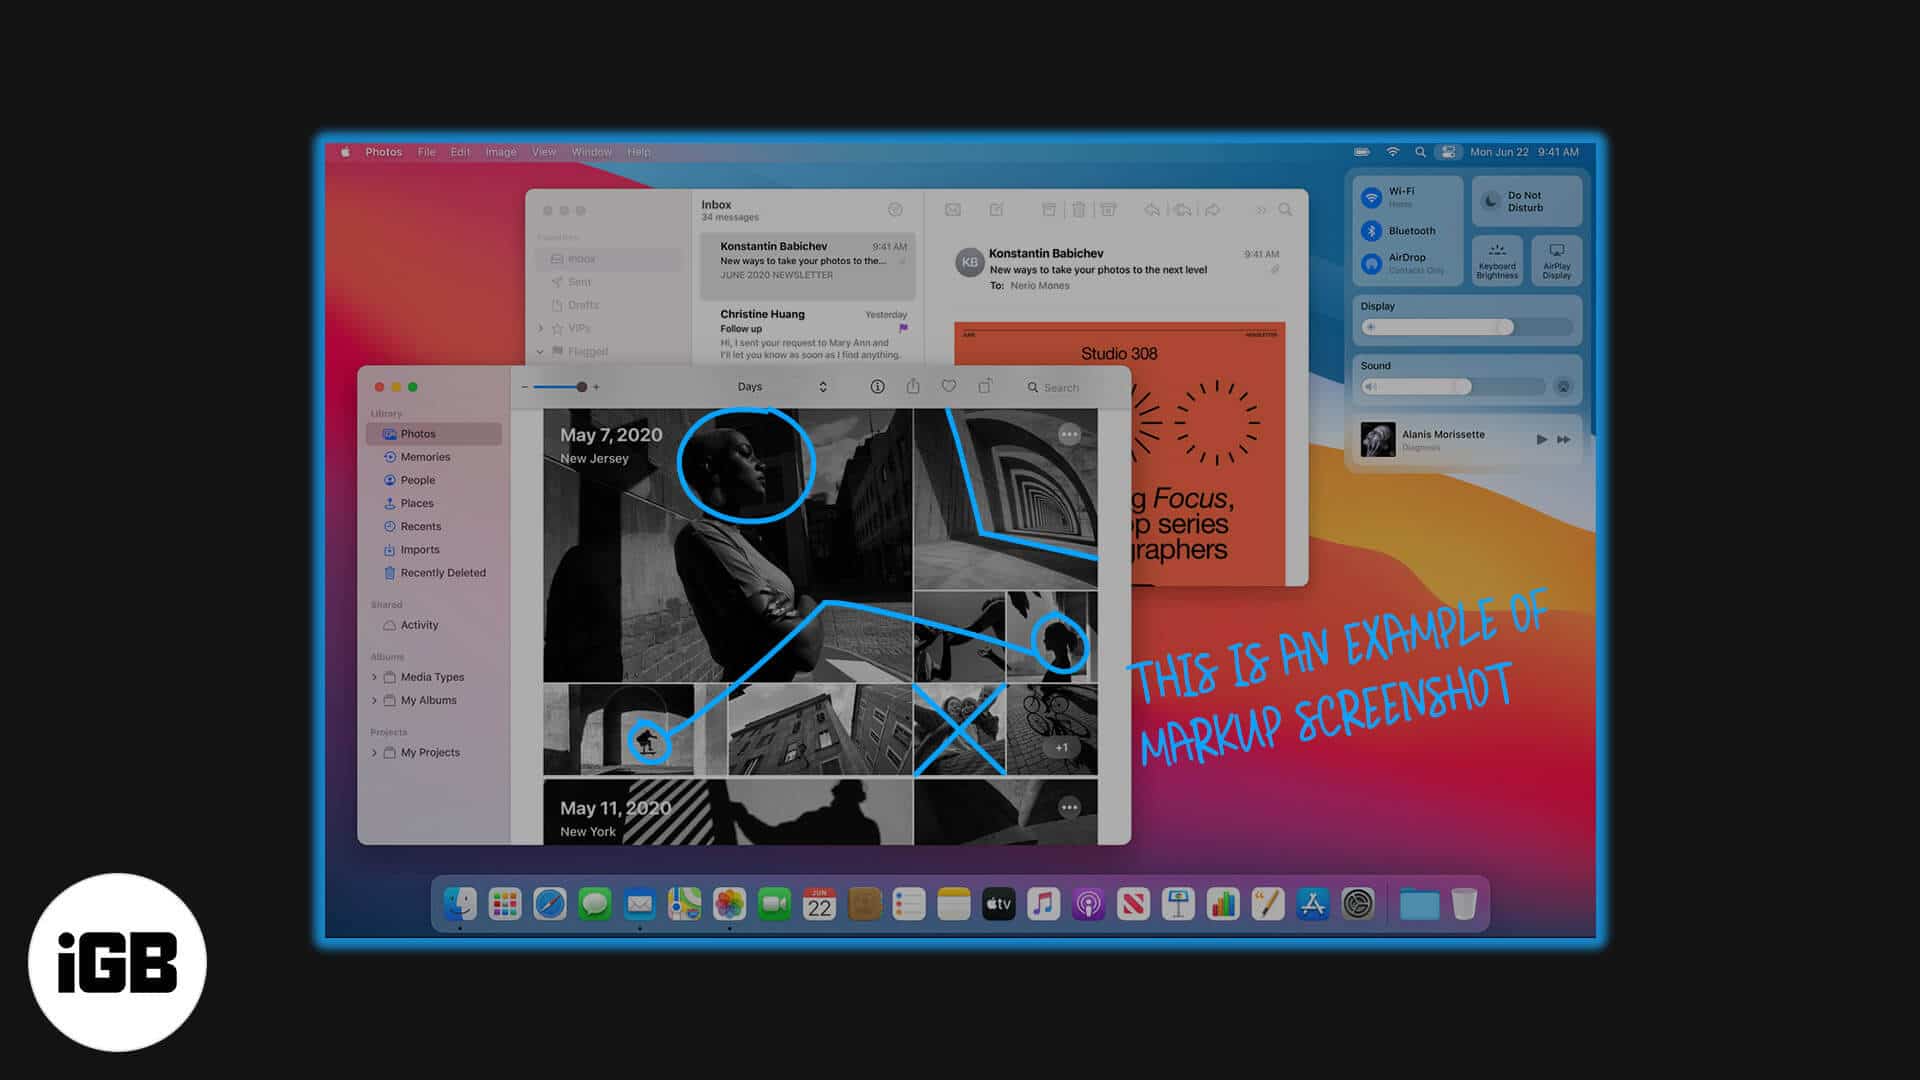
Markup in the Preview app is one of the most useful tools on Mac that lets you edit pictures meticulously. Having plenty of editing options in Mac’s own toolbox means that you don’t need a third-party application to modify your images. Right after taking a screenshot, sometimes you may want to edit it to specify something on the screen, and that is where Markup tools come in handy. If you haven’t used it, here is our guide on how to use markup to edit screenshots on Mac.
How to Markup a Screenshot on Mac
- Open the screenshot you want to markup in the Preview app.
- Click on the top-right option – Show Markup Toolbar.
A dropdown menu with all editing tools will appear.

Wide Range of Markup Tools to Edit a Screenshot on Mac
Selection Tools
These tools are distributed into four shapes, Each of them allowing you to select an area in the image to crop, copy, or delete it according to your preferences. You can select an area in the following patterns.
- Rectangular Selection
- Elliptical Selection
- Lasso Selection
- Smart Lasso
Instant Alpha
With this tool, you can select the background in the image and remove it.

Sketch
The feature lets you sketch shapes using a single stroke. If you haven’t drawn a standard shape, it will be automatically replaced by one.

Draw
You can draw on the image with a single stroke. However, this option is only available in computers using Force Touch trackpads. If you own one, you need to press heavily on the trackpad to draw a darker line.
Shapes
Click and drag shapes on the image. When you insert a shape, it will be surrounded by blue handles that let you resize it. With the green handle, you can modify its appearance.
Apart from various shapes, including arrow and rectangular, this tool carries two additional features.
- Loupe: It helps you to magnify an area in the image. You can also adjust the magnifier’s size using the blue handles, while the green dot lets you customize its intensity.


- Highlight: You can highlight a particular area in the image using this tool. Adjust its size using the blue handles. Place your cursor on the edge of the highlighter to click and drag it anywhere.


Add Text
It lets you write on the image, then drag the text field anywhere you want.

Add a Signature
If you’ve previously added a signature, then click and drag it anywhere on the image. Blue dots can help you to resize it. If not added, you can create new using a trackpad, iSight camera, or your iOS device.

Adjust Color
Adjust the screenshot’s contrast, exposure, saturation, tint, and more. To adjust them automatically, click Auto Levels. To reset to the default, hit Reset all.

Adjust Size
Alter your screenshot’s size and resolution.

Shape Styles
Modify the thickness of lines in shapes and personalize them.

Border Color
Click on a line of a shape to change its color from the available palette.

Fill Color
Select a shape to change the color within its edges.

Adjst Text Style and Size
From various font styles and sizes to text formation, use this tool to adjust the text you’ve written on your image.

Annotate
The annotate tool on the preview screen turns blue when your computer is connected with an iOS device that will let you customize your screenshot further.
Signing Off…
These are offered by Apple to personalize your screenshot in the Preview app. Aren’t they? Do you think that there are still some features missing in the markup toolbox? If yes, then which are they? Drop their names in the comment section below! You can also markup screenshots on your iPhone and iPad. Pick up our detailed guide on the same.