How to stop auto-join Wi-Fi on iPhone, iPad, Mac
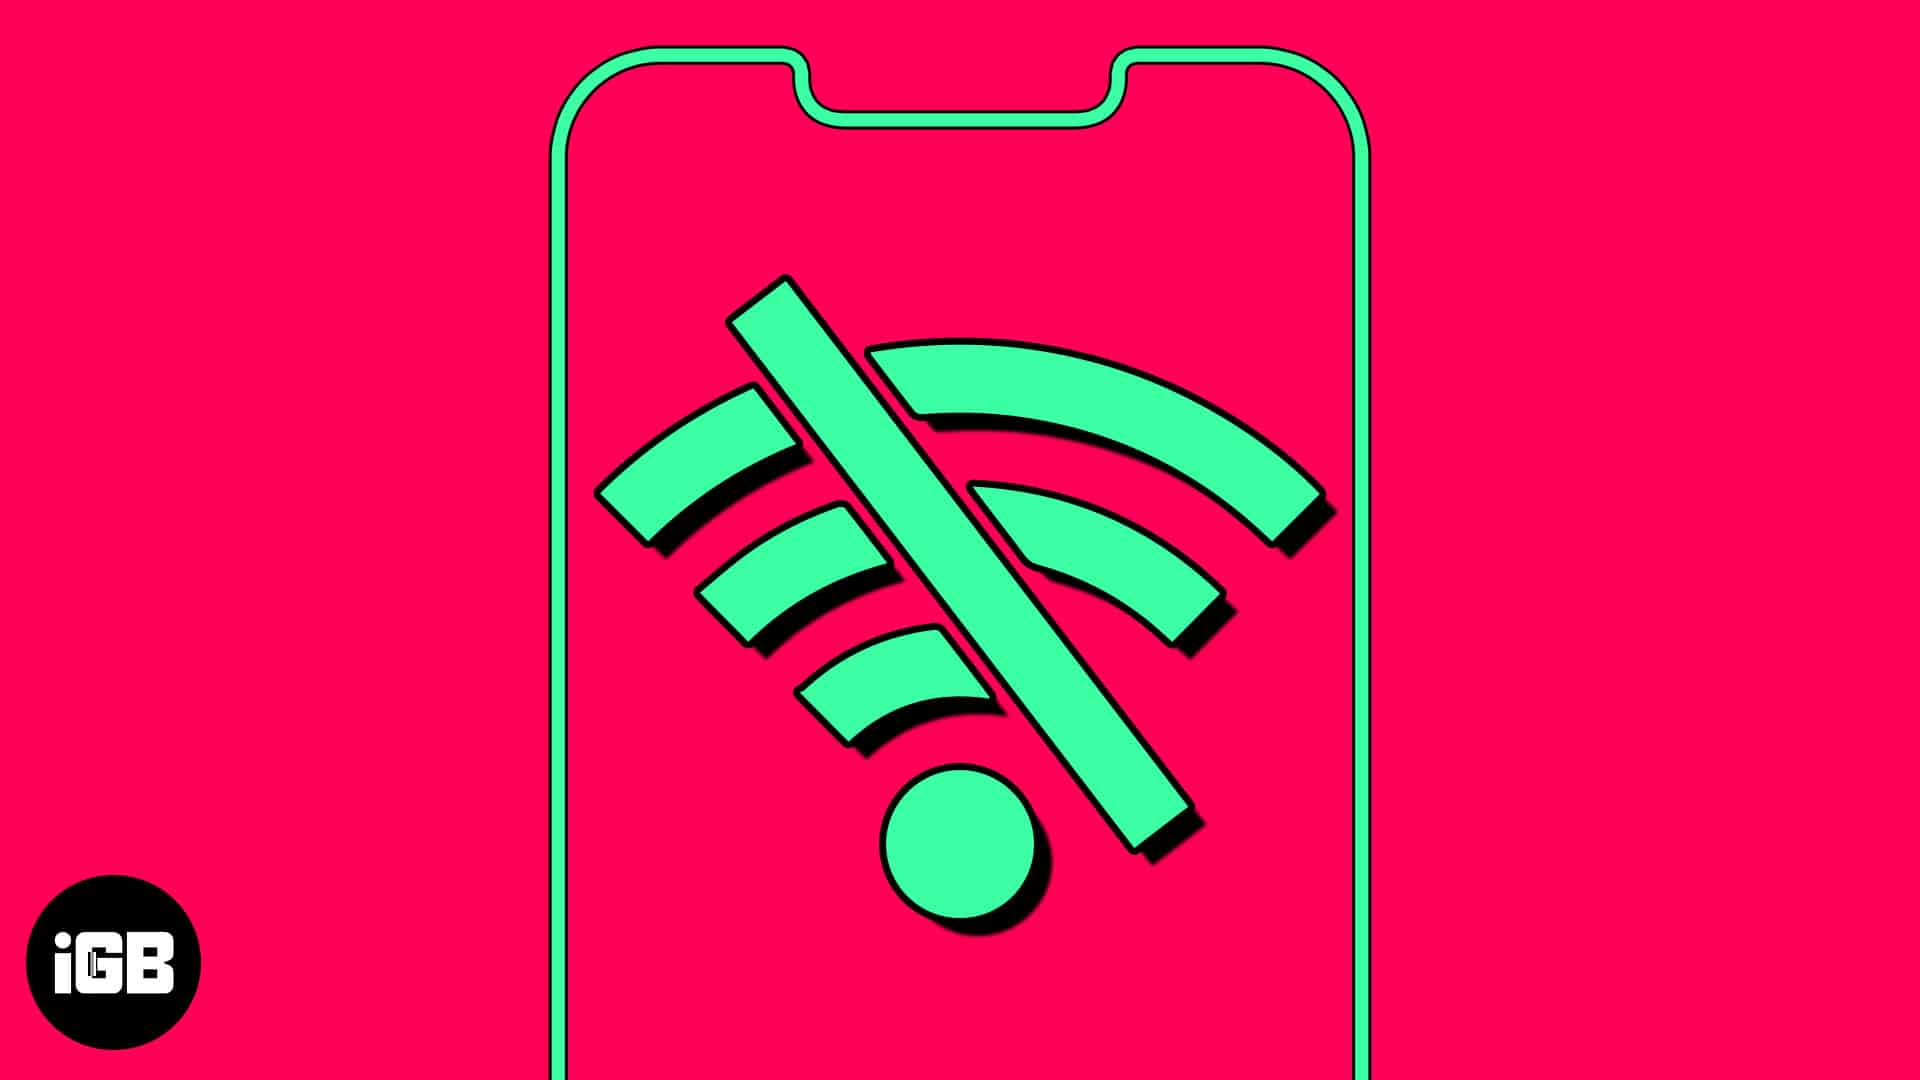
Automatically connecting to a saved Wi-Fi network saves time. However, it may be annoying when your device keeps auto-joining known Wi-Fi without permission. Also, this can raise security threats if you’re on the move and your device connects to public networks. Fortunately, you can stop automatically connecting to Wi-Fi, so your devices never connect to a network without your permission. In this blog, I will share how to stop Wi-Fi auto-join on your iPhone, iPad, and Mac.
How to turn off Wi-Fi auto-join on iPhone or iPad
- Launch Settings → Select Wi-Fi.
- Tap the info icon next to the saved network.
- Now, toggle off Auto-Join.

The process does not require you to stay connected to the network; you can disable the automatic network connection as long as it is saved. Besides, you must delete the saved public networks to prevent automatic Wi-Fi connections.
How to forget Wi-Fi network on iPhone or iPad
- Open Settings → Navigate to Wi-Fi → Edit.
- Enter the passcode of your device to proceed.
- Tap the minus (-) icon next to the network.

- Hit Delete → Done → Select Remove when prompted.

How to disable Wi-Fi Auto-Join on Mac
Now that you know how to stop Wi-Fi from auto-connecting on your iPhone, you must do the same on your Mac. Follow the steps below.
Ventura and later
- Click the Apple logo () → System Settings.

- Navigate to the Wi-Fi → Press Details for the network you’re connected to.

- Now, toggle off Automatically join this network → Click OK.
Enter your Mac password if prompted.
- If you’re not connected to the network and still want to stop Wi-Fi auto-connect, click the three-dot icon next to the network and uncheck Auto-Join.

Monterey and earlier
- Click the Apple logo ()→ System Preferences.

- Access Network from the menu.

- Select the network from the drop-down menu.

- Uncheck Automatically join this network.

How to forget Wi-Fi network on Mac
Alternatively, you can avoid the threat of cyberattacks or data breaches by removing open networks from your Mac.
Ventura and later
- Navigate to the Apple logo () → System Settings.
- Go to Wi-Fi → Click Details next to the connected network.
- Press Forget This Network.
If you’re not connected to the network, click the three-dot icon and press Forget This Network.
- Hit Remove when prompted.

Monterey and earlier
- Click Apple logo ()→ System Preferences→ Network.
- Select Advanced.

- Select the network you prefer to remove → Hit the minus (-) icon.
Additionally, disable auto-connect for other saved networks by unchecking Auto-Join.
- Hit OK → Apply.

Save yourself!
The automatically connect to Wi-Fi networks feature is convenient yet dangerous, as your device may pair with an unsecured network. So, you should take the necessary precautions to avoid becoming a victim. You may reset your network settings if you face issues disabling the auto-join Wi-Fi feature.
Read more:

Written by
Suraj PadmasaliSuraj is an operations head on the iGB team. He contributes to the social media section along with tips and tricks for iPhone, Apple Watch. Apart from blogging, he likes to work out as much as he can in his gym and love to listening to retro music.
View all posts →More from How-to
How to Turn Off Location on Snapchat (Step-by-Step Guide)
Want to stop sharing your location on Snapchat? This guide explains how Snapchat location sharing works and shows simple ways to turn off your location using Ghost Mode or phone settings. Stay in control of your privacy in just a few steps.

Snapchat Parental Controls: How to Set Up Family Center and Keep Your Teen Safe
Snapchat’s Family Center lets parents monitor their teen’s friend activity and screen time without reading private messages. Here’s how to set it up and what to expect.

How to Block and Unblock Someone on Instagram
Instagram lets you block or unblock someone in seconds. Follow these simple steps to take full control of your privacy and online peace.