How to Use Smart Playlists in Apple Music for Better Listening
Learn how to create a Smart Playlist in Apple Music and automatically organize your favorite songs for effortless listening.
If you have a large Apple Music library, finding the right song can take longer than it should. Smart Playlists solve this by automatically grouping songs based on rules you choose, and keeping those playlists updated over time.
This guide explains what Smart Playlists are, how they work, how to create them on a Mac, how to use them on iPhone and iPad, and how to fix common issues.
What Is a Smart Playlist and How It Works
Think of a Smart Playlist like a filter you save. Instead of collecting songs by hand, you create rules, and Apple Music keeps pulling in anything that matches.
Apple Music builds Smart Playlists using rules and conditions (like “Genre contains Rock” or “Play Count is greater than 10”). When you add new songs or your song data changes, the playlist can refresh automatically, if you enable live updating.
Here are a few simple examples of rules people actually use:
- Songs played more than 10 times: Play Count / is greater than / 10
- Recently added tracks: Date Added / is in the last / 30 days
- Favorite artists or genres: Artist / is / (name) or Genre / contains / (genre)
Once you get the hang of it, Smart Playlists start to feel like your library is finally listening to you.
Devices That Support Smart Playlists in Apple Music
Smart Playlists can be created and managed only on desktop, either on a Mac (Music app) or Windows (Apple Music app / iTunes for Windows, including older iTunes). Once you create one and turn on Sync Library, it can show up on most Apple Music apps.
Where you can create (and edit) Smart Playlists
- Mac (Music app): Full support to create, edit, and delete Smart Playlists.
- Windows (Apple Music / iTunes for Windows): Full support to create, edit, and delete Smart Playlists on PC.
Where Smart Playlists will play
After they’re created on Mac/Windows and Sync Library is enabled, Smart Playlists generally sync and play on:
- iPhone and iPad (Music app): They appear like normal playlists and play fine (including in CarPlay), but you still can’t edit the rules there.
- Other Apple Music apps signed into the same Apple ID with Sync Library on (like another Mac or Windows PC).
Where Smart Playlists are not supported
- Apple Music on the web: Smart Playlists don’t show up in the web player.
- Some third‑party Apple Music clients/integrations: Many don’t load Smart Playlists because the current MusicKit API doesn’t expose them.
If a Smart Playlist is missing on mobile, it’s usually a Sync Library issue or the library hasn’t finished syncing yet, see the fixes below.
How to Make a Smart Playlist in Apple Music on Mac
This is the easiest way to build a Smart Playlist the “Apple” way: pick rules, decide how strict they should be, and let Music keep the playlist updated for you.
- Open Music on your Mac.
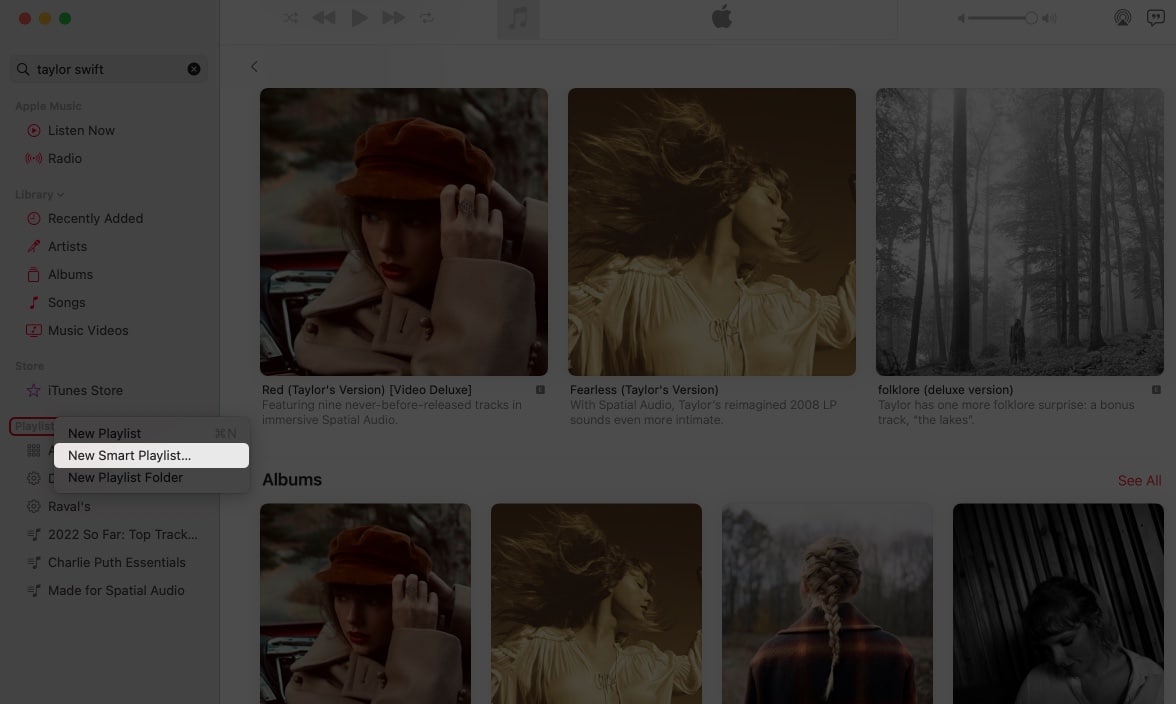
- Click File > New > Smart Playlist.
- Set your first rule using the drop-downs (example: Genre → contains → Rock).
- Add more rules with +, remove rules with –, then choose Any or All at the top (if you have multiple rules).
- Optional: press Option to use Nest (for “before X or after Y” logic), and set Limit, Match only checked items, and Live updating if needed.
- Click OK, then rename the playlist in the sidebar.
Best Smart Playlist Rules You Should Try
If you’re not sure what to build first, start with playlists that solve real-life problems: finding your favorites fast, resurfacing forgotten songs, and matching a mood without thinking too hard.
Here are smart rules worth trying:
- Most played songs (your comfort playlist): Play Count / is greater than / 10 (or 25)
- Recently added music (new stuff only): Date Added / is in the last / 30 days
- Chill or focus playlist by genre: Genre / contains / Chill (or Ambient, Lo-fi, Classical)
- Automatically updated favorites: Favourite (or Love) / is / Loved
Want more control? Combine rules like:
- Genre contains Rock
- AND Play Count is greater than 10
- AND Year is after 2010
- Limit to 50 items (picked by most often played)
That’s how you turn one playlist into a system.
How to Use Smart Playlists on iPhone and iPad
You can’t create or edit true Smart Playlists on iPhone/iPad, but you can play the ones you created on Mac or Windows, as long as your library is syncing.
Option 1: Play Smart Playlists created on Mac or Windows
- Turn on Sync Library (iCloud Music Library) on your Mac/Windows and on your iPhone/iPad (same Apple ID).
- Open Music on iPhone/iPad and go to Library > Playlists.
- Tap your Smart Playlist and play it like any normal playlist (you can download it too).
- Need to change what’s inside? Edit the Smart Playlist rules on your Mac/Windows, iOS can’t edit the rules.
Option 2: Create a Smart Playlist alternative using the Shortcuts app
This method doesn’t create a true Smart Playlist, but it lets you generate an automatically curated playlist based on rules like play count.
- Open the Shortcuts app and tap + to create a new shortcut.
- Add a Music action and set it to sort songs by Play Count (or another metric).
- Choose the order (for example, Biggest First) and enable Limit to control how many songs are included.
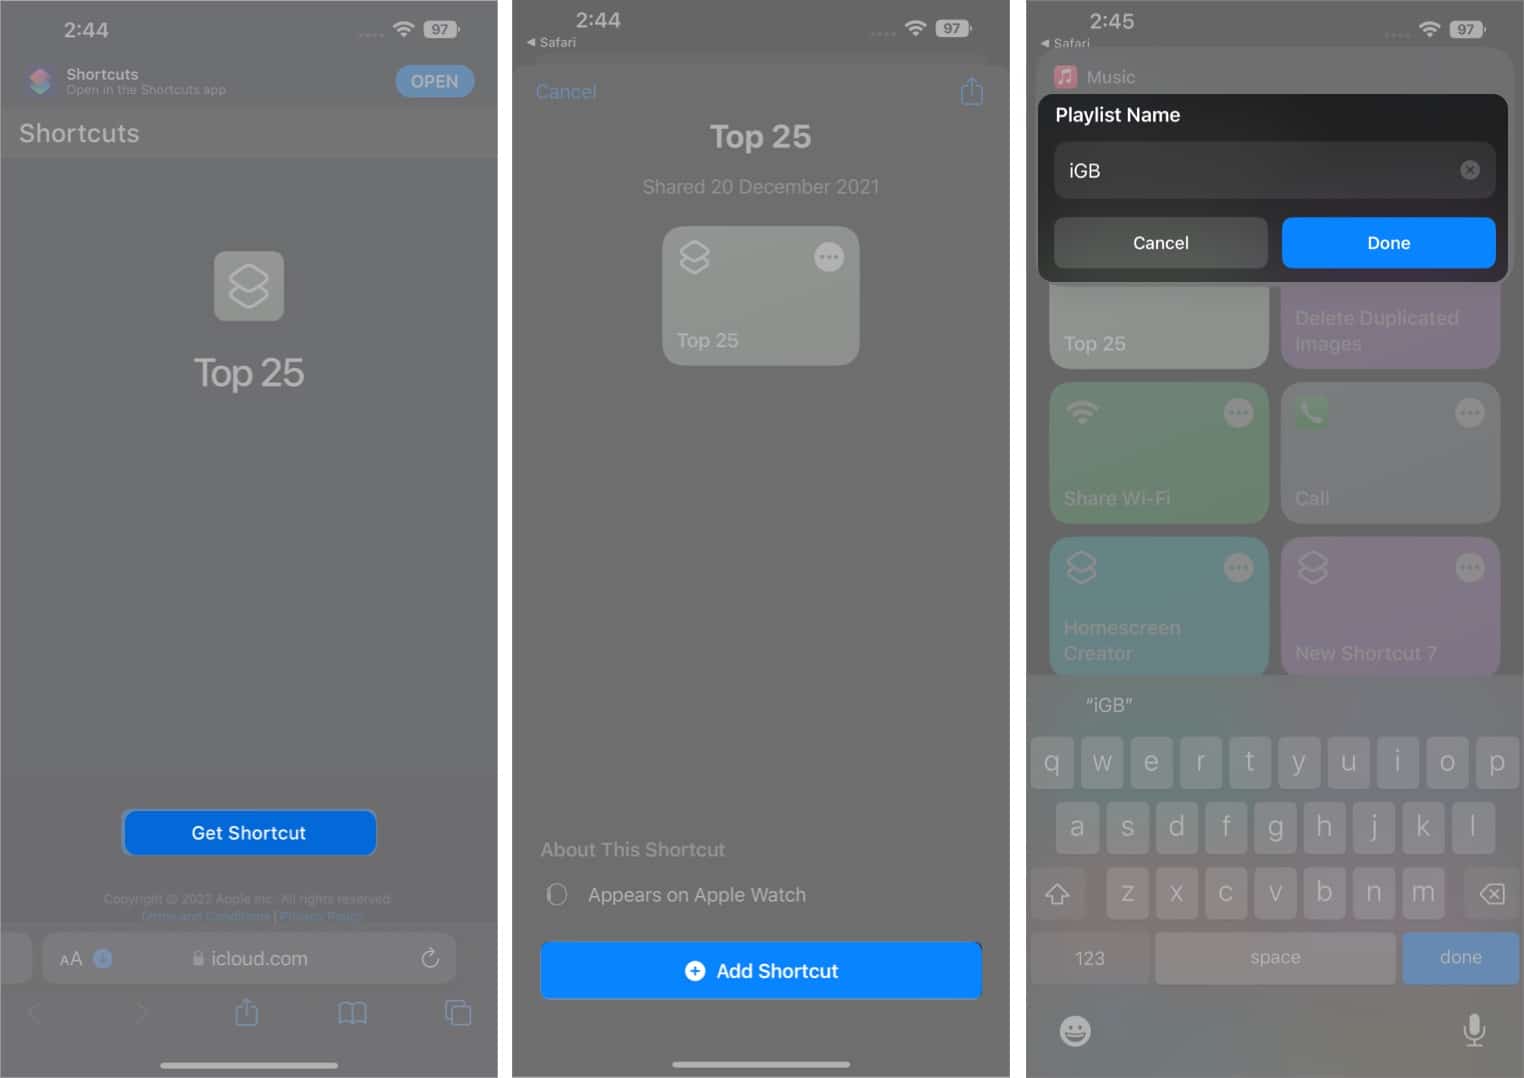
- Add the Create Playlist action and name the playlist (or set it to ask every time).
- Save the shortcut. Each time you run it, Apple Music creates or refreshes a playlist based on your rules.
This is the best workaround if you use only an iPhone or iPad and still want a rule-based playlist experience.
Check out: Best Siri Shortcuts for Apple Music
Common Smart Playlist Problems and Fixes
Smart Playlists usually fail for two reasons: the rules don’t match, or Sync Library hasn’t caught up. Run through these quick checks.
- Not updating? Edit the Smart Playlist on Mac/Windows and make sure Live updating is enabled.
- Songs missing? Check the song’s info (Genre/Year/Artist), confirm you didn’t choose the wrong Any vs All setting, and verify Match only checked items isn’t excluding tracks.
- Not showing on iPhone/iPad? Turn on Sync Library everywhere (same Apple ID), use stable internet, then reopen Music or restart the device.
- Updates feel slow? Give it a few minutes after big changes, then restart Music and let syncing finish.
Smart Playlist Limitations You Should Know
Smart Playlists are great, but they’re not magic. Knowing the limits saves you a lot of confusion.
- You can’t create or edit Smart Playlists on iPhone/iPad in the Music app.
- Some tracks may have incomplete metadata, especially if they were added from different sources, rules depend heavily on correct song info.
- Rule conflicts can cause unexpected results, like an empty playlist when rules are too strict (for example, using “All” with filters that rarely overlap).
Tips to Get the Most Out of Smart Playlists
Smart Playlists become addictive, in a good way. A few small habits make them work better and feel more reliable.
- Combine multiple rules thoughtfully: Use 2–4 rules to stay precise without breaking the playlist.
- Keep rules simple: Fewer rules = fewer surprises. So your playlist will turn out just like you have imagined.
- Use Limits wisely: If you want something playable, limit by time or song count.
- Build “dynamic libraries”: Make Smart Playlists like “Recently Added,” “Not Played in 1 Year,” and “Most Played” so your library always has a next step.
Conclusion: Is Smart Playlist Worth Using in Apple Music?
Yes, if you have a Mac, Smart Playlists are one of the best “set it once, enjoy forever” features in Apple Music. They save time, surface forgotten songs, and keep your favorites ready without constant manual sorting. The best use case is building dynamic playlists like “Most Played,” “Recently Added,” and “Not Played in a Year.” Create a few on your Mac, enable Live Updating, and let your library stay organized while you just press play.
Frequently Asked Questions
Topics

Written by
Ravi Teja KNTSI’ve been writing about tech for over 5 years, with 1000+ articles published so far. From iPhones and MacBooks to Android phones and AI tools, I’ve always enjoyed turning complicated features into simple, jargon-free guides. Recently, I switched sides and joined the Apple camp. Whether you want to try out new features, catch up on the latest news, or tweak your Apple devices, I’m here to help you get the most out of your tech.
View all posts →More from How-to
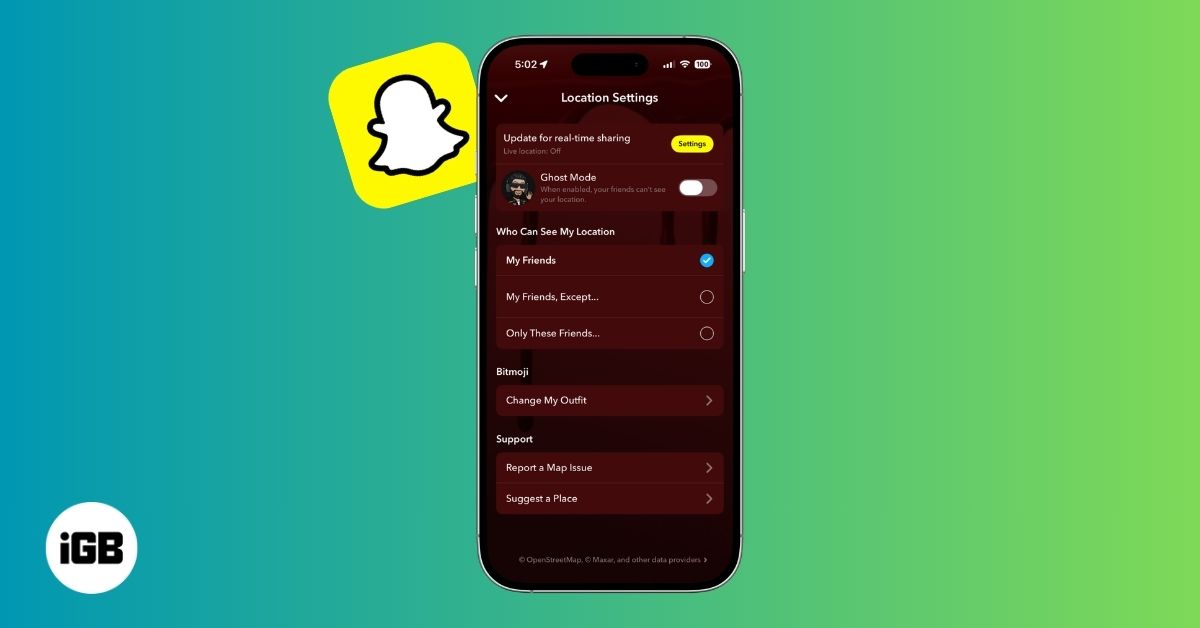
How to Turn Off Location on Snapchat (Step-by-Step Guide)
Want to stop sharing your location on Snapchat? This guide explains how Snapchat location sharing works and shows simple ways to turn off your location using Ghost Mode or phone settings. Stay in control of your privacy in just a few steps.

Snapchat Parental Controls: How to Set Up Family Center and Keep Your Teen Safe
Snapchat’s Family Center lets parents monitor their teen’s friend activity and screen time without reading private messages. Here’s how to set it up and what to expect.

How to Block and Unblock Someone on Instagram
Instagram lets you block or unblock someone in seconds. Follow these simple steps to take full control of your privacy and online peace.