Want to collaborate with others while working remotely or seeking technical support? Your Mac lets you share your screen with others, giving them a real-time view and access to your desktop. This guide will show you multiple ways to share your Mac’s screen with another Mac. So, let’s get started!
1. Use the native Screen Sharing app
You don’t need to rely on third-party apps to screen share on your MacBook. Apple provides a native app for MacBook-to-MacBook screen sharing. Following the steps below is simple and quick. But first, let’s look at the specific requirements for using the feature.
Set up Screen Sharing app on Mac
- Navigate to Apple logo () → Access System Settings.

- Head to General→ Choose Sharing.

- Toggle on Screen Sharing.

Also, ensure Remote Management is toggled off.
Do not give an unknown user control of your screen, as this could put your personal information at risk. To add additional security when Sharing Screen, follow the steps below:
- Click the (i) info button next to Screen Sharing.

- Enable Anyone may request permission to control screen. So, each time, you must grant permission before sharing the screen.
- Next, toggle on VNC viewers may control screen with password.
- Enter a password next to Password → Click Done.

Also, you may allow selected users to view and access your screen sharing. Click the plus sign at the bottom → Choose a user from Users & Groups or Network Users → Click Select.
Use the Screen Sharing app on Mac
To ensure the remote connection between the two computers, follow the steps outlined below.
Mac to be controlled:
- Launch System Settings → Navigate to General → Sharing.
- Click the (i) info button.
- Note the IP address or the Mac name.

Mac that will control:
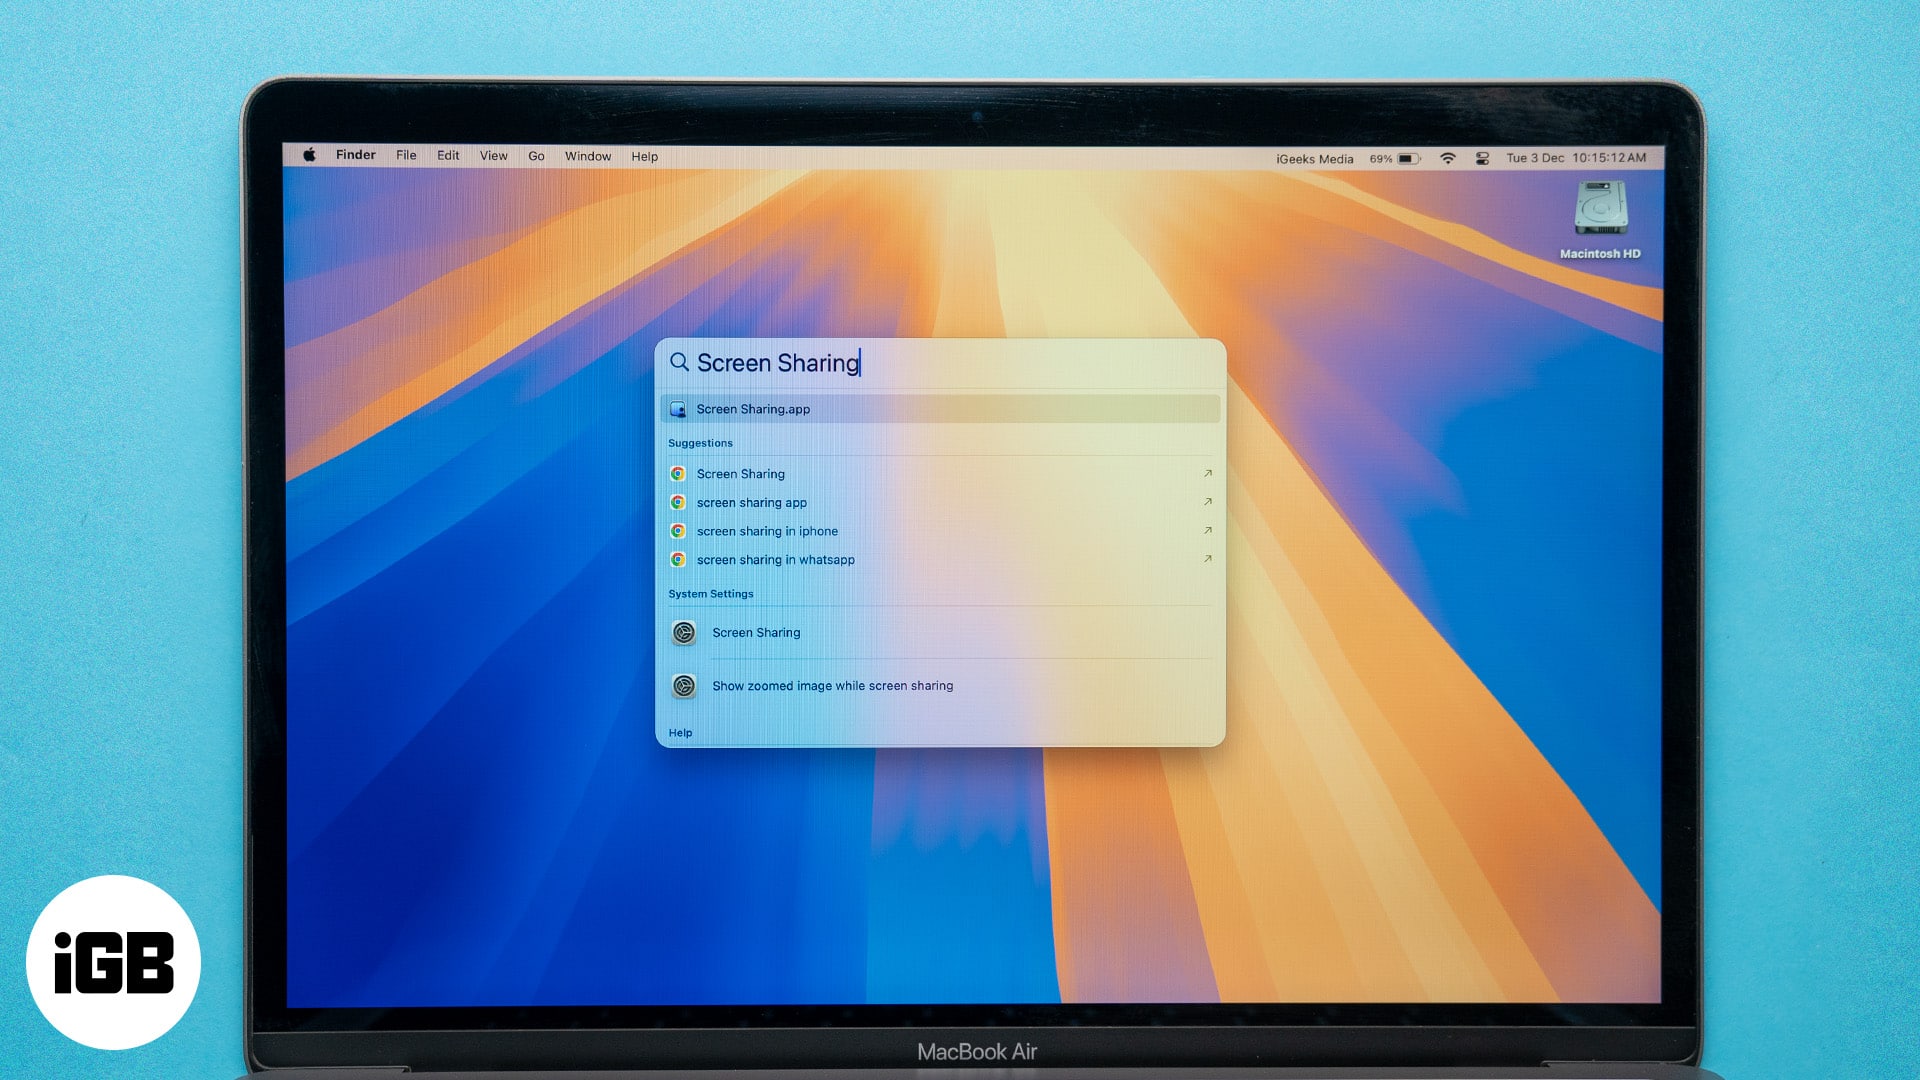
- Open Launchpad → Search for and launch Screen Sharing.

- Ensure that you are on All Connections → Click the + icon.

- Enter the Mac’s IP address or Apple ID you want to remotely control and click Connect.

- Enter the Username and Password of the Mac you want to connect to → Click Sign In.

- Select High Performance (available on Mac with Apple Silicon running macOS Sonoma or later) on the Select Screen Sharing Type dialog box.
- Then click the Display Type pop-up, select the number of virtual screens, and click Continue.
Now, a window with the screen of the target Mac you want to access remotely will open. Click Options and select Accept. You can access different files and folders on the remote device, add or remove files or folders, use applications, etc.
Note:
that these steps will only allow you to control the Mac remotely if you use both devices on the same network.
Once the other Mac is connected, its details are saved on your Mac. So, next time you open the All Connections section, you can directly connect to it without following all the steps.
To stop screen sharing, click Window and select Connections. There, hover the cursor over the active session and click Disconnect.
Control a shared screen of another Mac

You can find the following buttons in the Status Bar of the window.
- Control Screen: This option gives you complete control over the remote Mac’s screen, allowing you to view and interact with its content.
- Dynamic Resolution: This feature dynamically adjusts the resolution of the remote screen to match your local display, ensuring optimal viewing and usability.
- High Dynamic Range: This enhances the visual quality by supporting High-Dynamic-Range (HDR) content, provided your display supports it.
- Launchpad: With this option, you can access the Launchpad on the remote Mac and quickly launch applications.
- Mission Control: Manage and organize open applications and desktops using Mission Control.
- Desktop: Navigate to the remote Mac’s desktop and interact with files and folders.
- Zoom: Zoom in on specific areas of the remote screen to get a closer look at content.
- Actual Size: Reset the remote screen’s zoom level to its actual size.
- Scale Up: Enlarge the remote screen’s content for better visibility.
- Scale to Fit Window: Adjust the remote screen’s content to fit within the window of your local Mac.
Additionally, you can also use the trackpad of your master Mac to remote control your other device. However, certain finger gestures, such as swiping three fingers to switch between desktops, are not supported. Nevertheless, you can still navigate the screen and launch applications by clicking icons.
Moreover, you can also use the Screen Share feature of a second Mac to connect to a third Mac, and so on. Allowing you to have complete control of each device from your primary Mac. This is similar to the master-slave concept, where one device controls another.
In addition to the Screen Sharing app, you can share your screen using the following methods.
2. Share your screen using Messages on Mac
- Launch the Messages app on your Mac.
- Head to the chat of the person you want to share your screen with.
If you haven’t chatted with this person before, send them a message first. - Click the (i) info button at the top right.

- Choose the Share button. You will now have two options:
- Invite to Share My Screen: Share your screen and let them control it.
- Ask to Share Screen: Request to view the contact’s screen and ask them to control their screen.

3. Share your screen in FaceTime on Mac
FaceTime is a native Apple app that allows you to connect with anyone, anywhere. You can use it to chat with friends and family or collaborate with colleagues on projects. FaceTime lets you share your screen to present your work or teach others how to use a new app.
4. Use third-party apps to share your Mac screen
In addition to the methods described above, third-party applications allow you to share your Mac screen. You may decide to use these apps because they offer some extra features beyond the native apps, and they give you complete control over your screen sharing. If you’re looking for a third-party app with additional features.
Quickly share your screen!
Sharing your screen with others lets you enjoy streaming games, watching movies, or giving a presentation. The built-in app makes screen sharing simple on your Mac. You can also connect to your Mac remotely from a different connection by diverting the traffic of a port in your router’s setup page. If you want to learn more about this, please comment below.


