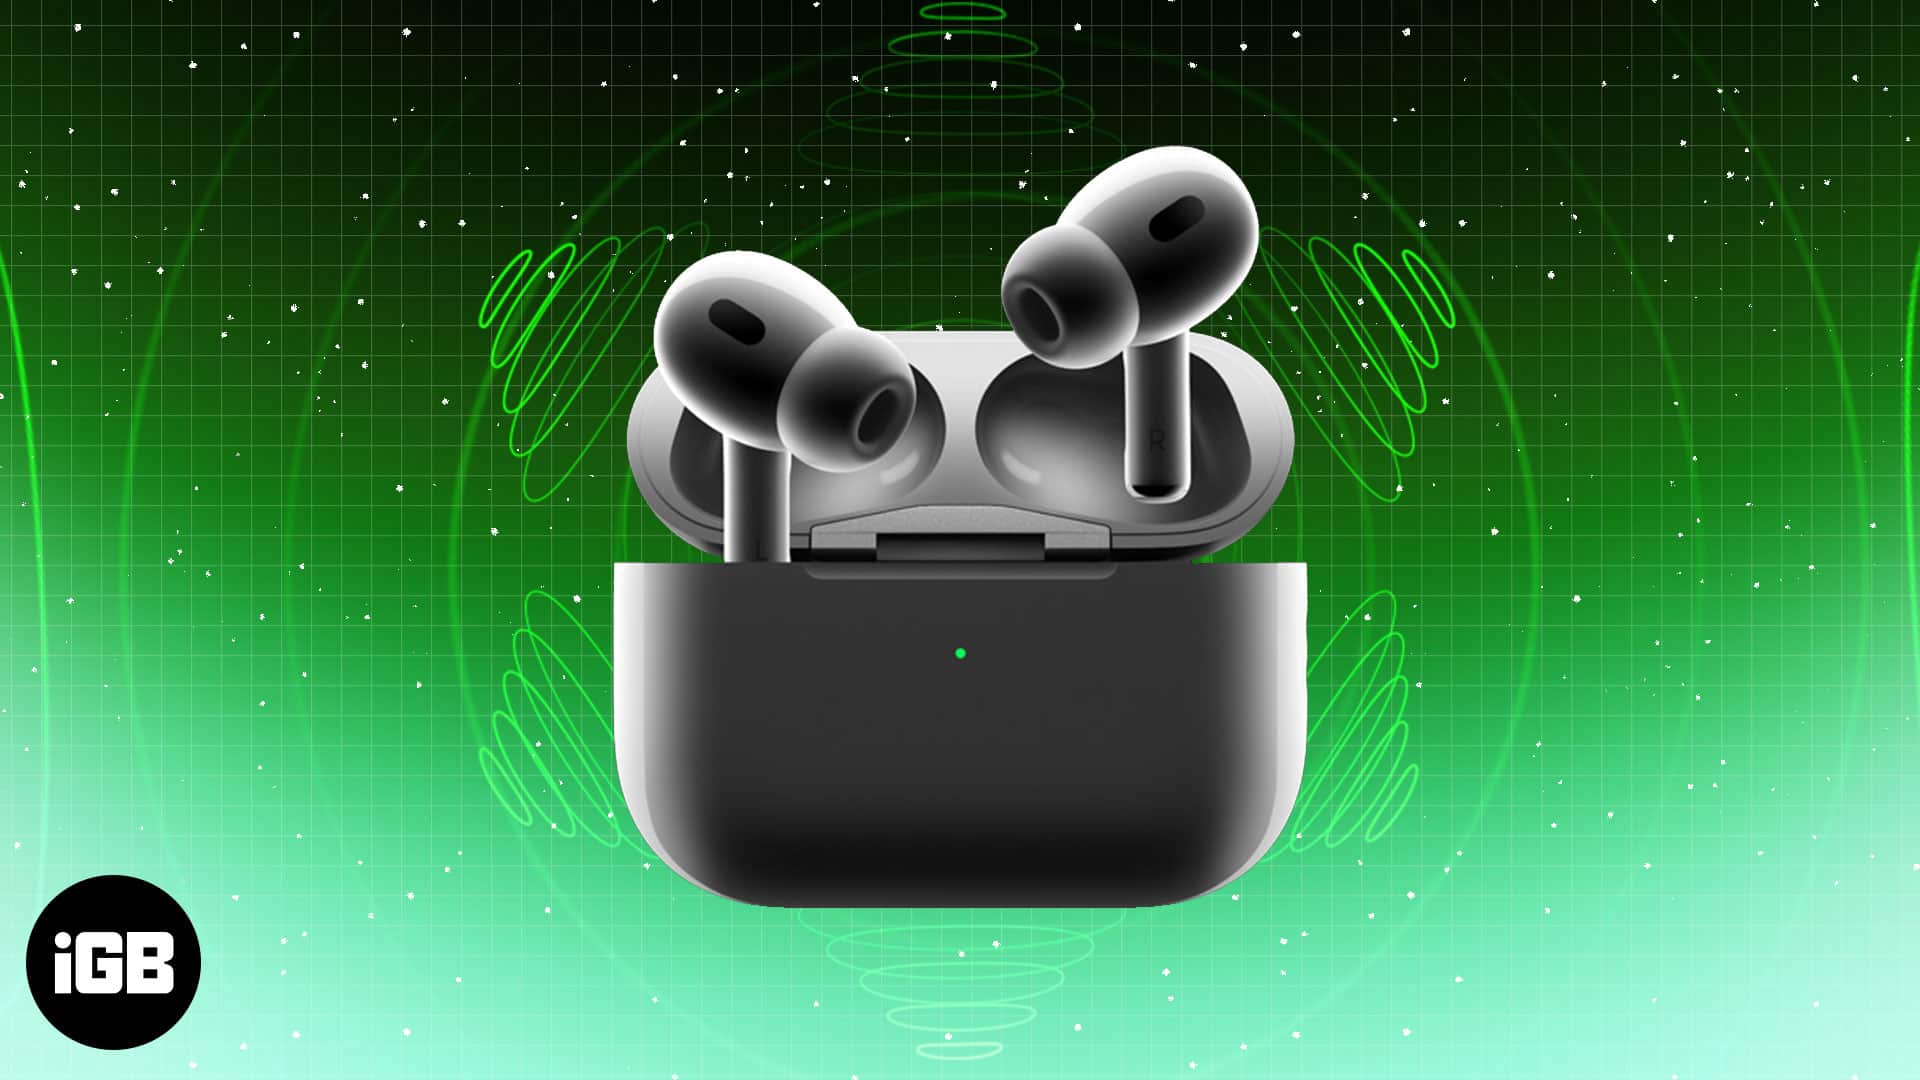
Personalized Spatial Audio is an Apple feature that customizes audio playback according to your ear and head shape profile. It creates a more immersive and theater-like listening experience, especially when watching movies and TV shows. Excited to try it out? Here’s how you can set up Personalized Spatial Audio for AirPods.
What is Personalized Spatial Audio?
According to Apple, “With Personalized Spatial Audio, the AirPods listening experience is even more immersive. Users perceive sound individually based on the size and shape of their heads and ears. Using the TrueDepth camera on iPhone, users can create a personal profile for Spatial Audio that delivers a listening experience precisely tuned just for them.”
Spatial Audio is Apple’s way of creating a precise 360° surround sound experience. In conjunction with the customized Spatial Audio, everyone is assigned their personalized profile. This profile adjusts audio tuning to match how you hear sound.
With the help of the TrueDepth cameras, Apple has created technology that can give you an experience like no other brand. The best part is that your Spatial Audio profile syncs across your Apple devices signed in to the same Apple Account.

What devices support Apple Spatial Audio?
Personalized Spatial Audio is accessible by every iPhone running iOS 16 or later. Here is a list of AirPods that support the feature:
- AirPods Pro (1st gen)
- AirPods Pro (2nd gen)
- AirPods (3rd gen and later)
- AirPods Max
- Beats Fit Pro, Beats Solo 4, and Beats Studio Pro
Apple has confirmed that Personalized Spatial Audio profiles will be available with iPadOS 16 or later and macOS Ventura or later.
Due to the limitation of TrueDepth cameras, the feature will be limited to iPhones with Face ID (iPhone X and above, not including iPhone SE 2 and SE 3).
How to set up Personalized Spatial Audio for your AirPods
- Once your iPhone is updated to the latest iOS, open the AirPods case lid with AirPods inside and hold it close to your iPhone. Now, you will get a prompt asking you to try Personalized Spatial Audio.
- Tap Get Started → Continue.

If you don’t see the prompt, you can manually start the setup. To do so, connect your AirPods and wear it. Then, go to Settings on your iPhone and select the connected AirPods or Beats name at the top. Now, tap the Personalized Spatial Audio option and select Personalize Spatial Audio.
You can choose See & Hear How It Works to see how Spatial Audio differs from Stereo Audio. If you like the sound experience, you can continue the setup.
Now, take the AirPods out of your ear, as the iPhone Camera needs to scan your ear with an unobscured view.
- Tap Start Front View Capture and follow the audio and visual cues.
- Place your iPhone right in front of you, about 12 inches away. To capture your face from every aspect, place your face in the camera frame and then gently rotate your head in a circle. Press Continue once done.
- Proceed by tapping Start Right Ear Capture. Take your iPhone in your right hand and hold it to your right side at arm’s length. Now, slowly move your head to the left to capture your right ear.
- Once done, continue by selecting Start Left Ear Capture and follow the method on your left side.

Once the setup is done, you can enjoy the surreal immersive audio experience. However, note that you must disable some certain settings, including Balance, Mono audio, and Headphone Accommodations to ensure the feature works best.
If the Personalized Spatial Audio setup is not working, reset your AirPods once and try these steps again.
How to turn on Personalized Spatial Audio on iPhone manually
- Launch a media app to begin streaming a music, movie, or TV program with your AirPods connected.
- Scroll down from the right side to open the Control Center on your iPhone.
- Press and hold the volume tile.
- Now, tap Spatial Audio or Spatialize Stereo based on the audio you are listening.
- Select Head Tracked to enable dynamic head tracking and spatial audio. This will tune your audio based on your head motions.
Your iPhone will remember your choice. For instance, you have followed the above steps while listening to the Music app. The next time you play a song in the app, the Head Tracked option is immediately enabled.
You will also see an option called Fixed in the Control Center. It makes the audio sound like you are in the middle of the environment. So, it has a smaller range of sound projection locations. To make the sound is all around you, personalized spatial audio tracks your head or device movements.
By default, spatial audio follows your iPhone’s motion to make the music sound like it’s coming from your iPhone. To change this, go to Settings and select Accessibility. Then tap AirPods and toggle off Follow iPhone. The audio will now seem to follow your head movements.
Finishing off…
Apple is making great strides in providing its users with a personalized experience. Over the years, the company has made itself synonymous with spell-binding experiences, and personalized spatial audio is a valuable addition to them.
Read more: